
Checking the Contents of the Box
Before you begin setting up your HTC Vive Lighthouses, it’s important to make sure you have all the necessary equipment. When you first receive your Vive package, open it carefully and check the contents. You should find two Lighthouses, along with the accompanying power adapters, mounting brackets, and sync cable.
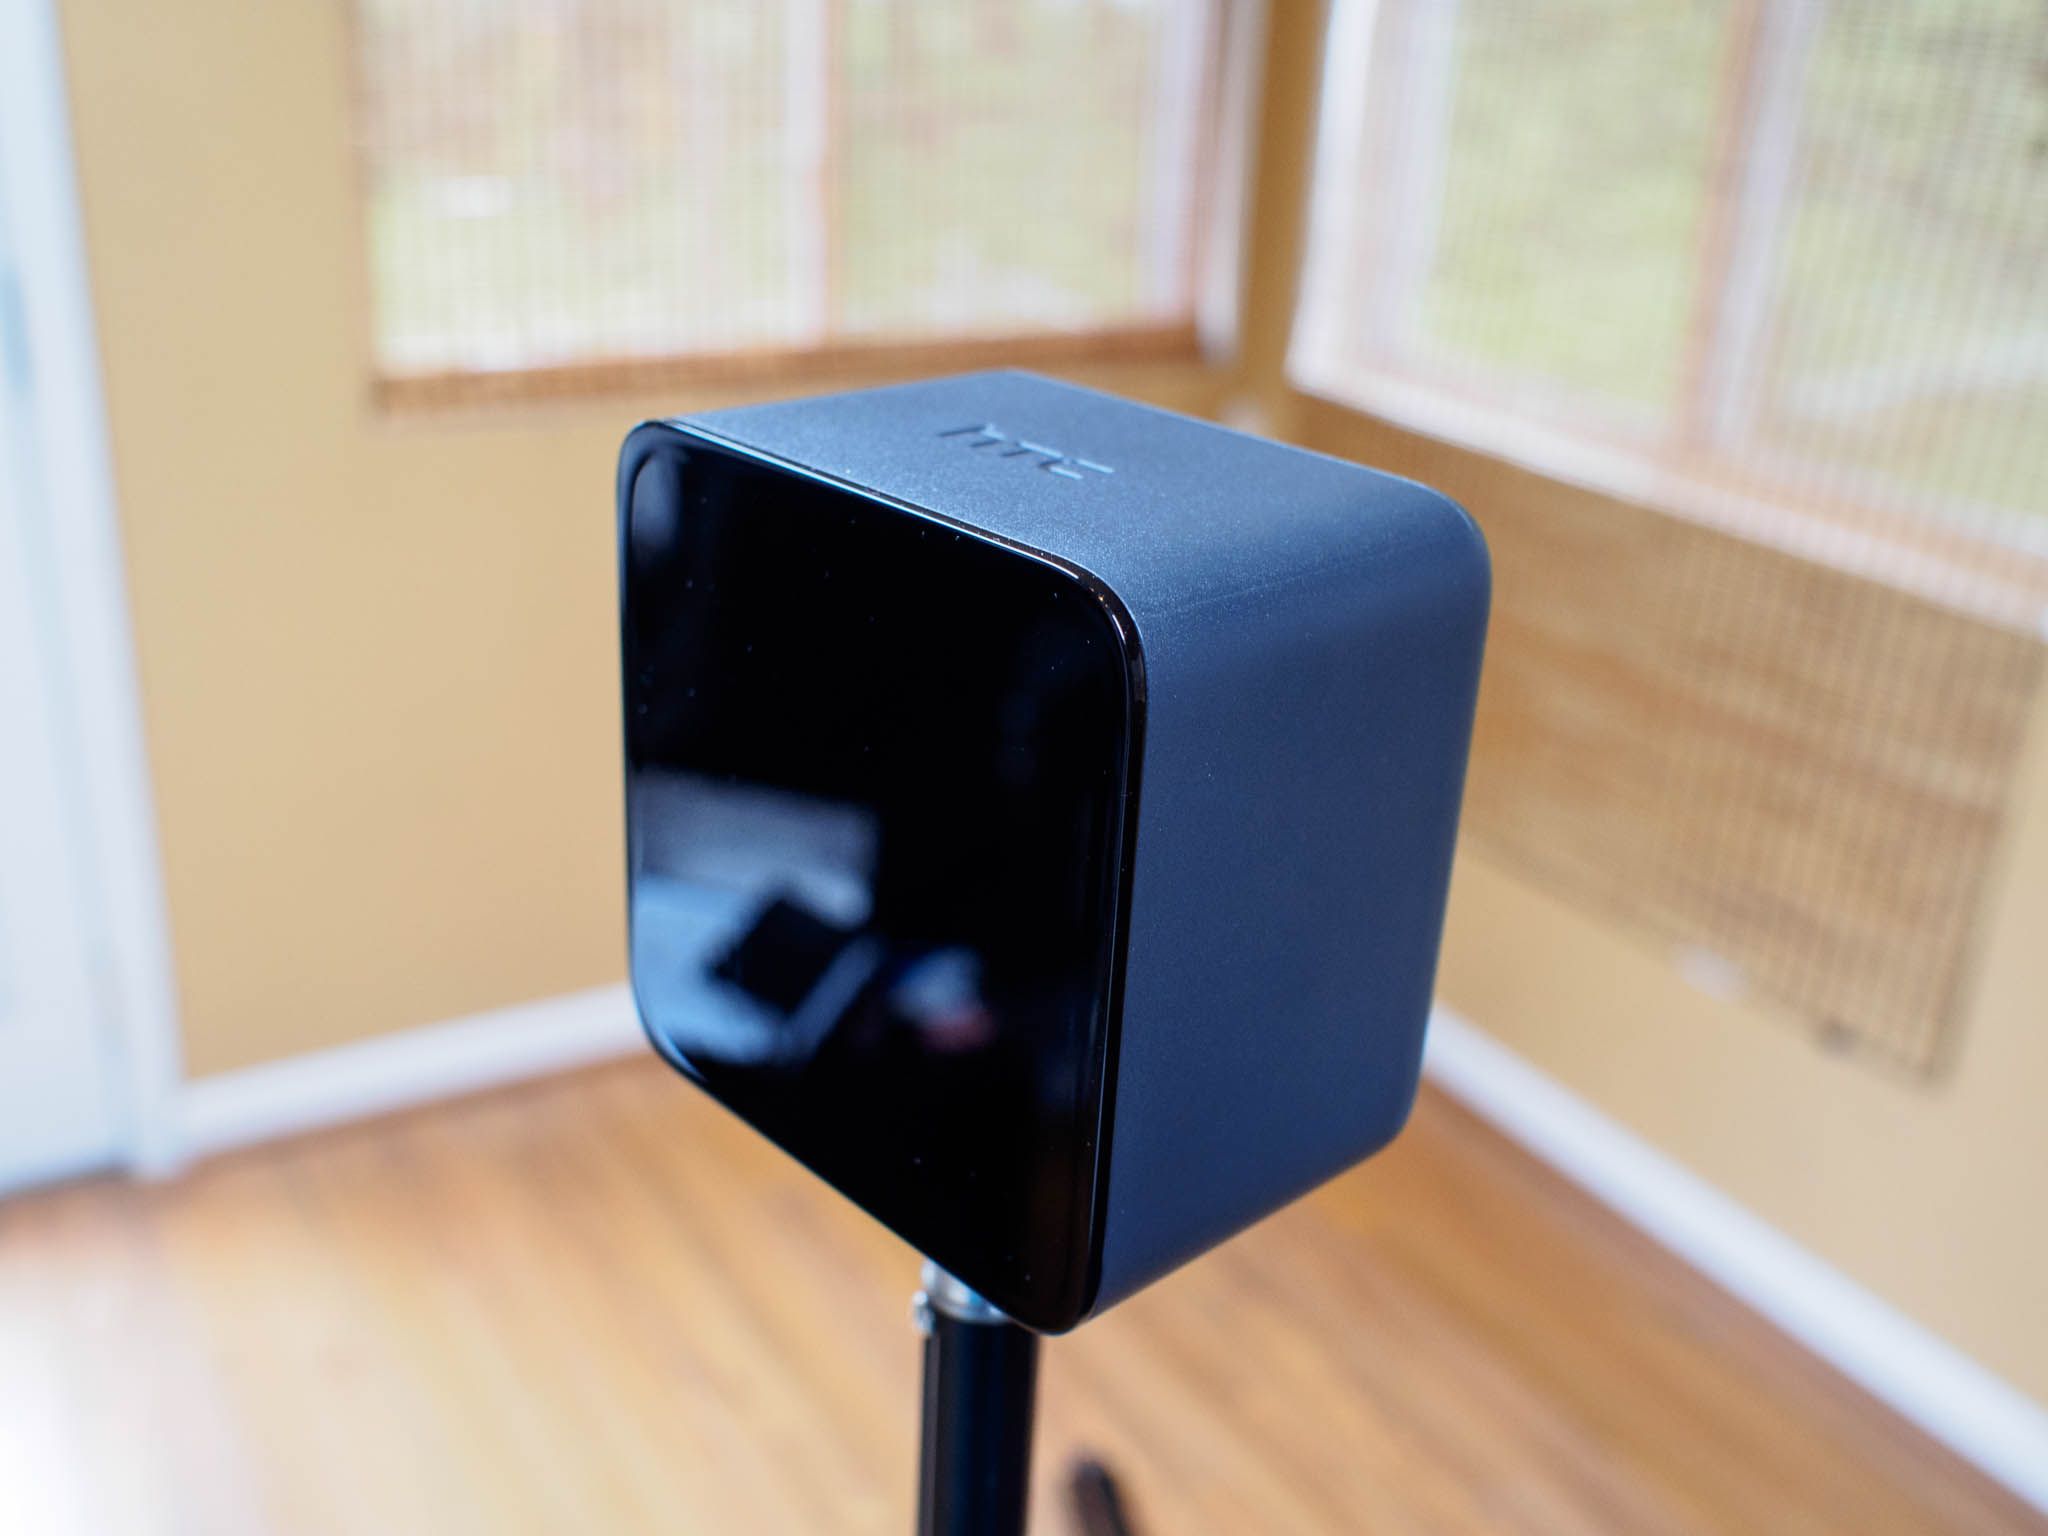
Start by inspecting the Lighthouses themselves. They are small, sleek devices that emit laser beams to track your head and controller movements in the virtual space. Check for any physical damage or defects on the Lighthouses, such as cracks, scratches, or malfunctions. If you notice any issues, contact customer support for assistance.
Next, ensure that you have both power adapters. These are necessary to connect the Lighthouses to a power source. Check the adapters for any signs of damage, such as frayed wires or loose connections. If you encounter any issues, it’s best to contact HTC customer support to resolve the problem.
Additionally, verify that you have the included mounting brackets. These brackets are used to attach the Lighthouses to a wall or tripod. Inspect the brackets for any missing or damaged parts, such as screws or brackets. If anything is missing, reach out to the customer support team for a replacement.
Lastly, locate the sync cable. This cable is used to connect the two Lighthouses together, ensuring they communicate and synchronize properly. Check for any kinks, twists, or frayed ends on the cable. If there are any issues, it’s crucial to contact HTC support to obtain a new sync cable.
By carefully inspecting the contents of the box and ensuring you have all the necessary equipment, you can proceed with confidence to the next steps of setting up your HTC Vive Lighthouses.
Choosing the Ideal Location for Lighthouses
When setting up your HTC Vive Lighthouses, it’s crucial to choose the ideal location for optimal tracking of your movements in the virtual reality (VR) space. Here are some factors to consider when selecting the placement for your Lighthouses:
- Visibility: Ensure that both Lighthouses have a clear line of sight to each other. This allows them to communicate effectively and maintain accurate tracking. Avoid placing them behind obstacles like furniture or large objects that may obstruct their view.
- Height: Mount the Lighthouses at a height of around 6 to 7 feet (1.8 to 2.1 meters) for the best coverage. This height enables a wider tracking range and reduces the chances of objects or people blocking the sensors.
- Stability: Make sure to securely mount the Lighthouses on either the wall or tripods to prevent any accidental movements or vibrations. This ensures stable and consistent tracking throughout your VR experience.
- Angles: Position the Lighthouses at a downward angle, facing slightly inward towards the center of your play area. This helps minimize blind spots and maximizes tracking accuracy.
- Lighting Conditions: Avoid setting up the Lighthouses in areas with extreme lighting conditions, such as direct sunlight or excessive darkness. Bright lights or reflections can interfere with tracking, while dimly lit environments may affect the Lighthouses’ ability to track accurately.
Take your time to survey the available space and experiment with different placements before finalizing the location for your Lighthouses. Consider the layout of your room, the available mounting options, and any potential external factors that may affect the tracking performance.
By carefully selecting the ideal location for your HTC Vive Lighthouses, you can optimize the VR tracking experience and enjoy immersive gameplay without any interruptions or accuracy issues.
Mounting the Lighthouses on the Wall or Tripods
Once you have chosen the ideal location for your HTC Vive Lighthouses, it’s time to mount them securely either on the wall or tripods. Here’s how you can do it:
Wall Mount:
- Locate the mounting brackets that came with your Vive package.
- Using a drill, carefully mark the positions where you want to mount the Lighthouses on the wall. Make sure the locations align with the height and angle considerations mentioned earlier.
- Attach the mounting brackets to the marked spots using screws and anchors suitable for the type of wall you have. Ensure that the brackets are firmly fixed and level.
- Attach the Lighthouses to the brackets using the provided screws. Make sure they are securely fastened and properly aligned according to your desired angles.
Tripod Mount:
- Ensure that you have tripods with a suitable height and stability to hold the Lighthouses.
- Attach the mounting brackets to the tripods using the provided screws and clamps. Ensure a tight and secure fit to avoid any movement.
- Place the tripods in the chosen locations, making sure they are stable and level.
- Attach the Lighthouses to the mounting brackets on the tripods. Verify that they are securely fastened and properly aligned.
Whether you choose to mount the Lighthouses on the wall or tripods, it’s crucial to ensure stability and alignment. This helps maintain consistent tracking accuracy throughout your VR experiences.
Note: If you’re mounting the Lighthouses on the wall, ensure that you have a suitable power source nearby. If using tripods, make sure the power cables are securely routed to avoid any trip hazards.
Take your time during the mounting process to double-check the stability and positioning of the Lighthouses. This will help ensure a smooth and immersive VR experience without any interruptions caused by shifting or misaligned Lighthouses.
Ensuring Proper Angles and Alignment of Lighthouses
Once you’ve mounted your HTC Vive Lighthouses, it’s crucial to ensure that they are properly angled and aligned for optimal tracking performance. Follow these steps to ensure the correct angles and alignment:
- Angle Adjustment: Start by adjusting the angle of each Lighthouse. The ideal angle is a downward tilt of about 30-45 degrees, allowing the lasers to cover the designated play area. Use the swivel hinge on the mounting brackets or tripods to adjust the angle accordingly.
- Alignment: Next, ensure that the Lighthouses are aligned with each other. Stand in the center of your play area and visually inspect the Lighthouses to see if they are pointing directly at each other. Adjust the Lighthouses’ positions if needed to improve their alignment.
- Sync Cable: If you’re using the sync cable, connect it to the sync ports on both Lighthouses. This cable ensures synchronization between the Lighthouses for accurate tracking. Make sure the cable is securely attached and not tangled or twisted.
For additional assistance in aligning the Lighthouses, you can make use of the “Room Setup” feature in the SteamVR settings. This feature provides step-by-step instructions on adjusting the angles and alignment of the Lighthouses to achieve the best tracking results.
During the alignment process, it’s important to periodically check the tracking coverage on your HTC Vive headset. Put on the headset and navigate around your play area to ensure that there are no blind spots or tracking issues. If you notice any areas where the tracking is inconsistent, adjust the angles or positions of the Lighthouses to enhance the coverage.
Remember to take into account the size and shape of your play area when adjusting the angles and alignment of the Lighthouses. It is recommended to have a symmetrical and balanced setup to ensure uniform tracking coverage.
By carefully adjusting the angles and ensuring proper alignment, you can greatly enhance the accuracy and reliability of the tracking system for your HTC Vive Lighthouses, resulting in a more immersive and enjoyable VR experience.
Connecting the Lighthouses to Power
Once you have mounted your HTC Vive Lighthouses in the desired locations, the next step is to connect them to power sources. Follow these steps to ensure a safe and proper power connection:
- Locate Power Adapters: Begin by identifying the power adapters that came with your HTC Vive Lighthouses. These adapters will provide the necessary electrical power to the Lighthouses.
- Check Power Requirements: Before plugging in the power adapters, verify that the voltage and plug type of the adapters match the electrical outlets in your location. Using the wrong voltage or incompatible plugs can damage the Lighthouses or pose a safety hazard.
- Connect Power Adapters: Plug the power adapters into the designated power ports on the Lighthouses. Ensure a secure connection to prevent accidental disconnection during use. If you are using a power strip or surge protector, make sure it has enough available outlets and is rated for the power requirements of the Lighthouses.
- Route Power Cables: Arrange the power cables in a neat and organized manner to prevent any tripping hazards. If necessary, use cable clips or ties to secure the cables along the wall or tripods. Make sure the cables do not obstruct the Lighthouses’ view or interfere with the tracking process.
- Power On: Once the power cables are securely connected, plug the power adapters into the electrical outlets. Switch on the power supply to activate the Lighthouses.
During the setup process, periodically check the power connection to ensure that the Lighthouses remain powered on. If you experience any power-related issues, such as intermittent blackouts or the Lighthouses not turning on, double-check the connections and consult the troubleshooting guidelines provided by HTC.
It’s important to note that the Lighthouses should not be left connected to power sources continuously. Switch off and unplug the Lighthouses when they are not in use to conserve energy and prevent any potential electrical issues.
By properly connecting the Lighthouses to power, you can ensure their optimal functionality and set the stage for an immersive VR experience with your HTC Vive.
Pairing the Lighthouses with the HTC Vive Headset
After mounting and connecting the HTC Vive Lighthouses, the final step is to pair them with your HTC Vive headset. This ensures that the headset can effectively track your movements within the virtual reality (VR) environment. Follow these steps to pair the Lighthouses with your HTC Vive headset:
- Power on the Headset: Turn on your HTC Vive headset and ensure it is connected to your computer or gaming console.
- Launch SteamVR: Open the SteamVR software on your computer or console. Make sure the Lighthouses are powered on and their lights are visible.
- Calibrate Room Scale: In the SteamVR dashboard, go to the “Room Setup” section. Follow the on-screen instructions to calibrate your room scale setup, which includes pairing the Lighthouses with the headset.
- Place the Headset in the Play Area: Put on the HTC Vive headset and ensure you are standing within the play area. Face one of the Lighthouses and hold the headset steady.
- Wait for Pairing: As you hold the headset, the Lighthouses will track its position and pairing will occur automatically. You will see a notification on the SteamVR dashboard indicating the successful pairing of the Lighthouses with the headset.
- Verify Tracking: After pairing, gently move around within the play area to test the tracking capabilities. Ensure that the Lighthouses accurately track your movements in real-time without any noticeable lag or jitter.
If you encounter any issues during the pairing process or experience tracking problems, refer to the troubleshooting resources provided by HTC or SteamVR. They can offer specific solutions for common pairing and tracking-related issues.
It’s important to note that the Lighthouses need to be powered on and within range every time you use your HTC Vive headset. Turning off the Lighthouses or moving them to a different location may require you to repeat the pairing process.
By properly pairing the Lighthouses with your HTC Vive headset, you can enjoy a fully immersive VR experience with accurate and responsive tracking, allowing you to explore virtual worlds, play games, and interact with digital content seamlessly.