
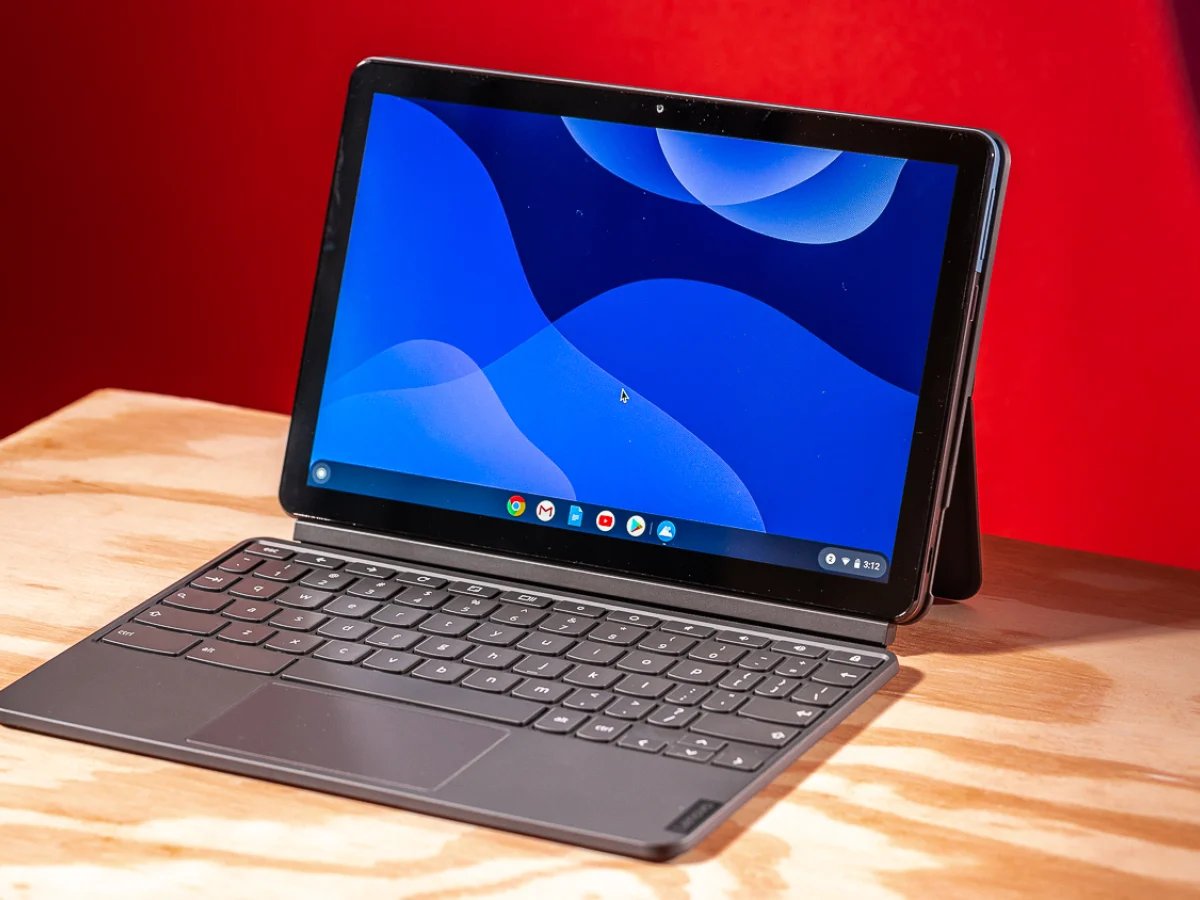
What is Google Assistant?
Google Assistant is a virtual assistant developed by Google. It is designed to help users perform tasks, answer questions, and control various devices through voice commands. Google Assistant is available on a wide range of devices, including smartphones, smart speakers, and even Chromebooks.
With Google Assistant, you can ask questions, set reminders, send messages, and get weather updates, all without having to type anything. It is a convenient and hands-free way to interact with your device and access information quickly.
Google Assistant is powered by artificial intelligence and machine learning, which enables it to understand and interpret natural language. This means you can have more conversational interactions with Assistant, making it feel more like a real conversation rather than just a voice-controlled device.
One of the standout features of Google Assistant is its ability to integrate with various apps and services. This allows you to perform actions like ordering food, booking a ride, or even controlling smart home devices, all through voice commands. Additionally, Assistant can help you manage your daily schedule, set alarms, and provide personalized recommendations based on your preferences.
Google Assistant is constantly evolving and improving, thanks to regular updates and new features being added. This ensures that users can enjoy a seamless and enhanced experience with the virtual assistant across different devices.
Overall, Google Assistant is a powerful tool that can make your life easier and more efficient. Whether you need help with productivity, entertainment, or simply want to have a conversation with your device, Google Assistant is there to assist you.
Checking if your Chromebook supports Google Assistant
Before you can start using Google Assistant on your Chromebook, it’s essential to ensure that your device supports this feature. Here’s how you can check:
- Check the Chrome OS version: Google Assistant is available on Chrome OS version 77 and above. To check your Chrome OS version, click on the status area in the bottom-right corner of your screen, then select the gear-shaped Settings icon. From there, click on “About Chrome OS” and look for the version number. If your Chrome OS version is 77 or higher, you’re good to go.
- Ensure your Chromebook has a microphone: Google Assistant relies on voice commands, so it requires a working microphone. Most Chromebooks come with built-in microphones, but it’s always a good idea to double-check. You can find the microphone location on your Chromebook by referring to the manufacturer’s documentation or checking the product specifications online.
- Check for the Google Assistant settings: To confirm if Google Assistant is available on your Chromebook, follow these steps:
- Click on the status area in the bottom-right corner of your screen.
- Select the gear-shaped Settings icon.
- In the “Search and Assistant” section, click on “Google Assistant.”
- If you see the option to enable Google Assistant, your Chromebook supports it. If not, it might not be available for your specific device.
If your Chromebook meets the criteria mentioned above, congratulations! You can proceed with enabling and setting up Google Assistant on your device. However, if your Chromebook doesn’t support Google Assistant, don’t worry. Google frequently adds support for more devices with every Chrome OS update, so keep an eye out for future updates that may make it available to you.
Enabling Google Assistant on your Chromebook
If your Chromebook supports Google Assistant, you can easily enable it by following these steps:
- Click on the status area in the bottom-right corner of your screen.
- Select the gear-shaped Settings icon.
- In the “Search and Assistant” section, click on “Google Assistant.”
- Toggle the switch next to “Enable Google Assistant” to the “On” position.
Once you’ve enabled Google Assistant, you can set it up to personalize your experience further.
Note: If you don’t see the “Google Assistant” option in your Chromebook’s settings, it’s possible that the feature is not available for your specific device or Chrome OS version.
After enabling Google Assistant, you’ll see a small circle icon with vibrant colors in the bottom-left corner of your screen. This is the Google Assistant icon. You can access Assistant by clicking on this icon or by using the keyboard shortcut “Search + A”.
It’s important to make sure your microphone is working correctly so that Assistant can hear your voice commands. You can adjust the microphone settings by clicking on the status area, selecting the gear-shaped Settings icon, and navigating to the “Sound” section.
Enabling Google Assistant on your Chromebook opens up a whole new world of possibilities. You’ll have a powerful virtual assistant ready to assist you with various tasks, answer questions, and provide information with just your voice commands.
Now that you have Google Assistant enabled on your Chromebook, it’s time to explore and take full advantage of its features and capabilities.
Setting up Google Assistant
Once you have enabled Google Assistant on your Chromebook, you can proceed with the setup process to personalize your experience. Here’s how to set up Google Assistant:
- Click on the Google Assistant icon in the bottom-left corner of your screen or use the keyboard shortcut “Search + A” to open the Assistant.
- You will be prompted to grant certain permissions to Google Assistant, including accessing your microphone and allowing it to show notifications. Click “Allow” to proceed.
- Next, you will be asked to sign in to your Google Account. Enter your account credentials and follow the on-screen instructions to complete the sign-in process.
- Once signed in, you can choose the voice profile that Assistant will use to respond to your voice commands. This step is optional, but it allows Assistant to recognize your voice and provide personalized responses. Click “Continue” and follow the prompts to set up your voice profile.
- After setting up your voice profile, you can choose to enable additional features like Voice Match or Continued Conversation. These features enhance the Assistant’s ability to recognize and respond to your voice commands more accurately. Follow the on-screen instructions to enable these features if desired.
- Finally, you can review and customize other settings for Google Assistant, such as language preferences, preferred search engine, and more. Click on the Google Assistant icon, then click the “Explore and customize” button to access these settings.
By following these steps, you’ll be able to set up Google Assistant according to your preferences and make the most out of its features. Remember, you can always revisit the settings and make changes whenever you want.
With Google Assistant properly set up on your Chromebook, you’re ready to start using it for a wide range of tasks and queries. Whether you need help with finding information, managing your tasks, or controlling smart home devices, Google Assistant is there to assist you with just a simple voice command.
Basic voice commands for Google Assistant on Chromebook
Now that Google Assistant is set up on your Chromebook, you can begin using it to perform various tasks and get information using voice commands. Here are some basic voice commands to get you started:
- “Hey Google” – Use this phrase to activate Google Assistant and begin giving voice commands. For example, say “Hey Google, what’s the weather today?”
- “Set a reminder” – You can set reminders by simply saying “Set a reminder.” Assistant will ask for details like the reminder title, date, and time, and then confirm the reminder for you.
- “Send an email” – If you want to compose and send an email, you can say “Send an email.” Assistant will guide you through the process of composing and addressing the email.
- “Play music” – You can ask Google Assistant to play music by specifying the song, artist, or genre. For example, say “Play some relaxing music.”
- “What’s the latest news?” – Stay up to date with the latest news by asking Google Assistant “What’s the latest news?” Assistant will provide you with news highlights from various sources.
- “Open [app/webpage name]” – Use this command to open specific apps or webpages. For example, say “Open Gmail” or “Open Google Chrome.”
- “What’s the capital of [country]?” – Get quick answers to factual questions by asking Google Assistant. For example, say “What’s the capital of France?”
- “What’s the weather like tomorrow?” – Stay informed about the weather forecast by asking Google Assistant about the weather conditions for a specific day or time.
These are just a few examples of the voice commands you can use with Google Assistant on your Chromebook. As you become more familiar with Assistant, you’ll discover its capabilities and be able to use it for a wide variety of tasks, including making phone calls, setting timers, getting directions, and much more.
Remember to speak clearly and naturally when giving voice commands to ensure Assistant understands your request accurately. If Assistant doesn’t provide the desired result, you can rephrase or repeat your command for better accuracy.
Now that you know some basic voice commands, start experimenting and enjoy the convenience of using Google Assistant on your Chromebook.
Controlling settings for Google Assistant
Google Assistant on your Chromebook offers a range of customizable settings that allow you to tailor your experience to suit your preferences. Here’s how you can control the settings for Google Assistant:
- Click on the Google Assistant icon in the bottom-left corner of your screen or use the keyboard shortcut “Search + A” to open the Assistant.
- Click on the “Explore and customize” button in the Assistant window. This will take you to the settings where you can control various aspects of Google Assistant.
- In the settings, you will find options to customize the Assistant’s behavior, appearance, and functionality:
- Preferences: Here, you can choose your preferred language, change the voice of the Assistant, and adjust the Assistant’s speech speed.
- Notifications: You can control how Google Assistant notifies you. You can choose whether to receive visual notifications, audio notifications, or both.
- Assistant voice output: This setting allows you to choose whether you want the Assistant’s responses to be spoken aloud or displayed as on-screen text.
- Assistant device: If you have multiple devices with Google Assistant, such as speakers or smartphones, you can select the default device for Assistant commands.
- Preferred search engine: You can set your preferred search engine for Google Assistant queries.
- Smart home: If you have smart home devices, you can connect and control them through Google Assistant by linking your smart home accounts.
By exploring these settings, you can fine-tune Google Assistant to align with your individual needs and preferences. You can customize the way Assistant responds, the notifications it provides, the search engine it uses, and even how it interacts with your smart home devices.
Feel free to experiment with different settings based on your personal preferences. You can always revisit the settings at any time to make changes and further optimize your Google Assistant experience.
Controlling the settings for Google Assistant allows you to create a personalized and efficient virtual assistant that meets your specific requirements.
Customizing Google Assistant on your Chromebook
Google Assistant on your Chromebook can be customized to suit your preferences and make your experience even more personalized. Here are some ways you can customize Google Assistant:
- Assistant routines: You can set up custom routines to automate a series of actions with a single voice command. For example, you can create a routine called “Good morning” that turns on the lights, plays your favorite music, and reads out your agenda for the day.
- Voice match: By setting up Voice Match, Google Assistant can recognize your voice and provide personalized responses. You can train Assistant to recognize your voice so that it can provide personalized recommendations and access personalized information.
- Preferred apps: You can choose your preferred apps for specific tasks. For instance, you can set your preferred music streaming app or email client so that when you ask Assistant to play music or send an email, it will use your preferred app.
- Explore new features and services: Google Assistant constantly introduces new features and integrates with various services. In the settings, you can explore and enable any new features or services that are available to enhance your Assistant experience.
- Change the wake word: By default, the wake word to activate Google Assistant is “Hey Google.” However, if you prefer, you can change the wake word to “Okay Google” or even customize it to something else that feels more natural to you.
- Manage your activity: In the settings, you can review and manage your Assistant activity, including voice recordings and interactions. You have control over your data and can choose to delete or disable certain features if desired.
These are just a few examples of the ways you can customize Google Assistant on your Chromebook. By exploring the settings and experimenting with different options, you can tailor Assistant to your specific needs and create a truly personalized virtual assistant experience.
Take the time to explore the customization options, try out different features, and find what works best for you. With Google Assistant customized to your liking, you can enjoy a more efficient, tailored, and enjoyable experience on your Chromebook.
Troubleshooting common issues with Google Assistant on Chromebook
While Google Assistant on your Chromebook is designed to be reliable and user-friendly, you may come across some common issues. Here are a few troubleshooting tips to help resolve these issues:
- Check microphone settings: If Google Assistant doesn’t respond to your voice commands, ensure that your microphone is properly set up and functioning. Go to Chromebook settings and make sure the microphone is not muted or disabled.
- Verify internet connectivity: Google Assistant requires an active internet connection to function. Check your Wi-Fi or ethernet connection to ensure it is stable and properly connected. Poor internet connectivity may cause Assistant to respond slowly or not at all.
- Restart your Chromebook: Sometimes, a simple restart can resolve temporary glitches or conflicts that may be affecting the performance of Google Assistant. Restart your Chromebook and try using Assistant again.
- Update Chrome OS: Ensure that your Chromebook is running the latest version of Chrome OS. Updates often include bug fixes and improvements that can address issues with Google Assistant.
- Clear app cache and data: If you are experiencing issues with the Google Assistant app itself, go to the Chromebook settings, locate the Assistant app, and clear its cache and data. This can help resolve any corrupt data that may be causing the problem.
- Disable conflicting extensions: Some browser extensions or third-party software may interfere with the proper functioning of Google Assistant. Temporarily disable any extensions or software that may be causing conflicts and check if Assistant works correctly.
- Contact Chromebook support: If you have followed the troubleshooting steps above and are still experiencing issues with Google Assistant on your Chromebook, it is recommended to reach out to Chromebook support for further assistance. They can provide tailored guidance based on your specific device and situation.
By implementing these troubleshooting tips, you should be able to resolve most common issues with Google Assistant on your Chromebook. Remember to regularly update your Chromebook and keep an eye out for any official announcements or updates from Google regarding Assistant improvements.
It’s essential to note that if the issue persists or if you encounter any other major functionality problems, contacting Chromebook support should be your next step for further assistance and resolution.