
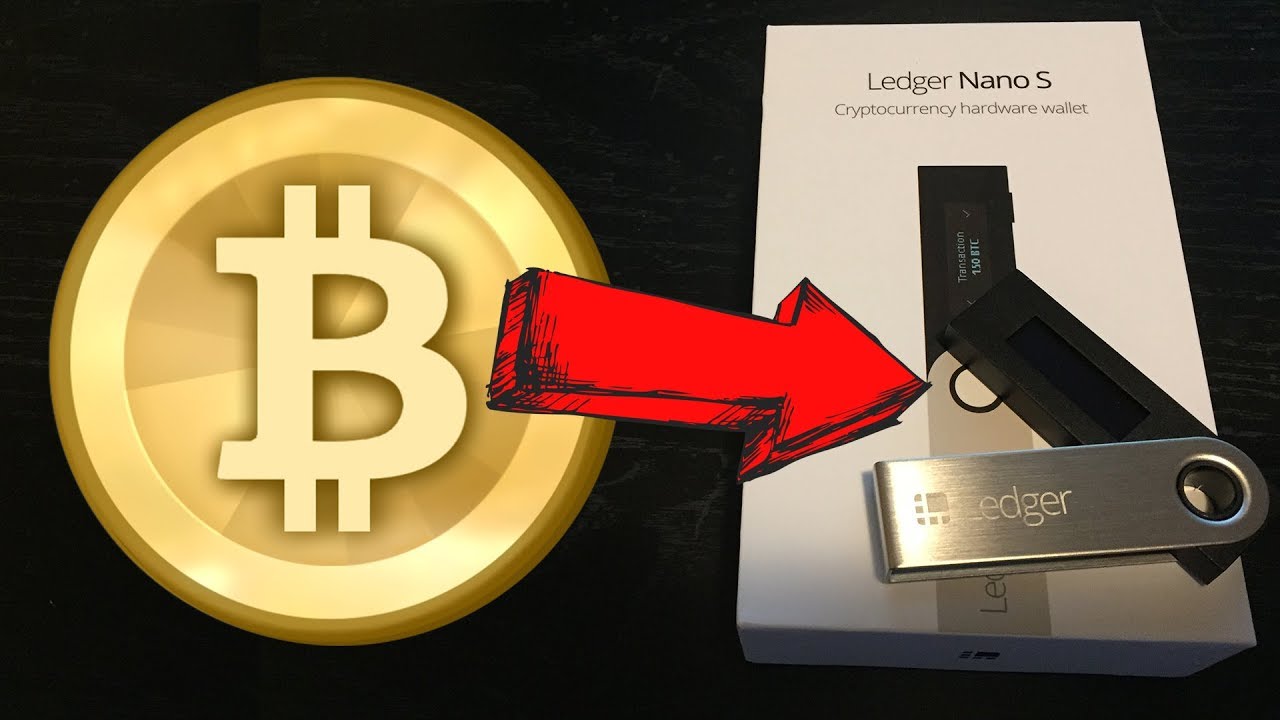
What is Ledger Nano S?
The Ledger Nano S is a hardware cryptocurrency wallet that provides a secure and convenient way to store and manage various cryptocurrencies, including Bitcoin. It is a small, portable device that resembles a USB flash drive and is designed to keep your digital assets safe from online threats.
With its built-in display and buttons, the Ledger Nano S allows you to access and control your Bitcoin securely. It works by connecting to your computer or mobile device via a USB port, ensuring that your private keys and transaction data never leave the device.
One of the key features of the Ledger Nano S is its offline storage capability. This means that even if your computer or mobile device is compromised, your Bitcoin remains safe on the Ledger device. The private keys and sensitive information are securely stored within the device, protected by a secure element chip.
Another advantage of using the Ledger Nano S is its compatibility with multiple cryptocurrency applications. It supports various cryptocurrencies, including Bitcoin, Ethereum, Litecoin, and many others. This makes it a versatile solution for those who hold multiple cryptocurrencies and want a single device to manage them securely.
The Ledger Nano S also provides an additional layer of security through its PIN code and backup options. When setting up the device, you will create a PIN code that ensures only authorized users can access your cryptocurrencies. Additionally, during the initial setup process, you will be given a recovery phrase that can be used to restore your wallet in case the device is lost or damaged.
Setting up Ledger Nano S
To begin using the Ledger Nano S for storing and managing your Bitcoin, you first need to set up the device. Follow these steps to get started:
- Unboxing and connecting the device: Start by unboxing the Ledger Nano S and connecting it to your computer or mobile device using the provided USB cable.
- Choosing a PIN code: The Ledger Nano S will prompt you to choose a PIN code. This PIN code will be required each time you want to access the device, ensuring only you can make transactions with your Bitcoin.
- Writing down the recovery phrase: During the setup process, the device will display a recovery phrase consisting of 24 words. It is crucial to write down this phrase and keep it in a safe and secure place. The recovery phrase can be used to restore your wallet if your Ledger Nano S is lost, stolen, or damaged.
- Confirming the recovery phrase: After writing down the recovery phrase, the device will ask you to confirm it by entering a few of the words in the correct order. This step helps ensure that you have accurately recorded the recovery phrase.
- Updating the firmware: The next step is to update the device’s firmware to the latest version. This helps ensure that you have the latest security features and bug fixes.
- Installing the Ledger Live app: Ledger Nano S requires the Ledger Live app to manage your Bitcoin and other cryptocurrencies. Visit the official Ledger website and download the Ledger Live app for your operating system. Once installed, open the app and follow the on-screen instructions to set it up.
Once you have completed these steps, your Ledger Nano S is set up and ready to use. You can now proceed with installing the Bitcoin app and generating your Bitcoin address.
Installing Bitcoin app on Ledger Nano S
Once you have set up your Ledger Nano S, the next step is to install the Bitcoin app on the device. Follow these simple steps to install the Bitcoin app:
- Open the Ledger Live app on your computer or mobile device.
- Connect your Ledger Nano S to your computer or mobile device using the provided USB cable.
- In the Ledger Live app, click on the “Manager” tab.
- Scroll through the list of available apps and locate the Bitcoin app.
- Click on the “Install” button next to the Bitcoin app.
- Follow the on-screen instructions to authorize the installation on your Ledger Nano S.
- Wait for the installation process to complete.
- Once the installation is successful, you will see the Bitcoin app listed on the Ledger Live app.
By installing the Bitcoin app on your Ledger Nano S, you now have the ability to securely manage your Bitcoin transactions. This app acts as a bridge between your Ledger device and the Bitcoin network, allowing you to view your balance, send and receive Bitcoin, and sign transactions with your private key.
It’s important to note that the Ledger Nano S has limited storage capacity and can only hold a few apps at a time. If you want to manage other cryptocurrencies, you will need to uninstall the Bitcoin app and install the specific app for the desired cryptocurrency.
With the Bitcoin app installed on your Ledger Nano S, you are ready to generate your Bitcoin address and start receiving Bitcoin securely.
Getting Bitcoin address from Ledger Nano S
To receive Bitcoin and generate your Bitcoin address using the Ledger Nano S, follow these steps:
- Open the Ledger Live app on your computer or mobile device.
- Connect your Ledger Nano S to your computer or mobile device using the provided USB cable.
- In the Ledger Live app, click on the “Accounts” tab.
- Click on the “Add Account” button.
- Select “Bitcoin” from the list of available cryptocurrencies.
- Follow the on-screen instructions to select the account type (SegWit or Legacy) and confirm the derivation path.
- Once the account is added, you will see your Bitcoin address displayed in the Ledger Live app.
- Copy or note down the Bitcoin address for future use.
It’s important to note that the Bitcoin address generated by your Ledger Nano S is unique to your wallet and can be safely shared with others to receive Bitcoin. It serves as your public identifier on the Bitcoin network, allowing others to send Bitcoin to your wallet.
Every time you receive Bitcoin, it will be sent to a new address to enhance privacy and security. You can generate as many Bitcoin addresses as needed using your Ledger Nano S.
It’s also important to verify the accuracy of the Bitcoin address before sharing it with others or initiating a transaction. Ensure that you have double-checked the address to avoid any errors or potential loss of funds.
By following these steps, you can easily generate a Bitcoin address from your Ledger Nano S and start receiving Bitcoin securely.
Sending Bitcoin from Ledger Nano S
Sending Bitcoin from your Ledger Nano S is a straightforward process. Here are the steps to send Bitcoin securely:
- Open the Ledger Live app on your computer or mobile device.
- Connect your Ledger Nano S to your computer or mobile device using the provided USB cable.
- In the Ledger Live app, click on the “Accounts” tab.
- Select the Bitcoin account from which you want to send Bitcoin.
- Click on the “Send” button.
- Enter the recipient’s Bitcoin address in the designated field. Make sure to double-check the address to avoid any errors.
- Specify the amount of Bitcoin you want to send.
- Review the transaction details and verify that everything is correct.
- Confirm the transaction on your Ledger Nano S by verifying the details on the device’s screen and pressing the appropriate button.
- Wait for the transaction to be processed and confirmed on the Bitcoin network. The recipient should receive the Bitcoin shortly after.
It’s important to note that sending Bitcoin from your Ledger Nano S requires a small transaction fee, which is used to incentivize miners to include your transaction in the blockchain. The fee amount may vary depending on network congestion and the urgency of the transaction.
Before sending any significant amount of Bitcoin, it’s advisable to test the process by sending a small amount first to ensure that everything is working correctly. This helps prevent any potential mistakes or issues that may arise during the transaction.
By following these steps and confirming the transaction on your Ledger Nano S, you can securely send Bitcoin to any recipient with confidence, knowing that your private keys are safely stored within the device.
Confirming transaction on Ledger Nano S
When sending Bitcoin or any other cryptocurrency from your Ledger Nano S, it is vital to confirm the transaction on the device itself to ensure its security. Here’s how you can confirm a transaction on your Ledger Nano S:
- After initiating the transaction on the Ledger Live app, the transaction details will be shown on the screen of your Ledger Nano S.
- Carefully review the transaction details, including the recipient’s address and the amount of Bitcoin being sent.
- If the details are correct, press the button on your Ledger Nano S to confirm the transaction.
- If the details are incorrect or you want to cancel the transaction, press the button to reject the transaction.
- On the device’s screen, you may be prompted to enter your PIN code to confirm the transaction.
- Once you have confirmed the transaction on your Ledger Nano S, the transaction will be sent to the Bitcoin network to be processed.
Confirming the transaction on your Ledger Nano S adds an extra layer of security as it requires physical interaction with the device. This ensures that even if your computer or mobile device is compromised, your Bitcoin transaction cannot be altered without your knowledge or consent.
It’s important to take a few moments to carefully review the transaction details before confirming it. Double-check the recipient’s address and the amount being sent to avoid any mistakes that may result in the loss of funds.
By following these steps and confirming the transaction on your Ledger Nano S, you can have peace of mind knowing that your Bitcoin transaction is secure and protected from unauthorized access.
Tips for secure Bitcoin transactions with Ledger Nano S
When using the Ledger Nano S for Bitcoin transactions, it’s crucial to prioritize security to protect your digital assets. Here are some tips to enhance the security of your Bitcoin transactions:
- Keep your device and software up to date: Regularly check for firmware updates for your Ledger Nano S and install them promptly. Keeping your device and software updated ensures you have the latest security patches and features.
- Double-check addresses: Always double-check the recipient’s Bitcoin address before initiating a transaction. Mistakenly sending Bitcoin to an incorrect address can result in permanent loss of funds.
- Use strong passwords and PIN code: Choose strong, unique passwords for your Ledger Live app and set a secure PIN code for your Ledger Nano S. Avoid using easily guessable information and regularly update passwords and PIN codes.
- Enable two-factor authentication (2FA): Consider enabling two-factor authentication for added security. This ensures that even if someone gains access to your Ledger Nano S, they won’t be able to initiate transactions without the second factor of authentication.
- Store your recovery phrase securely: Your Ledger Nano S generates a recovery phrase that is used to restore your wallet. Write down the recovery phrase and store it in a safe and offline location. Never share this recovery phrase with anyone.
- Use trusted sources: Only download software and apps related to your Ledger Nano S from the official Ledger website. Be cautious of fake websites or phishing attempts that may lead to compromising your private keys.
- Be aware of phishing attempts: Be vigilant of phishing attempts that may trick you into entering your private keys or recovery phrase on malicious websites or applications. Always double-check the URLs and verify the legitimacy of any requests for sensitive information.
- Backup your wallet regularly: Regularly backup your wallet data to ensure that even in the event of a lost, stolen, or damaged Ledger Nano S, you can restore your Bitcoin holdings using the recovery phrase.
- Keep your Ledger Nano S offline when not in use: Disconnect your device from your computer or mobile device when you’re not actively using it. This reduces the risk of unauthorized access or malware compromising your device.
- Verify your transactions on the device: Always confirm and verify the details of every Bitcoin transaction directly on your Ledger Nano S’s screen. This ensures that you’re approving the correct transaction and mitigates the risk of malicious software modifying the transaction details.
By following these tips, you can add an extra layer of security to your Bitcoin transactions with the Ledger Nano S, protecting your digital assets from potential threats and unauthorized access.