
Benefits of Scanning on Chromebook
With the increasing digitization of documents and the need to store and share information electronically, the ability to scan documents has become an essential feature for many users. Fortunately, Chromebook users can also enjoy the convenience of scanning directly from their devices. Here are some of the key benefits of scanning on Chromebook:
- Portability: Chromebooks are known for their lightweight and compact design, making them highly portable. With the ability to scan directly from your Chromebook, you can easily digitize documents wherever you are, whether you’re in the office, at a client’s location, or even on the go.
- Cost-effectiveness: Scanning on a Chromebook eliminates the need for expensive standalone scanners. Chromebooks provide a cost-effective solution by utilizing the built-in camera or connecting to a compatible scanner or all-in-one printer.
- Simplicity: Chromebooks are designed to be user-friendly, with a streamlined interface and intuitive functions. Scanning on a Chromebook is no exception, often requiring just a few simple steps to scan and save your documents.
- Integration with Google Drive: Chromebooks seamlessly integrate with Google Drive, a popular cloud storage platform. This integration makes it easy to save your scanned documents directly to your Google Drive, ensuring easy access and sharing across multiple devices.
- Collaboration: By saving your scanned documents to Google Drive, you can easily collaborate with others by sharing files and granting them access to view or edit the scanned documents. This feature is especially useful for remote teams or those working on group projects.
- Environmentally friendly: By going digital and scanning your documents, you can reduce paper waste and contribute to a more sustainable environment. The ability to scan on Chromebook encourages a paperless workflow, minimizing the need for physical storage and reducing your ecological footprint.
These are just a few of the many benefits of scanning on your Chromebook. Whether you’re a student, professional, or casual user, the convenience, cost-effectiveness, and integration capabilities of scanning on Chromebook make it a valuable tool for digitizing and managing your important documents.
Understanding Different Scan Methods
When it comes to scanning on a Chromebook, there are multiple methods available to suit your needs. Understanding these different scan methods will help you choose the most suitable option for your specific requirements. Here are the primary scan methods on Chromebook:
- Scanning with the Printer’s Manufacturer App: Many modern printers come with their own dedicated scanner apps. These apps allow you to wirelessly connect your Chromebook to the printer and initiate scans directly from the app interface. Check the documentation or website of your printer’s manufacturer to see if they offer an app compatible with Chromebook.
- Using Google Drive as a Scanning Solution: One of the simplest ways to scan on a Chromebook is by using the built-in capabilities of Google Drive. When you connect a compatible scanner to your Chromebook, you can use the “Scan” feature available in the Google Drive interface to initiate a scan and save the document to your Drive.
- Scanning with the Google Drive App: If you prefer to use your phone or tablet as a scanning device, you can download the Google Drive app from the Play Store or App Store. With the app, you can scan documents using your device’s camera and save them directly to your Google Drive, accessible from your Chromebook.
- Scanning with Third-Party Apps: Apart from the official Google Drive app, there are several third-party scanning apps available on the Chrome Web Store. These apps offer additional scanning features and functionalities, such as OCR (optical character recognition) and document editing. Some popular options include CamScanner, Adobe Scan, and Microsoft Office Lens.
It’s essential to note that the availability and compatibility of these scan methods may vary depending on your Chromebook model, the connected scanner or printer, and the specific apps or software versions you use.
By familiarizing yourself with these different scan methods, you can choose the one that best fits your scanning needs and preferences. Whether you opt for the manufacturer’s app, Google Drive integration, or a third-party solution, the versatility of Chromebook allows you to scan documents easily and efficiently, enhancing your digital productivity.
Scanning with the Printer’s Manufacturer App
Many printer manufacturers offer dedicated scanning apps that allow you to connect your Chromebook to the printer and initiate scans directly from the app interface. This method provides a seamless and integrated solution for scanning on Chromebook. Here’s how you can use the printer’s manufacturer app for scanning:
- Check compatibility: Ensure that your printer’s manufacturer offers a scanning app compatible with Chromebook. Visit their website or consult the printer’s documentation to find information about the app and its compatibility.
- Install the app: If compatible, download and install the scanning app from the Chrome Web Store. Follow the installation instructions provided by the printer’s manufacturer.
- Connect the printer: Make sure your Chromebook and printer are connected to the same Wi-Fi network. Follow the app’s instructions to connect your Chromebook to the printer wirelessly. Some apps may also require you to enable certain settings on your printer for the connection.
- Launch the app: Open the scanning app on your Chromebook. It may prompt you to log in or provide device permissions for the app to function properly.
- Place the document: Position the document you want to scan on the scanner glass or in the automatic document feeder (if available) of your printer. Ensure it is aligned properly and that no part is cut off during the scan.
- Scan the document: Use the app’s interface to initiate the scan. You may have options to adjust settings such as resolution, color mode, and file format. Adjust these settings according to your preference and requirements.
- Save the scanned document: Once the scan is complete, choose the destination where you want to save the scanned document. This can be your Google Drive, a specific folder, or even an email attachment.
- Review and edit: Some manufacturer apps provide basic editing features like cropping, rotating, or adjusting the scanned document. Take advantage of these features if needed.
- Organize and share: After saving the scanned document, consider organizing it in a way that is easy to locate and access. You can create folders or apply labels to stay organized. Additionally, you can share the scanned document with others by granting them access to view or edit it.
Using the printer’s manufacturer app is an efficient way to scan on Chromebook, as it optimizes the scanning process for compatibility and functionality with your specific printer model. Enjoy the convenience of scanning documents directly from your Chromebook and leverage the app’s features to enhance your scanning workflow.
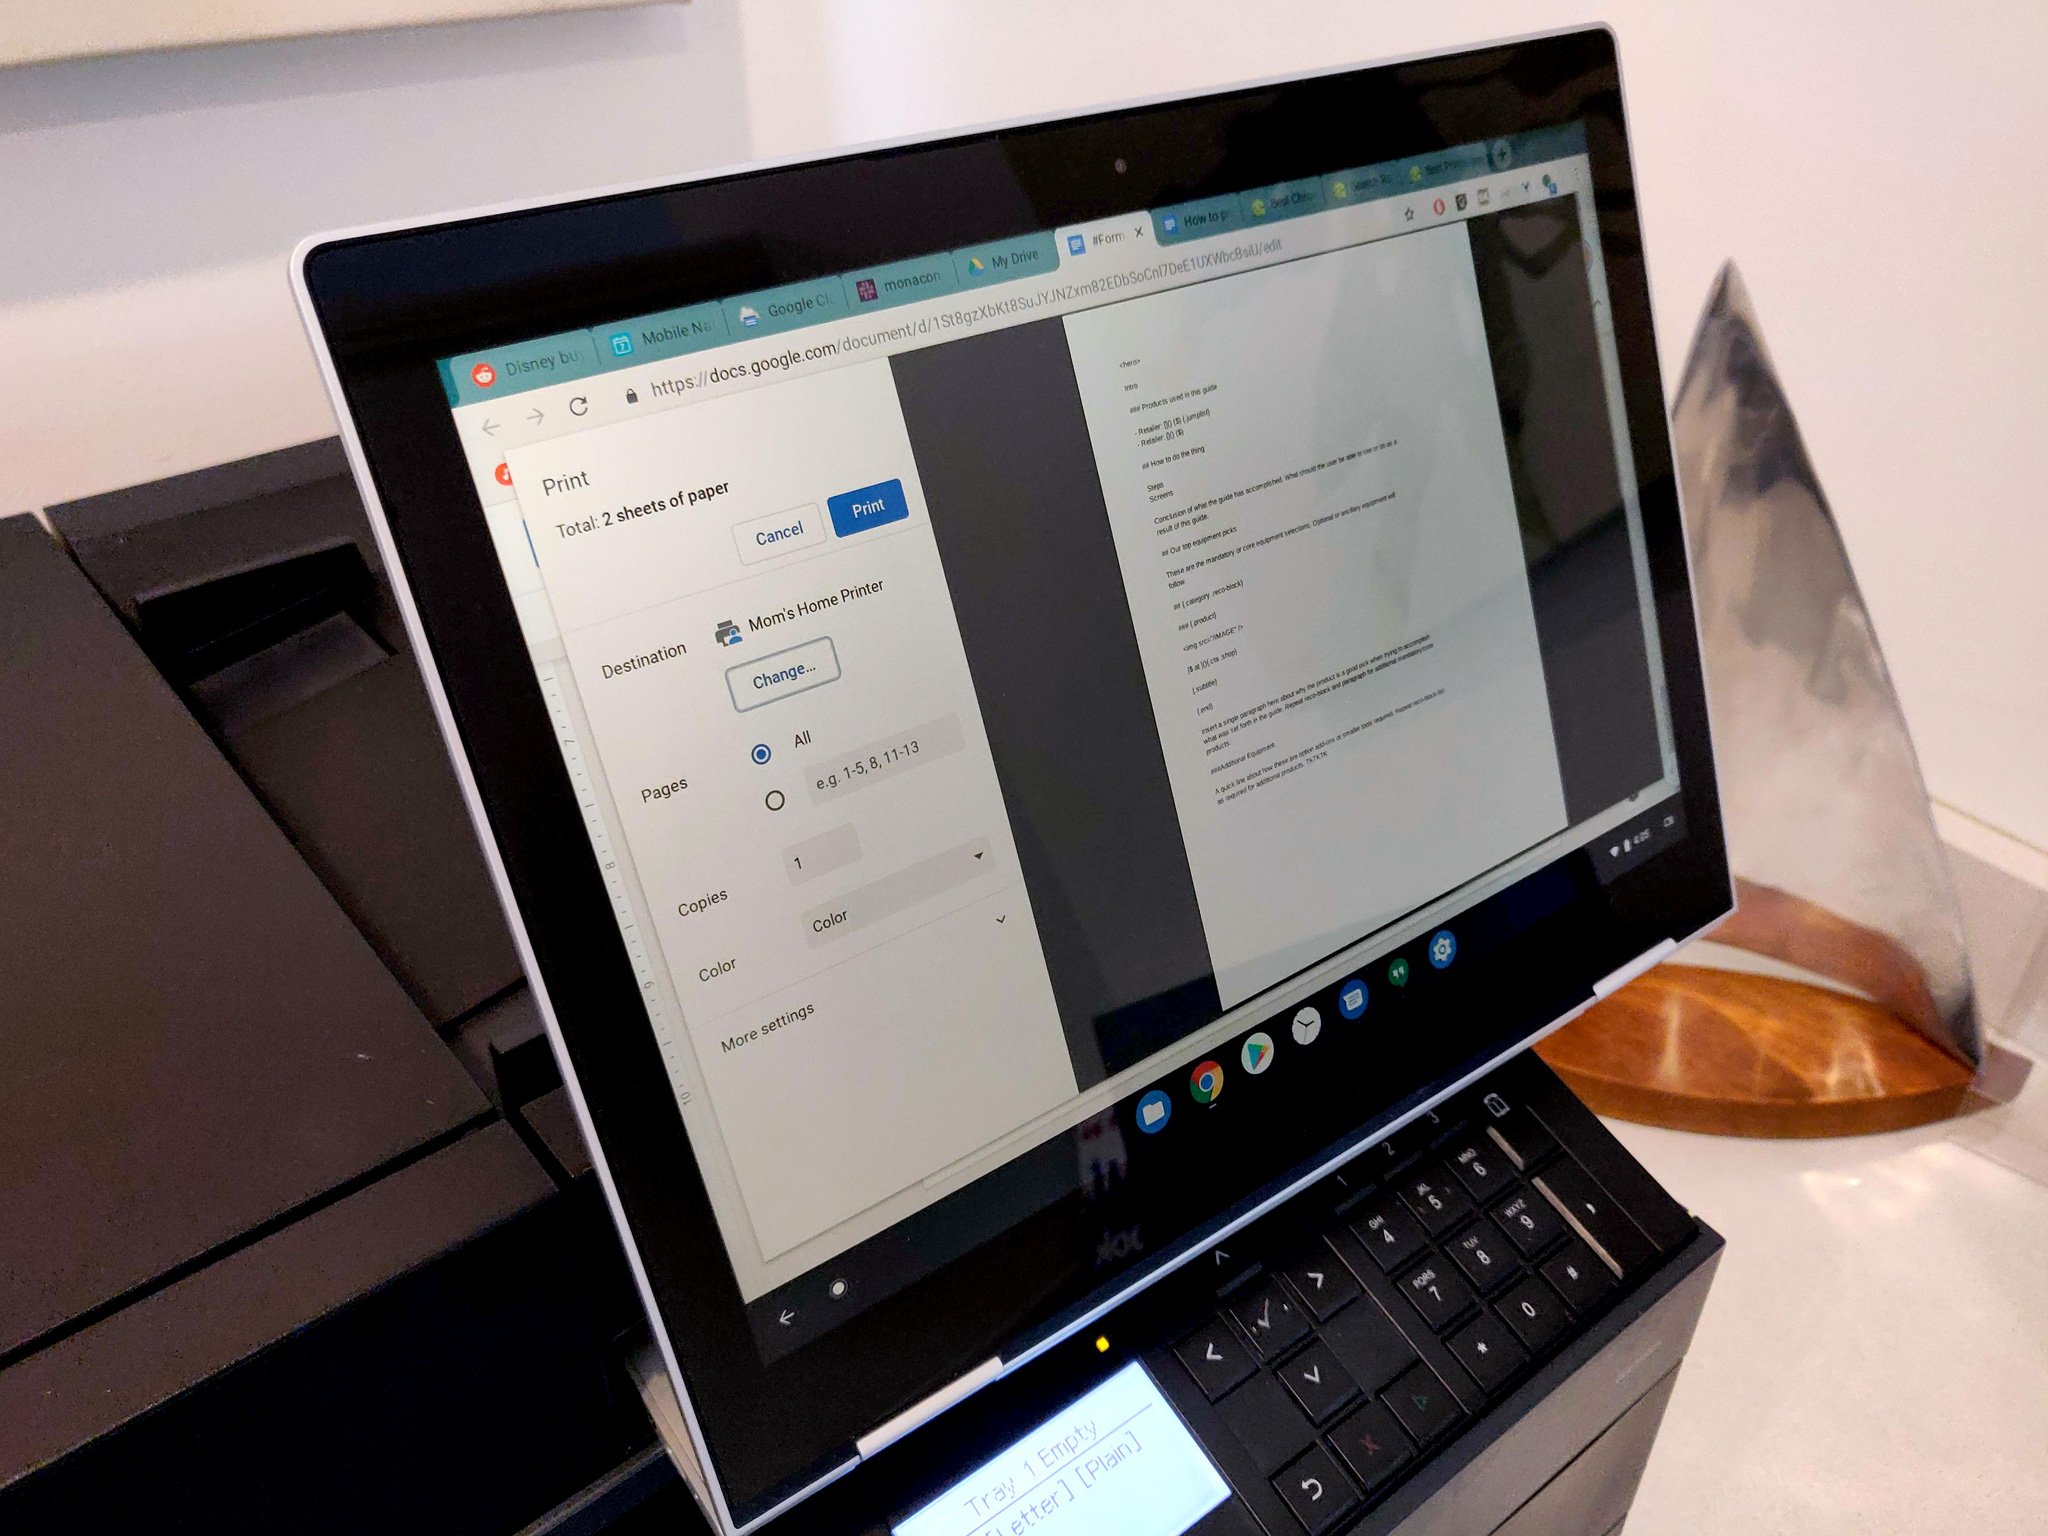
Using Google Drive as a Scanning Solution
Google Drive offers a built-in scanning feature that allows you to easily digitize documents using your Chromebook. This convenient solution eliminates the need for additional scanning apps or software. Here’s how you can use Google Drive as a scanning solution:
- Connect your scanner: Begin by connecting a compatible scanner or all-in-one printer to your Chromebook. Ensure that the scanner is properly installed and recognized by your Chromebook.
- Open Google Drive: Launch Google Drive on your Chromebook by clicking on the Drive icon in the apps launcher or visiting drive.google.com in your web browser.
- Create a new document: In the Google Drive interface, click on the “+ New” button to create a new document. From the dropdown menu, select “Scan” to open the scanning feature.
- Position the document: Place the document you want to scan on the scanner glass or in the document feeder (if available). Ensure that the document is aligned properly and fits within the scanner’s scanning area.
- Adjust scan settings: Use the options available in the scanning interface to adjust settings such as resolution, color mode, and file format. Depending on your requirements, select the appropriate settings for your scanned document.
- Initiate the scan: Click on the “Scan” button to start the scanning process. Google Drive will communicate with your connected scanner and capture the image of the document.
- Review and edit: Once the scan is complete, you will be presented with a preview of the scanned document. Take a moment to review and ensure the quality and accuracy of the scanned image. If necessary, you can use the editing tools within Google Drive to crop, rotate, or make other adjustments to the scanned document.
- Save the scanned document: After reviewing and editing, click on the “Save” button to save the scanned document. You can choose to store it directly in your Google Drive or select a specific folder for organization.
- Organize and share: Google Drive provides various features to help you organize your scanned documents. You can create folders, apply labels or tags, and add descriptions to easily find and manage your scanned files. Additionally, you can share the scanned document with others by inviting them to view or collaborate on the document.
By utilizing Google Drive as a scanning solution, you can conveniently scan and digitize your documents without the need for additional software or apps. Enjoy the seamless integration with your Chromebook and take advantage of the organizational and sharing features available within Google Drive to enhance your scanning workflow.
Scanning with the Google Drive App
If you prefer to use your phone or tablet as a scanning device, you can take advantage of the Google Drive app. The Google Drive app allows you to use your device’s camera to scan documents and save them directly to your Google Drive account. Here’s how you can scan with the Google Drive app:
- Download the Google Drive app: If you don’t have it already, download the Google Drive app from the Play Store (for Android devices) or the App Store (for iOS devices). Install and open the app on your device.
- Log in to your Google account: Log in to your Google account if you haven’t already. Use the same account that you use for your Chromebook and Google Drive.
- Tap the “+” button to create a new document: Once you’re logged in, tap the “+” button at the bottom of the screen to create a new document in Google Drive.
- Tap “Scan” from the menu: From the options presented, select the “Scan” feature. This will activate your device’s camera and prepare it for scanning.
- Position the document: Hold your device over the document you want to scan. Make sure the document is well-lit and aligned within the camera’s frame.
- Tap the shutter button to scan: When you have the document correctly positioned, tap the shutter button to capture the scan. You might have options to adjust the focus, flash, or other camera settings for better results.
- Review and adjust the scan: After capturing the scan, you will be shown a preview of the scanned document. Review it and make any necessary adjustments, such as cropping, rotating, or enhancing the image quality.
- Save the scan to Google Drive: Once you’re satisfied with the scan, tap the “Save” or “Upload” button to save it directly to your Google Drive account. You may be prompted to choose a folder or provide a name for the scanned document.
- Access and manage your scans: The scanned document will be available in your Google Drive, accessible from your Chromebook and other devices. You can organize your scans into folders, apply labels or tags, and share them with others as needed.
The convenience of scanning with the Google Drive app on your phone or tablet allows you to digitize documents easily while on the go. Whether it’s receipts, business cards, or important papers, you can ensure that all your scanned documents are securely stored and accessible from your Chromebook and other devices through Google Drive.
Scanning with Third-Party Apps
In addition to the official Google Drive app, there are several third-party scanning apps available on the Chrome Web Store that provide additional features and functionalities for scanning on your Chromebook. These apps offer advanced capabilities such as OCR (optical character recognition), document editing, and more. Here’s how you can scan with third-party apps:
- Explore third-party apps: Visit the Chrome Web Store and search for scanning apps. Some popular options include CamScanner, Adobe Scan, and Microsoft Office Lens. Read reviews and check ratings to help you choose the most suitable app for your scanning needs.
- Install the app: Click on the “Add to Chrome” button to install the selected app to your Chromebook. Follow the prompts and grant any necessary permissions for the app to function properly.
- Launch the app: Once the app is installed, you can find it in your Chromebook’s app launcher or as an extension in your browser’s toolbar. Click on the app icon to launch it.
- Set up the app: Depending on the app, you may need to sign in with your account or provide access to certain folders or services. Follow the app’s setup instructions to configure it according to your preferences.
- Position the document: Place the document you want to scan in a well-lit area. Ensure that the document is fully visible within the camera’s frame and that no important information is cut off.
- Initiate the scan: Use the app’s interface to start the scanning process. Depending on the app, you may have options to adjust settings such as resolution, color mode, and file format. Customize these settings as needed.
- Review and edit: After the scan is complete, you will typically see a preview of the scanned document. Take a moment to review the quality and accuracy of the scan. Many third-party scanning apps offer editing features like cropping, rotating, and enhancing the scanned document.
- Save and manage the scan: Once you’re satisfied with the scan, save it to a desired location or folder within the app. You can usually choose between saving it locally on your Chromebook or saving it to cloud storage services like Google Drive or Dropbox.
- Organize and share: Utilize the organization and sharing features within the app to keep your scanned documents organized and readily available. Create folders, apply tags or labels, and share the scanned documents with others as needed.
Third-party scanning apps offer additional features and flexibility for your scanning needs on Chromebook. Whether you require advanced editing capabilities or seamless integration with specific cloud storage services, these apps provide a tailored scanning experience to enhance your digital workflow.
Tips for a Successful Scanning Experience
To ensure a smooth and successful scanning experience on your Chromebook, consider the following tips and best practices:
- Use good lighting: Adequate lighting is crucial for high-quality scans. Place your documents in a well-lit area, preferably natural light, to avoid shadows or blurry images.
- Ensure document alignment: Properly align your documents within the scanner’s frame or under the camera lens to avoid any parts from being cut off or skewed in the scan.
- Check scanner compatibility: If you’re using a physical scanner or all-in-one printer, ensure that it is compatible with your Chromebook. Check the manufacturer’s website or documentation for compatibility information.
- Choose the right file format: Consider the type of document you are scanning and choose an appropriate file format. For general documents, PDF format is often recommended for its compatibility and preservation of formatting.
- Optimize scan settings: Explore the available scan settings and adjust them to suit your needs. Options may include resolution, color mode, brightness, and contrast. Experiment with different settings to achieve the desired scan quality.
- Clean scanner surfaces: Regularly clean the scanner’s glass or camera lens to remove any dust or smudges that can affect the scan quality. Use a soft, lint-free cloth and non-abrasive cleaner.
- Organize your scanned documents: Create folders or labels within your scanning app or Google Drive to keep your scanned documents organized. This will make it easier to locate and manage them later.
- Consider using OCR: If you need to extract text from your scanned documents, look for apps that offer OCR (optical character recognition) functionality. This feature converts scanned text into editable and searchable text.
- Backup your scans: To prevent data loss, regularly back up your scanned documents to an external hard drive, cloud storage, or another secure location. This ensures that your scanned files are protected and accessible even if your Chromebook experiences issues.
- Stay organized: Develop a consistent naming convention or file naming system for your scanned documents. This will make it easier to search for specific files and maintain a structured digital filing system.
By following these tips, you can optimize your scanning process on your Chromebook and achieve high-quality digital scans of your documents. Implementing good scanning practices will save you time, minimize errors, and improve your overall scanning experience.
Troubleshooting Common Scanning Issues
While scanning on your Chromebook can be a convenient and efficient process, you may encounter occasional issues that hinder the scanning experience. Here are some common scanning issues and troubleshooting tips to help you overcome them:
- Poor scan quality: If your scans appear blurry or pixelated, ensure that the document is properly aligned and well-lit. Adjust the scanner’s resolution settings to increase the image clarity. Cleaning the scanner’s glass or camera lens can also improve scan quality.
- Scan alignment issues: If parts of the document are cut off or skewed during the scan, make sure the document is placed correctly within the scanner. Check for markers or guides on the scanner’s glass or alignment options within the scanning app to ensure proper alignment.
- Scanner not recognized: If your Chromebook is unable to detect your scanner or all-in-one printer, ensure that the device is properly connected via USB or connected to the same Wi-Fi network as your Chromebook. Consult the manufacturer’s documentation for specific instructions on connecting the scanner to your Chromebook.
- Compatibility issues: Not all scanners or scanning apps may be compatible with Chromebook. Make sure to check the manufacturer’s website or app specifications to ensure compatibility with Chrome OS. Consider using alternative scanning apps from reputable developers if compatibility issues persist.
- App freezes or crashes: If the scanning app freezes or crashes during the scanning process, try closing the app and reopening it. Restarting your Chromebook may also resolve the issue. If the problem persists, consider reinstalling the app or using an alternative scanning app.
- Slow scanning speed: Slow scanning speed can be caused by various factors such as high-resolution settings or network connectivity issues. Lowering the resolution or connecting to a faster and stable Wi-Fi network can help improve scan speed.
- Scan not saving: If your scanned document is not being saved properly, ensure that you have selected a destination folder or location for saving the scan. Check for any error messages or notifications that may indicate the issue. If the problem persists, try restarting the scanning app or your Chromebook.
- Scan not recognized by other apps: If you are unable to open or view the scanned document with other apps or software, check the file format compatibility. Consider saving the scan in a more universally supported file format, such as PDF, to ensure compatibility with a wide range of devices and applications.
If you continue to experience scanning issues despite troubleshooting, consider reaching out to the scanner manufacturer’s support team or seeking assistance from Google support for Chromebook-related scanning problems. Remember to provide detailed information about the issue and any error messages received for a more accurate diagnosis and resolution.
Important Considerations for Scanning on ChromebookWhile scanning on your Chromebook can be a convenient and efficient process, there are several important considerations to keep in mind to ensure a smooth scanning experience. Here are some key points to consider when scanning on your Chromebook:
- Hardware compatibility: Ensure that your scanner or all-in-one printer is compatible with Chromebook. Check the manufacturer’s website or documentation for compatibility information.
- Software compatibility: Verify that the scanning app or software you intend to use is compatible with Chromebook. Look for apps in the Chrome Web Store or consult the app developer’s website for compatibility details.
- Connectivity options: Determine the best connectivity option for your scanning needs. Chromebook supports both wireless and USB connection options for scanners and all-in-one printers. Choose the option that suits your device and scanning requirements.
- File formats: Consider the file formats supported by your scanning app and the desired compatibility with other devices and software. PDF is a commonly used format for scanned documents due to its ability to preserve formatting and compatibility across platforms.
- Cloud integration: Leverage the integration of Google Drive with your Chromebook to store and access your scanned documents easily. This allows you to access your files from any device with an internet connection.
- Organizational structure: Develop an organizational system for your scanned documents to maintain a structured digital filing system. Create folders and use labels or tags to categorize and easily locate your scanned files.
- Security considerations: Ensure the security of your scanned documents by taking appropriate measures. Regularly back up your files to prevent data loss, enable security features in your scanning app, and consider setting up two-factor authentication for your Google account.
- Scanning resolution: Adjust the scanning resolution based on the desired quality and file size of the scanned document. Higher resolutions provide better image quality but may result in larger file sizes.
- OCR requirements: Determine whether you need OCR (optical character recognition) capabilities for your scanned documents. OCR allows you to extract text from scanned images, making it searchable and editable.
- Stay up to date: Regularly update your Chromebook, scanning app, and operating system to ensure optimal performance, compatibility, and access to the latest features and bug fixes.
By considering these important factors, you can maximize the benefits of scanning on your Chromebook and ensure a seamless and efficient scanning experience. Stay informed, adapt to your specific needs, and take advantage of the available features and options to optimize your document digitization workflow.