
Overview of NTLDR and Ntdetect.com
NTLDR (NT Loader) and Ntdetect.com are crucial system files in the Windows operating system that play a key role in the boot process. NTLDR is responsible for loading the operating system from the hard drive into the computer’s memory, while Ntdetect.com detects and configures the computer’s hardware devices. These files are vital for the proper functioning of the Windows operating system.
When your computer starts up, the BIOS (Basic Input/Output System) performs a Power-On Self-Test (POST) and then searches for the NTLDR file. Once found, NTLDR reads the Boot.ini file to determine the locations of the Windows operating systems installed on the computer. It then loads the selected operating system into memory and transfers control to it.
However, there may be instances where you encounter errors related to NTLDR and Ntdetect.com, preventing your computer from booting successfully. These errors can occur due to various reasons, such as corrupted or missing system files, incorrect boot configuration settings, or hardware issues.
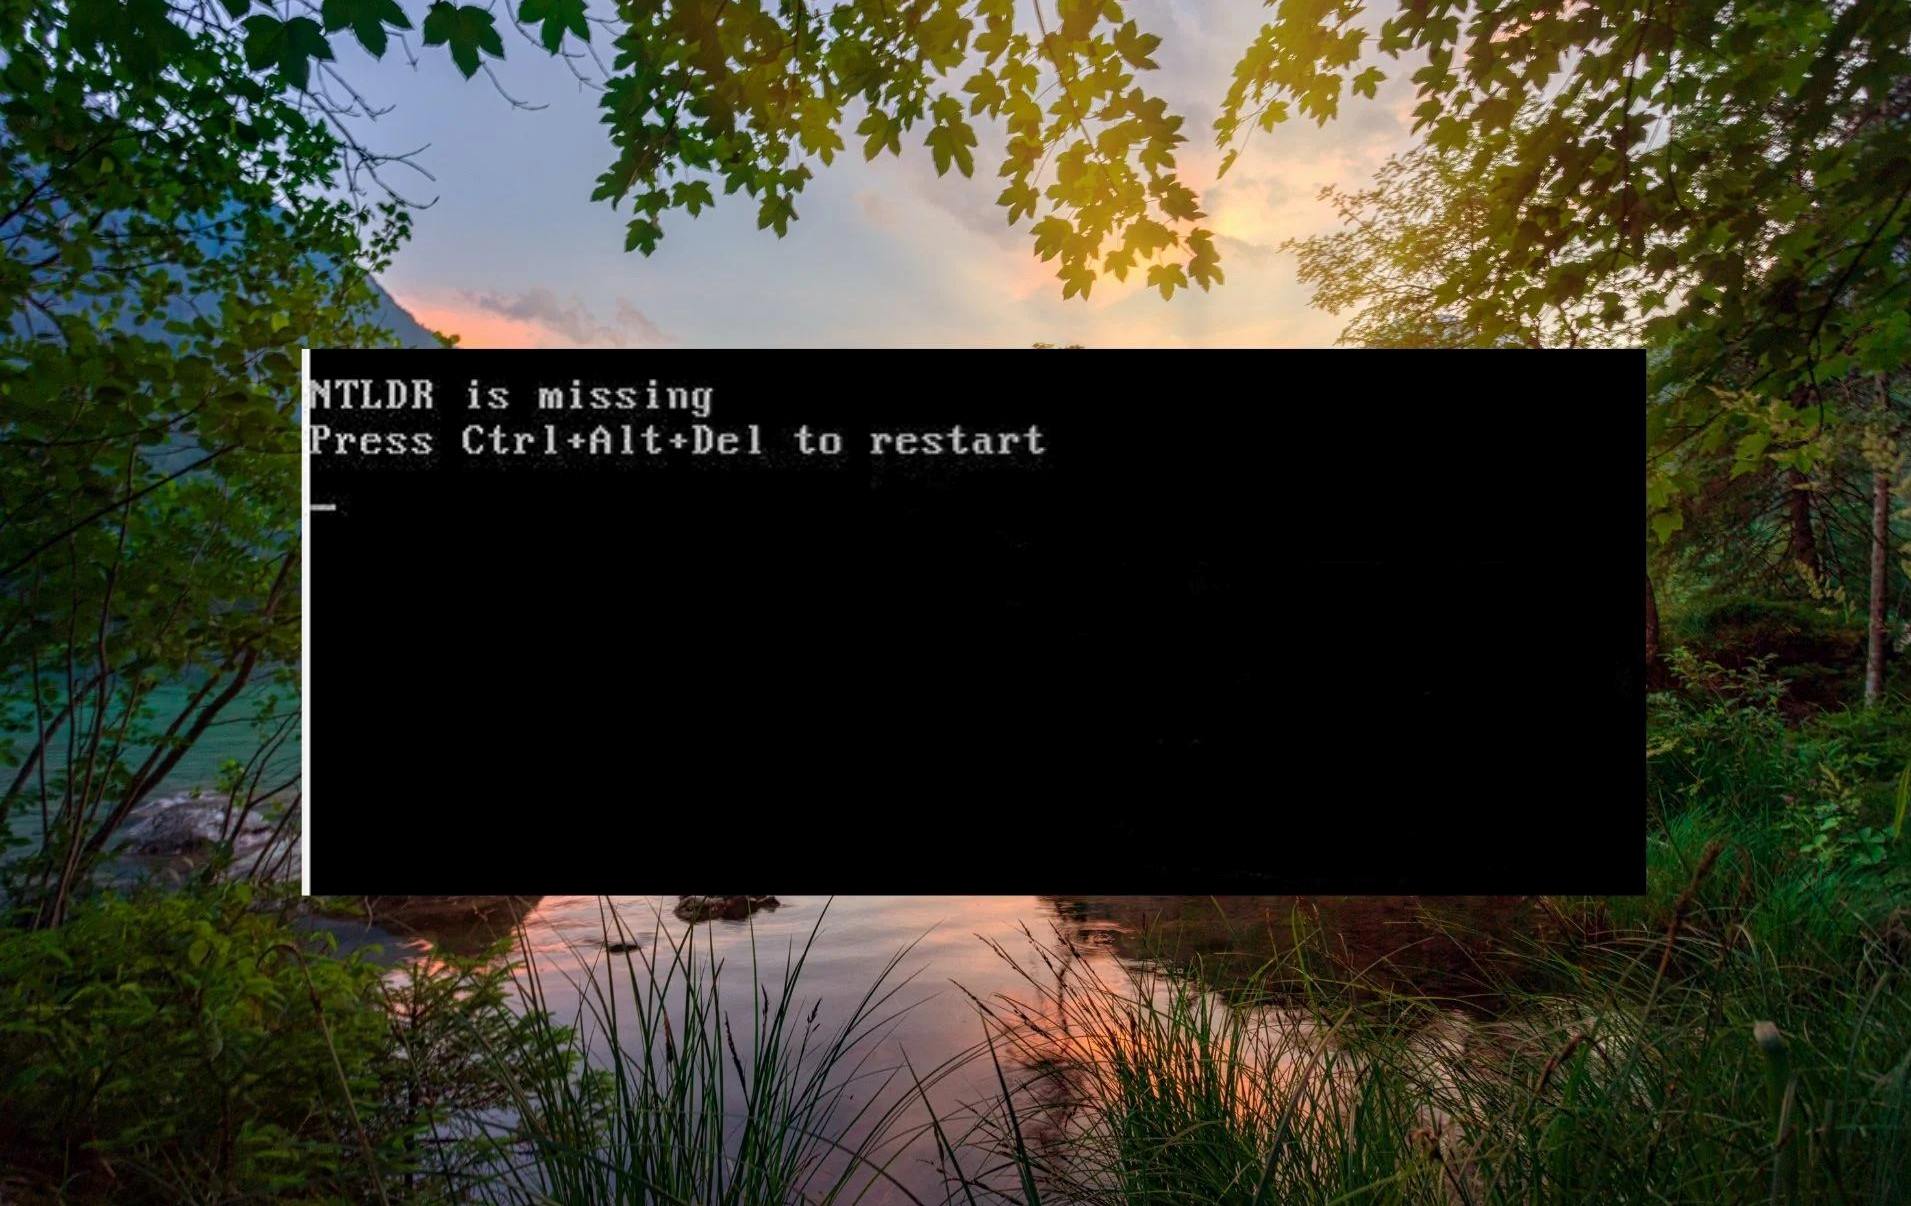
When NTLDR or Ntdetect.com is missing or damaged, you might see error messages such as:
- “NTLDR is missing”
- “NTLDR is compressed”
- “Invalid system disk”
- “Invalid boot.ini file”
These errors can be frustrating, but the good news is that they can often be resolved with a few troubleshooting steps. In the following sections, we’ll explore some methods to recover NTLDR and Ntdetect.com and get your computer up and running again.
Causes of NTLDR and Ntdetect.com Errors
NTLDR and Ntdetect.com errors can occur due to various reasons, and understanding the root causes is crucial for resolving them effectively. Here are some common causes of NTLDR and Ntdetect.com errors:
- Corrupted or missing system files: If the NTLDR or Ntdetect.com file is corrupt or missing, your computer won’t be able to boot properly. This can happen due to malware infections, accidental file deletions, or disk errors.
- Incorrect boot configuration settings: The Boot.ini file stores important information about the Windows operating systems installed on your computer. If this file is misconfigured or contains errors, your computer may be unable to locate the NTLDR and Ntdetect.com files during the boot process.
- Issues with the hard drive: Problems with the hard drive, such as bad sectors or a failing disk, can also lead to NTLDR and Ntdetect.com errors. If the system files are located on damaged sectors, they may become inaccessible, causing boot failures.
- Hardware conflicts: In some cases, conflicts between hardware devices can trigger NTLDR and Ntdetect.com errors. This can occur when there are compatibility issues between certain components or when a hardware device is not properly connected or configured.
- Boot sector viruses: Viruses or malware that infect the boot sector of your hard drive can corrupt the NTLDR and Ntdetect.com files. These malicious programs can modify or delete critical system files, rendering your computer unable to boot.
It’s important to pinpoint the specific cause of the NTLDR and Ntdetect.com errors before attempting any troubleshooting steps. By identifying the underlying issue, you can implement the appropriate solution and resolve the boot problems more effectively. In the following sections, we’ll explore different methods to restore NTLDR and Ntdetect.com and get your computer working again.
Backing Up Important Data
Before attempting any troubleshooting steps to restore NTLDR and Ntdetect.com, it’s crucial to back up your important data to prevent any potential data loss. While the following methods focus on fixing the system files, there is always a possibility of data loss during the recovery process. Taking a few minutes to back up your files ensures that your personal and important data remains safe.
Here are some steps you can follow to back up your data:
- Identify important files: Determine which files and folders on your computer contain important data that you want to protect. This might include documents, photos, videos, music, and other personal files.
- Choose a backup method: There are several backup methods you can use, such as external hard drives, cloud storage services, or network attached storage (NAS). Choose the method that suits your needs and preferences.
- Create a backup schedule: It’s a good practice to establish a recurring backup schedule to ensure your data is consistently backed up. This can be daily, weekly, or monthly, depending on the frequency of changes to your files.
- Perform the backup: Use the chosen backup method to copy your important files to the designated storage location. Follow the instructions provided by the backup tool or service for the best results.
- Verify the backup: After the backup process is complete, verify that the files have been successfully backed up and confirm their integrity. This step ensures that your backups are reliable and can be restored if needed.
By taking these steps to back up your important data, you can have peace of mind knowing that your files are protected. In the following sections, we’ll explore different methods to restore NTLDR and Ntdetect.com, helping you resolve boot issues and get your computer back up and running again.
Using Windows Installation Disc for Recovery
If you have a Windows installation disc or a recovery disc, you can use it to restore NTLDR and Ntdetect.com files and fix boot issues. Follow these steps to use the installation disc for recovery:
- Insert the Windows installation disc: Insert the Windows installation disc into your computer’s CD/DVD drive and restart the computer.
- Boot from the installation disc: During the restart, quickly press the appropriate key (such as F12, ESC, or Del) to access the boot menu. Select the CD/DVD drive as the primary boot device to boot from the Windows installation disc.
- Select your language preferences: On the initial Windows Setup screen, choose your preferred language, time, and keyboard settings, and click “Next.”
- Click “Repair your computer”: On the next screen, click on the “Repair your computer” option located at the bottom left corner.
- Select the operating system: In the System Recovery Options dialog box, select the operating system you want to repair. If you have multiple installations, choose the one you want to fix and click “Next.”
- Choose “Startup Repair”: On the next screen, select the “Startup Repair” option. The system will attempt to repair any issues preventing the computer from booting.
- Follow the instructions: Follow the on-screen instructions provided by the Startup Repair tool. It will diagnose and automatically fix any problems related to NTLDR and Ntdetect.com files.
- Restart your computer: Once the repair process is complete, restart your computer and see if the NTLDR and Ntdetect.com errors have been resolved.
The Windows installation disc provides a built-in recovery tool that can help fix NTLDR and Ntdetect.com errors. If the Startup Repair tool is unable to resolve the issue, you can explore other methods to restore the system files and get your computer to boot successfully.
Fixing NTLDR Errors Using the Recovery Console
If you are unable to resolve NTLDR errors using the Windows installation disc or Startup Repair, you can try using the Recovery Console to fix the issue. The Recovery Console is a command-line tool that allows you to access and repair the Windows operating system.
Follow these steps to fix NTLDR errors using the Recovery Console:
- Insert the Windows installation disc: Insert the Windows installation disc into your computer’s CD/DVD drive and restart the computer.
- Boot from the installation disc: During the restart, press the appropriate key (such as F12, ESC, or Del) to access the boot menu. Select the CD/DVD drive as the primary boot device to boot from the Windows installation disc.
- Select your language preferences: On the initial Windows Setup screen, choose your preferred language, time, and keyboard settings, and click “Next.”
- Click “Repair your computer”: On the next screen, click on the “Repair your computer” option located at the bottom left corner.
- Select the operating system: In the System Recovery Options dialog box, select the operating system you want to repair. If you have multiple installations, choose the one you want to fix and click “Next.”
- Choose “Command Prompt”: On the next screen, select the “Command Prompt” option. This will launch the Recovery Console, where you can run various commands to repair your system.
- Enter the necessary commands: In the Command Prompt window, type the following commands one by one and press Enter after each command:
expand cd-drive-letter:\i386\ntldr_ ntldrexpand cd-drive-letter:\i386\ntdetect.com_ ntdetect.com
Make sure to replace “cd-drive-letter” with the actual drive letter of your CD/DVD drive.
- Restart your computer: After executing the commands, close the Command Prompt window and restart your computer. Check if the NTLDR errors have been resolved.
The Recovery Console provides a solution for fixing NTLDR errors by replacing the corrupted or missing NTLDR and Ntdetect.com files with the ones from the Windows installation disc. If this method does not fix the problem, there are additional troubleshooting steps you can try to restore the system files and resolve the boot issues.
Replacing NTLDR and Ntdetect.com Manually
If the previous methods have not resolved the NTLDR errors, you can attempt to replace the NTLDR and Ntdetect.com files manually. This involves using another computer with a working Windows installation and a USB drive to copy the necessary files.
Here’s how you can replace the NTLDR and Ntdetect.com files manually:
- Find a working computer: Locate a computer with a functioning Windows operating system and a USB drive.
- Boot into the working computer: Start the computer and log in using an administrator account.
- Copy the system files: Insert the USB drive into the working computer and navigate to the Windows system partition (usually C:). Locate the NTLDR and Ntdetect.com files in the system32 folder (C:\Windows\system32). Copy these files to the USB drive.
- Remove the USB drive: Safely eject the USB drive from the working computer.
- Insert the USB drive into the affected computer: Insert the USB drive containing the copied NTLDR and Ntdetect.com files into the affected computer.
- Boot from the USB drive: Restart the affected computer and access the BIOS settings by pressing the appropriate key (such as F12, ESC, or Del). Set the USB drive as the primary boot device.
- Replace the system files: Once the computer boots from the USB drive, navigate to the Windows system32 folder on the affected computer (usually C:\Windows\system32). Replace the existing NTLDR and Ntdetect.com files with the copies from the USB drive.
- Remove the USB drive and restart: Safely remove the USB drive from the affected computer and then restart the computer. Check if the NTLDR errors have been resolved.
Manually replacing the NTLDR and Ntdetect.com files can help fix boot issues caused by corrupted or missing files. If you are still experiencing NTLDR errors after trying this method, there are additional troubleshooting steps you can take to restore the system files and resolve the boot issues.
Restoring NTLDR and Ntdetect.com from Command Prompt
If you are unable to fix NTLDR errors using the previous methods, you can try restoring the NTLDR and Ntdetect.com files directly from the Command Prompt. This method requires a Windows installation disc and access to the Command Prompt.
Follow these steps to restore NTLDR and Ntdetect.com from the Command Prompt:
- Insert the Windows installation disc: Insert the Windows installation disc into your computer’s CD/DVD drive and restart the computer.
- Boot from the installation disc: During the restart, press the appropriate key (such as F12, ESC, or Del) to access the boot menu. Select the CD/DVD drive as the primary boot device to boot from the Windows installation disc.
- Select your language preferences: On the initial Windows Setup screen, choose your preferred language, time, and keyboard settings, and click “Next.”
- Click “Repair your computer”: On the next screen, click on the “Repair your computer” option located at the bottom left corner.
- Select the operating system: In the System Recovery Options dialog box, select the operating system you want to repair. If you have multiple installations, choose the one you want to fix and click “Next.”
- Choose “Command Prompt”: On the next screen, select the “Command Prompt” option. This will launch the Command Prompt, allowing you to execute commands.
- Enter the necessary commands: In the Command Prompt window, type the following commands one by one and press Enter after each command:
copy x:\i386\ntldr c:\copy x:\i386\ntdetect.com c:\
Make sure to replace “x” with the drive letter of your CD/DVD drive.
- Restart your computer: After executing the commands, close the Command Prompt window and restart your computer. Check if the NTLDR errors have been resolved.
Restoring the NTLDR and Ntdetect.com files from the Command Prompt can help fix boot issues caused by corrupted or missing files. If you are still experiencing NTLDR errors after trying this method, continue troubleshooting or seek further assistance to resolve the boot issues.
Checking Boot.ini File for Errors
The Boot.ini file is a critical component in the boot process of Windows operating systems. It contains important configuration information, including the location of the operating system files and the boot options. Errors or discrepancies in the Boot.ini file can result in NTLDR and Ntdetect.com errors. By checking the Boot.ini file for errors, you can identify and address any issues that may be causing boot problems.
Follow these steps to check the Boot.ini file for errors:
- Boot into the operating system: Start your computer and let it boot into the operating system that is experiencing the NTLDR errors.
- Open File Explorer: Open File Explorer or My Computer and navigate to the system partition (usually C:).
- Show hidden files: In File Explorer, go to the “View” tab and check the “Hidden items” box to show hidden files and folders.
- Locate the Boot.ini file: Navigate to the root of the system partition and look for a file named “Boot.ini.” Right-click on the file and select “Open with” and then choose a text editor, such as Notepad.
- Review the Boot.ini file: In the Boot.ini file, you will see information about the operating systems installed on your computer. Verify that the file contains correct paths to the operating system files and that the entries are properly formatted.
- Make necessary changes: If you notice any errors or discrepancies in the Boot.ini file, make the necessary changes. Ensure that the paths to the operating system files are accurate and that the default operating system is properly specified.
- Save the changes: After making the necessary changes, save the Boot.ini file and close the text editor.
- Restart your computer: Restart your computer and check if the NTLDR errors have been resolved.
Checking the Boot.ini file for errors can help identify and fix boot problems associated with NTLDR and Ntdetect.com errors. If the issue persists even after verifying and correcting the Boot.ini file, there are other troubleshooting steps that you can try to restore the system files and resolve the boot issues.
Troubleshooting NTLDR and Ntdetect.com Errors
NTLDR and Ntdetect.com errors can be frustrating and prevent your computer from booting properly. However, there are several troubleshooting steps you can take to resolve these errors and get your computer back up and running. Here are some additional methods you can try:
- Check hardware connections: Ensure that all hardware components, such as the hard drive and cables, are securely connected. Loose connections can cause boot issues.
- Run a disk check: Use the built-in Windows utility, chkdsk, to scan and fix errors on your hard drive. Open Command Prompt, type “chkdsk C: /f” (replace “C” with the appropriate drive letter), and press Enter.
- Scan for malware: Run a thorough scan of your computer using reliable antivirus software. Viruses or malware can corrupt critical system files, including NTLDR and Ntdetect.com.
- Perform a system restore: If you have previously created a system restore point, you can use it to revert your computer’s settings to a previous known working state. Open System Restore from the System Recovery Options and follow the on-screen instructions.
- Reinstall the operating system: As a last resort, reinstalling the operating system can help resolve persistent NTLDR and Ntdetect.com errors. Backup your data and follow the installation prompts to perform a clean installation.
It’s important to note that certain methods, such as reinstalling the operating system, can result in data loss. It’s always recommended to back up your important files before performing any major troubleshooting steps.
If you have tried all the troubleshooting steps and are still unable to resolve the NTLDR and Ntdetect.com errors, it may be necessary to seek professional assistance. Technical support or a computer repair service can help diagnose and fix the underlying issues causing the boot problems.
By following these troubleshooting methods and seeking assistance when needed, you can effectively address NTLDR and Ntdetect.com errors and restore the proper boot functionality of your computer.