
Determine the type of Nest thermostat you have
Before you begin the process of resetting your Nest thermostat, it’s important to determine the type of Nest thermostat you have. Nest thermostats come in different generations, each with its own specific reset procedure. To identify the model of your Nest thermostat, follow these steps:
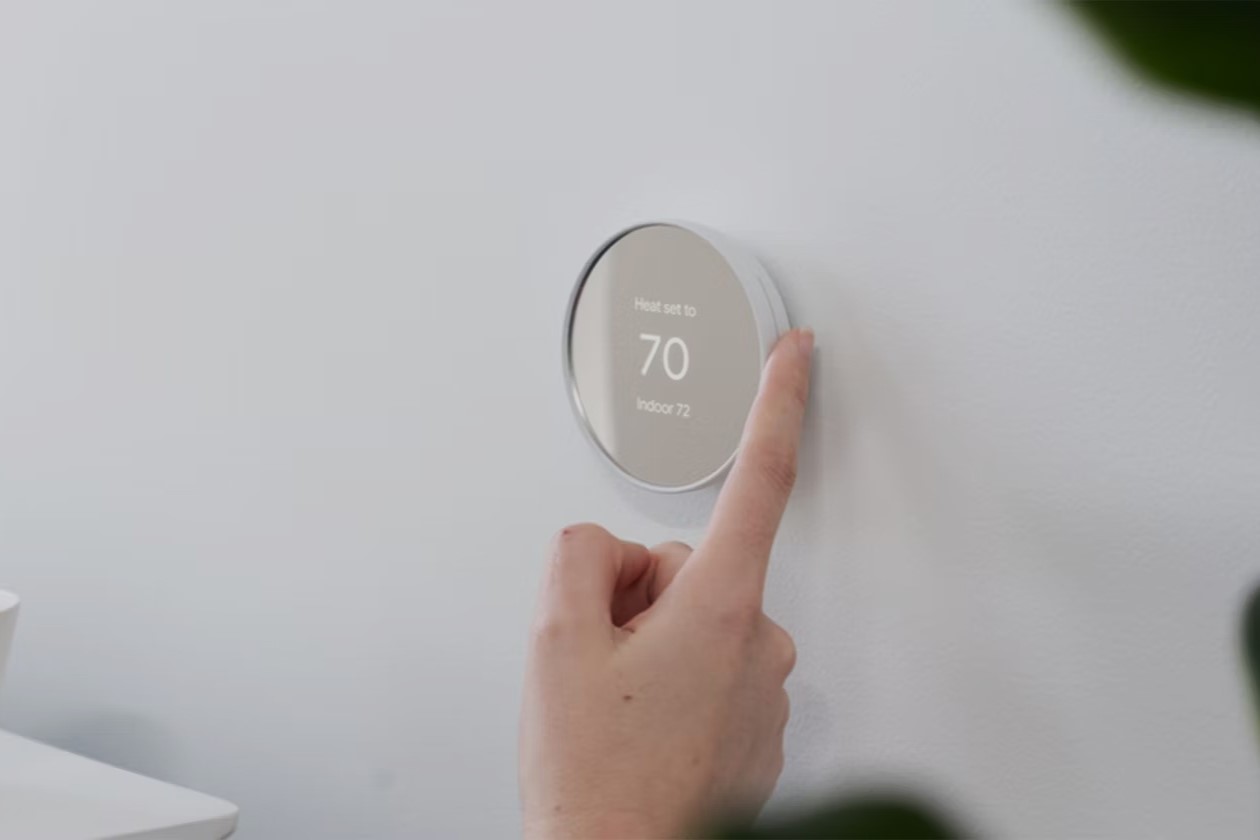
- Locate the display screen on your Nest thermostat.
- Tap on the thermostat’s display to wake it up.
- On the main screen, you will find the Nest logo in the top-right corner.
- Press and hold the Nest logo for a few seconds.
- The model number of your Nest thermostat will be displayed on the screen.
Once you have identified the model of your Nest thermostat, you can proceed with the appropriate reset method based on the generation. The common Nest thermostat models include Nest Learning Thermostat, Nest Thermostat E, and earlier versions of the Nest thermostat.
By correctly identifying your Nest thermostat model, you can ensure that you follow the correct reset steps and avoid any potential issues during the reset process.
Identify the steps for a soft reset of your Nest thermostat
If you’re experiencing minor issues with your Nest thermostat, a soft reset can often resolve the problem. Here’s how you can perform a soft reset on your Nest thermostat:
- Make sure your Nest thermostat is powered on and functioning.
- Locate the thermostat display and press on it to wake it up.
- On the main screen, go to the Settings menu by tapping on the gear icon.
- Scroll down and select “Reset.”
- Choose the option for a “Soft reset.”
- Confirm your selection by tapping “Yes.”
- Wait for a few minutes while your Nest thermostat restarts.
During the soft reset process, your Nest thermostat will shut down and automatically power back on. This can help resolve minor issues such as unresponsive buttons or display errors.
It’s important to note that a soft reset will not erase any saved settings or personal data on your Nest thermostat. It simply refreshes the device and can potentially resolve any software-related issues.
If after performing a soft reset, the issue persists, you may need to consider performing a hard reset, which we will discuss in the next section.
Learn how to perform a hard reset on your Nest thermostat
If you’re facing more significant issues with your Nest thermostat, a hard reset may be necessary. A hard reset will return your thermostat to its factory settings, erasing all personal data and settings in the process. Here’s how you can perform a hard reset on your Nest thermostat:
- Ensure that your Nest thermostat is turned on and functioning.
- On the thermostat’s display, press and hold the device’s ring for approximately 10 seconds.
- After 10 seconds, the screen will go blank, and the thermostat will power off.
- Release the ring and wait for a few seconds.
- Your thermostat will restart and display the Nest logo as it powers back on.
- Once the device turns back on, you will need to go through the initial setup process again.
It’s important to note that performing a hard reset on your Nest thermostat will erase all your saved settings and personal data, including Wi-Fi network information, schedule preferences, and other customized configurations.
After performing a hard reset, you will need to follow the on-screen instructions to set up your Nest thermostat as if you were a new owner. This includes connecting it to your Wi-Fi network, configuring your preferences, and activating any additional features you may need.
Keep in mind that a hard reset should only be performed as a troubleshooting step when all other options have failed. If you’re unsure whether a hard reset is necessary or if you need assistance, it’s always recommended to consult the Nest support documentation or get in touch with their customer support team.
Understand the necessary precautions before resetting your Nest thermostat
Before proceeding with a reset of your Nest thermostat, it’s important to take certain precautions to ensure a smooth and successful reset process:
1. Backup your settings: If you have any customized settings or schedules on your Nest thermostat that you would like to preserve, make sure to take note of them or document them somewhere before proceeding with the reset. This will allow you to easily restore your preferred settings after the reset.
2. Disconnect from your Nest account: If you plan on selling or transferring ownership of your Nest thermostat, it’s essential to disconnect it from your Nest account. This will prevent the new owner from accessing your personal data and settings. You can find instructions on how to remove your Nest thermostat from your Nest account in the following section of this article.
3. Ensure a stable power supply: It’s crucial to ensure that your Nest thermostat has a stable power supply during the reset process. Sudden power outages or interruptions can disrupt the reset and potentially cause complications. If your thermostat is battery-powered, make sure that the batteries are fully charged or replace them before proceeding.
4. Follow the correct reset procedure: Different models and generations of Nest thermostats may have specific reset procedures. It’s important to identify the model of your thermostat and follow the appropriate reset instructions accordingly. This will ensure that you reset your thermostat correctly and avoid any unnecessary issues.
By keeping these precautions in mind, you can minimize any potential risks or complications during the reset process and ensure a successful reset of your Nest thermostat.
Discover how to reset your Nest thermostat’s settings to default
If you want to reset your Nest thermostat’s settings to the default configuration without erasing your personal data, there is a simple method you can follow:
- Ensure that your Nest thermostat is connected to a stable power supply and turned on.
- Navigate to the thermostat’s display and press on it to wake it up.
- On the main screen, locate the Settings menu by tapping on the gear icon.
- Scroll down and select “Reset.”
- Choose the option for “Reset all settings.”
- Confirm your selection by tapping “Yes.”
- Wait for a few minutes while your Nest thermostat resets and returns to its default settings.
By following these steps, you’ll reset your Nest thermostat’s settings to the default configuration, including parameters for temperature preferences, schedules, and other customized settings. However, any personal data or Wi-Fi network information you have entered will not be erased.
Keep in mind that this method is different from a hard reset, which completely erases all data and settings on your Nest thermostat. If you want to restore your thermostat to its factory settings and remove all personal data, refer to the earlier section on performing a hard reset.
Resetting your Nest thermostat’s settings to default can be a helpful troubleshooting step if you’re experiencing issues or want to start fresh with the default configurations. It allows you to have a clean slate while still retaining your personal data and Wi-Fi network settings.
Find out how to erase your personal data from the Nest thermostat
If you’re selling or transferring ownership of your Nest thermostat, it’s important to ensure that your personal data is completely erased from the device. Here’s how you can erase your personal data from your Nest thermostat:
- Make sure your Nest thermostat is powered on and connected to a stable power supply.
- Navigate to the thermostat’s display and press on it to wake it up.
- On the main screen, tap on the gear icon to access the Settings menu.
- Scroll down and select “Reset.”
- Choose the option for “Clear personal data.”
- Confirm your selection by tapping “Yes.”
- Wait for a few minutes while your Nest thermostat erases your personal data.
By following these steps, you’ll erase all personal data stored on your Nest thermostat, including Wi-Fi network information, schedule preferences, and any other customized settings.
It’s important to note that once your personal data is erased, it cannot be recovered. Therefore, make sure to double-check and ensure that you have backed up any important information before proceeding with the data erase.
After the personal data has been cleared, your Nest thermostat will revert to its factory settings, ready for the new owner to set up and configure.
Taking the extra step to erase your personal data ensures that your information remains private and secure, providing peace of mind as you transition ownership of your Nest thermostat.
Learn how to remove your Nest thermostat from your Nest account
If you no longer want your Nest thermostat associated with your Nest account, you can easily remove it by following these steps:
- Launch the Nest app on your mobile device or visit the Nest website and sign in to your Nest account.
- Go to the “Settings” or “Account” section, depending on the platform you’re using.
- Select the option to manage or view your devices.
- Locate your Nest thermostat in the list of devices.
- Choose the option to remove or unlink your Nest thermostat.
- Follow the prompts to confirm the removal of your thermostat from your Nest account.
Once you’ve successfully removed your Nest thermostat from your Nest account, it will no longer be associated with your account and will not have access to any of your personal data.
It’s important to note that removing your Nest thermostat from your Nest account does not perform a factory reset or erase any personal data from the device. If you want to completely erase your personal data and reset the thermostat to its factory settings, you will need to follow the appropriate reset procedures mentioned earlier in this article.
By removing your Nest thermostat from your Nest account, you can ensure that it is no longer tied to your account and can be set up by another user without any issues. This step is particularly important if you’re selling or transferring ownership of the thermostat.
Remember to also update your account information and settings accordingly to reflect the changes after removing your Nest thermostat from your Nest account.
Understand the steps for setting up a Nest thermostat as a new owner
If you’ve acquired a Nest thermostat as a new owner, you’ll need to go through the setup process to configure it according to your preferences. Follow these steps to set up your Nest thermostat:
- Ensure the Nest thermostat is powered on and connected to a stable power supply.
- Download the Nest app on your mobile device from the App Store or Google Play Store.
- Launch the Nest app and create a new account or log in to your existing Nest account.
- Tap on the “+” button to add a new device to your account.
- Scan the QR code on the Nest thermostat’s screen using your phone’s camera or enter the specific code manually.
- Follow the on-screen instructions to connect your Nest thermostat to your Wi-Fi network.
- Select your preferred language, agree to the terms and conditions, and set your desired temperature units.
- Provide any additional information requested by the setup process, such as your location or HVAC system details.
- Once the setup is complete, you can customize your thermostat’s settings, create a schedule, and access advanced features through the Nest app or directly on the thermostat’s display.
During the setup process, it’s essential to ensure a stable and reliable Wi-Fi connection for your Nest thermostat to function properly. If you encounter any issues during setup, refer to the Nest support documentation or contact their customer support for assistance.
By following these steps, you’ll be able to set up your Nest thermostat as a new owner and begin enjoying all the features and benefits it offers in terms of energy efficiency and comfort control in your home.