
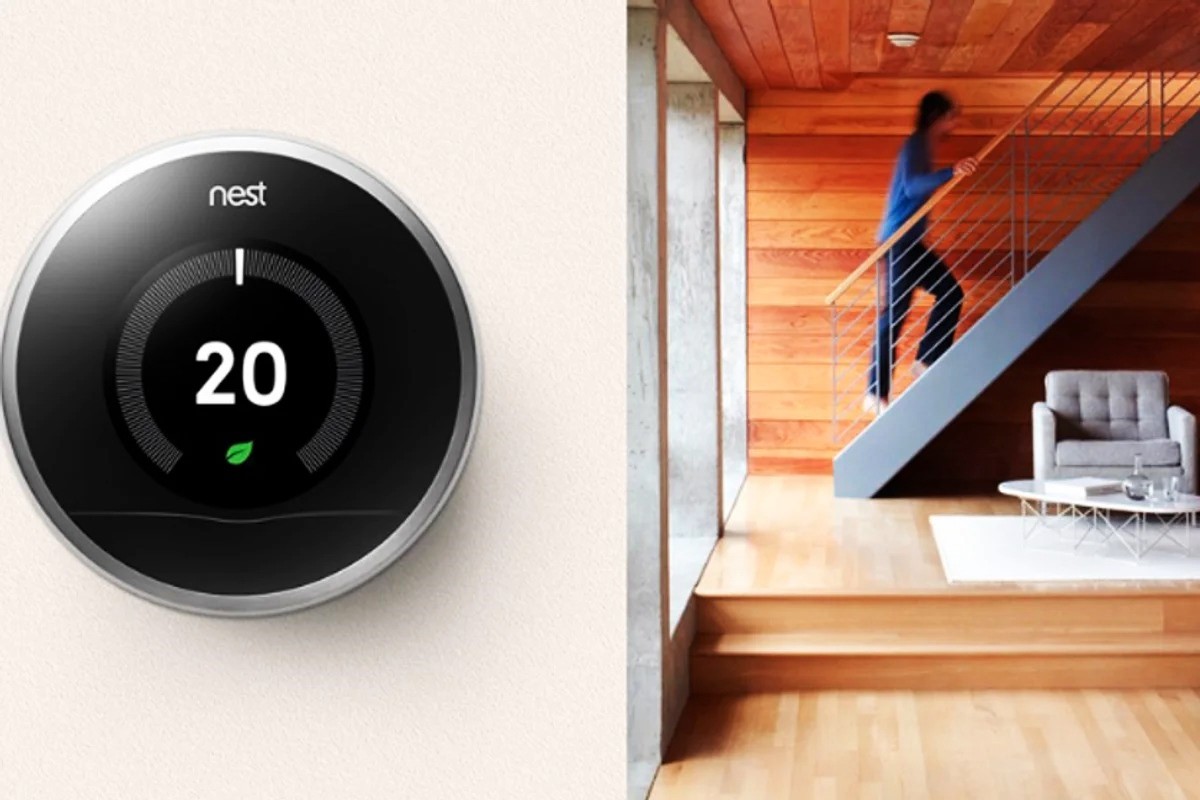
Checking Compatibility
Before transferring your Nest Thermostat to a new owner, it’s essential to ensure compatibility. This step is crucial to avoid any potential issues or difficulties during the transfer process.
First, check if the thermostat model you have is eligible for transfer. Most Nest Thermostats, including the 3rd and 4th generation models, can be transferred. However, some older models may not have this feature, so it’s important to verify if your specific model supports the transfer process.
Next, assess the compatibility of the new owner’s HVAC system with the Nest Thermostat. The Nest Thermostat is compatible with a wide range of heating, cooling, and heat pump systems. To confirm compatibility, you can use the Nest Compatibility Checker tool on the Nest website. Simply input the details of the new owner’s HVAC system, and the tool will provide a compatibility assessment.
If the Compatibility Checker confirms compatibility, you can proceed with the transfer. However, if there are compatibility issues, it’s best to consult with a professional HVAC technician or contact Nest customer support for guidance on alternative solutions.
Keep in mind that the new owner should also have a compatible smartphone or tablet to control the thermostat using the Nest app. Make sure to verify that their device meets the minimum requirements specified by Nest.
By performing these compatibility checks, you can ensure a smooth and successful transfer of your Nest Thermostat to its new owner, without encountering any compatibility-related setbacks.
Resetting the Thermostat
Before transferring your Nest Thermostat to a new owner, it’s important to reset it to its factory settings. This ensures that all your personal preferences and settings are erased, allowing the new owner to start fresh with their own configuration.
To reset the thermostat, follow these steps:
- On the thermostat’s main screen, go to the Settings menu by clicking on the gear icon.
- Scroll down and select “Reset” from the menu options.
- Choose “All Settings” to perform a complete reset. This will erase all data and restore the thermostat to its original state.
- Confirm the reset by selecting “Reset” again.
Once the reset is complete, the Nest Thermostat will display a message indicating that it is ready for setup. At this point, the thermostat is cleared of your personal information and settings.
Keep in mind that resetting the thermostat will also remove any connected devices, such as sensors or other Nest products, from its system. If you are including these accessories in the transfer, you will need to reconfigure them separately after the new owner completes the setup process.
By resetting the thermostat, you ensure that the new owner can start using the Nest Thermostat with a clean slate. It allows them to personalize the settings according to their needs and preferences without any interference from your previous configurations.
Unpairing from the Nest Account
Prior to transferring your Nest Thermostat to a new owner, it is necessary to unpair it from your Nest account. This step ensures that the new owner can connect the thermostat to their own Nest account and have full control over its settings.
To unpair the Nest Thermostat from your account, follow these steps:
- Open the Nest app on your smartphone or tablet and log in to your Nest account.
- Select the thermostat you wish to unpair from the list of connected devices.
- Tap on the settings icon or gear icon for the thermostat.
- Scroll down and select “Remove Thermostat.”
- Confirm the action by following the on-screen prompts.
Once you have completed these steps, the Nest Thermostat will no longer be connected to your Nest account. This ensures that the new owner can pair it with their own Nest account and have control over the thermostat’s settings and features.
It’s important to note that unpairing the thermostat from your Nest account does not remove any personal information or settings from the device. To protect your privacy and the new owner’s privacy, it is recommended to perform a factory reset of the thermostat as mentioned in the previous section.
By unpairing the Nest Thermostat from your Nest account, you enable the new owner to seamlessly connect the device to their own account and personalize it to their preferences. It also ensures that your personal data and settings are no longer accessible once the transfer is complete.
Removing from the Wall
In order to transfer your Nest Thermostat to a new owner, you will need to remove it from the wall. This process requires a few simple steps to ensure the thermostat is safely detached without causing any damage.
Here’s how to remove your Nest Thermostat from the wall:
- Start by turning off power to your HVAC system. Locate the circuit breaker associated with your heating and cooling system and switch it off.
- Once the power is turned off, carefully remove the thermostat’s display from its base. You can do this by firmly gripping the sides of the display and gently pulling it away from the base.
- Next, use a screwdriver or other appropriate tool to remove the screws holding the thermostat’s base to the wall. Make sure to keep the screws in a safe place for later reinstallation or provide them to the new owner if needed.
- With the screws removed, gently pull the base away from the wall. Be cautious not to stress or damage any wires that may be connected to the thermostat.
- If there are any wires connected to the base, carefully detach them by loosening the terminal screws or pressing down on any release tabs, depending on the type of wiring used.
By following these steps, you can safely remove your Nest Thermostat from the wall without causing any unnecessary damage to the device or your HVAC system’s wiring. It’s important to exercise caution during this process to avoid any accidents or mishaps.
Remember to take note of the wiring configuration before disconnecting them from the base. This will help the new owner with the installation of the thermostat once they receive it.
Once the thermostat is removed from the wall, it can be packed securely for shipment or handover to the new owner.
Preparing for Shipment
If you are shipping your Nest Thermostat to its new owner, it’s important to take the necessary precautions to ensure that it arrives safely and without any damage. Proper packaging and protection are essential to safeguard the thermostat during transit.
Here are some steps to follow when preparing your Nest Thermostat for shipment:
- Start by cleaning the thermostat’s display and base using a soft, lint-free cloth. Remove any dust or dirt that may have accumulated on the surface.
- If you still have the original packaging, use it to securely pack the thermostat. The packing materials provided by Nest are designed to protect the device during transportation.
- If you no longer have the original packaging, find a sturdy box that is slightly larger than the thermostat. Fill any empty space in the box with bubble wrap or packing paper to prevent the thermostat from shifting during transit.
- Place the Nest Thermostat and its accessories, such as the base plate and screws, in the box. Make sure they are wrapped or secured properly to prevent scratching or damage.
- Seal the box with packing tape, ensuring that all sides are securely closed. Label the package clearly with both the sender’s and receiver’s addresses.
- Consider insuring the package for its replacement value, especially if it is of significant worth. This will provide extra protection in case of loss or damage during transit.
By following these steps and taking the necessary measures to protect the Nest Thermostat during shipping, you can have peace of mind knowing that it will arrive safely to its new owner.
Always consult with the shipping carrier for their specific guidelines and requirements to ensure that the package meets their standards.
Including Accessories
When transferring your Nest Thermostat to a new owner, it’s important to include all the necessary accessories to ensure a smooth installation process. These accessories can vary depending on the specific model of the thermostat, but here are some common items you should consider including:
- Base Plate: The base plate is the component that attaches to the wall and holds the thermostat. Make sure to pack and include this accessory so that the new owner can securely install the thermostat.
- Screws: If you originally used screws to attach the base plate to the wall, include them in the package. This will save the new owner from having to provide their own screws.
- Wire Labels: If you have any wire labels that you used during the installation process, it can be helpful to include them. These labels can assist the new owner in correctly identifying and connecting the wires.
- Installation Guide: If you still have the original installation guide or any printed instructions, include them in the package. This documentation can provide valuable guidance to the new owner during the setup process.
- Sensor or Additional Accessories: If you have any additional accessories, such as a Nest Temperature Sensor, that were connected to the Nest Thermostat, be sure to include them in the package. These accessories need to be reconfigured by the new owner separately.
Providing these accessories ensures that the new owner has everything necessary for a successful installation and setup. It helps eliminate any potential delays or difficulties that may arise if these items are missing.
Before shipping, check that all accessories are clean and in good condition. This will enhance the overall experience for the new owner and demonstrate your care in providing a complete package.
Providing Instructions for the New Owner
As you transfer your Nest Thermostat to a new owner, it’s important to provide them with clear and concise instructions to ensure a seamless setup process. By providing detailed instructions, you can help the new owner get started quickly and easily with their new thermostat.
Here are some key points to include in the instructions for the new owner:
- Explain the purpose of the Nest Thermostat and its main features. Provide a brief overview of how it works and the benefits it offers in terms of energy efficiency and comfort.
- Share the necessary steps for setting up the Nest Thermostat. This includes downloading the Nest app, creating a Nest account, and connecting the thermostat to their Wi-Fi network.
- Guide them through the process of physically installing the thermostat. Explain how to attach the base plate to the wall, connect the wires, and secure the display onto the base.
- Provide instructions on how to navigate the thermostat’s interface and adjust the temperature settings. Explain how to access different settings, create a schedule, and make use of any advanced features available on the specific model.
- Encourage them to personalize the thermostat to their preferences. Explain how to customize settings such as temperature thresholds, system preferences, and other features offered by the Nest Thermostat.
- Provide contact information for Nest customer support or direct them to the Nest website for further assistance. This ensures that they have access to additional resources if they encounter any difficulties during the setup process.
When providing instructions, aim for clarity and simplicity. Use a step-by-step approach, and consider including visual aids or screenshots to assist the new owner in following the instructions accurately.
By providing comprehensive instructions, you empower the new owner to confidently set up and use the Nest Thermostat. This helps ensure a positive experience and maximizes the benefits they can derive from their new smart thermostat.