
Symptoms of Stuck Earphones
Having a pair of earphones stuck in your Oculus Rift can be a frustrating experience. Not only does it prevent you from enjoying the immersive virtual reality experience, but it can also be a potential safety hazard. Identifying the symptoms of stuck earphones is crucial in order to address the issue properly. Here are some common signs that your earphones may be stuck in your Oculus Rift.
1. No audio output: One of the most obvious signs of stuck earphones is the absence of audio output. If you’re unable to hear any sound through your Oculus Rift, it’s possible that the earphones have become stuck and are not functioning correctly.
2. Tugging sensation: If you feel a pulling or tugging sensation when adjusting or removing your Oculus Rift, it may indicate that the earphones are tangled or stuck. This can be uncomfortable and may require immediate attention to avoid any further damage.
3. Uneven sound: Another symptom to look out for is uneven sound output. If you notice that the audio is only coming from one side or is distorted, it’s possible that the earphone on that side is stuck or damaged.
4. Visible obstruction: In some cases, you may be able to visually identify an obstruction or entanglement in the earphone cable. This can be a clear indication that the earphones are stuck and need to be removed.
5. Difficulty adjusting: If you find it challenging to adjust the position of the earphones or the tightness of the straps, it could be a sign that they are stuck or tangled inside the Oculus Rift.
If you experience any of these symptoms, it’s essential to address the issue promptly to prevent any further complications. Stuck earphones can not only hinder your experience but also potentially damage the Oculus Rift. In the following sections, we will guide you through the steps to safely remove the earphones from your device.
Why You Should Remove the Earphones
If you’ve experienced the symptoms of stuck earphones in your Oculus Rift, you may be wondering why it’s necessary to remove them. While it may seem tempting to leave them as they are and continue using your device, there are some important reasons to address this issue. Let’s explore why removing the earphones is essential.
1. Audio quality: Stuck earphones can significantly impact the audio quality of your Oculus Rift. The tangled or obstructed cables can cause audio distortion or even result in the complete loss of sound. By removing the earphones, you can restore the audio quality and fully enjoy your virtual reality experience.
2. Comfort: Stuck earphones can cause discomfort while wearing the Oculus Rift. If the cables are tangled or pulling on your ears, it can detract from the immersive experience and make it challenging to enjoy extended gaming sessions. Removing the earphones will allow you to adjust the device’s fit and ensure a comfortable experience.
3. Safety: Leaving stuck earphones in your Oculus Rift can pose a safety risk. If the cables are entangled or trapped inside the device, they may interfere with its functionality or cause damage to the internal components. Removing the earphones eliminates this risk and helps maintain the device’s integrity.
4. Repair and maintenance: If you need to address any other issues with your Oculus Rift or perform maintenance tasks, such as cleaning or troubleshooting, it’s necessary to remove the earphones. By detaching them, you’ll have better access to the different parts of the device and can navigate through the repair or maintenance process more effectively.
5. Flexibility and customization: Removing the earphones opens up possibilities for customization. You can choose to use alternative audio solutions, such as headphones or wireless earbuds, which may provide a better audio experience or enhance the comfort of your Oculus Rift.
With these reasons in mind, it becomes clear that removing the earphones from your Oculus Rift is necessary to restore audio quality, ensure comfort, maintain safety, facilitate repairs and maintenance, and allow for customization. In the next sections, we will guide you through the process of safely removing the stuck earphones from your device.
Safety Precautions
Before you begin the process of removing the stuck earphones from your Oculus Rift, it’s important to take certain safety precautions to avoid any damage to yourself or the device. Following these guidelines will help ensure a smooth and safe removal process. Here are some essential safety precautions to keep in mind:
1. Power off the device: Before attempting to remove the earphones, make sure to power off your Oculus Rift. This will prevent any accidental inputs or damage to the device during the removal process.
2. Work in a well-lit area: Find a well-lit environment with good visibility to perform the removal. This will help you see the intricate parts of the device and avoid any unnecessary mishaps.
3. Be gentle: When handling the Oculus Rift, be gentle and avoid applying excessive force. This will help prevent any accidental damage to the device or its components.
4. Use the right tools: Prepare the necessary tools for removing the earphones, such as a small screwdriver or a plastic prying tool. Using the correct tools will help prevent any scratches or further damage to the Oculus Rift.
5. Follow the manufacturer’s instructions: Consult the official documentation or online resources provided by the manufacturer for any specific instructions on removing the earphones. Following their guidelines will ensure that you handle the device properly and minimize the risk of damage.
6. Take breaks if needed: If you encounter any difficulties or feel frustrated during the removal process, take breaks to prevent rushing or making mistakes. Patience is key when dealing with delicate electronic devices like the Oculus Rift.
By adhering to these safety precautions, you’ll minimize the chances of accidental damage and ensure a safe removal process. Now that you’re aware of the necessary safety measures, let’s proceed to the step-by-step guide for removing the stuck earphones from your Oculus Rift.
Step 1: Prepare the Tools
Before you start the process of removing the stuck earphones from your Oculus Rift, it’s important to gather the necessary tools. Having the right equipment on hand will make the removal process easier and more efficient. Here are the tools you’ll need:
- Small screwdriver: A small screwdriver with a flat or Phillips head is necessary for removing any screws that may secure the earphones in place.
- Plastic prying tool: It’s advisable to use a plastic prying tool rather than a metal one to avoid scratching or damaging the Oculus Rift during the removal process.
- Antistatic wrist strap (optional): While not mandatory, an antistatic wrist strap can help prevent any static electricity from damaging the sensitive electronic components of the Oculus Rift.
- Clean cloth: Having a clean cloth nearby will allow you to wipe away any dust or debris that may have accumulated during the removal process.
Make sure to gather these tools and place them within easy reach before you begin the removal process. This will save you time and prevent any potential damage to the device caused by scrambling to find the necessary tools.
Additionally, it’s important to work in a clean and organized space. Clear any clutter from your workspace to provide ample room to maneuver and reduce the risk of losing any small screws or parts. Avoiding distractions and maintaining focus will help ensure a successful removal process.
Now that you’ve gathered the necessary tools, you’re ready to move on to the next step: disconnecting the Oculus Rift. Keep following the guide to safely remove the stuck earphones from your device.
Step 2: Disconnecting the Oculus Rift
In order to safely remove the stuck earphones from your Oculus Rift, the first step is to disconnect the device from any power source. Follow these instructions to properly disconnect the Oculus Rift:
- Turn off your computer or gaming console that is connected to the Oculus Rift.
- If using a desktop computer, locate the HDMI and USB cables connected to the back of your computer and unplug them.
- If using a laptop, locate the HDMI and USB cables connected to your laptop and unplug them.
- Take a moment to carefully unplug any other cables attached to the Oculus Rift, including the power cable and any additional audio or accessory cables.
By disconnecting the Oculus Rift from the power source, you eliminate the risk of any electrical shock or damage to the device during the removal process. It’s important to handle the disconnected Oculus Rift with care to avoid any accidental drops or damage to the device.
With the Oculus Rift properly disconnected, you’re now ready to move on to the next step: removing the faceplate. This will provide you with access to the stuck earphones and allow you to proceed with their removal. Continue following the guide to safely remove the earphones from your Oculus Rift.
Step 3: Removing the Faceplate
To access the stuck earphones in your Oculus Rift, you’ll need to remove the faceplate. Follow these step-by-step instructions to safely remove the faceplate:
- Locate the indented area on the bottom edge of the Oculus Rift faceplate.
- Gently insert your fingertips or a plastic prying tool into the indented area and carefully pry off the faceplate. Apply even pressure and work your way around the edges of the faceplate until it pops off.
- Set the faceplate aside in a safe place to avoid any damage.
Removing the faceplate will expose the internal components of the Oculus Rift, allowing you to access the stuck earphones. Be cautious not to use excessive force or be rough during this process to prevent any unintended damage to the device.
Now that you have successfully removed the faceplate, you’re one step closer to removing the stuck earphones. In the next step, we will guide you through accessing the earphones within the Oculus Rift. Continue following the guide to safely remove the earphones from your device.
Step 4: Accessing the Earphones
With the faceplate removed, you now have access to the stuck earphones within your Oculus Rift. Follow these step-by-step instructions to safely access the earphones:
- Take a moment to examine the interior of the Oculus Rift where the earphones are located. Look for any visible obstacles or entanglements that may be causing the earphones to be stuck.
- If you notice any obstructions, gently untangle or remove them using your fingertips or a pair of tweezers. Be careful not to apply too much force or damage any delicate components.
- Inspect the earphone cables for any signs of damage, such as frayed wires or loose connections. If you discover any damage, take necessary precautions in handling and consider contacting the manufacturer for further assistance.
By carefully assessing and addressing any visible issues, you can help ensure a smoother removal process for the stuck earphones. It’s important to proceed with caution and avoid any further damage to the Oculus Rift during this step.
Once you have successfully accessed the earphones and removed any obstructions, you’re ready to move on to the next step: releasing the earphones. Follow the next section of this guide to safely release the stuck earphones from your Oculus Rift.
Step 5: Releasing the Earphones
Releasing the stuck earphones from your Oculus Rift requires careful handling and precision. Follow these step-by-step instructions to safely release the earphones:
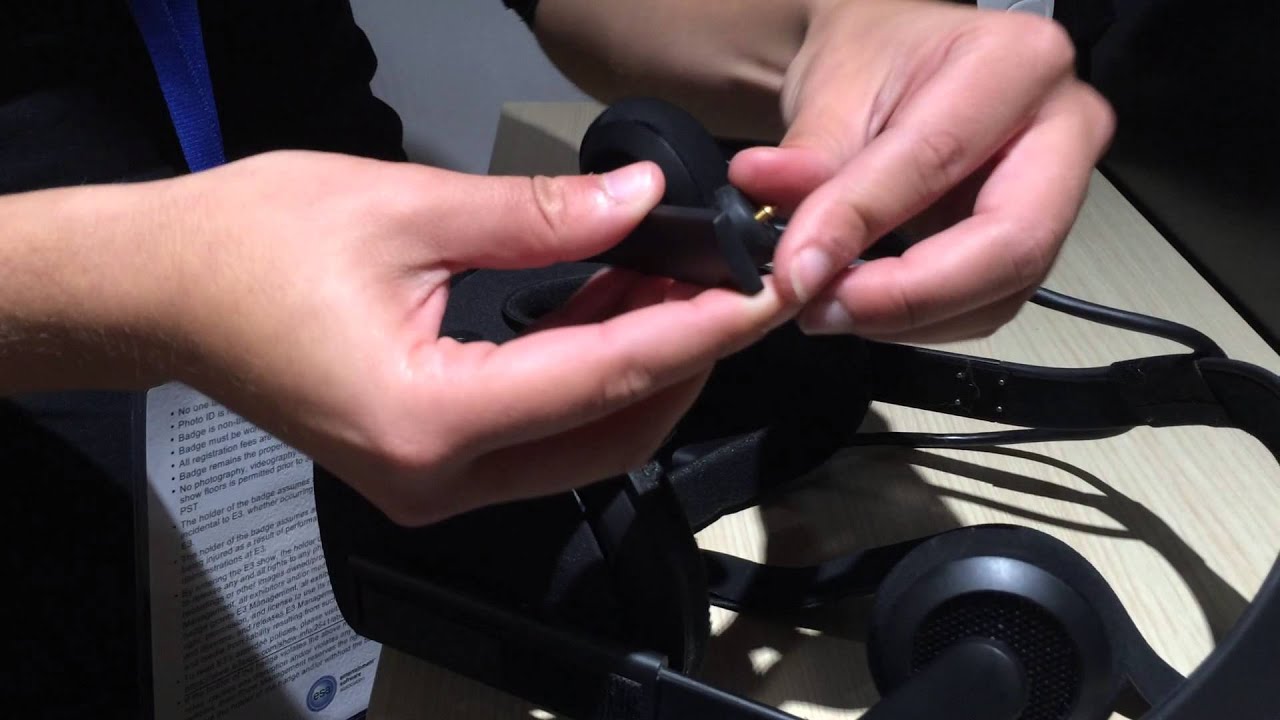
- Locate the connection point of the earphones where they are attached to the Oculus Rift.
- Gently grasp the connector or the plastic housing of the earphones near the connection point.
- While securely holding the connector, gently wiggle it back and forth, applying slight pressure, to loosen the earphones from their housing.
- Continue wiggling and gently pulling on the connector until the earphones detach from the Oculus Rift.
- Repeat the process for the other earphone, if necessary.
It’s crucial to exercise caution and avoid applying excessive force when releasing the earphones to prevent any damage to the device or the earphones themselves. Take your time during this step and be gentle yet firm in your movements.
Once you have successfully released the stuck earphones, you can inspect them for any signs of damage or issues. If necessary, consider replacing them with a new pair of earphones recommended by the manufacturer.
With the earphones released, it’s time to move on to the next step: testing the removal. Proceed to the next section of this guide to ensure that the earphones have been successfully removed and the Oculus Rift is functioning properly.
Step 6: Testing the Removal
After successfully removing the stuck earphones from your Oculus Rift, it’s crucial to test the device to ensure that the removal process was effective and everything is functioning correctly. Follow these steps to test the removal:
- Connect your Oculus Rift back to your computer or gaming console using the appropriate cables.
- Power on your computer or gaming console and allow the Oculus Rift to boot up.
- Put on the Oculus Rift and adjust the straps and fit to ensure a comfortable and secure positioning.
- Launch a VR application or game that incorporates audio to test the sound output.
- Listen for clear and balanced audio on both sides, ensuring that there are no issues with the sound quality or volume.
- If you encounter any audio problems, troubleshoot the issue by adjusting the audio settings on your computer or within the VR application.
- If the audio is working properly, you have successfully completed the removal of the stuck earphones.
By conducting a thorough test of the Oculus Rift, you can verify that the earphones have been safely removed and are no longer causing any audio issues. If you experience any ongoing problems or if the audio is still not functioning correctly, it may be necessary to seek further assistance from the manufacturer or a professional technician.
If the testing goes smoothly and the Oculus Rift is functioning properly, you can proceed to the final step: reassembling the device. Follow the next section of this guide to safely reassemble your Oculus Rift.
Step 7: Reassembling the Oculus Rift
Now that you have successfully removed and tested the stuck earphones, it’s time to reassemble your Oculus Rift. Follow these step-by-step instructions to safely reassemble the device:
- Retrieve the faceplate that you set aside during the removal process.
- Carefully align the edges of the faceplate with the corresponding slots on the Oculus Rift.
- Press down firmly but gently on the faceplate to secure it back into place. Ensure that it is snug and properly seated.
- If your Oculus Rift had any screws holding the faceplate in place, use the small screwdriver to reinsert and tighten them according to the manufacturer’s instructions.
- Reconnect any cables that were previously disconnected, including the HDMI, USB, power, and audio cables.
- Ensure that all cables are securely connected to prevent any audio or display issues.
Once you have reassembled the Oculus Rift, take a moment to clean the lenses and remove any fingerprints or smudges that may have accumulated during the process. Using a clean cloth or lens cleaning solution, gently wipe the lenses in a circular motion until they are clean and clear.
With your Oculus Rift fully reassembled and cleaned, it’s time to enjoy the immersive virtual reality experience once again. Strap on the device, adjust the fit, and launch your favorite VR applications or games to dive back into the virtual world.
Remember, if you encounter any ongoing issues or if the audio problems persist after reassembling the Oculus Rift, it may be necessary to seek expert assistance from the manufacturer or a professional technician. They can provide further guidance and troubleshooting to resolve any persisting problems.
Congratulations! You have successfully completed the process of removing and reassembling the stuck earphones in your Oculus Rift. Enjoy your enhanced VR experience and continue exploring the vast world of virtual reality.