
Preparing Your iPad and Mac for Screen Recording
Before you can start recording your iPad screen on your Mac, there are a few steps you need to follow to ensure everything is set up correctly. Here’s a guide to help you prepare your iPad and Mac for screen recording:
1. Update your iPad: Make sure your iPad is running the latest version of iOS. To check for updates, go to Settings > General > Software Update. If there’s a new update available, download and install it on your device.
2. Update your Mac: Similarly, update your Mac to the latest version of macOS. Go to the Apple menu > About This Mac > Software Update. If there’s an update available, click on the Update button to install it.
3. Connect your iPad to your Mac: Use a Lightning cable or USB-C cable to connect your iPad to your Mac. Ensure that both devices are powered on and the cable is securely connected.
4. Trust the connection: When you connect your iPad to your Mac for the first time, you’ll see a prompt on your iPad asking if you want to trust the computer. Tap “Trust” to establish the connection.
5. Check screen recording compatibility: Not all iPad models support screen recording. To check if your iPad is compatible, go to Settings > Control Center > Customize Controls. Look for the Screen Recording option and make sure it’s included in the “Included Controls” section. If not, tap the green “+” button next to it to add it.
6. Enable screen recording on your iPad: Once you’ve confirmed that screen recording is available in your Control Center, swipe down from the top-right corner of your iPad’s screen to open the Control Center. Tap on the Screen Recording icon (a solid-filled circle within a circle) to start the screen recording.
By following these initial steps, you’ll have your iPad and Mac ready for screen recording. Now you can proceed to the next steps of installing the required software on your Mac and configuring screen recording settings to start capturing your iPad screen on your Mac.
Installing the Required Software on Your Mac
Before you can record your iPad screen on your Mac, you need to install the necessary software that enables this functionality. Here’s a step-by-step guide on how to install the required software:
1. Open the App Store: Launch the App Store on your Mac. You can find it in the Applications folder or by using the Spotlight search (Cmd + Space) and typing “App Store.”
2. Search for QuickTime Player: In the search bar at the top right corner of the App Store, type “QuickTime Player” and press Enter. The QuickTime Player app should appear in the search results.
3. Install QuickTime Player: Click on the QuickTime Player app to view its details. Then, click on the “Get” or “Install” button to begin the installation process. You may need to enter your Apple ID credentials or use Touch ID/Face ID for authentication.
4. Wait for installation: The App Store will download and install QuickTime Player on your Mac. The duration may vary depending on your internet connection speed. Once the installation is complete, you’ll find QuickTime Player in your Applications folder.
5. Verify installation: Open QuickTime Player from the Applications folder or by using Spotlight search. If the app opens without any issues, it means the installation was successful.
6. Check screen recording capabilities: Launch QuickTime Player and go to the File menu. If you see the “New Screen Recording” option, it means the software is ready for screen recording.
That’s it! You have now installed the required software, QuickTime Player, on your Mac. With QuickTime Player installed, you can proceed to connect your iPad to your Mac and configure the necessary settings to start recording your iPad screen.
Connecting Your iPad to Your Mac
In order to record your iPad screen on your Mac, you need to establish a connection between the two devices. Follow these steps to connect your iPad to your Mac:
1. Use a compatible cable: Depending on the model of your iPad, you’ll need a Lightning cable or a USB-C cable. Ensure that you have the appropriate cable handy.
2. Connect the cable to your iPad: Take one end of the cable and insert it into the Lightning or USB-C port on your iPad. Make sure it fits securely and is fully inserted.
3. Connect the cable to your Mac: Locate the USB port on your Mac and insert the other end of the cable into it. Again, ensure a snug fit and a secure connection.
4. Check the connection: Once the cable is connected to both devices, your Mac should recognize your iPad. You may see a message on your Mac indicating that it’s connected to your iPad.
5. Unlock your iPad: If your iPad is locked, you’ll need to unlock it to establish a successful connection. Enter your passcode or use Touch ID/Face ID to unlock your iPad.
6. Trust the connection: When you connect your iPad to your Mac for the first time, a prompt will appear on your iPad asking if you trust the computer. Tap “Trust” to give your Mac permission to access your iPad.
7. Verify the connection: On your Mac, open Finder and look for your iPad under the “Locations” section in the sidebar. If you see your iPad listed there, it means the connection was successful.
That’s it! Your iPad is now connected to your Mac. With the physical connection established, you can proceed to enable screen recording on your iPad and configure the necessary settings on your Mac to start capturing your iPad screen on your Mac.
Enabling Screen Recording on Your iPad
In order to record your iPad screen on your Mac, you need to enable the screen recording feature on your iPad. Follow these steps to enable screen recording:
1. Open Control Center: Swipe down from the top-right corner of your iPad’s screen to open the Control Center. Alternatively, if you have an iPad with a Home button, swipe up from the bottom of the screen to access the Control Center.
2. Customize Control Center: If you don’t see the screen recording option in the Control Center, you may need to customize it. To do this, go to Settings > Control Center > Customize Controls.
3. Add Screen Recording: In the Customize Controls section, locate the “Screen Recording” option. Tap the green “+” button next to it to add it to the “Included Controls” section.
4. Access Screen Recording: Once you’ve added the screen recording option to the Control Center, it should now appear in the Control Center’s menu.
5. Start Screen Recording: To begin recording your iPad’s screen, tap on the Screen Recording icon in the Control Center. It’s represented by a solid-filled circle within a circle. A three-second countdown will appear, indicating that the screen recording is about to start.
6. Pause or Stop Recording: While recording, you can customize the recording settings by tapping on the red status bar at the top of the screen. From here, you can pause or stop the recording as needed.
7. Save the Recording: After you’ve stopped the recording, you’ll be prompted to save the screen recording to your Files app. You can choose to save it in the Photos app or any other location of your choice.
8. Access the Recording: To access your screen recording, open the Files app on your iPad and navigate to the location where you saved the recording. From there, you can view, share, or transfer the recording to your Mac.
By following these steps, you’ll be able to enable screen recording on your iPad, which is essential for capturing your iPad screen on your Mac using QuickTime Player.
Setting Up Screen Recording on QuickTime Player
Once you have connected your iPad to your Mac and enabled screen recording on your iPad, you can now set up the screen recording feature on QuickTime Player. Follow these steps:
1. Open QuickTime Player: Launch QuickTime Player on your Mac. You can find it in the Applications folder or by using Spotlight search (Cmd + Space) and typing “QuickTime Player”.
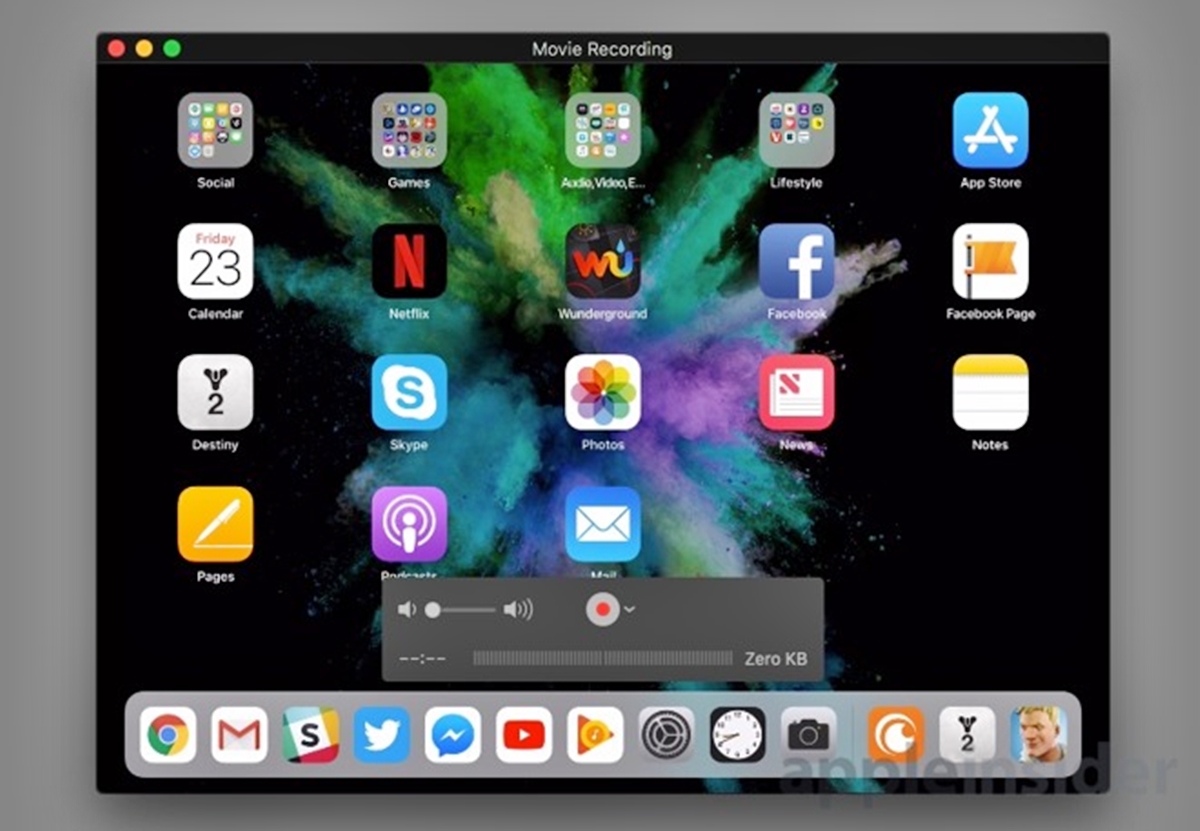
2. Start a new screen recording: In the top menu bar of your Mac, click on “File” and select “New Screen Recording”. Alternatively, you can use the keyboard shortcut Ctrl + Cmd + N.
3. Configure recording options: A small recording window will appear on your screen. By default, QuickTime Player will record the entire screen. To adjust the recording area, click on the arrow next to the record button. You can choose to record the entire screen or select a custom portion by dragging the corners of the selection rectangle.
4. Select audio source (optional): If you want to include audio in your screen recording, click on the dropdown menu next to the record button and choose an audio source, such as your iPad’s microphone.
5. Start recording: When you’re ready to start recording, click on the record button in the recording window or press the spacebar. You’ll see a countdown, and then the recording will begin.
6. Control the recording: While the recording is in progress, you can control the recording options. The record button will change to a stop button, allowing you to end the recording at any time.
7. Pause or resume recording: To temporarily pause the recording, click on the pause button (two vertical lines) in the recording window. To resume, click on the pause button again.
8. Finish recording: When you’re finished recording, click on the stop button in the recording window or press the spacebar. The recording will stop, and a new window will open with a preview of the recorded video.
9. Save or edit the recording: From the preview window, you can choose to save the recording to a desired location on your Mac. You can also use video editing software or QuickTime Player’s built-in editing features to make any necessary adjustments to the recording.
By following these steps, you can set up the screen recording feature on QuickTime Player and start capturing the screen of your connected iPad on your Mac. Make sure to configure the recording options according to your preferences before starting the recording.
Configuring Screen Recording Settings on Your Mac
Before you start recording your iPad screen on your Mac using QuickTime Player, it’s essential to configure the screen recording settings on your Mac. Follow these steps to ensure you have the optimal configuration:
1. Open QuickTime Player: Launch QuickTime Player on your Mac. You can find it in the Applications folder or by using Spotlight search (Cmd + Space) and typing “QuickTime Player”.
2. Access preferences: In the top menu bar, click on “QuickTime Player” and select “Preferences”. Alternatively, you can use the keyboard shortcut Cmd + Comma (,).
3. Adjust screen recording settings: In the Preferences window, click on the “Recording” tab. Here, you can customize various screen recording settings:
- Quality: Choose the desired quality for your screen recordings. Higher quality settings will result in larger file sizes.
- Microphone: Select the audio source you want to use for your screen recordings. You can choose your Mac’s built-in microphone or an external microphone.
- Mouse Clicks: Enable or disable displaying mouse clicks in your screen recordings. This option can be helpful when you want to highlight interactions with your iPad.
- Countdown: Choose whether or not to display a countdown before the screen recording starts.
- Show Floating Thumbnail: Decide whether or not to display a floating thumbnail during screen recordings. This thumbnail allows you to access screen recording controls.
4. Customize keyboard shortcuts (optional): If you prefer using keyboard shortcuts for screen recording controls, click on the “Keyboard Shortcuts” button in the Preferences window. From there, you can customize the shortcuts for starting, pausing, and stopping screen recordings.
5. Close Preferences: Once you have configured the settings to your liking, click on the red close button on the Preferences window to save your changes.
By following these steps and adjusting the screen recording settings in QuickTime Player’s preferences, you can ensure that your screen recordings on your Mac are tailored to your specific needs and preferences. Take the time to explore the various settings and optimize them based on your recording requirements.
Initiating and Stopping Screen Recording
Once your iPad is connected to your Mac and you have configured the screen recording settings, you’re ready to initiate and stop the screen recording process using QuickTime Player. Follow these steps:
Initiating Screen Recording:
1. Open QuickTime Player: Launch QuickTime Player on your Mac. You can find it in the Applications folder or by using Spotlight search (Cmd + Space) and typing “QuickTime Player”.
2. Start a new screen recording: In the top menu bar of your Mac, click on “File” and select “New Screen Recording”. Alternatively, you can use the keyboard shortcut Ctrl + Cmd + N.
3. Configure recording options: A small recording window will appear on your screen. By default, QuickTime Player will record the entire screen. To adjust the recording area, click on the arrow next to the record button. You can choose to record the entire screen or select a custom portion by dragging the corners of the selection rectangle.
4. Select audio source (optional): If you want to include audio in your screen recording, click on the dropdown menu next to the record button and choose an audio source, such as your iPad’s microphone.
5. Start recording: When you’re ready to start recording, click on the record button in the recording window or press the spacebar. You’ll see a countdown, and then the recording will begin.
Stopping Screen Recording:
1. Stop Recording: To end the screen recording, click on the stop button in the recording window or press the spacebar. The recording will stop, and a new window will open with a preview of the recorded video.
2. Save or Edit the Recording: From the preview window, you can choose to save the recording to a desired location on your Mac. You can also use video editing software or QuickTime Player’s built-in editing features to make any necessary adjustments to the recording.
Remember to save your recordings after stopping the screen recording process. QuickTime Player will prompt you to save the recorded video, allowing you to specify a location to store the file for future access.
By following these steps, you can initiate and stop the screen recording process using QuickTime Player on your Mac. Take your time to adjust the recording options and ensure that you’re capturing the desired content from your connected iPad.
Saving and Accessing Your Screen Recording Files
After completing a screen recording of your iPad on your Mac using QuickTime Player, it’s important to know how to save and access the recorded files. Follow these steps to save and access your screen recording files:
1. Stop the recording: Once you’ve finished your screen recording, click on the stop button in the recording window or press the spacebar.
2. Save the recording: QuickTime Player will automatically open a new window with a preview of the recorded video. To save the recording, go to the “File” menu in QuickTime Player and select “Save”. Choose a desired location on your Mac to save the file.
3. Specify the file format: When saving the recording, you’ll be prompted to choose a file format. QuickTime Player offers various options, including MOV, MP4, and more. Select the format that best suits your needs and click “Save”.
4. Name the recording: Enter a descriptive name for the recording file and click “Save”. This will help you easily identify the recording later on.
5. Access the saved recording: Once the recording is saved, you can access it through Finder on your Mac. Open Finder and navigate to the location where you saved the recording. By default, it will be saved in your “Movies” folder. You can also use the search feature in Finder to locate the recording by entering its name or file format.
6. Share or transfer the recording: If you want to share the recorded video with others, you can easily do so. Depending on your preferences, you can either share the file directly from your Mac or transfer it to another device or storage medium, such as a USB drive or cloud storage service.
By following these steps, you can successfully save and access your screen recording files on your Mac. Remember to organize your recordings in a structured manner, creating specific folders or using tags to easily locate and manage your recordings in the future.
Troubleshooting Common Issues with Screen Recording
While recording your iPad screen on your Mac using QuickTime Player, you may encounter some common issues. Here are some troubleshooting tips to help you resolve these issues:
1. No audio in the recording: If you’re unable to capture audio in your screen recording, ensure that you have selected the correct audio source in QuickTime Player’s screen recording settings. Also, check your iPad’s settings to make sure that the audio input is not muted or set to a low volume.
2. Poor video quality: If your screen recording appears blurry or pixelated, try adjusting the video quality settings in QuickTime Player’s preferences. Select a higher quality setting for better video resolution. Additionally, ensure that you have sufficient disk space available on your Mac for the recording.
3. Recording doesn’t start: If you’re unable to initiate the screen recording, double-check that your iPad is correctly connected to your Mac and that you have enabled screen recording in the Control Center on your iPad. Also, make sure that you have the latest version of QuickTime Player installed on your Mac.
4. Choppy or laggy recording: If your screen recording playback is choppy or laggy, it could be due to limited processing power or insufficient system resources on your Mac. Try closing unnecessary applications and processes to free up system resources and improve recording performance.
5. Recording stops unexpectedly: If your screen recording stops unexpectedly before you manually stop it, it could indicate a software or hardware issue. Check for any software updates available for QuickTime Player and ensure that your Mac meets the recommended system requirements for screen recording. If the issue persists, try restarting both your iPad and Mac and attempt the screen recording again.
6. Incorrect recording area: If your screen recording is capturing the wrong area of your iPad screen, make sure you have correctly selected the desired recording area in QuickTime Player before starting the recording. Adjust the recording area by clicking on the arrow next to the record button and selecting the appropriate option.
7. No option for screen recording in Control Center: If you don’t see the screen recording option in the Control Center on your iPad, go to Settings > Control Center > Customize Controls and add the screen recording option. If it’s already added but not visible, try restarting your iPad and check again.
If you continue to experience difficulties with screen recording, you may want to explore alternative screen recording methods or seek assistance from Apple support or online forums for further troubleshooting and guidance.
Alternative Screen Recording Methods for iPad to Mac
In addition to using QuickTime Player, there are alternative screen recording methods you can explore to capture your iPad screen on your Mac. Here are a few options:
1. Third-party screen recording apps: There are various screen recording apps available on the App Store that offer additional features and functionalities compared to QuickTime Player. Some popular options include Camtasia, ScreenFlow, and Capto. These apps often provide more advanced editing capabilities and allow you to customize your screen recording settings to suit your needs.
2. Online screen recording tools: If you prefer a browser-based solution, you can use online screen recording tools. Websites like Apowersoft or Screencast-O-Matic allow you to record your iPad screen directly from your browser. These tools often offer options to trim, edit, and save your recordings online.
3. Built-in screen recording on iPads: If you don’t necessarily need to capture your iPad screen on your Mac, you can utilize the built-in screen recording feature available on iPads. Simply enable the screen recording option in the Control Center on your iPad, start the recording, and save the file directly to your iPad. You can then transfer the recording to your Mac using methods like AirDrop, email, or cloud storage services.
4. AirPlay mirroring: Another option is to use AirPlay mirroring to mirror your iPad screen directly to your Mac. With AirPlay, you can display your iPad’s screen on your Mac and use screen recording software on your Mac to capture the mirrored screen. This method allows for real-time screen sharing and recording.
It’s important to note that each alternative screen recording method may have its own set of features, limitations, and compatibility requirements. Be sure to research and evaluate the options based on your specific needs and preferences. Additionally, consider factors such as ease of use, video quality, editing capabilities, and cost when choosing the alternative method that suits you best.
By exploring these alternative screen recording methods, you can find the solution that works best for you to capture your iPad screen on your Mac.