
Prerequisites
Before you can get started with putting Ripple on your Ledger Nano S, there are a few things you’ll need to have in place:
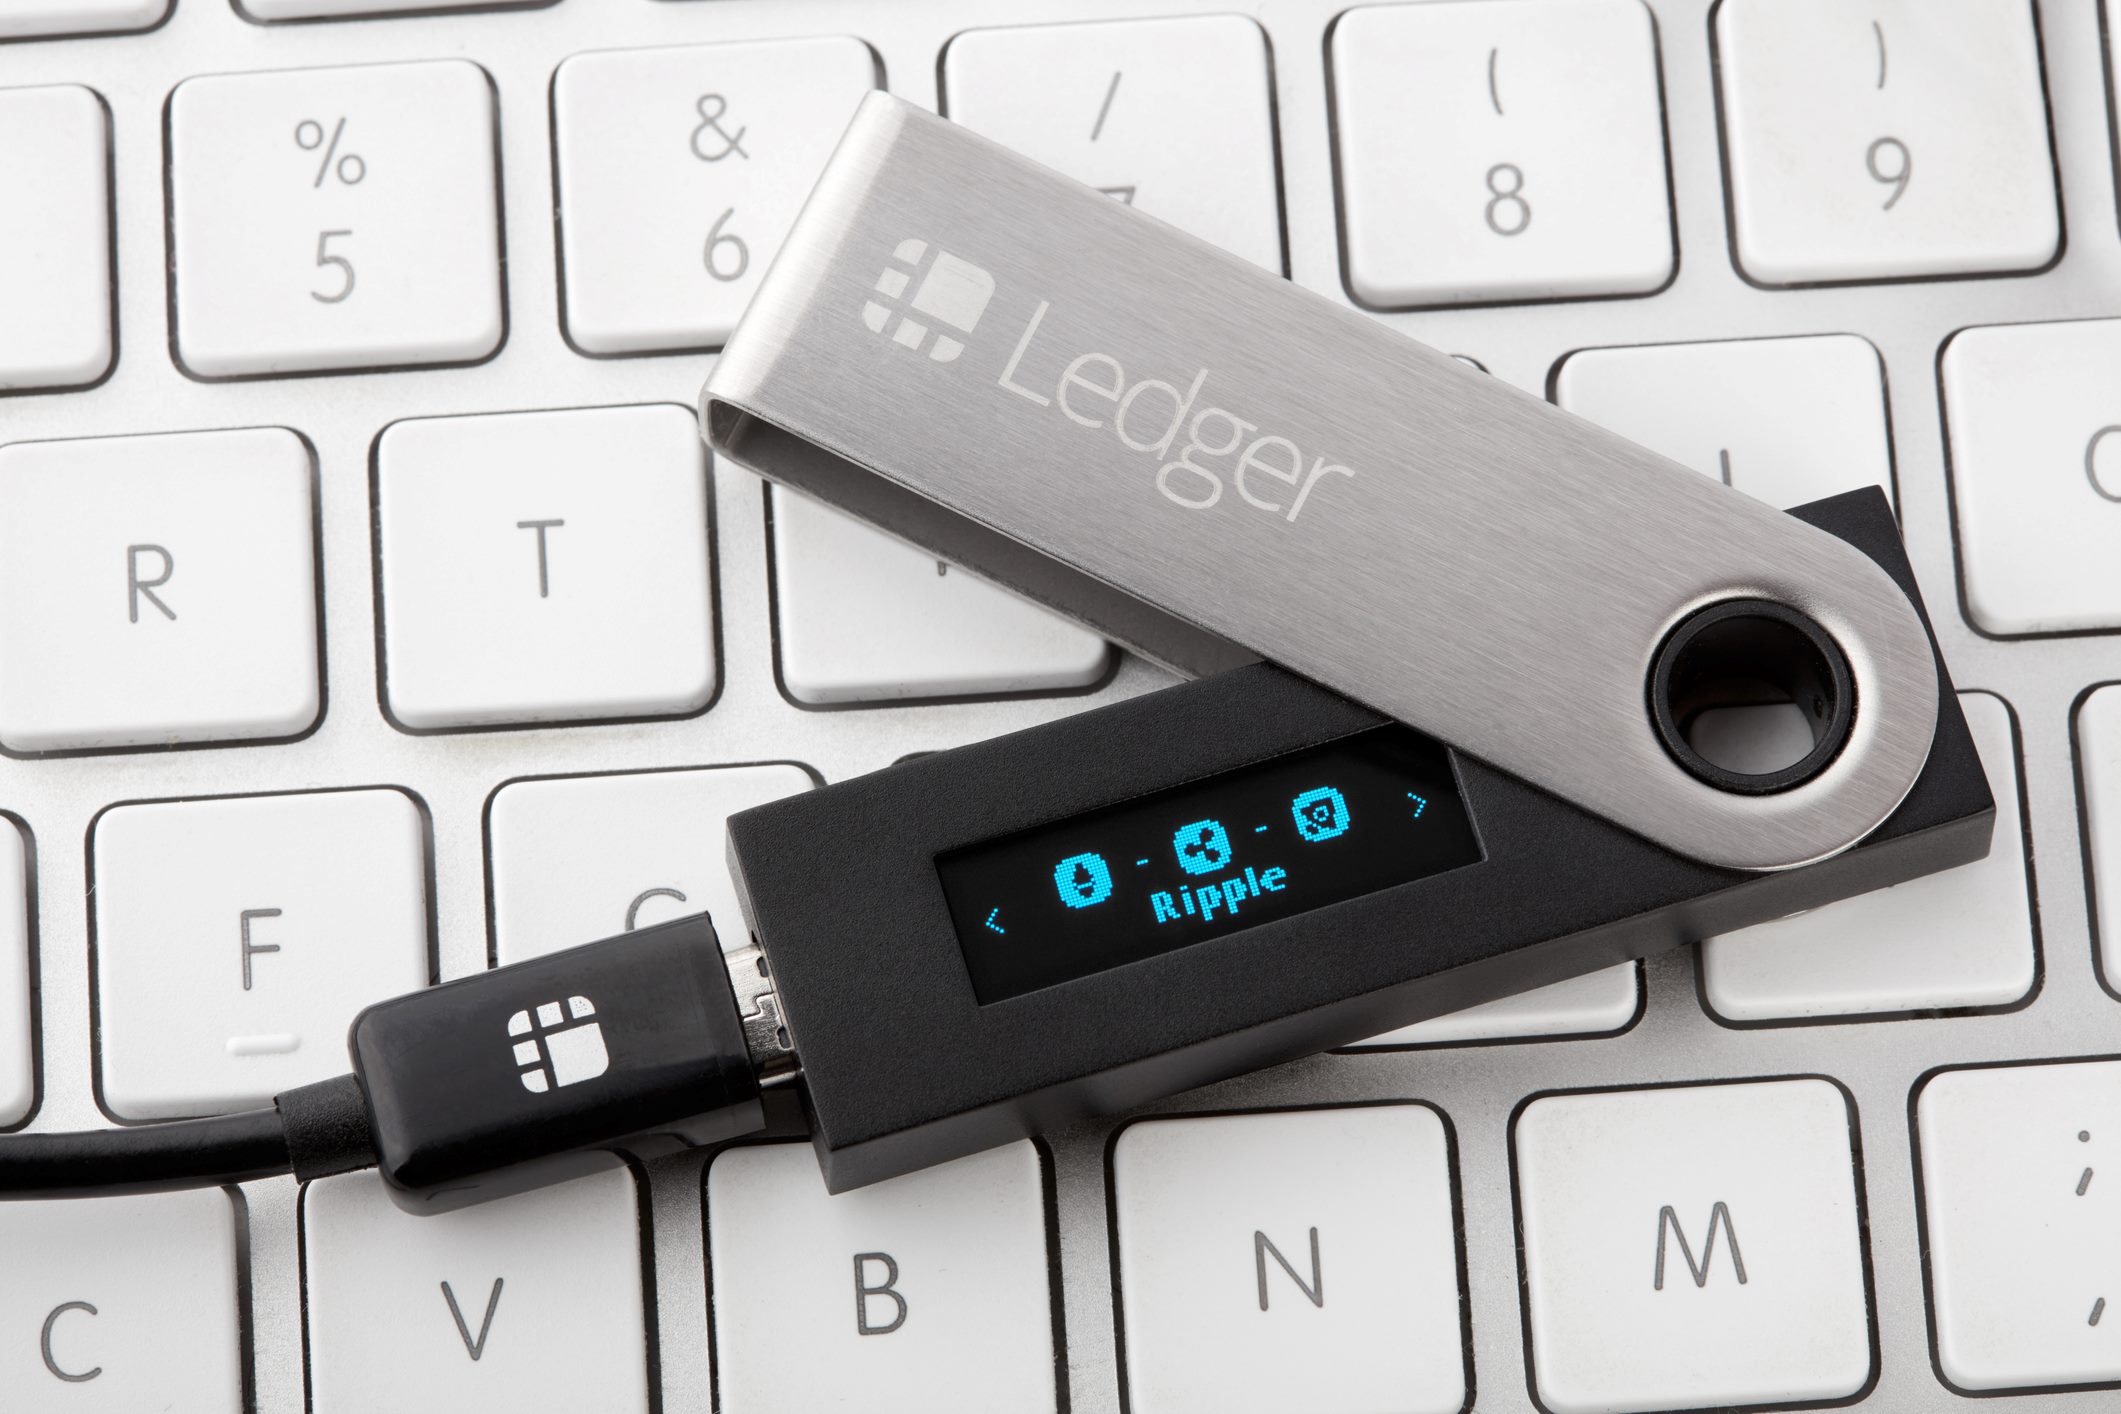
- A Ledger Nano S hardware wallet: This is a secure device that will store your Ripple assets and keep them safe from online threats.
- A computer with internet access: You’ll need a computer to download the necessary software and connect your Ledger Nano S.
- The latest firmware installed on your Ledger Nano S: It’s important to keep your device’s firmware up to date for optimal security and functionality.
- The Ledger Live Manager: This is the software you’ll use to manage your Ledger Nano S and install the Ripple app.
With these prerequisites in place, you’ll be ready to proceed with the process of putting Ripple on your Ledger Nano S. It’s important to note that this guide assumes you already have a basic understanding of how to use a Ledger Nano S and that you’ve already set it up. If you haven’t done so yet, make sure to follow the initial setup instructions provided by Ledger.
Step 1: Update Firmware
Before you can start using your Ledger Nano S to store Ripple, it’s essential to ensure that you have the latest firmware installed. Firmware updates provide security enhancements and new features, so it’s crucial to keep your device up to date.
To update the firmware, follow these steps:
- Connect your Ledger Nano S to your computer using the USB cable.
- Open the Ledger Live Manager on your computer.
- On the left side menu, click on the “Manager” tab.
- You will see a list of available firmware updates. If there is an update available for your device, you’ll see a blue “Update” button next to it.
- Click on the “Update” button and follow the on-screen instructions to complete the firmware update.
- During the update process, make sure to keep your Ledger Nano S connected and avoid disconnecting it until the update is fully completed.
- Once the update is finished, your Ledger Nano S will be ready to proceed with installing the Ripple app.
It’s important to note that during the firmware update, your Ledger Nano S may display prompts and instructions on its screen. Make sure to read and follow them carefully to complete the process successfully. Additionally, it’s recommended to have your Ledger Nano S fully charged or connected to a power source during the firmware update to avoid any interruptions.
By keeping the firmware of your Ledger Nano S up to date, you’ll have the latest security protocols and features in place, ensuring that your Ripple assets are stored safely.
Step 2: Install the Ripple App on Ledger Nano S
Now that you have updated the firmware of your Ledger Nano S, it’s time to install the Ripple app. The Ripple app allows you to manage your Ripple assets securely on your hardware wallet.
To install the Ripple app, follow these steps:
- Open the Ledger Live Manager on your computer if it’s not already open.
- Connect your Ledger Nano S to your computer using the USB cable.
- In the Ledger Live Manager, click on the “Manager” tab on the left side menu.
- Scroll through the list of available apps until you find the “Ripple” app.
- Click on the “Install” button next to the Ripple app.
- Follow the on-screen instructions to complete the installation.
- Once the installation is finished, you’ll see the Ripple app on your Ledger Nano S.
It’s important to note that with each new installation or update of an app on your Ledger Nano S, you may need to enable the app by going into the “Settings” on your device. Follow the prompts on the screen of your Ledger Nano S to enable the Ripple app.
By installing the Ripple app on your Ledger Nano S, you’ll have direct control over your Ripple assets and be able to securely manage them without exposing your private keys to potential online threats. This ensures that your Ripple holdings remain safe and protected.
Step 3: Download and Open the Ledger Live Manager
In order to manage your Ripple assets and interact with your Ledger Nano S, you will need to download and install the Ledger Live Manager.
Follow these steps to download and open the Ledger Live Manager:
- Visit the official Ledger website at ledger.com.
- Click on the “Downloads” tab located in the navigation menu.
- Choose the appropriate version of the Ledger Live Manager for your operating system (Windows, macOS, or Linux).
- Click on the download button to start the download process.
- Once the download is complete, locate the installer file and double-click on it to begin the installation.
- Follow the on-screen instructions to complete the installation process.
- After the installation is finished, launch the Ledger Live Manager application on your computer.
With the Ledger Live Manager now open, you’ll have access to a user-friendly interface that allows you to interact with your Ledger Nano S and manage your various cryptocurrencies, including Ripple.
Make sure to keep the Ledger Live Manager updated by regularly checking for new versions. This will ensure that you have the latest features, bug fixes, and security enhancements.
Now that you have the Ledger Live Manager installed and running, you’re one step closer to securely managing your Ripple assets on your Ledger Nano S.
Step 4: Connect Ledger Nano S to Your Computer
In order to interact with your Ledger Nano S and manage your Ripple assets, you need to connect your hardware wallet to your computer.
Follow these steps to connect your Ledger Nano S to your computer:
- Locate the USB cable that came with your Ledger Nano S.
- Connect one end of the USB cable to the USB port on your computer.
- Take the other end of the USB cable and plug it into the USB port on your Ledger Nano S.
- Your Ledger Nano S will display the message “Use wallet to view accounts” on its screen.
Once your Ledger Nano S is connected to your computer, it will be recognized by the Ledger Live Manager software. You’re now ready to proceed with managing your Ripple assets.
It’s important to note that if this is your first time connecting your Ledger Nano S to your computer, you may need to go through a setup process. Follow the on-screen instructions provided by the Ledger Live Manager to complete the setup, including choosing a PIN code for your device and writing down and verifying the recovery seed.
Remember, always connect your Ledger Nano S directly to your computer using the official USB cable that came with the device. Avoid using third-party or damaged cables, as they can cause connection issues or potential security risks.
By connecting your Ledger Nano S to your computer, you now have a secure and reliable way to manage your Ripple assets and ensure the protection of your private keys.
Step 5: Add a Ripple Account on Ledger Live Manager
Now that your Ledger Nano S is connected to your computer, you can add a Ripple account on the Ledger Live Manager to manage your Ripple assets.
Follow these steps to add a Ripple account on the Ledger Live Manager:
- Launch the Ledger Live Manager application on your computer, if it’s not already open.
- In the Ledger Live Manager, click on the “Accounts” tab located on the left side menu.
- Click on the “Add Account” button at the top-right corner of the screen.
- A list of supported cryptocurrencies will be displayed. Scroll through the list and click on “Ripple (XRP)” to select it.
- Click on the “Continue” button.
- On your Ledger Nano S device, navigate to the Ripple app and open it.
- Follow the instructions on your Ledger Nano S device to confirm adding the Ripple account.
- Once the account is added, it will be displayed on the Ledger Live Manager under the “Accounts” tab.
Adding a Ripple account allows you to receive, send, and manage your Ripple assets directly from the Ledger Live Manager. This gives you full control over your Ripple holdings while keeping them secure on your Ledger Nano S.
It’s important to note that you can add multiple Ripple accounts to the Ledger Live Manager if you have multiple addresses or need to manage different wallets.
With a Ripple account added to the Ledger Live Manager, you’re now ready to explore the various features and functionalities available to manage your Ripple assets with ease and peace of mind.
Step 6: Open the Ripple App on Ledger Nano S
With the Ripple account added to the Ledger Live Manager, it’s time to open the Ripple app on your Ledger Nano S. Opening the app allows you to securely access your Ripple assets and perform transactions.
Follow these steps to open the Ripple app on your Ledger Nano S:
- Make sure your Ledger Nano S is connected to your computer using the USB cable.
- In the Ledger Live Manager, navigate to the “Accounts” tab.
- Locate the Ripple account you added in the previous step.
- Click on the “Open” button next to the Ripple account.
- On your Ledger Nano S device, navigate to the Ripple app.
- Press both buttons on your Ledger Nano S simultaneously to confirm and open the Ripple app.
Once the Ripple app is successfully opened on your Ledger Nano S, you will be able to access all the features and functionalities provided by the app. This includes viewing your Ripple balance, sending and receiving Ripple transactions, and managing your Ripple addresses.
During your interaction with the Ripple app, it’s important to follow the instructions displayed on your Ledger Nano S’s screen. The device will provide you with prompts, confirmations, and instructions to ensure that all actions are authorized by you and to maintain the security of your Ripple assets.
By opening the Ripple app on your Ledger Nano S, you have a secure and convenient way to manage your Ripple assets directly on the hardware wallet, ensuring the highest level of protection for your private keys and funds.
Step 7: Verify and Confirm the Ripple Account on Ledger Live Manager
After opening the Ripple app on your Ledger Nano S, it’s important to verify and confirm the Ripple account on the Ledger Live Manager. Verifying and confirming the account ensures that you have control over the correct Ripple address and that it is correctly linked to your Ledger Nano S.
Follow these steps to verify and confirm the Ripple account on the Ledger Live Manager:
- In the Ledger Live Manager, navigate to the “Accounts” tab.
- Select the Ripple account you added and opened on your Ledger Nano S.
- On the right-hand side, you’ll see the details of your Ripple account, including the address and balance.
- Verify that the displayed Ripple address on the Ledger Live Manager matches the address shown on your Ledger Nano S screen.
- Compare other details, such as the balance, to ensure that everything is accurate.
- Confirm that the account is linked to your Ledger Nano S by ensuring that the account is marked as “Managed by Ledger Live” on the Ledger Live Manager.
- If all the details match and the account is marked as “Managed by Ledger Live,” your Ripple account on the Ledger Live Manager is verified and confirmed.
Verifying and confirming the Ripple account on the Ledger Live Manager is essential to ensure that you have control over the correct account and that it is linked securely to your Ledger Nano S. By performing this verification step, you can have peace of mind knowing that your Ripple assets are safely stored and managed.
If you notice any discrepancies or inconsistencies during the verification process, ensure that you have followed the previous steps correctly and consider reaching out to the Ledger support team for assistance.
Now that your Ripple account is verified and confirmed on the Ledger Live Manager, you’re ready to move forward with managing your Ripple assets and enjoying the benefits of using a secure hardware wallet.
Step 8: Manage Your Ripple Assets on Ledger Live Manager
With your Ripple account successfully added and verified on the Ledger Live Manager, you can now start managing your Ripple assets conveniently and securely.
Follow these steps to manage your Ripple assets on the Ledger Live Manager:
- In the Ledger Live Manager, navigate to the “Accounts” tab.
- Select the Ripple account you want to manage.
- On the right-hand side, you’ll see various options to interact with your Ripple assets.
- To view your Ripple balance, check the transaction history, or generate a new Ripple address, navigate to the respective sections on the Ledger Live Manager.
- To receive Ripple, click on the “Receive” button. A unique Ripple address will be generated for you to share with others who want to send you Ripple.
- To send Ripple, click on the “Send” button. Enter the recipient’s Ripple address, the amount you want to send, and any additional details required. Confirm the transaction on your Ledger Nano S device by following the on-screen instructions.
- Take advantage of other features provided by the Ledger Live Manager, such as managing multiple Ripple accounts, tracking portfolio performance, and accessing additional settings and preferences.
The Ledger Live Manager provides a user-friendly interface that allows you to interact with your Ripple assets seamlessly. It combines the security of a hardware wallet with the convenience of managing your assets on your computer.
Remember to exercise caution when managing your Ripple assets and always verify the transaction details before confirming. By relying on your Ledger Nano S and the Ledger Live Manager, you can have peace of mind knowing that your Ripple holdings are held securely and that every transaction is authorized by you.
Regularly check for any updates to the Ledger Live Manager software to ensure you have the latest features and security enhancements.
You now have all the tools and knowledge to effectively manage your Ripple assets on the Ledger Live Manager. Enjoy the convenience and security that comes with using a hardware wallet for your Ripple transactions!