
How to Transfer Music to Kindle Fire Using USB
Transferring music to your Kindle Fire using a USB cable is a simple and convenient method. Follow these steps to get your favorite music onto your device:
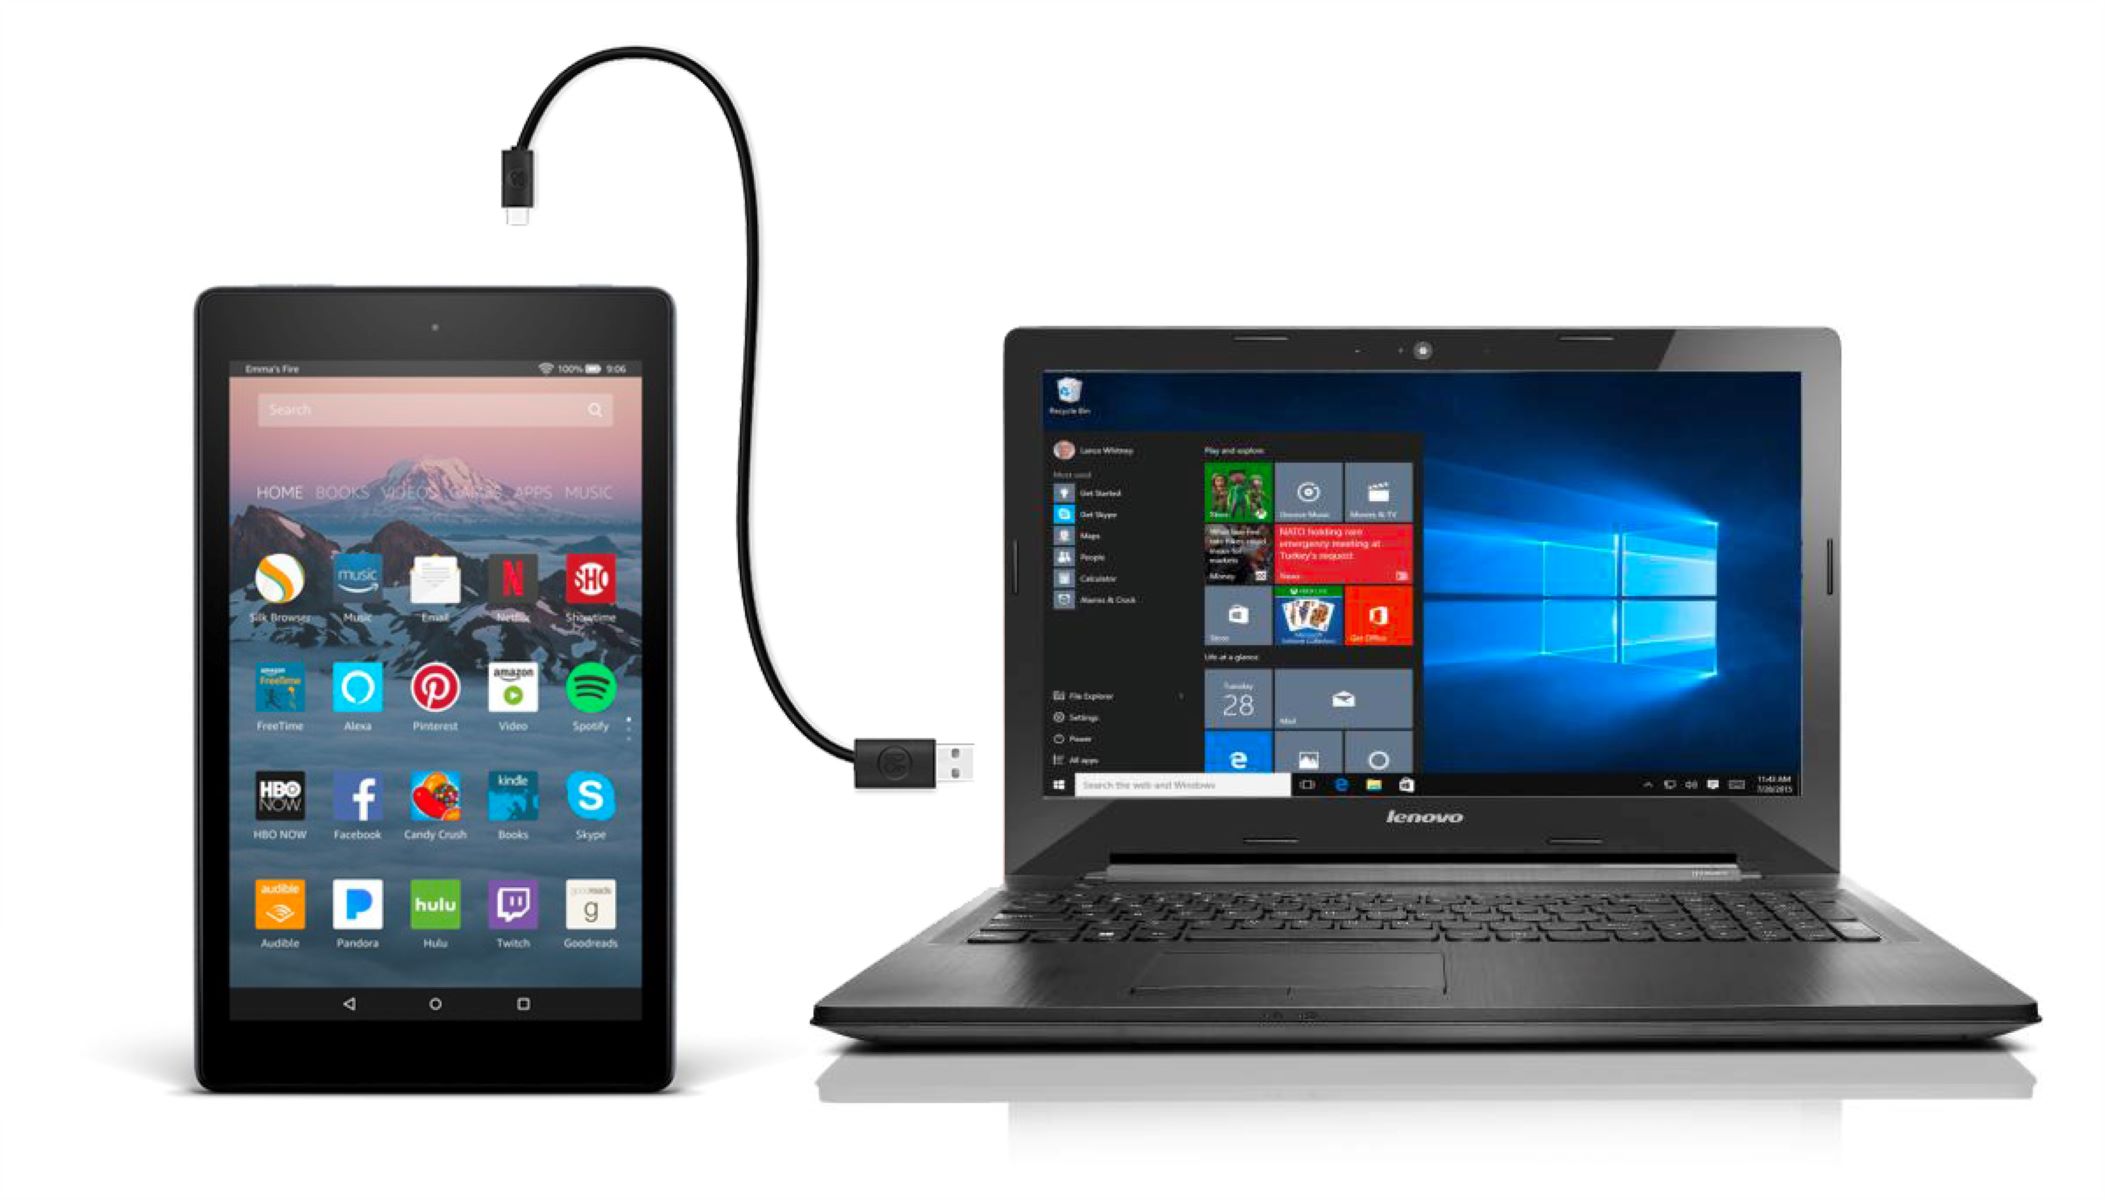
- Connect your Kindle Fire to your computer using a USB cable. Make sure both devices are powered on.
- On your computer, locate the Kindle Fire device in the File Explorer or Finder.
- Double-click on the Kindle Fire device to open it.
- Now, open the folder where your music files are stored on your computer.
- Select the music files or folders you want to transfer to your Kindle Fire.
- Drag and drop the selected music files or folders into the Music folder on the Kindle Fire.
- Wait for the transfer to complete. The time may vary depending on the size of the files.
- Once the transfer is finished, safely disconnect your Kindle Fire from your computer.
- On your Kindle Fire, open the Music app to access and play your transferred music.
That’s it! You have successfully transferred your music files to your Kindle Fire using a USB cable. You can now enjoy your favorite songs on the go.
Note: Make sure the music files you transfer to your Kindle Fire are in supported formats, such as MP3 or AAC. If your music is in a different format, you may need to convert it before transferring.
How to Transfer Music to Kindle Fire via Kindle Email
If you prefer to transfer music to your Kindle Fire wirelessly, you can use the Kindle Email feature. Follow these steps to transfer music files to your Kindle Fire:
- Open a web browser on your computer and go to the Amazon website.
- Sign in to your Amazon account using the same credentials used for your Kindle Fire.
- In the top-right corner, click on the “Account & Lists” dropdown menu and select “Manage Content and Devices”.
- Click on the “Preferences” tab, then locate the “Personal Document Settings” section.
- Scroll down to the “Approved Personal Document Email List” and click on “Add a new approved email address”.
- Enter the email address you will be using to send the music files and click “Add Address”.
- On your computer, compose a new email and attach the music files you want to transfer to your Kindle Fire.
- In the “To” field, enter your Kindle email address. You can find this email address in the “Approved Personal Document Email List” section mentioned earlier.
- Send the email. It may take a few minutes for the files to appear on your Kindle Fire, depending on your internet connection.
- On your Kindle Fire, open the Documents app or the Music app to access and play your transferred music.
That’s it! You have successfully transferred music files to your Kindle Fire via Kindle Email. This method is especially useful if you want to wirelessly send music files from a different device to your Kindle Fire.
Note: The Kindle Email feature only works if your Kindle Fire is connected to Wi-Fi or has a 3G connection. Additionally, make sure the music files you attach to the email are in supported formats for the Kindle Fire.
How to Transfer Music to Kindle Fire Using Windows Media Player
If you have music stored in your Windows Media Player library, you can easily transfer it to your Kindle Fire. Follow these steps to transfer music using Windows Media Player:
- Connect your Kindle Fire to your computer using a USB cable. Ensure both devices are powered on.
- Open Windows Media Player on your computer.
- Click on the “Sync” tab at the top of the Windows Media Player window.
- In the left-hand pane, you should see your Kindle Fire listed under “Other Libraries”. Click on it to select it.
- In the main window, you will see the contents of your Kindle Fire’s music library.
- On the right-hand side of the window, click on the “Add to” button and select “Sync List”.
- In your Windows Media Player library, locate the music files or playlists you want to transfer to your Kindle Fire. Drag and drop them into the Sync List on the right-hand side of the window.
- Once you have added all the desired music files or playlists, click on the “Start Sync” button at the bottom-right corner of the window.
- Wait for the synchronization process to complete. The duration will depend on the size of the files being transferred.
- After syncing, disconnect your Kindle Fire from your computer and open the Music app to access and play your transferred music.
Congratulations! You have successfully transferred music to your Kindle Fire using Windows Media Player. Now you can enjoy your favorite tunes on your Kindle Fire wherever you go.
Note: Ensure that the music files you transfer are in supported formats, such as MP3 or AAC, for compatibility with your Kindle Fire.
How to Transfer Music to Kindle Fire Using Amazon Cloud Player
Amazon Cloud Player provides a seamless way to store and access your music library on your Kindle Fire. Follow these steps to transfer music using Amazon Cloud Player:
- On your computer, open a web browser and visit the Amazon Cloud Player website.
- Sign in to your Amazon account using the same credentials used for your Kindle Fire.
- Click on the “Upload your music” button on the Cloud Player website.
- Follow the on-screen instructions to upload your music files to your Amazon Cloud library. You can select individual songs or entire folders.
- Once the upload is complete, open the Music app on your Kindle Fire.
- Tap on the “Cloud” tab at the top of the Music app to access your Amazon Cloud library.
- Browse your music library and tap on the songs you want to download to your Kindle Fire. They will be stored locally for offline playback.
- Wait for the chosen songs to download to your Kindle Fire. This may take some time depending on the size of the files and your internet speed.
- Once the download is complete, you can play the transferred music using the Music app on your Kindle Fire.
That’s it! You have successfully transferred music to your Kindle Fire using Amazon Cloud Player. Now you can enjoy your favorite songs wherever you go, even without an internet connection.
Note: Before using Amazon Cloud Player, ensure that your music files are in supported formats compatible with your Kindle Fire. Also, confirm that you have sufficient storage space on your Kindle Fire to accommodate your music library.
How to Transfer Music to Kindle Fire Using Dropbox
If you prefer using Dropbox to store and manage your music library, you can easily transfer music to your Kindle Fire. Here’s how:
- On your computer, open a web browser and go to the Dropbox website.
- Sign in to your Dropbox account or create a new account if you don’t have one.
- Upload your music files to your Dropbox account by either dragging and dropping them into the web interface or using the upload button.
- Once the upload is complete, open the Dropbox app on your Kindle Fire.
- Navigate to the folder where you uploaded your music files.
- Tap on the music file you want to transfer, and it will begin downloading to your Kindle Fire.
- Wait for the download to complete. The time may vary depending on the file size and your internet connection speed.
- After the download, open the Music app on your Kindle Fire to play the transferred music.
Voilà! You have successfully transferred music to your Kindle Fire using Dropbox. Enjoy listening to your favorite tunes on your Kindle Fire wherever you go.
Note: Make sure the music files you upload to Dropbox are in supported formats compatible with your Kindle Fire. Also, ensure you have enough storage space on your Kindle Fire to accommodate your music library.
How to Organize Music on Kindle Fire
Having an organized music library on your Kindle Fire can make it easier to find and enjoy your favorite songs. Follow these tips to keep your music collection well-organized:
- Use Folders: Create folders on your Kindle Fire to categorize your music based on genres, artists, or albums. To create a folder, open the “Documents” app or connect your Kindle Fire to your computer and use the File Explorer or Finder.
- Edit File Metadata: Use a music management software or app to edit the file metadata, such as song titles, artists, and album names. This will ensure that your music is properly labeled and sorted in your library.
- Add Album Art: If your music files don’t have album artwork, you can add it manually. There are various software and online services available to help you find and add album art to your music files.
- Create Playlists: Make use of the built-in playlist feature on your Kindle Fire to create customized playlists for different moods or occasions. Add your favorite songs to these playlists for easy access and enjoyment.
- Use Sorting Options: Take advantage of the sorting options available in your Music app to organize your music by title, artist, album, or genre. This will make it easier to navigate and find specific songs or albums.
- Remove Duplicates: Regularly scan your music library for duplicate songs and remove them to free up space and make your library more streamlined. There are several software tools available that can help you identify and remove duplicate music files.
By following these tips, you can keep your music library organized and easily find the songs you want to listen to on your Kindle Fire.
Note: The specific steps for organizing music may vary depending on the model and software version of your Kindle Fire. Refer to the user manual or the Amazon support website for detailed instructions based on your device.
How to Change the Default Music Player on Kindle Fire
If you prefer using a different music player app on your Kindle Fire instead of the default Music app, you can change the default music player following these steps:
- On your Kindle Fire, open the Settings app from the home screen.
- Scroll down and tap on “Apps & Notifications”.
- Tap on “Default Apps” or “Default Applications”, depending on your device’s software version.
- Scroll down and tap on “Music app” or “Music Player”.
- You will see a list of installed music player apps on your Kindle Fire. Choose the app you want to set as the default music player.
- Tap on the app and select “Just Once” or “Always”, depending on whether you want to use the selected app for just this one instance or as the permanent default player.
Congratulations! You have successfully changed the default music player on your Kindle Fire. From now on, when you play music files on your Kindle Fire, they will automatically open in the selected app.
Note: You can repeat the above steps to change the default music player back to the original Music app or switch to a different app at any time.
Keep in mind that some music player apps may offer additional features and customization options compared to the default Music app on your Kindle Fire. Explore the settings and capabilities of the new music player app to optimize your listening experience.
How to Create Playlists on Kindle Fire
Creating playlists on your Kindle Fire allows you to curate personalized collections of your favorite songs. Follow these steps to create playlists on your device:
- Open the Music app on your Kindle Fire.
- In the Music app, tap on the “Playlists” tab at the top of the screen.
- Tap on the “Create New Playlist” button or the “Add Playlist” option.
- Enter a name for your playlist using the on-screen keyboard and tap “OK”.
- Your newly created playlist will appear in the list of playlists in the Music app.
- To add songs to your playlist, tap on it to open it.
- Tap on the “Add Songs” or “Add to Playlist” button.
- Browse your music library and select the songs you want to add to the playlist by tapping on them.
- Tap on the “Done” or “Add” button to add the selected songs to your playlist.
- Continue adding songs to your playlist by repeating steps 6-9.
That’s it! You have successfully created a playlist on your Kindle Fire. Your playlist is now ready for you to enjoy and easily access your favorite songs.
Note: You can modify your playlist by adding or removing songs at any time. To edit a playlist, go to the Playlists tab in the Music app, tap on the playlist you want to modify, and use the Edit or Delete options available.
Experiment with different combinations of songs to create playlists for different moods, occasions, or genres. Creating playlists can enhance your listening experience on your Kindle Fire and make it more enjoyable to find and play your favorite songs.
How to Delete Music from Kindle Fire
If you want to free up storage space or remove unwanted songs from your Kindle Fire, you can easily delete music files using the Music app. Follow these steps to delete music from your device:
- Open the Music app on your Kindle Fire.
- Navigate to the category where the music you want to delete is located, such as Artists, Albums, or Songs.
- Tap and hold on the song or album you want to delete. A menu will appear with options.
- Select the “Delete” or “Remove” option from the menu. You may need to confirm your action to proceed.
- The selected music will be deleted from your Kindle Fire.
Alternatively, you can also delete music using the “Files” or “Documents” app on your Kindle Fire:
- Open the “Files” or “Documents” app on your Kindle Fire.
- Navigate to the folder where the music files you want to delete are located.
- Tap and hold on the music file you wish to delete.
- Select the “Delete” or “Remove” option from the menu that appears.
- The selected music file will be permanently deleted from your Kindle Fire.
By following these steps, you can easily remove unwanted music files from your Kindle Fire and free up valuable storage space for other content.
Keep in mind that deleted music files cannot be recovered unless you have a backup. Take caution when deleting music files to avoid accidental deletions of your favorite songs.
Troubleshooting Common Issues
While using your Kindle Fire to enjoy music, you may encounter some common issues. Here are solutions to troubleshoot these problems:
- No Sound or Low Volume: Make sure the volume is turned up on your Kindle Fire. Check the headphone jack for any debris or dirt that may be blocking it. If using external speakers, ensure they are properly connected and powered on.
- Playback Errors: If you cannot play certain songs or encounter playback errors, check the file format. Kindle Fire supports popular formats like MP3 and AAC. Try converting the files to a compatible format if needed.
- Music Files Not Showing Up: If music files you transferred are not appearing in the Music app, check if they are located in the correct folder. Ensure your Kindle Fire is properly connected to your computer if you transferred the files via USB.
- Music Skipping or Buffering: If music playback is choppy or constantly buffering, it may be due to a weak Wi-Fi signal. Move closer to the Wi-Fi router or switch to a different network with a stronger signal.
- Syncing Issues: If your music library is not syncing properly across devices, ensure that the wireless sync option is enabled in the settings of the Music app. Restart your Kindle Fire and check if the syncing issue persists.
- Unresponsive Music App: If the Music app is freezing or not responding, try force-closing the app and relaunching it. Restart your Kindle Fire if the issue continues.
- Trouble with Cloud Music: If your Cloud music is not downloading or playing properly, check your internet connection. Ensure your Kindle Fire is connected to Wi-Fi and try again. If the issue persists, sign out and sign back into your Amazon account on your device.
- Device Not Recognizing Music: If your Kindle Fire does not recognize music files, check the file format compatibility. Consider converting the files to a supported format or try using a different music player app.
If you are still experiencing issues with your Kindle Fire and its music functionality, refer to the Amazon support website or contact customer support for further assistance and troubleshooting solutions.
Remember to keep your device up to date with the latest software updates, as they often include bug fixes and improvements to enhance the music experience on your Kindle Fire.