
What is Setup Mode?
Setup Mode is the initial configuration process that allows you to connect your Echo Dot device to your Wi-Fi network and Amazon account. It is the crucial first step in setting up your Echo Dot and enabling it to respond to voice commands through the Alexa voice assistant.
During Setup Mode, you will need to provide your Echo Dot with the necessary information to establish a connection with your Wi-Fi network. This allows your device to access the internet and utilize various Alexa-enabled features, such as streaming music, controlling smart home devices, setting timers and reminders, and much more.
In addition to connecting to Wi-Fi, Setup Mode also requires you to register your Echo Dot to your Amazon account. This ensures that you have access to all the benefits of your Amazon Prime membership, such as Prime Music and Prime Video, as well as personalized features tailored to your preferences.
Setting up your Echo Dot in Setup Mode is a straightforward process that typically takes just a few minutes to complete. Once you have successfully gone through the setup process, you can start enjoying the full range of features and capabilities that your Echo Dot has to offer.
It’s important to note that Setup Mode is a one-time process unless you decide to reset your device. If you ever need to change Wi-Fi networks or set up your Echo Dot on a different Amazon account, you can enter Setup Mode again to make the necessary adjustments.
Now that you understand what Setup Mode entails, let’s dive into the step-by-step instructions to put your Echo Dot in Setup Mode and get it up and running in no time.
Step 1: Power On the Echo Dot
Before you can begin the setup process, you need to ensure that your Echo Dot is powered on. Here’s how to do it:
- Locate the power adapter that came with your Echo Dot. It should consist of a small power brick with a USB cable.
- Connect one end of the USB cable to the power brick and the other end to the micro-USB port on the bottom of your Echo Dot.
- Plug the power adapter into a nearby electrical outlet. The Echo Dot will automatically power on once it’s connected to a power source.
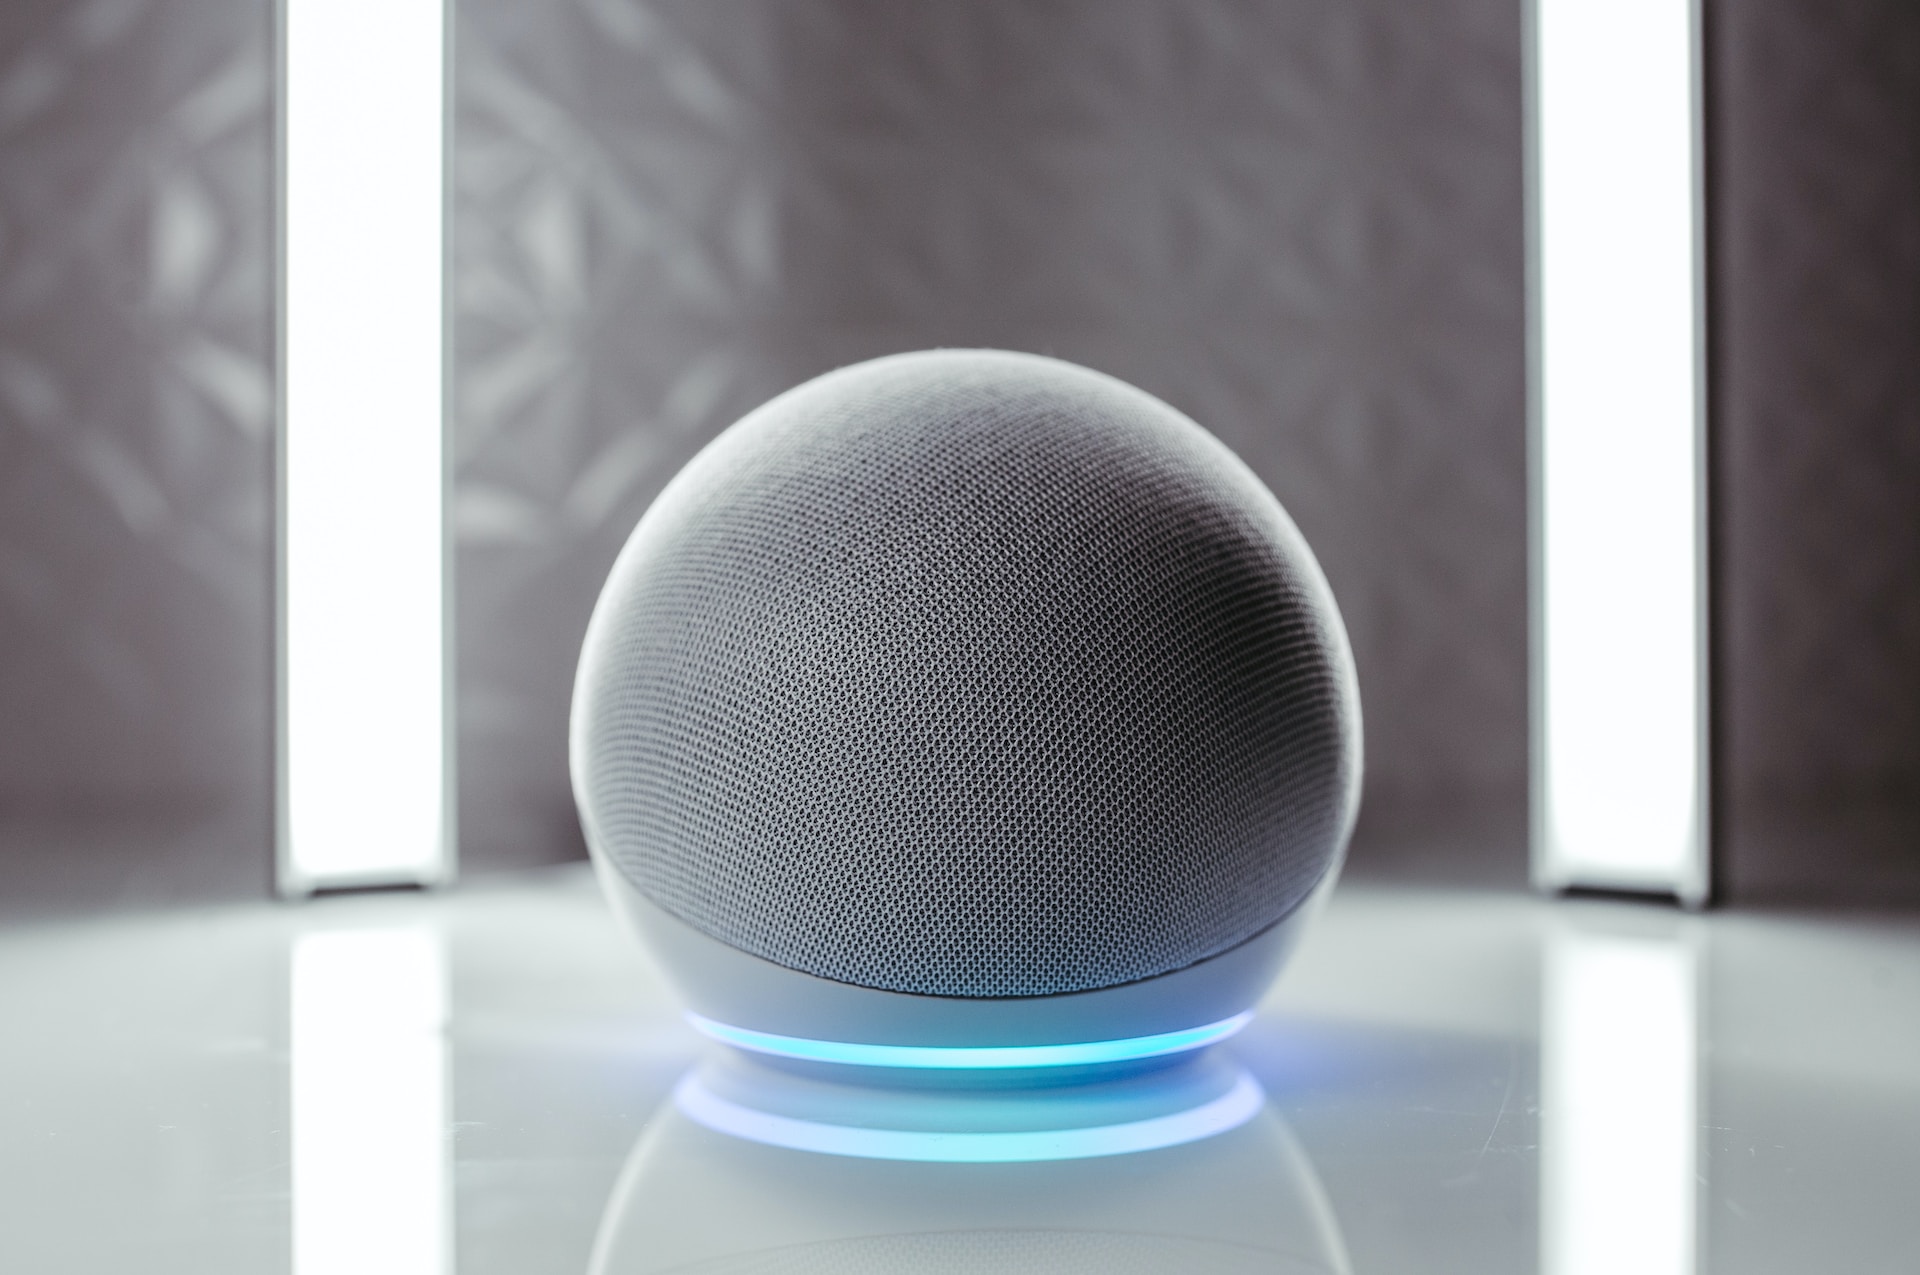
Once your Echo Dot is powered on, you’ll notice that the light ring on top of the device will begin to illuminate. This light ring serves as a visual indicator that your Echo Dot is in active mode and ready for setup. If the light does not turn on, double-check the power connection and try a different electrical outlet if necessary.
Ensure that you position your Echo Dot in an open area without any obstructions around it. This will allow the microphones to pick up your voice commands easily. You can place it on a bedside table, a kitchen counter, or any other convenient location where you frequently interact with Alexa.
Once your Echo Dot is powered on and in a suitable location, you’re ready to move on to the next step of the setup process: connecting your Echo Dot to Wi-Fi.
Step 2: Connect Echo Dot to Wi-Fi
To ensure that your Echo Dot can access the internet and utilize its full range of capabilities, you’ll need to connect it to your Wi-Fi network. Here’s how to do it:
- Download and open the Alexa app on your smartphone or tablet. It’s available for both iOS and Android devices.
- In the Alexa app, tap on the “Devices” tab located at the bottom of the screen.
- Tap the “+” icon in the top-right corner to add a new device.
- Select “Amazon Echo” from the list of available devices.
- Choose the specific Echo Dot model that you’re setting up. If you’re not sure, you can check the serial number or look for the corresponding image.
- Next, make sure your Echo Dot is powered on and in Setup Mode (indicated by the light ring on top, which should be pulsing orange). If it’s not in Setup Mode, press and hold the action button on top of the device for around five seconds until the light ring turns orange.
- Back in the Alexa app, tap “Continue” and then select your preferred language.
- You’ll see a prompt to connect your Echo Dot to your Wi-Fi network. Tap on the network name (SSID) you want to use and enter the corresponding password when prompted.
The Alexa app will then attempt to connect your Echo Dot to the Wi-Fi network. Once successfully connected, the light ring on your device will turn blue, and you’ll receive a confirmation message in the app.
If your Echo Dot fails to connect to the Wi-Fi network, make sure you’re entering the correct password and check to see if your Wi-Fi signal is strong enough in the device’s location. You can also try restarting your Echo Dot and repeating the connection process from the beginning.
Congratulations! Your Echo Dot is now connected to your Wi-Fi network, allowing you to enjoy all the benefits of Alexa right at your fingertips. In the next step, we’ll guide you on how to register your Echo Dot to your Amazon account.
Step 3: Register the Echo Dot to Your Amazon Account
To fully unlock the capabilities of your Echo Dot, you need to register it to your Amazon account. This step ensures that your device is associated with your personal information and preferences. Here’s how to register your Echo Dot:
- Open the Alexa app on your smartphone or tablet if you haven’t already.
- In the Alexa app, tap on the “Devices” tab at the bottom of the screen.
- Tap on the “+” icon in the top-right corner to add a new device.
- Select “Amazon Echo” from the list of available devices.
- Choose the specific Echo Dot model that you’re setting up.
- Confirm that your Echo Dot is powered on and in Setup Mode (indicated by the pulsing orange light ring on top). If it’s not in Setup Mode, press and hold the action button on top of the device for around five seconds until the light ring turns orange.
- Tap “Continue” in the Alexa app, then choose your preferred language.
- On the next screen, you’ll be prompted to sign in to your Amazon account. Enter the email address and password associated with your account.
- If you have two-factor authentication enabled for your Amazon account, you may need to enter a verification code or authenticate the login through your authorized device.
Once you’ve successfully signed in to your Amazon account, your Echo Dot will be registered and linked to your account. This allows you to access your personalized settings, preferences, and Prime benefits associated with your account.
If you encounter any issues during the registration process, double-check your email address and password for accuracy. If you have forgotten your password, you can reset it through the Amazon website or app. Additionally, ensure that your Echo Dot is connected to a stable Wi-Fi network before attempting to register it.
With your Echo Dot now registered to your Amazon account, you’re ready to move on to the next step: renaming your device to easily differentiate it from other Echo devices in your household.
Step 4: Rename Your Echo Dot
By default, your Echo Dot is assigned a generic name such as “Echo Dot” or “Living Room Echo Dot.” To make it easier to identify and control your devices, you can rename your Echo Dot to something more specific or personalized. Follow these steps to rename your Echo Dot:
- Open the Alexa app on your smartphone or tablet.
- Tap on the “Devices” tab at the bottom of the screen.
- Scroll through the list of devices and find your Echo Dot. It will be listed under its default name.
- Tap on your Echo Dot to open its settings.
- Scroll down and locate the “Device Name” option. Tap on it.
- Enter the new name you want to assign to your Echo Dot. It can be anything you prefer, such as “Kitchen Echo” or “Bedroom Dot.”
- Once you’ve entered the new name, tap “Save” or “Done” to confirm the change.
After saving the new name, the Alexa app will update the device list with the updated name for your Echo Dot. Additionally, any voice commands or interactions with your Echo Dot will now refer to it by the new name.
Renaming your Echo Dot is especially useful if you have multiple Echo devices in your home. It allows you to easily differentiate between them when issuing voice commands or controlling them through the Alexa app.
Keep in mind that the new name you choose should be unique and easy to remember. Avoid using names that are too similar to other devices in your household to prevent confusion.
With your Echo Dot now personalized with a custom name, you can easily identify and manage it alongside your other Echo devices. In the next step, we’ll explore how to enable Alexa skills to expand the capabilities of your Echo Dot.
Step 5: Enable the Alexa Skill
One of the key features of the Echo Dot is its ability to use Alexa skills. These skills are like apps that add additional functionalities to your Echo Dot, allowing you to do more with your device. Enabling Alexa skills is a simple process. Here’s how to do it:
- Open the Alexa app on your smartphone or tablet.
- Tap on the “More” tab at the bottom-right corner of the screen.
- Select “Skills & Games” from the menu.
- In the search bar at the top, type in the name of the skill you want to enable. You can also browse through the popular skills or explore categories to discover new ones.
- From the search results or skill details page, tap “Enable” to enable the skill.
- If the skill requires additional permissions or setup, follow the on-screen instructions to complete the process.
- Once enabled, you can start using the skill by simply asking Alexa. For example, if you enabled a weather skill, you can say, “Alexa, what’s the weather today?” and she will provide the forecast.
Enabling Alexa skills allows you to customize your Echo Dot’s abilities to suit your needs and preferences. There are thousands of skills available, ranging from entertainment and productivity to smart home control and health and wellness.
To manage your enabled skills, you can go to the “Skills & Games” section in the Alexa app. From there, you can disable or enable skills, customize their settings, and explore new skills to enhance your Echo Dot experience.
Keep in mind that some skills may require additional subscriptions or purchases to fully utilize their features. Make sure to review the details of the skill before enabling it to avoid any surprises.
Now that you know how to enable Alexa skills, you can start enhancing the capabilities of your Echo Dot and enjoy a more personalized and versatile voice assistant experience. In the next step, we’ll look at how to connect smart home devices to your Echo Dot, allowing you to control your home with voice commands.
Step 6: Connect Smart Home Devices (Optional)
One of the most appealing features of the Echo Dot is its ability to seamlessly integrate with various smart home devices. With this capability, you can control lights, thermostats, locks, and other compatible devices using voice commands through Alexa. Here’s how to connect smart home devices to your Echo Dot:
- Make sure your smart home device is compatible with Alexa. Look for the “Works with Alexa” label or check the manufacturer’s documentation.
- Open the Alexa app on your smartphone or tablet.
- Tap on the “Devices” tab at the bottom of the screen.
- Tap on the “+” icon in the top-right corner to add a new device.
- Select the device category that matches the smart home device you want to connect. For example, if you have smart lights, select “Lights.” If you have a smart thermostat, select “Thermostats.”
- Follow the on-screen instructions to put your smart home device into pairing mode. This typically involves pressing a button or following specific steps outlined by the device manufacturer.
- Once your device is in pairing mode, the Alexa app will detect it. Select your device from the list of available devices.
- Authenticate the connection by following any additional steps required by the device manufacturer.
After successfully connecting your smart home devices to your Echo Dot, you can use voice commands to control them. For example, you can say, “Alexa, turn off the lights,” or “Alexa, set the thermostat to 72 degrees.”
Keep in mind that different devices may have specific commands and capabilities, so it’s worth exploring the manufacturer’s documentation or skill for your particular device to fully understand the available voice commands and features.
Connecting smart home devices to your Echo Dot allows for a more convenient and streamlined way to manage your home. Whether it’s adjusting the lighting, setting your preferred temperature, or locking doors with a simple voice command, having smart home integration can greatly enhance your daily routines.
In the next step, we’ll explore additional settings and features that you can customize to further personalize your Echo Dot and optimize your overall experience.
Step 7: Explore Additional Settings and Features
After completing the essential setup steps for your Echo Dot, there are still plenty of additional settings and features to explore. Customizing these options can further enhance your experience and make your Echo Dot more tailored to your preferences. Let’s dive into some of these additional settings and features:
1. Customize Alexa’s Voice: You can change the default voice of Alexa to a different accent or language that suits your preference.
2. Create Routines: Routines allow you to automate a series of actions with a single command. For example, you can create a routine called “Good Morning” that turns on the lights, reads the news, and starts your favorite music.
3. Manage Household Profiles: If you have multiple people using the Echo Dot, you can set up and manage household profiles. Each profile can have personalized preferences, calendar events, and Amazon account access.
4. Enable Echo Dot’s Clock: If you have an Echo Dot with a built-in clock, you can customize the clock face and display settings to match your style and preferences.
5. Configure Privacy Settings: You can adjust privacy settings to control how your Echo Dot collects and uses your data. This includes managing voice recordings and controlling whether your device responds to the “Alexa” wake word or a different word.
6. Explore Skills and Discover New Ones: The Alexa app features a wide range of skills that you can enable to expand the capabilities of your Echo Dot. Browse through different categories or search for specific skills to find ones that align with your interests and needs.
7. Set Up Multi-Room Music: If you have multiple Echo devices in your home, you can synchronize them to play music in multiple rooms simultaneously.
8. Manage Music and Media Services: You can link music and media streaming services, such as Amazon Music, Spotify, or Apple Music, to your Echo Dot and customize your default service preferences.
Exploring these additional settings and features allows you to make the most out of your Echo Dot. Take the time to personalize your device according to your needs and preferences, and don’t hesitate to experiment with different options to find the perfect setup for you.
With this final step, you’ve successfully completed the setup and customization of your Echo Dot. Enjoy the convenience and versatility that your Echo Dot offers and explore new ways to use it in your daily life.