
Installing the Kindle App on Your iPhone
If you’re an avid reader and want to access your favorite books on the go, installing the Kindle app on your iPhone is a game-changer. With the Kindle app, you can browse and purchase a wide variety of e-books from the Amazon Kindle Store, making it convenient to read your favorite titles anytime, anywhere. Here’s a step-by-step guide on how to get started with the Kindle app on your iPhone.
1. Open the App Store on your iPhone.
2. Search for “Kindle” in the search bar at the bottom of the screen.
3. Tap on the “Get” button next to the Kindle app.
4. Once the app is downloaded, tap on the “Open” button to launch the Kindle app.
5. The app will prompt you to sign in to your Amazon account. If you already have an Amazon account, enter your login credentials. If not, tap on the “Create Account” option and follow the on-screen instructions to create a new Amazon account.
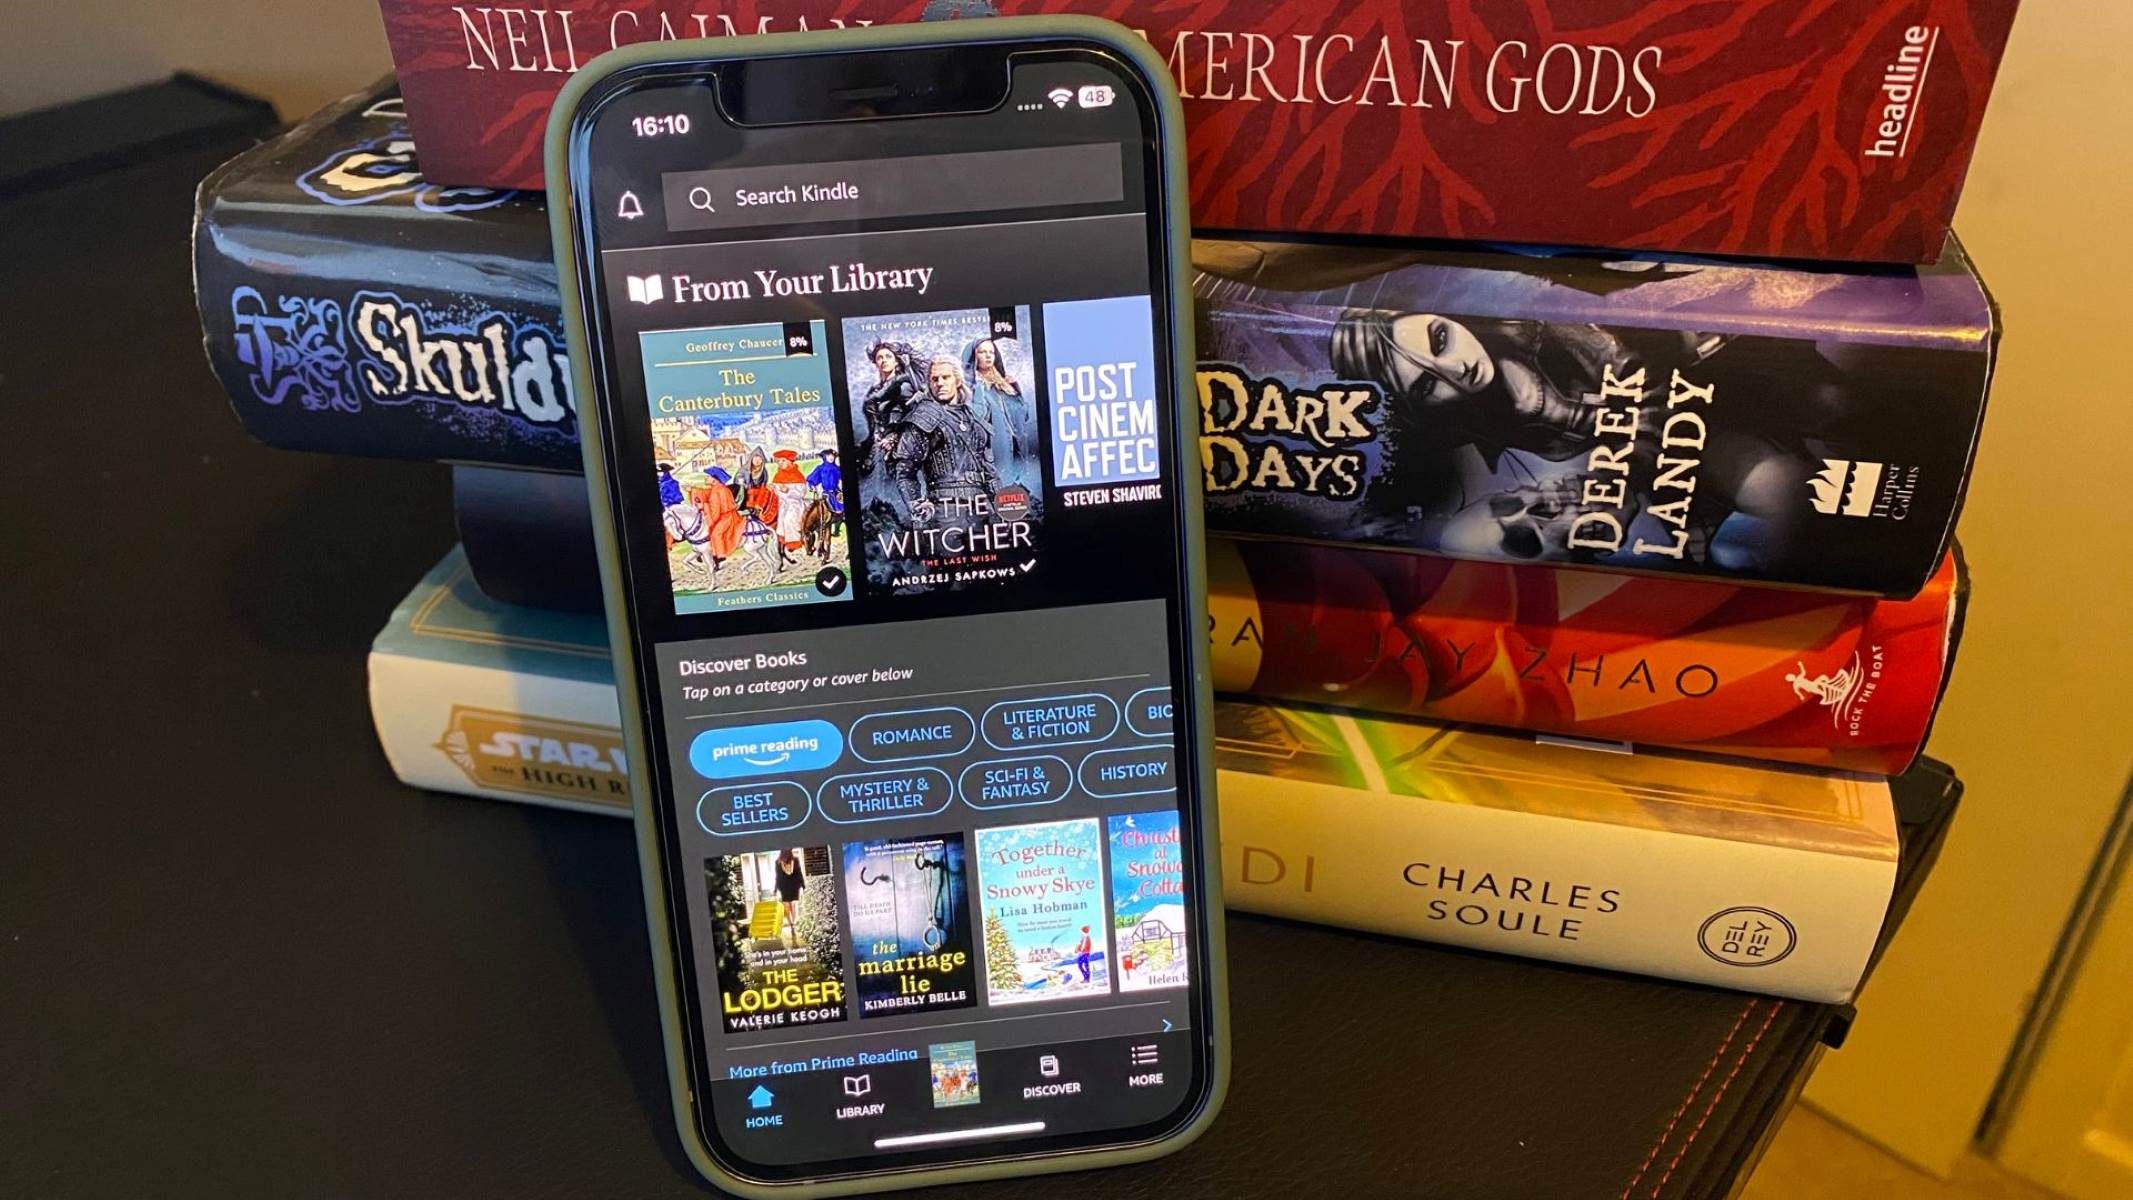
6. After signing in, you’ll be directed to the Kindle app’s home screen, where you can start browsing and purchasing e-books.
Installing the Kindle app is quick and straightforward, bringing you one step closer to building your digital library. Once you have the app installed, you can now start exploring and purchasing your favorite e-books from the extensive Kindle Store. In the following sections, we’ll guide you through the entire process of signing in to your Amazon account, browsing the Kindle Store, purchasing books, adjusting reading settings, and more.
Signing in to Your Amazon Account on the Kindle App
After installing the Kindle app on your iPhone, the next step is signing in to your Amazon account to access your existing library and make new purchases. Here’s how to sign in to your Amazon account on the Kindle app:
1. Open the Kindle app on your iPhone by tapping on its icon.
2. On the home screen, you’ll see the option to “Sign in.” Tap on it.
3. Enter your Amazon account email address and password in the provided fields.
4. If you have two-step verification enabled, you may be prompted to enter a verification code that is sent to your registered email or phone number.
5. Once you’ve entered your login information correctly, tap on the “Sign in” button.
6. After successfully signing in, you’ll be directed to your Kindle library, where you can access all previously purchased books and begin exploring new titles in the Kindle Store.
Signing in to your Amazon account on the Kindle app ensures all your previous purchases and downloaded books are synced across devices. This means you can seamlessly switch between reading on your iPhone, Kindle e-reader, or any other supported device while maintaining your progress and bookmarks. Additionally, signing in allows you to access cloud storage, where you can upload and store personal documents or non-Kindle books to read within the app or on other devices.
In the next section, we’ll walk you through the process of browsing the Kindle Store to discover and purchase e-books that pique your interest.
Browsing the Kindle Store for Books
Once you’ve signed in to your Amazon account on the Kindle app, you’re ready to explore the vast selection of e-books available in the Kindle Store. Here’s how you can browse the Kindle Store and find your next read:
1. Open the Kindle app on your iPhone and tap on the “Store” icon located at the bottom of the screen.
2. The Kindle Store home screen will display a range of featured books, new releases, and personalized recommendations based on your reading preferences. Scroll through the various sections to discover interesting titles.
3. To search for a specific book or author, tap on the magnifying glass icon in the top right corner of the screen. Enter the book title, author name, or keywords related to the book you’re looking for. You can also browse through different categories and genres available in the Kindle Store by tapping on the menu icon, usually represented by three horizontal lines.
4. As you scroll through the books, you’ll see their cover images, titles, authors, and ratings. Tap on a book to view its description, customer reviews, and a sample of the book if available. You can use the “Back” button to return to the previous screen.
5. To refine your search results, use the filter options provided in the Kindle Store. You can narrow down your search by price, genre, language, ratings, and more. This helps you find books that align with your preferences and budget.
6. If you’re unsure about a book, the Kindle Store also allows you to preview a sample before making a purchase. Tap on the “Read a Sample” button to get a glimpse of the book and decide if it’s something you’d like to read in its entirety.
Browsing the Kindle Store is an enjoyable and efficient way to discover new books and authors. Take your time to explore different genres, read reviews, and check out the recommendations tailored to your reading habits. In the next section, we’ll guide you through the process of previewing and choosing a book to purchase from the Kindle Store on your iPhone.
Previewing and Choosing a Book to Purchase
Once you’ve browsed the Kindle Store and found a book that catches your interest, it’s time to preview and choose whether to purchase it. The Kindle app allows you to get a feel for the book before making a decision. Here’s how you can preview and choose a book to purchase:
1. In the Kindle Store, tap on the book cover or title that you want to explore further.
2. On the book’s details page, you’ll find a brief synopsis, reviews from other readers, and other relevant information. Take a moment to read the description and get an idea of what the book is about.
3. To preview the book, tap on the “Preview” or “Look Inside” button. This will give you access to a sample of the book, typically ranging from a few pages to a chapter. Use this opportunity to gauge the writing style, content, and whether the book captures your interest.
4. While previewing, you can navigate through the sample by swiping left or right on your iPhone screen or using the designated navigation buttons. Take note of the book’s formatting, font size, and any other aspects that may impact your reading experience.
5. If you’re satisfied with the book after previewing, and would like to purchase it, tap on the “Buy” or “Add to Cart” button. The exact wording may vary depending on the pricing and availability of the book.
6. Follow the on-screen instructions to complete the purchase. You may need to confirm your payment method, billing address, and agree to the terms and conditions. If you have already made previous purchases, your payment information may already be saved for ease of use.
Previewing and choosing a book before making a purchase allows you to make an informed decision and ensures that you invest your time and money in reading material that you’ll truly enjoy. Remember to explore different genres and authors, and don’t hesitate to use the sample feature to help you choose the perfect book for your reading pleasure. In the next section, we’ll cover how to add the purchased book to your Kindle library on the app.
Adding the Book to Your Kindle Library
Once you’ve purchased a book from the Kindle Store on the app, it’s time to add it to your Kindle library so you can start reading. Here’s how you can add the purchased book to your Kindle library within the app:
1. After completing the purchase process, you’ll receive a confirmation message that the book has been successfully added to your library. Tap on the “Continue” or “Done” button to proceed.
2. To access your Kindle library, tap on the “Library” icon located at the bottom of the screen. This will display all the books you’ve purchased and downloaded.
3. Your newly purchased book should now appear within the library. It will be represented by its cover image, title, and author.
4. If you have a large library and can’t spot the book immediately, you can use the search bar at the top of the library page to look for the specific title or author.
5. To open and start reading the book, simply tap on its cover or title. The book will load, and you can begin immersing yourself in the story.
Adding the purchased book to your Kindle library ensures that it is easily accessible whenever you want to read it. It allows you to keep your digital book collection organized and readily available on your iPhone. Now that the book is in your library, let’s move on to the next section where we’ll discuss how to complete the purchase of the Kindle book on your iPhone.
Completing the Purchase of the Kindle Book
Once you’ve chosen a book to purchase and added it to your Kindle library on the app, it’s time to complete the buying process. Here’s how to finalize the purchase of the Kindle book on your iPhone:
1. After tapping on the “Buy” or “Add to Cart” button, you’ll be redirected to the payment confirmation page. This page will display the book’s price, as well as the payment method you have on file.
2. Review the purchase details to ensure everything is accurate. If you need to change the payment method, you can do so by tapping on the “Change” or “Edit” button.
3. If all the information is correct, tap on the “Buy Now” or “Place Your Order” button to proceed with the purchase. You may be asked to enter your Amazon account password or authenticate your payment method for security purposes.
4. Once the transaction is complete, you’ll receive a confirmation message indicating that the book has been successfully added to your Kindle library. Tap on the “Continue” or “Done” button to proceed.
5. The purchased book will now be available within your Kindle library, ready for you to start reading.
Completing the purchase process ensures that you own the book and have the right to access it at any time. Make sure you double-check the payment details and confirm the transaction before proceeding. With the purchase complete, you can now enjoy reading your new book on your iPhone. In the next section, we’ll discuss adjusting reading settings and preferences on the Kindle app for a personalized reading experience.
Adjusting Reading Settings and Preferences on the Kindle App
The Kindle app offers a range of customizable reading settings to enhance your reading experience and tailor it to your preferences. Here’s how you can adjust the reading settings and preferences on the Kindle app:
1. Open the Kindle app on your iPhone and tap on the book you would like to read from your library.
2. Once the book is open, tap on the middle of the screen to reveal the app’s toolbar. From there, tap on the “Aa” button located at the top right corner of the screen. This will open the “Text Options” menu.
3. In the “Text Options” menu, you can adjust various settings such as font style, font size, line spacing, and margins. Tap on each setting to see the available options, and select the one that suits you best.
4. You can also change the reading background to suit your preference. The app offers multiple options, including white, sepia, and black. Tap on the background color option and choose the one that is most comfortable for your eyes.
5. The Kindle app also provides the option to enable or disable features like page flip, hyphenation, and publisher fonts. Experiment with these options to find the reading experience that suits you best.
6. To access additional settings, tap on the “More Options” button (represented by three dots) located at the top right corner of the screen. From there, you can access features such as bookmarks, highlights, notes, dictionary, and more.
By adjusting the reading settings and preferences on the Kindle app, you can create a personalized reading experience that is comfortable for you. Experiment with different font styles, sizes, and backgrounds until you find the settings that make reading enjoyable and effortless. In the next section, we’ll discuss how to sync your Kindle library across devices for seamless reading on multiple devices.
Syncing Your Kindle Library Across Devices
One of the great features of the Kindle app is the ability to sync your Kindle library across multiple devices. This means that you can seamlessly switch between your iPhone, Kindle e-reader, tablet, or computer while maintaining your reading progress and access to your entire library. Here’s how to sync your Kindle library across devices:
1. Ensure that you are signed in to the same Amazon account on all the devices you want to sync.
2. Open the Kindle app on your iPhone and ensure that you have an active internet connection.
3. Any changes you make, such as adding or removing books, highlighting or bookmarking pages, or adjusting reading settings, will automatically sync to the cloud when connected to the internet.
4. To sync your Kindle library on other devices, open the Kindle app or Kindle e-reader on that device and ensure it is connected to the internet.
5. Once connected, the device will automatically sync with the cloud and download any new books or changes made from other devices.
6. During the syncing process, the devices will also sync your reading progress, so you can pick up where you left off on any device.
Syncing your Kindle library across devices ensures that you have access to your entire collection and reading progress, no matter which device you’re using. Whether you’re reading on your iPhone during your daily commute or switching to your Kindle e-reader at home, you can seamlessly continue your reading journey. In the next section, we’ll explore how to read Kindle books on your iPhone and make the most of the reading experience.
Reading Kindle Books on Your iPhone
With the Kindle app installed on your iPhone, you have the convenience of carrying your entire digital library in your pocket. Here’s how you can make the most of reading Kindle books on your iPhone:
1. Open the Kindle app on your iPhone and sign in to your Amazon account if prompted.
2. Tap on the desired book from your Kindle library to open it.
3. To turn the page, swipe left or right on the screen, or tap on the left or right edge. You can also customize the reading experience by tapping on the center of the screen to access the app’s toolbar, where you’ll find options for adjusting the font, background color, brightness, and more.
4. To access specific sections of the book, tap on the center of the screen to reveal the toolbar, then tap on the “Go To” option. From there, you can jump to the table of contents, specific chapters, or pages.
5. The Kindle app also provides features to enhance your reading experience. You can highlight text, make notes, and create bookmarks by tapping and holding on a word or selected text. These annotations will be saved and synced across devices.
6. If you come across unfamiliar words or phrases, you can simply tap on them to view their definitions using the built-in dictionary feature.
7. Take advantage of the app’s bookmarking feature to mark important pages or sections for future reference. To access your bookmarks, tap on the middle of the screen to reveal the toolbar, then tap on the “Bookmarks” tab.
Reading Kindle books on your iPhone offers a portable and convenient way to enjoy your favorite titles. Whether you’re on the go, relaxing at home, or waiting in line, you can make the most of your reading time with the Kindle app. In the next section, we’ll explore how to manage and organize your Kindle library on the app for easy access to your books.
Managing and Organizing Your Kindle Library on the Kindle App
With a growing digital book collection, it’s important to be able to manage and organize your Kindle library on the Kindle app for easy access and a better reading experience. Here are some tips for managing and organizing your Kindle library:
1. Sort your library: On the Kindle app, you can sort your library by title, author, or recent activity. This makes it easier to find specific books or browse your collection in a preferred order.
2. Create collections: Collections are a great way to organize your books into categories, genres, or reading lists. To create a collection, tap on the “Library” icon, then select “Collections.” From there, tap on the plus (+) button to create a new collection and give it a name. After creating a collection, you can add books to it by tapping and holding on a book cover, then selecting “Add to Collection.”
3. Remove books from your device: If you’re running out of storage space on your iPhone, you can remove books from your device while keeping them in your cloud library. To do this, go to your library, tap and hold on a book cover, then select “Remove from Device.” Don’t worry; you can re-download the book at any time when you’re ready to read it again.
4. Archive books: If you want to declutter your library without permanently deleting books, you can archive them. Archiving removes the book from your device but keeps it in your cloud library for future access. To archive a book, go to your library, tap and hold on a book cover, then select “Archive.”
5. Search for books: If you have a large library and need to find a specific book quickly, you can use the search function. Tap on the magnifying glass icon at the top of the library screen, then enter the book’s title, author, or any keyword associated with it.
By effectively managing and organizing your Kindle library, you can easily find and access your books, ensuring a seamless reading experience. Take some time to sort and create collections, remove or archive books as needed, and utilize the search feature to locate specific titles. In the next section, we’ll explore additional features and functionalities of the Kindle app that can enhance your reading experience.
Making Use of Additional Features on the Kindle App
The Kindle app offers a range of additional features that enhance your reading experience and provide additional functionality. Here are some key features to explore on the Kindle app:
1. Dictionary and Wikipedia integration: When reading a book on the Kindle app, you can tap and hold on a word to view its definition using the built-in dictionary feature. Additionally, you can access related information and references on Wikipedia by tapping on the Wikipedia link within the dictionary definition.
2. X-Ray: The X-Ray feature provides in-depth information about characters, places, and terms mentioned in the book. To access the X-Ray feature, tap on the center of the screen to reveal the toolbar, then tap on the “X-Ray” option. This is particularly useful when reading complex novels or series with many characters and intricate storylines.
3. Bookmarks, highlights, and notes: The Kindle app allows you to easily bookmark pages, highlight text, and add personal notes. To add a bookmark, tap on the center of the screen to reveal the toolbar, then tap on the bookmark icon. To highlight text or add a note, tap and hold on a word or selected text, then choose the desired option. These annotations stay synced across devices and can be accessed from the “Menu” icon in the toolbar.
4. Reading progress sync: The Kindle app syncs your reading progress across devices, allowing you to seamlessly switch between devices and continue reading where you left off. Whether you switch from your iPhone to your Kindle e-reader or your tablet, you can pick up where you left off.
5. Whispersync for Voice: If you’ve purchased both the e-book and the audiobook version of a title, Whispersync for Voice allows you to seamlessly switch between reading and listening. Your progress is synced between the e-book and audiobook, enabling you to switch between reading on your iPhone and listening on compatible devices.
6. Goodreads integration: If you’re a Goodreads user, you can connect your Goodreads account to the Kindle app. This integration allows you to see book recommendations based on your reading habits, mark books as “read,” and participate in the Goodreads community without leaving the Kindle app.
The additional features on the Kindle app enhance your reading experience and provide added convenience and functionality. Take advantage of the built-in dictionary, X-Ray, bookmarking, highlights, and note-taking features to fully engage with the content. Explore Whispersync for Voice and Goodreads integration to expand your reading options and connect with the reading community. With these features, the Kindle app becomes more than just a reading platform. In the next section, we’ll wrap up our guide with some final thoughts.