
Overview
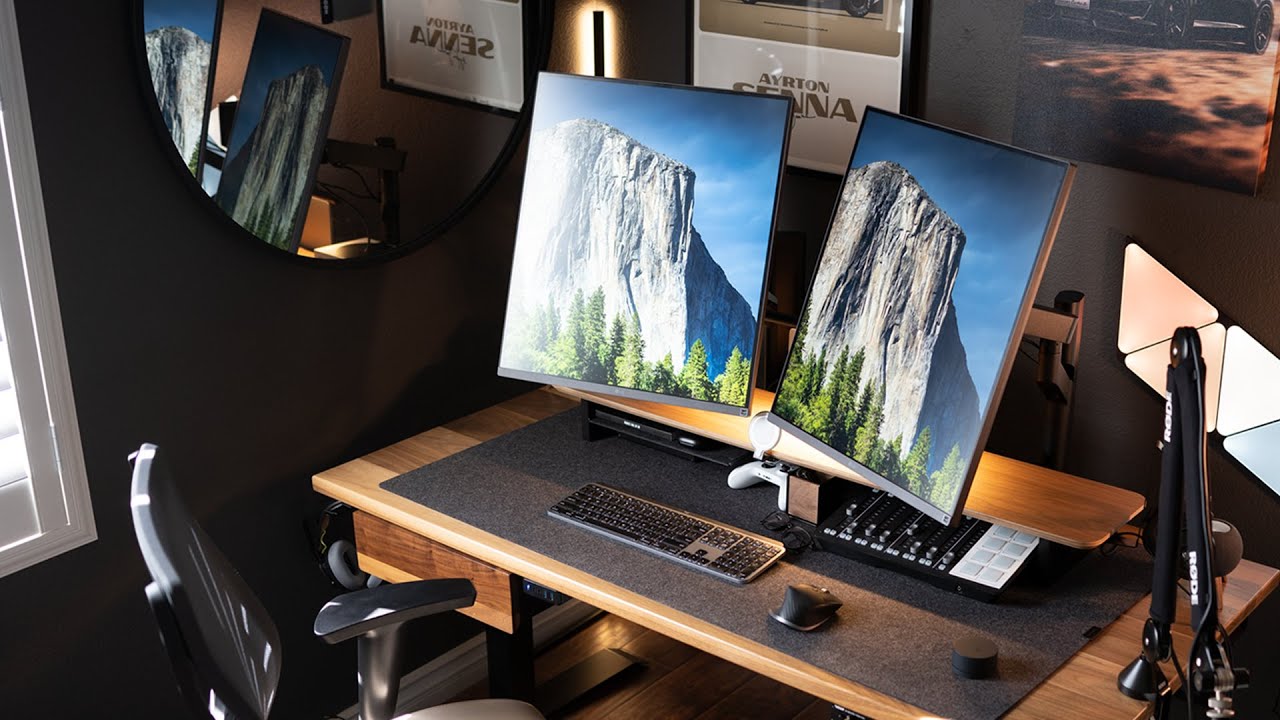
Having the ability to move a window to another monitor can greatly enhance productivity and convenience, especially for users who work with multiple displays. Whether you’re using Windows, macOS, or Linux, there are various methods to accomplish this task.
One common scenario is when you have a large screen connected to your computer, and you want to transfer a window from your smaller laptop screen to the larger display for better visibility and workspace utilization. Another situation where moving a window to another monitor is beneficial is when you want to extend your desktop across multiple screens for multitasking purposes.
In this article, we will explore different techniques to move a window to another monitor on different operating systems, including Windows 10, macOS, and Linux. We will also delve into the options of utilizing keyboard shortcuts and third-party software for a more efficient window-moving experience.
Whether you’re a professional working on complex projects or a casual user looking to streamline your workflow, these methods will provide you with the flexibility and control to easily move windows between monitors. By mastering these techniques, you can maximize your screen real estate, improve organization, and ultimately enhance your overall computing experience.
Why would you want to move a window to another monitor?
There are several reasons why you might want to move a window to another monitor:
- Increased productivity: Having multiple monitors allows you to have more screen real estate, providing room for multitasking and improving productivity. You can have multiple windows open at the same time and easily switch between them.
- Enhanced focus: By dedicating one monitor solely to your main task or project, you can minimize distractions from other applications or notifications. This setup helps you maintain concentration and stay focused on your work.
- Better organization: Moving a window to a separate monitor allows you to visually separate different types of content or applications. For example, you can have your email client open on one monitor while working on a presentation or editing a document on another.
- Improved collaboration: When collaborating with others, having a dedicated monitor for video conferences or shared documents can enhance the efficiency and effectiveness of your communication and collaboration. It enables you to keep relevant information visible without cluttering your main workspace.
- Accessibility: For individuals with visual impairments or special ergonomic needs, moving a window to another monitor can provide better visibility or ensure a more comfortable viewing experience.
Overall, moving a window to another monitor gives you the flexibility to customize your workspace according to your personal preferences and specific tasks. It allows you to take full advantage of the additional screen real estate, resulting in increased productivity, improved organization, and enhanced collaboration.
How to move a window to another monitor on Windows 10
Moving a window to another monitor on Windows 10 can be done using several methods:
- Drag and drop: Click on the title bar of the window you want to move and drag it to the edge of the current monitor until the cursor reaches the other monitor. Release the mouse button to drop the window onto the new monitor.
- Keyboard shortcuts: Use the keyboard shortcut “Windows key + Shift + Arrow key” to move the window between monitors. Press the right or left arrow key to move the window to the right or left monitor, respectively.
- Display settings: Right-click on an empty area of the desktop and select “Display settings” from the context menu. Under the “Multiple displays” section, you can choose to extend the desktop to the second monitor. Once extended, you can easily move windows between monitors by dragging and dropping or using keyboard shortcuts.
- Taskbar: If the window is already open on the taskbar, you can right-click on its icon and select “Move” from the context menu. Then, use the arrow keys on your keyboard to move the window to the desired monitor.
- Third-party software: There are various third-party applications available that provide additional features and customization options for managing windows across multiple monitors. Examples include DisplayFusion, UltraMon, and Actual Multiple Monitors.
Windows 10 offers flexible options to move windows between monitors, allowing you to choose the method that suits your preference and workflow. Whether through drag and drop, keyboard shortcuts, or utilizing third-party software, you can effortlessly rearrange windows for a more efficient and organized multi-monitor setup.
How to move a window to another monitor on macOS
On macOS, moving a window to another monitor can be accomplished in the following ways:
- Drag and drop: Click and hold on the title bar of the window you want to move, then drag it to the edge of the current monitor until the cursor moves onto the other monitor. Release the mouse button to place the window on the new monitor.
- Keyboard shortcuts: Use the keyboard shortcut “Control + Up Arrow” to maximize the window and move it to the next available monitor. Additionally, you can use “Control + Left Arrow” or “Control + Right Arrow” to move the window to the respective side of the current monitor.
- Mission Control: Press the “Mission Control” key on your keyboard (usually F3) or perform a four-finger swipe up on a trackpad to enter Mission Control. From there, you can drag and drop windows between different desktop spaces or monitors.
- Arrangement settings: Open “System Preferences” and click on the “Displays” icon. In the “Arrangement” tab, you will see a representation of your monitors. Simply drag and rearrange the position of the monitors to reflect their physical layout. This will affect the movement of windows across monitors.
- Third-party apps: Like Windows, there are third-party applications available for macOS that offer additional features for managing windows across multiple monitors. Examples include BetterSnapTool, Magnet, and Spectacle.
With these options at your disposal, moving windows to different monitors on macOS is a simple and intuitive process. Whether through drag and drop, keyboard shortcuts, or leveraging the capabilities of Mission Control, you can easily reposition windows to optimize your workflow and take advantage of the benefits of a multi-monitor setup on macOS.
How to move a window to another monitor on Linux
Moving a window to another monitor on Linux can be achieved through various methods, depending on the desktop environment you are using. Here are some common techniques:
- Drag and drop: Click and hold on the title bar of the window you want to move, then drag it to the edge of the current monitor until the cursor moves onto the other monitor. Release the mouse button to place the window on the new monitor.
- Keyboard shortcuts: Some Linux desktop environments have built-in keyboard shortcuts for moving windows between monitors. Check the documentation or settings of your desktop environment to find the specific shortcuts. Common combinations include “Super + Shift + Right/Left” or “Control + Alt + Right/Left”.
- Window manager options: Certain window managers, such as i3, Awesome, or Openbox, offer advanced window management features that allow you to move windows between different workspaces or monitors using specific commands or keybindings. Consult the documentation or community resources for your specific window manager.
- Third-party utilities: There are third-party utilities available that offer additional window management features and flexibility on Linux. Applications such as “devilspie2”, “wmctrl”, or “xmonad” enable you to create scripts or use specific commands to move windows across monitors.
Linux offers a wide range of options for moving windows between monitors. Whether through drag and drop, built-in keyboard shortcuts, utilizing window manager features, or utilizing third-party utilities, you can easily customize your workflow and arrange windows on different monitors to suit your needs.
How to move a window to another monitor using keyboard shortcuts
Moving a window to another monitor using keyboard shortcuts can be a quick and efficient method. Here are some common keyboard shortcuts for different operating systems:
- Windows: Use the keyboard shortcut “Windows key + Shift + Arrow key” to move the active window to the adjacent monitor. Press the right arrow key to move the window to the right monitor, and the left arrow key to move it to the left monitor.
- macOS: Utilize the keyboard shortcut “Control + Up Arrow” to maximize the window and move it to the next available monitor. Alternatively, you can use “Control + Left Arrow” or “Control + Right Arrow” to move the window to the respective side of the current monitor.
- Linux: Keyboard shortcuts for moving windows between monitors on Linux vary depending on the desktop environment or window manager. Check the documentation or settings of your specific environment to find the appropriate shortcuts. Examples include “Super + Shift + Right/Left” or “Control + Alt + Right/Left”.
Using keyboard shortcuts to move windows between monitors offers a convenient way to rearrange your workspace without needing to rely on drag-and-drop or other methods. Familiarizing yourself with these shortcuts can significantly speed up your workflow and improve productivity.
How to move a window to another monitor using third-party software
If you require additional functionality and customization options for moving windows between monitors, third-party software can provide a solution. Here are a few examples of popular third-party applications:
- DisplayFusion: This feature-rich software enables advanced window management across multiple monitors. It offers the ability to create custom shortcuts, assign windows to specific monitors, and save window layouts for easy retrieval.
- UltraMon: Known for its extensive multi-monitor management features, UltraMon allows you to move windows using customizable hotkeys, modify taskbar settings per monitor, and create profiles for different monitor setups.
- Actual Multiple Monitors: This software provides a range of features to enhance multi-monitor setups, including the ability to move windows across monitors via keyboard shortcuts or by dragging them with a mouse. It also offers additional features like multi-monitor taskbars and desktop mirroring.
When considering third-party software, it’s essential to research and choose the option that best suits your needs and supports your specific operating system. These applications often provide additional functionalities beyond window movement, such as customization of taskbars or display settings, which can further improve your multi-monitor experience.
While third-party software can enhance window management on multiple monitors, keep in mind that they may come at a cost or require additional configuration. It’s always advisable to read reviews and check compatibility with your operating system version before installing any third-party software.
By utilizing third-party software, you can unlock advanced features and customization options for managing windows across multiple monitors, tailoring the experience to meet your specific requirements and improve your overall workflow efficiency.
Troubleshooting common issues
While moving windows to another monitor is usually a straightforward process, sometimes you may encounter certain issues or difficulties. Here are some common problems and their potential solutions:
- Window snapping issues: If you’re experiencing difficulties dragging windows between monitors, check if window snapping or window docking features are enabled. These features can interfere with the smooth movement of windows. Disable them in the settings of your operating system or third-party software.
- Resolution mismatch: In some cases, moving windows between monitors with different resolutions may cause issues with the positioning or scaling of the windows. Adjust the resolution and scaling settings of your displays to match or maintain proper proportions for seamless window movement.
- Incorrect monitor setup: Ensure that your monitors are connected correctly, and their arrangement in the operating system settings reflects their physical layout. Misconfigured monitor setups can result in windows opening on the wrong monitor or difficulties in moving them between displays.
- Incompatible software: Some applications or software may not fully support multi-monitor setups or have limitations in window management. Check for software updates or seek alternative applications that better support your specific needs.
- Operating system limitations: Certain operating systems may have inherent limitations or restrictions when it comes to moving windows between monitors. Research the capabilities of your specific operating system and ensure that your expectations align with its capabilities.
If you encounter any difficulties or issues while moving windows between monitors, it’s always beneficial to consult the documentation or support resources specific to your operating system or third-party software. Additionally, online forums or communities dedicated to multi-monitor setups can provide valuable insights and solutions to common problems.
By troubleshooting these common issues, you can overcome obstacles and ensure smooth window movement between monitors, allowing you to fully maximize the benefits of a multi-monitor setup.