
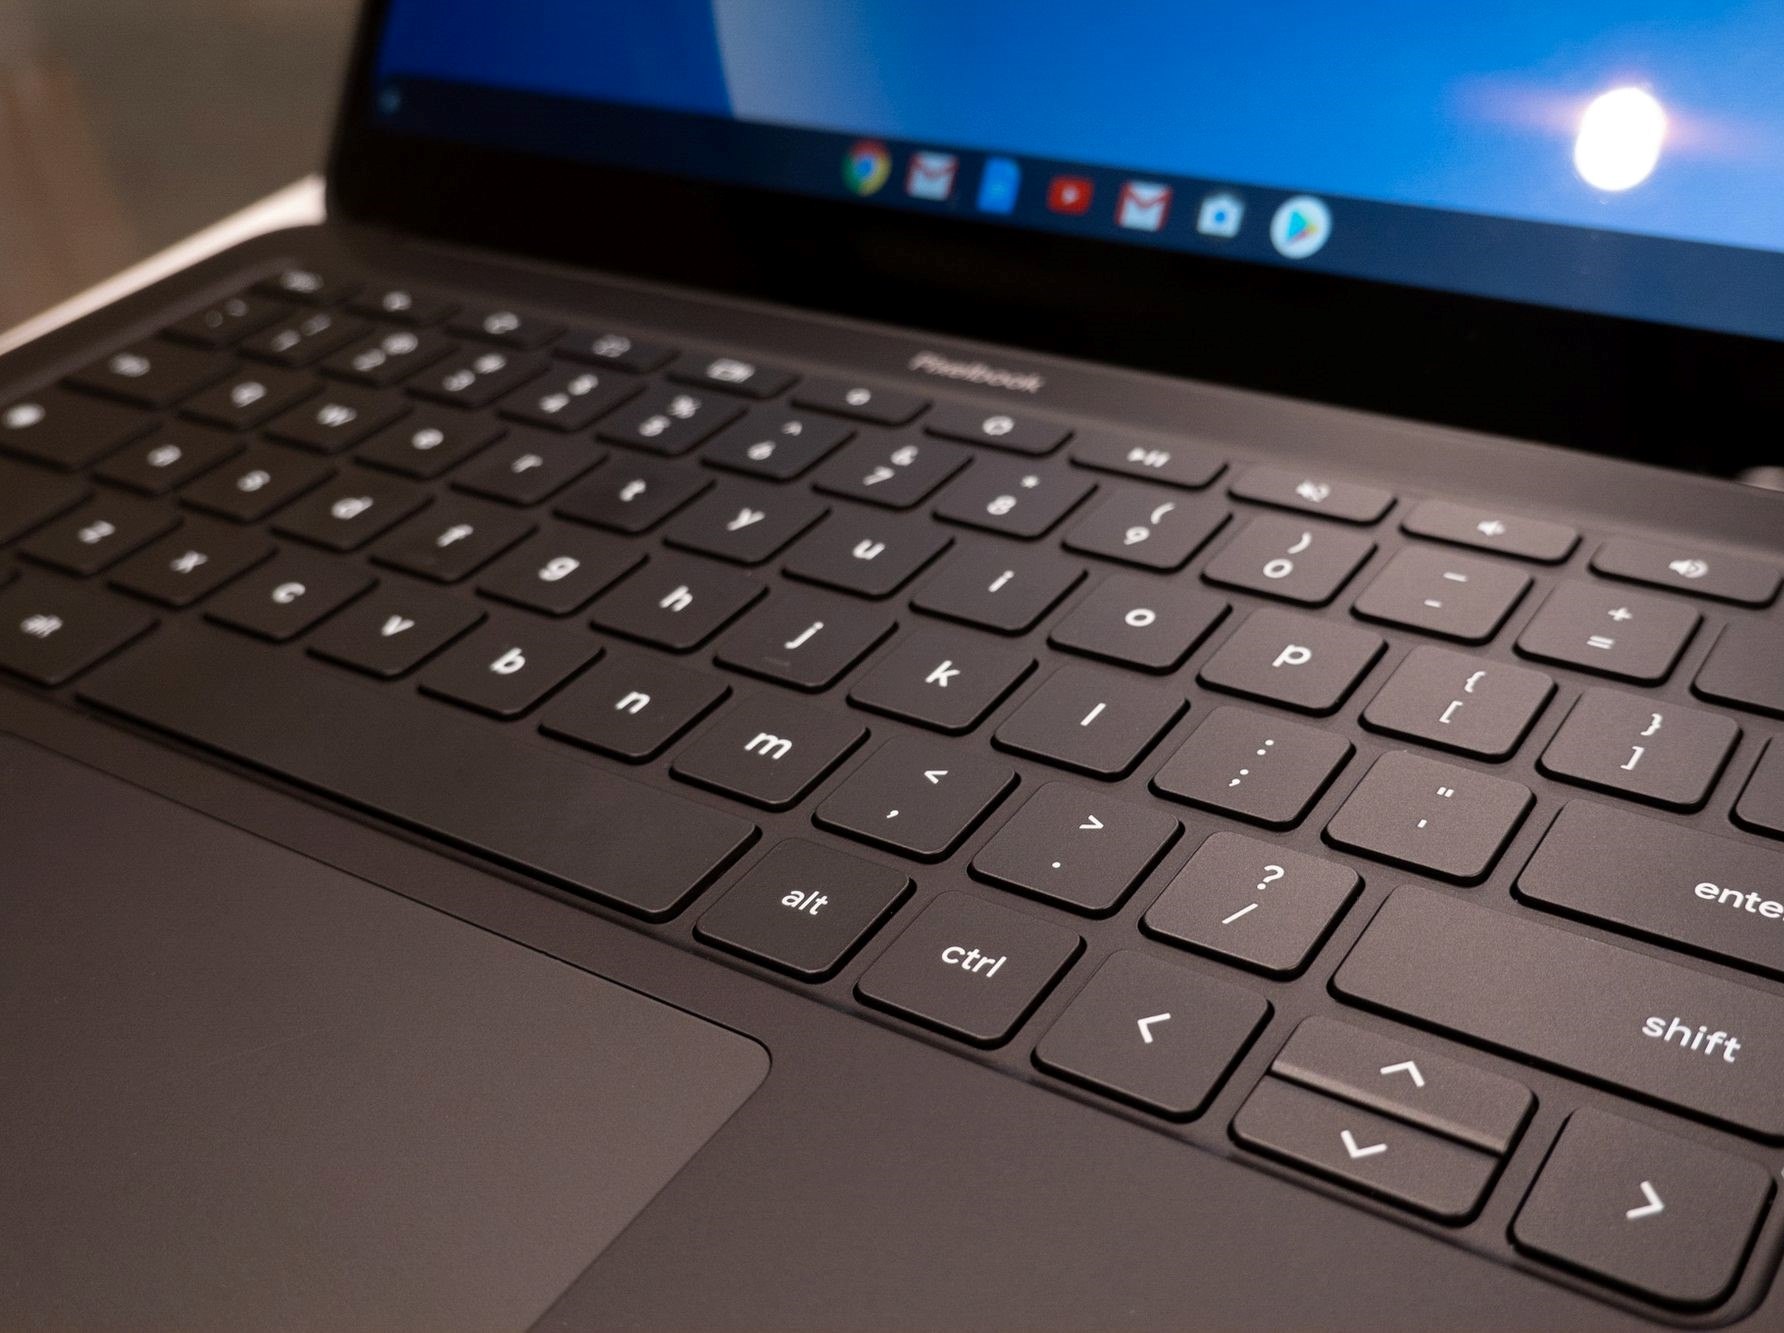
Enable Caps Lock
One of the first settings you may want to modify on your Chromebook keyboard is the Caps Lock functionality. By default, Chromebooks have the Caps Lock key disabled, which means you cannot easily type in all capital letters. However, you can easily enable the Caps Lock key by following these steps:
- Locate the Settings icon on your Chromebook. It looks like a gear or a hamburger menu, depending on your Chromebook model.
- Click on the Settings icon to open the Chromebook settings menu.
- In the settings menu, navigate to the Keyboard section.
- Look for the Caps Lock option and toggle the switch to the On position.
- Once the Caps Lock key is enabled, you can easily toggle it on and off by pressing the Alt + Search keys simultaneously. The Search key is the magnifying glass icon located in the row of function keys on your Chromebook keyboard.
Enabling the Caps Lock key on your Chromebook can be helpful when you need to type in all capital letters for titles, acronyms, or other situations that require uppercase text. Remember to toggle it off when you’re done, as the Caps Lock key can be easily triggered accidentally and may disrupt your typing flow.
Change the Keyboard Language
Your Chromebook allows you to change the keyboard language to accommodate different languages and keyboard layouts. Whether you need to type in a foreign language or switch to a specific keyboard layout, here’s how you can change the keyboard language on your Chromebook:
- Click on the system tray located at the bottom-right corner of your Chromebook screen. It looks like a series of vertical dots or a small arrow.
- In the system tray menu, click on the Settings icon. This will open the Chromebook settings menu.
- Within the settings menu, navigate to the Languages and Input section.
- Under the Input Method section, click on the Language dropdown menu.
- Select the desired language from the list of available options.
- If the language you want to use requires a specific keyboard layout, click on the Input method dropdown menu and select the appropriate keyboard layout.
Once you have changed the keyboard language and layout, your Chromebook will automatically switch to the selected settings. You can now start typing in the new language using the modified keyboard layout.
Changing the keyboard language on your Chromebook allows you to communicate, work, and connect with others in different languages without the need for additional hardware or software. Whether you’re learning a new language or collaborating with international colleagues, this feature can enhance your productivity and communication on your Chromebook.
Customize Keyboard Shortcuts
Customizing keyboard shortcuts on your Chromebook can greatly boost your productivity and streamline your workflow. You can assign specific actions or functions to certain key combinations to easily access frequently used commands. To customize keyboard shortcuts on your Chromebook, follow these steps:
- Open the Chromebook settings menu by clicking on the Settings icon in the system tray, usually located at the bottom-right corner of your screen.
- In the settings menu, select the Keyboard section.
- Scroll down to the Keyboard shortcuts option.
- Click on Customize to open the keyboard shortcuts customization page.
- On the customization page, you will see a list of available commands and actions.
- Click on the command you want to customize, or click on the + Add shortcut button to create a new shortcut.
- Once you’ve selected a command, click on the input field next to it and press the key combination you want to use as the shortcut. For example, you can press Ctrl + Shift + A.
- After assigning the desired key combination, click Done or Save to save your custom keyboard shortcut.
Customizing keyboard shortcuts allows you to personalize your Chromebook and tailor it to your specific needs. You can assign shortcuts for launching applications, opening specific websites, navigating tabs, or executing various commands quickly and efficiently.
By customizing keyboard shortcuts, you can quickly access the functions and commands you use the most, saving you time and effort in your daily tasks. Experiment with different combinations and find the shortcuts that work best for you, optimizing your Chromebook experience.
Adjust Keyboard Repeat Delay
The keyboard repeat delay refers to the time delay between when a key is first pressed and when it starts repeating in a continuous stream of characters. By adjusting the keyboard repeat delay on your Chromebook, you can customize the speed at which repeated characters appear when holding down a key. Here’s how you can adjust the keyboard repeat delay:
- Open the Chromebook settings menu by clicking on the Settings icon in the system tray, located at the bottom-right corner of your screen.
- In the settings menu, navigate to the Keyboard section.
- Scroll down to the Keyboard repeat delay option.
- Drag the slider to the left or right to adjust the repeat delay. Moving the slider to the left decreases the delay, resulting in faster character repetition, while moving it to the right increases the delay, making the repetition slower.
- Test out the new repeat delay by holding down a key to check the speed of character repetition.
Adjusting the keyboard repeat delay allows you to find the right balance between typing speed and accuracy. If you find that the characters repeat too quickly and cause errors, you can increase the delay for more precise typing. Conversely, if the repeat delay is too slow and feels sluggish, you can decrease it for faster typing.
Experiment with different repeat delay settings to find the one that suits your typing style and preferences. By fine-tuning the keyboard repeat delay on your Chromebook, you can optimize your typing experience and improve your overall productivity.
Change the Cursor Blink Rate
The cursor blink rate refers to the speed at which the text cursor blinks on your Chromebook screen. If you find the default cursor blink rate too fast or slow, you can adjust it to a more comfortable pace. Here’s how:
- Access the Chromebook settings menu by clicking on the Settings icon in the system tray, typically located at the bottom-right corner of the screen.
- Within the settings menu, navigate to the Keyboard section.
- Scroll down to the Cursor blink rate option.
- Adjust the slider to the left or right to change the blink rate. Moving the slider to the left will make the cursor blink faster, while moving it to the right will slow down the blinking.
- Observe the cursor blink rate to determine if it matches your preference.
Changing the cursor blink rate can help improve your typing experience and reduce eye strain. If the cursor blinks too rapidly, it may be distracting or even difficult to locate at times. On the other hand, a cursor that blinks too slowly might make it challenging to track your typing position.
By adjusting the cursor blink rate on your Chromebook, you can find the optimal balance that suits your comfort and visibility needs while typing. Experiment with different settings to discover the right cursor blink rate for you.
Disable the Touchpad while Typing
One common issue while typing on a Chromebook is accidentally touching the touchpad, which can interrupt your typing and cause errors. To prevent this, you can disable the touchpad while typing. Here’s how to do it:
- Access the Chromebook settings menu by clicking on the Settings icon in the system tray at the bottom-right corner of the screen.
- In the settings menu, go to the Mouse and Touchpad section.
- Scroll down to find the Touchpad settings.
- Look for the option called Disable touchpad while typing and toggle it on.
By enabling this feature, the touchpad of your Chromebook will automatically be disabled when you start typing, preventing unintentional cursor movement or clicks due to accidental touching of the touchpad.
This feature can greatly enhance your typing experience, as it reduces the chance of typing errors caused by accidental touches on the touchpad. You can now type with confidence, knowing that your cursor will stay in place while your fingers are on the keyboard.
If, for any reason, you need to use the touchpad while typing, you can simply disable this option. It’s a convenient way to customize your Chromebook to suit your preferences and typing style.
Enable Tap-to-Click
The tap-to-click feature on your Chromebook allows you to use the touchpad as if it were a button, eliminating the need to physically press down on the touchpad for a click action. Enabling tap-to-click can provide a more efficient and comfortable navigation experience. Here’s how you can enable tap-to-click on your Chromebook:
- Open the Chromebook settings menu by clicking on the Settings icon in the system tray, typically located at the bottom-right corner of the screen.
- Navigate to the Mouse and Touchpad section within the settings menu.
- Find the option labeled Tap-to-click or Tap-to-activate and toggle it on.
Once enabled, you can now perform clicking actions on your Chromebook touchpad by simply tapping on it with your finger, without the need for pressing down physically. This feature can be particularly useful if you find it uncomfortable or tiring to perform physical clicks on the touchpad.
Enabling tap-to-click can enhance your productivity and streamline your navigation on the Chromebook, as it provides a more intuitive and seamless interaction with the touchpad. However, note that this feature may take a little time to adjust to if you’re accustomed to physical clicks, so give yourself some time to get used to it.
If for any reason you prefer to disable tap-to-click, you can easily toggle the option off in the settings. Experiment with this feature and see if tap-to-click enhances your Chromebook experience.
Adjust Keyboard Backlight Settings
If your Chromebook is equipped with a backlit keyboard, you can adjust the keyboard backlight settings to customize the brightness level according to your preferences. Whether you want a subtle glow or a brighter illumination, here’s how you can adjust the keyboard backlight settings on your Chromebook:
- Open the Chromebook settings menu by clicking on the Settings icon in the system tray, typically located at the bottom-right corner of the screen.
- Navigate to the Keyboard section within the settings menu.
- Look for the option labeled Keyboard backlight or Backlight brightness.
- Adjust the brightness slider to decrease or increase the keyboard backlight intensity based on your preference.
By sliding the brightness adjustment, you can set the keyboard backlight to the desired level, creating a comfortable typing experience in various lighting conditions. You can dim the backlight during low-light situations to conserve battery or increase the brightness when working in well-lit environments.
Adjusting the keyboard backlight settings not only enhances the aesthetics of your Chromebook but also improves visibility, allowing you to easily see the keys and type accurately, especially in dimly lit environments.
Keep in mind that not all Chromebooks come with a backlit keyboard. If your Chromebook doesn’t have this feature, the keyboard backlight settings may not be available in the settings menu.
Experiment with different brightness levels to find the keyboard backlight setting that is most comfortable for you. Enjoy typing with the perfect illumination on your Chromebook!
Change Keyboard Input Method
Your Chromebook supports different keyboard input methods, allowing you to easily switch between typing styles, layouts, and languages. Whether you want to type in a foreign language or change the layout to fit your needs, here’s how you can change the keyboard input method on your Chromebook:
- Open the Chromebook settings menu by clicking on the Settings icon in the system tray, usually located at the bottom-right corner of the screen.
- In the settings menu, navigate to the Languages and Input section.
- Look for the Input Method or Keyboard input option.
- Click on the current input method to open the available options.
- Select the desired input method from the list. This can include different keyboard layouts or input methods for different languages.
When you change the keyboard input method on your Chromebook, you can easily switch between typing in different languages or utilizing specific keyboard layouts. This feature enables you to work efficiently in various linguistic contexts without the need for additional software or physical keyboard changes.
Once you have changed the keyboard input method, your Chromebook will adapt accordingly, recognizing the specific layout or language settings you’ve chosen. Now, you can effortlessly switch between typing in different languages or utilizing custom keyboard layouts to suit your needs.
Experiment with different input methods, layouts, and languages to find the combination that best fits your workflow and typing preferences. Enjoy the flexibility and versatility of the keyboard input method feature on your Chromebook.