
Understanding Fonts and Typography
Fonts and typography play a crucial role in shaping the visual appeal and readability of written content. Fonts refer to the different styles and designs used to create text, while typography encompasses the art and technique of arranging and formatting those fonts.
Fonts come in various types, including serif, sans-serif, script, and decorative. Each type has its unique characteristics and is suitable for different purposes. For instance, serif fonts, like Times New Roman, are often used for print and long-form content due to their legibility. On the other hand, sans-serif fonts, such as Arial or Helvetica, are commonly used for digital media and headings as they offer a clean and modern appearance.
Understanding typography involves considering factors such as font size, line spacing, and letter spacing. These elements contribute to the overall readability and aesthetic appeal of the text. The right combination of fonts and typography can enhance the reader’s experience, making the content more engaging and easy to comprehend.
Typography also plays a pivotal role in conveying the tone and style of the content. For example, a playful and whimsical font might be ideal for a children’s book, while a professional and elegant font may suit a business document or website.
Additionally, the selection of fonts and typography should align with the intended audience and purpose of the text. Understanding the target readership and the message you want to convey can assist in choosing the most appropriate fonts and typography styles.
Overall, fonts and typography are powerful tools in visual communication. By understanding the different types of fonts, their characteristics, and how they can be effectively utilized through typography, you can create visually appealing and engaging content that resonates with your audience.
Built-in Font Management Tools in Windows
Windows operating system provides users with built-in font management tools that allow for easy installation, activation, and organization of fonts. These tools are designed to simplify the process of managing fonts and help users maintain a well-organized font library.
One of the main font management tools in Windows is the Font Settings panel. To access this panel, simply navigate to the Windows Settings menu, click on “Personalization,” and then select “Fonts.” Within the Font Settings panel, users can view and manage all the installed fonts on their system.
From the Font Settings panel, users can install new fonts by clicking on the “Get more fonts in Microsoft Store” link, which opens up the Microsoft Store where a wide range of fonts are available for download and installation. Users can also access the “Font preview and install” option, which allows them to view the font files on their computer and install them directly.
Another powerful font management tool in Windows is the Font Bookmarks feature. This feature enables users to create folders and organize their fonts based on different categories or projects. By right-clicking on a font in the Font Settings panel, users can select the “Add to Font Bookmarks” option to add the font to a specific bookmark folder. This simplifies font management by providing a convenient way to access and activate fonts based on different needs.
The Font Settings panel also allows users to activate or deactivate specific fonts. This can be useful when working on projects that require a specific set of fonts or when dealing with font conflicts that may affect the appearance of documents or websites. By activating or deactivating fonts, users can ensure that only the necessary fonts are loaded, improving system performance and eliminating font-related issues.
Additionally, the Font Settings panel offers a preview feature that enables users to quickly visualize how a font will look in different sizes and styles. This allows users to make informed decisions when choosing the most suitable font for their projects.
The font management tools integrated into the Windows operating system provide users with a seamless and efficient way to install, organize, and activate fonts. Whether you’re a designer, writer, or simply someone who enjoys experimenting with different fonts, Windows font management tools are invaluable for maintaining a well-curated font library and ensuring optimal compatibility and performance.
Installing Fonts from the Microsoft Store
The Microsoft Store is a convenient platform where users can find and download a wide range of fonts to enhance their creative projects. Installing fonts from the Microsoft Store is a straightforward process that allows users to easily expand their font library.
To begin, open the Microsoft Store by clicking on the Store icon on the Windows taskbar or by searching for “Microsoft Store” in the Start menu. Once the store is open, navigate to the “Fonts” section by either using the search bar or browsing through the available categories.
Within the Fonts section, users can explore a diverse collection of fonts, including free options as well as paid fonts created by renowned type foundries. By clicking on a specific font, users can view details such as licensing information, previews of the font in different styles, and user reviews.
To install a font from the Microsoft Store, simply click on the “Get” or “Buy” button, depending on whether the font is free or requires a purchase. Once the installation is initiated, the font will be downloaded and installed onto your system, making it available for use in various applications.
After the installation is complete, the font can be accessed and activated through the Font Settings panel in Windows. By navigating to the Font Settings panel as described in the previous section, users can easily locate and activate the newly installed font.
Installing fonts from the Microsoft Store offers several advantages. Firstly, it provides a secure and trusted source for acquiring fonts, ensuring that the fonts are legitimate and free from any potential security risks. Additionally, the Microsoft Store offers a curated collection of fonts, making it easier to discover high-quality options that align with your specific needs.
By leveraging the convenience and reliability of the Microsoft Store, users can effortlessly expand their font library and access a wide range of fonts to enhance their creative projects.
Installing Fonts from External Sources
While the Microsoft Store provides a convenient platform for font installation, users may also acquire fonts from external sources. This allows users to explore a broader range of font options that may not be available in the Microsoft Store.
When installing fonts from external sources, it is important to ensure that the fonts are from trusted and reputable websites. Many websites offer fonts for free or for purchase, giving users the opportunity to access unique and custom-made fonts.
To start the process of installing fonts from external sources, users typically need to visit a website that offers font downloads. Once on the website, users can browse through the available fonts and choose the ones they wish to download.
Fonts are usually packaged in a compressed format, such as ZIP or RAR. Users will need to extract the font files from the compressed package before they can be installed. This can be done by selecting the font files and choosing the “Extract” option using file extraction software such as WinRAR or 7-Zip.
Once the font files are extracted, users can proceed with installing the fonts onto their system. To install fonts, simply right-click on the font file and select the “Install” option. Alternatively, users can open the Control Panel, navigate to the “Fonts” section, and drag and drop the font files into the Fonts folder.
Once the fonts are installed, they will be available for use in various applications. Users can access and activate these fonts through the Font Settings panel in Windows, as explained earlier.
Installing fonts from external sources provides greater flexibility and access to a wider variety of fonts. However, it is crucial to exercise caution when downloading fonts from unknown or untrusted sources, as these may pose a risk to the security and integrity of your system.
By exploring fonts from external sources, users can expand their font library and discover unique and customized options to enhance their creative projects.
Activating and Deactivating Fonts
Activating and deactivating fonts in Windows is a useful feature that allows users to control which fonts are loaded and available for use in applications. This functionality can be particularly helpful when working on projects that require specific fonts or when troubleshooting font-related issues.
To activate or deactivate fonts, users can utilize the Font Settings panel in Windows. Open the Font Settings panel by accessing the Windows Settings menu, clicking on “Personalization,” and selecting “Fonts.” Within the Font Settings panel, users can view the installed fonts on their system.
To activate a font, simply click on the specific font you want to use and click the “Activate” button. Activating a font ensures that it is loaded and available for use in applications like word processors, graphic design software, and web browsers.
On the other hand, to deactivate a font, select the font and click on the “Deactivate” button. Deactivating a font removes it from active use, freeing up system resources and preventing it from being displayed in applications that utilize fonts.
Activating and deactivating fonts can be especially beneficial when dealing with font-related issues. For example, if a specific font is causing compatibility problems or conflicts with other software or documents, deactivating the font can resolve these issues. Users can then reactivate the font if needed, once the conflicts have been resolved.
In addition, activating and deactivating fonts can help streamline font management, as users can control which fonts are loaded at any given time. This can prevent font overload and improve system performance, especially for users with extensive font collections.
Furthermore, activating and deactivating fonts provides users with the flexibility to use different font combinations for different projects. By activating only the fonts needed for a specific project, users can create a more streamlined and focused workflow.
Overall, the ability to activate and deactivate fonts in Windows empowers users to have greater control over their font library and enhances their creative workflow. Whether it’s for troubleshooting font issues or optimizing system resources, this feature proves to be a valuable tool for font management.
Organizing Fonts with Font Bookmarks
The Font Bookmarks feature in Windows provides users with a convenient way to organize and categorize their fonts based on different projects, preferences, or themes. This feature allows for efficient font management and makes it easy to locate and activate fonts when working on specific design or writing tasks.
To utilize the Font Bookmarks feature, users can open the Font Settings panel by accessing the Windows Settings menu, clicking on “Personalization,” and selecting “Fonts.”
Within the Font Settings panel, users can view all their installed fonts. To add a font to a bookmark, right-click on the desired font and select the “Add to Font Bookmarks” option. Users can then choose an existing bookmark folder or create a new one to assign the font to.
Organizing fonts into bookmark folders allows for efficient categorization. For example, a user could create bookmarks for different projects, such as “Web Design,” “Logo Design,” or “Print Materials.” Alternatively, users may create bookmarks based on preferred styles, such as “Serif Fonts,” “Sans-Serif Fonts,” or “Handwritten Fonts.”
Having organized font bookmarks streamlines the font activation process. When working on a specific project or task, users can activate an entire bookmark folder instead of manually selecting individual fonts. This saves time and ensures consistency in font choice throughout a project.
The Font Bookmarks feature also offers the flexibility to activate and deactivate bookmark folders. By right-clicking on a bookmark folder, users can easily toggle the activation status, which makes it convenient when transitioning between different projects or when focusing on specific design tasks.
Furthermore, the Font Bookmarks feature allows users to customize the display of fonts in the Font Settings panel. By clicking on the ellipsis (…) button next to a bookmark folder, users can choose to show the fonts in a detailed list view or in a grid view for a more visual representation. This customization option allows users to choose the most convenient way to navigate and explore their fonts.
Overall, the Font Bookmarks feature in Windows provides users with a powerful organizational tool for managing their font collections. By categorizing and activating fonts through bookmark folders, users can easily access and utilize fonts based on their specific projects or preferences.
Previewing and Choosing Fonts
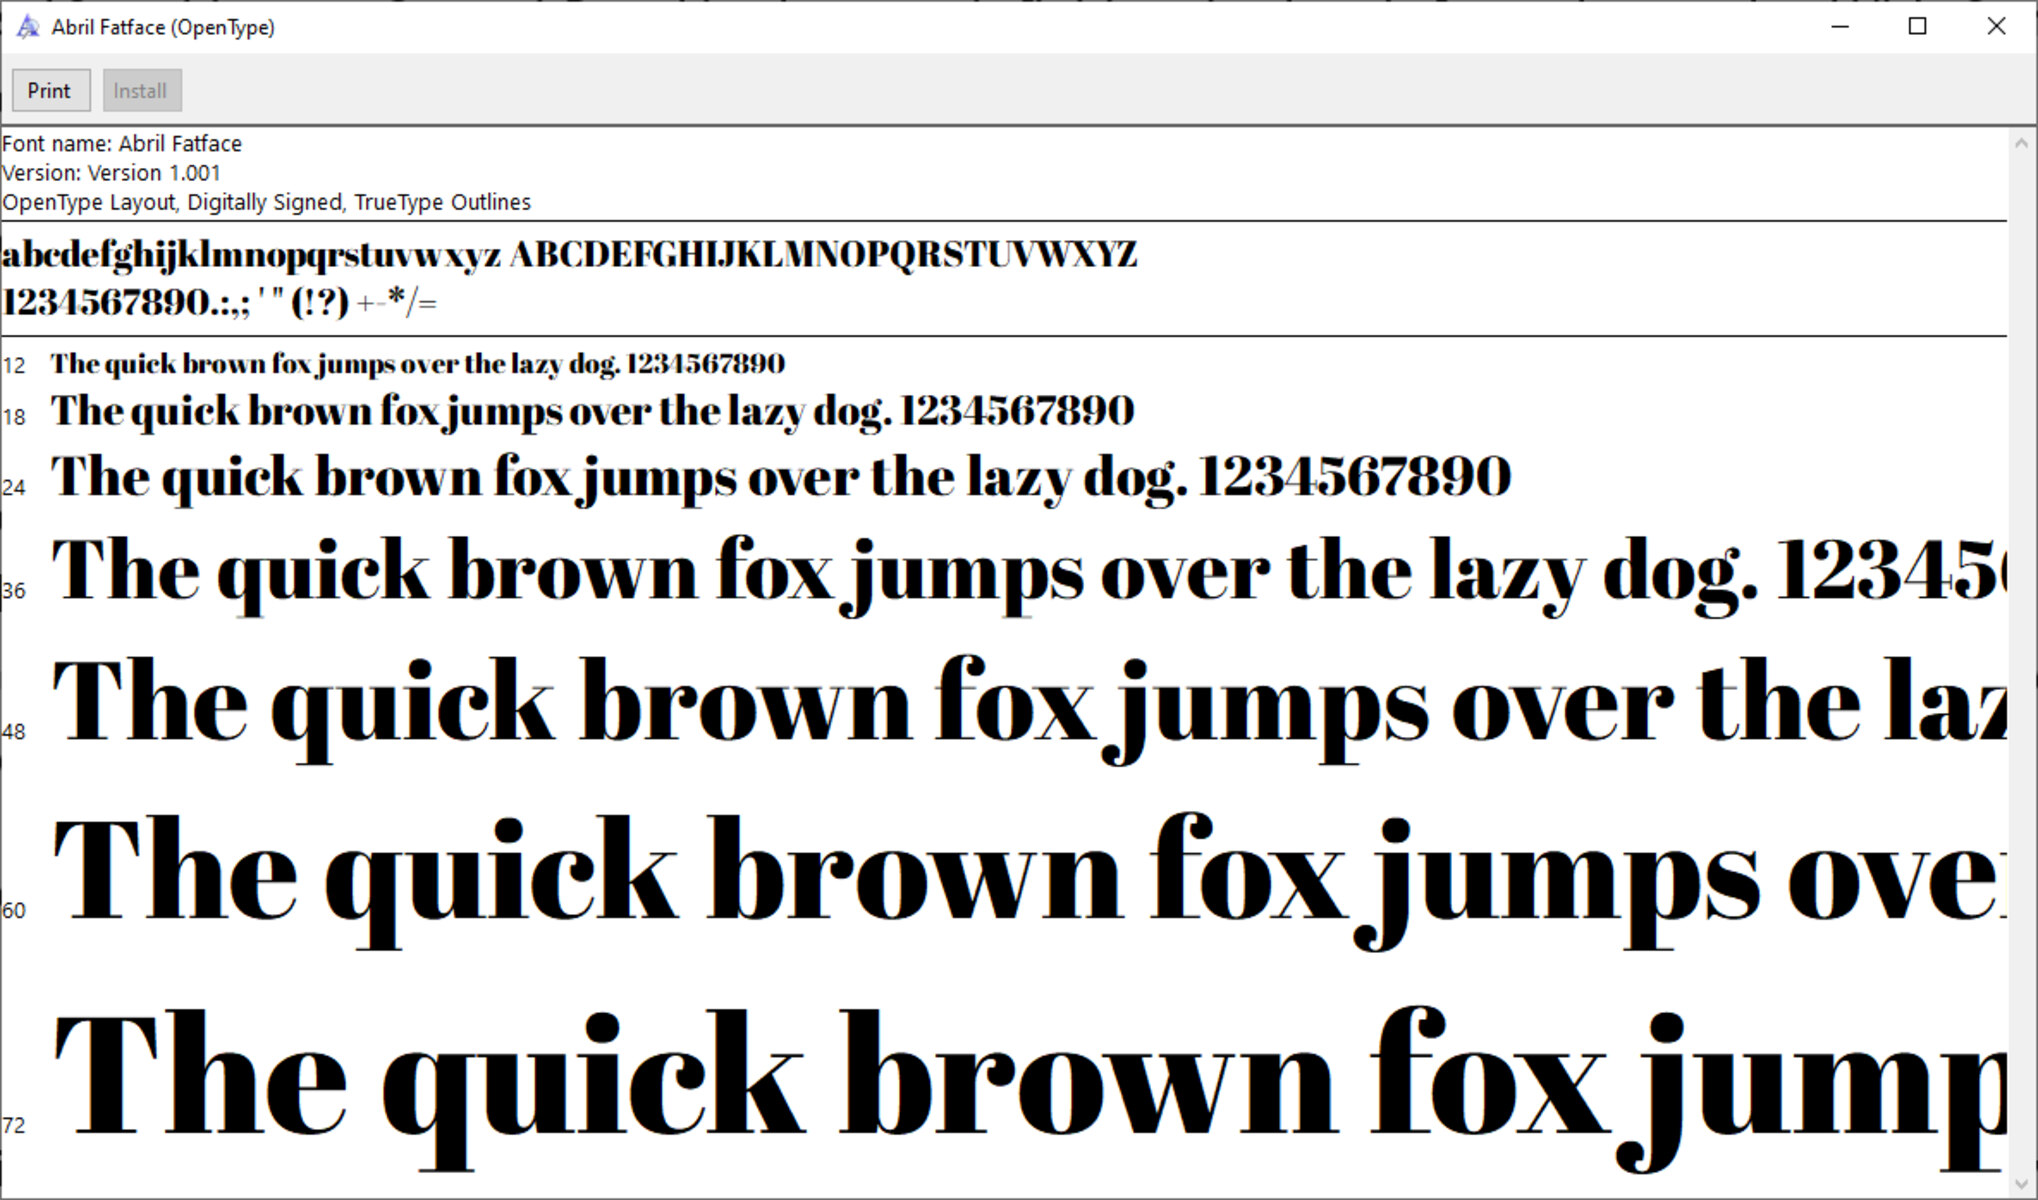
Previewing and choosing fonts is a crucial step in the design process, whether it’s for a website, a graphic, or a document. Windows provides users with various tools and features to easily preview and make informed decisions when selecting the right font for their projects.
One of the main tools for previewing fonts in Windows is the Font Settings panel. To access this panel, navigate to the Windows Settings menu, click on “Personalization,” and select “Fonts.” Within the Font Settings panel, users can view a grid or list of installed fonts.
By clicking on a specific font, users can see a preview of the font in various styles and sizes. This allows users to visualize how the font will look in different circumstances and evaluate its suitability for their project. Users can also input their own text to preview how the font will appear with their specific content.
In addition to the Font Settings panel, many design and word processing software provide font preview options. These options often include the ability to preview fonts with custom text and compare multiple fonts side by side, making it easier for users to assess and compare different font options.
When previewing fonts, it is important to consider factors such as legibility and readability. Fonts with intricate designs or excessive embellishments may appear visually appealing in isolation but can be challenging to read when used for longer stretches of text. Previewing fonts in different sizes and weights can help users gauge their legibility and ensure they are suitable for the intended use.
Choosing the right font involves considering the overall design or brand aesthetic. Fonts convey different tones and emotions, so it’s important to select a font that aligns with the desired impression or message. Serif fonts, for example, often give off a more traditional or formal vibe, while sans-serif fonts tend to have a more contemporary and clean feel.
Another aspect to consider when choosing fonts is the target audience. Fonts that work well for a specific demographic or niche might not have the same impact on others. Understanding the preferences and expectations of the intended audience can help guide font selection.
It’s also essential to consider font pairing when choosing fonts for projects that require multiple typefaces. Pairing fonts that have complementary styles and harmonious characteristics can enhance the overall visual appeal and create a cohesive design.
By utilizing the font preview features available in Windows and design software, users can confidently evaluate and choose the most suitable fonts for their projects. Careful consideration of factors such as legibility, brand aesthetics, target audience, and font pairing can ensure a visually harmonious and impactful design.
Customizing Font Settings in Windows
Windows allows users to customize font settings to suit their personal preferences and optimize their reading and viewing experience. These customization options enable users to adjust various aspects of font rendering and display in different applications and interfaces.
To access font customization settings in Windows, users can navigate to the Windows Settings menu, click on “Personalization,” and select “Fonts.” Within the Font Settings panel, users can find options to modify font-related settings.
One of the key font customization settings is font size. Users can adjust the default font size in Windows to enhance readability in various applications. Increasing the font size can be particularly beneficial for individuals with visual impairments or those who prefer larger text for a more comfortable reading experience.
In addition to font size, Windows also provides customizability for font smoothing and anti-aliasing. Font smoothing, also known as ClearType, enhances the clarity and smoothness of text onscreen by adjusting the display of curves and edges. Users can enable or disable font smoothing based on their personal preferences and the capabilities of their display device.
Furthermore, users can customize font-related settings within specific applications. Popular word processing software and web browsers often offer options to modify font styles, such as bold, italic, or underline, according to individual preferences or specific formatting requirements.
Windows also offers options to customize font colors in various contexts. Users can adjust the default font color within applications, file explorers, and system interfaces to create a personalized visual experience.
Aside from system-wide font settings, Windows provides accessibility features for users with specific needs. These features include options for high contrast fonts, which facilitate improved visibility for those with visual impairments or sensitivity to certain color combinations.
Users can also take advantage of third-party font customization tools to further enhance their font settings. These tools offer additional features, such as advanced font rendering options, font filtering, and organizing capabilities for individuals with extensive font libraries.
By customizing font settings in Windows, users can create a personalized and optimized visual experience that is tailored to their preferences, readability requirements, and accessibility needs. Whether it’s adjusting font size, enabling font smoothing, or customizing font colors, these customization options contribute to a more enjoyable and comfortable user experience.
Troubleshooting Font Issues
Font issues can occasionally occur in Windows, affecting the appearance and functionality of text in various applications. Fortunately, Windows provides several troubleshooting methods to address common font-related problems and ensure a smooth user experience.
If you encounter font-related issues, such as incorrect rendering, missing characters, or garbled text, the first step is to check if the problematic font is properly installed. Access the Font Settings panel in Windows by navigating to the Windows Settings menu, clicking on “Personalization,” and selecting “Fonts.” Ensure that the font in question is listed as installed. If not, reinstalling the font may resolve the issue.
Another troubleshooting method is to clear the font cache. Windows maintains a font cache that stores font-related information to improve performance. Sometimes, the cache can become corrupted, leading to font-related issues. To clear the font cache, open the Command Prompt as an administrator, and type “sudo atsutil databases -remove” (without quotes), followed by pressing Enter. Restart your computer for the changes to take effect.
Font conflicts can also cause problems. If multiple fonts with similar names or variations are installed, they may interfere with each other, resulting in incorrect rendering or missing characters. In the Font Settings panel, deactivate any conflicting fonts or use a font management tool to remove or organize duplicate fonts.
Updating your graphics driver can be another useful troubleshooting step for font issues. Outdated or incompatible graphics drivers can affect font rendering. Visit the website of your graphics card manufacturer to download and install the latest driver updates for your specific hardware.
If font issues persist, it may be helpful to run the Windows Font Diagnostic tool. This tool, built into Windows, scans your fonts and checks for any errors or inconsistencies. To access the fonts diagnostic tool, open the Control Panel, navigate to the Fonts section, and click on the “Font settings” link. Under the “Font Settings” tab, select “Restore default font settings” to restore the system’s default font configuration.
If none of the aforementioned troubleshooting methods resolve the font issues, it is advisable to seek assistance from online forums, support communities, or technical support services. These resources can provide further guidance and solutions for specific font-related problems.
Troubleshooting font issues allows users to resolve rendering problems, ensure accurate text display, and enhance the overall visual experience. By following these troubleshooting methods, users can address font-related issues effectively and maintain optimal font performance in Windows.
Backing up and Restoring Your Font Collection
Backing up your font collection is essential to protect your fonts from accidental loss or corruption. It allows you to have a secure copy of your fonts that can be easily restored in the event of data loss or when setting up a new computer. Windows provides several methods to back up and restore your font collection, ensuring that you can preserve your font library.
One of the simplest ways to back up your fonts is by manually copying the font files to an external storage device, such as a USB drive or an external hard drive. To do this, navigate to the Fonts folder in the Control Panel or the Font folder in the Windows directory (C:\Windows\Fonts). Select all the font files you want to back up, right-click, and choose “Copy.” Paste the copied font files into the desired location on the external storage device.
It is also possible to use file compression tools, like ZIP or RAR, to create a compressed archive of your font collection. Select all the font files, right-click, and choose the “Send to” option. Then, select the “Compressed (zipped) folder” option to create a compressed archive containing all the font files. This compact archive can be easily transferred or stored as a backup.
Another convenient method to back up fonts is by utilizing font management software. Many third-party font management tools offer built-in backup and restore features that allow users to create a backup of their font collection with a single click. These tools often provide options to back up and restore font metadata, including font ratings, bookmarks, and other customization settings.
To restore your font collection from a backup, simply copy the font files or the compressed archive back to your computer’s Fonts folder or use the restore feature in your font management software. Overwrite any existing font files if prompted.
Backing up your font collection ensures that you can easily restore your fonts in case of accidental deletion, system errors, or when setting up a new computer. It offers peace of mind and saves you the time and effort of having to reinstall and reorganize your font library from scratch.
Remember to periodically update your font backups to include any new fonts you acquire or changes you make to your font collection. Regular backups provide an up-to-date copy of your font library and ensure that all your fonts are protected.
By employing these backup and restore methods, you can safeguard your font collection and easily recover your fonts whenever needed, preserving your valuable design assets and maintaining consistency across your projects.