
Why Make an Image Transparent in Google Slides?
Adding images to your Google Slides presentation can help communicate your message effectively by providing visual support. However, there are instances when you may want to make an image transparent in Google Slides. Transparency can give your presentation a professional look, create visual appeal, and allow you to overlay images or text on top of each other, making your slides more versatile and engaging.
One common reason to make an image transparent is to highlight specific content while still having the background visible. By reducing the opacity of an image, you can draw attention to important text, graphics, or other elements within your slide. This technique is particularly useful when you want to emphasize key points, add annotations, or create overlays for diagrams or charts.
Another reason to use image transparency is to blend images seamlessly with different backgrounds. If your presentation requires integrating images with various colors, patterns, or themes, making the images transparent allows them to harmoniously blend without distracting the overall visual composition. Using transparency can help you maintain a consistent and professional look throughout your slides.
Moreover, making an image transparent can enhance the visual aesthetics and professional appearance of your Google Slides presentation. Transparency can add depth and dimension to your design elements, making your slides more visually appealing. It also allows you to create layered effects, giving your slides a polished and sophisticated look.
Lastly, using transparent images in Google Slides can provide a creative way to present visual content. You can experiment with overlapping images, creating complex visual compositions, or even combining multiple transparent images to convey your message in a unique and impactful way.
Overall, making an image transparent in Google Slides can bring numerous benefits to your presentations. It allows you to highlight specific elements, blend images seamlessly with backgrounds, enhance visual aesthetics, and unleash your creativity. Now that we understand the importance of transparency, let’s explore how to make an image transparent in Google Slides.
Step 1: Insert an Image into Your Google Slides Presentation
Before you can make an image transparent in Google Slides, you need to insert the image into your presentation. Follow these simple steps to add an image:
- Open your Google Slides presentation and navigate to the slide where you want to insert the image.
- Click on the Insert tab in the menu bar at the top of the page.
- In the dropdown menu, select Image. A panel will appear on the right side of the screen.
- Choose the source of your image. You can select from four options: Upload from computer, Search the web, Drive, or Photos.
- If you choose to upload an image from your computer, click on the Upload from computer option and select the desired image file from your local storage.
- Alternatively, if you want to search the web for an image, click on the Search the web option and enter relevant keywords to find the image you want.
- If your image is stored in Google Drive or Google Photos, select the respective options and choose the image you want to insert.
- Once you have selected or uploaded the image, it will be inserted onto your slide. You can resize and reposition the image as needed.
That’s it! You have successfully inserted an image into your Google Slides presentation. Now, let’s move on to the next step to learn how to make that image transparent.
Step 2: Select the Image You Want to Make Transparent
Once you have inserted an image into your Google Slides presentation, the next step is to select the specific image that you want to make transparent. Follow these steps to select the image:
- Navigate to the slide where the image is located.
- Click on the image to select it. You will know that the image is selected when you see resizing handles around it.
- You can also select multiple images by holding down the Shift key and clicking on each image you want to include.
By selecting the image, you have now prepared it for the next step – adjusting its transparency.
Keep in mind that making an image transparent will affect the entire image. If you only want to apply transparency to specific portions of the image, such as removing a background, you will need to use the format options available in Google Slides. We will cover that in a later step.
Now that you have selected the image, let’s move on to the next step to adjust its transparency level.
Step 3: Adjust the Image Transparency Level
After selecting the image you want to make transparent in Google Slides, the next step is to adjust its transparency level. Follow these steps to modify the transparency:
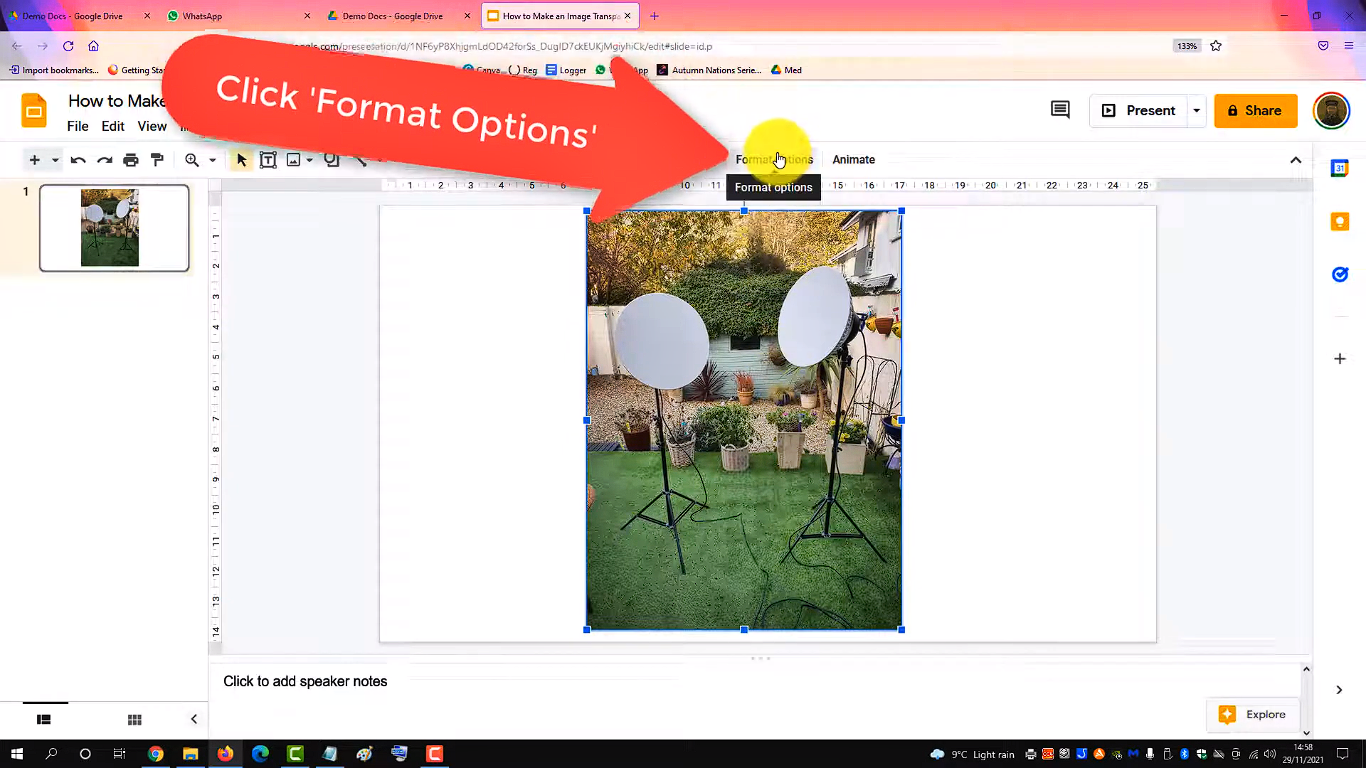
- Make sure that the image is still selected and that the Format options pane is open. If the pane is not displayed, click on the image and then select the Format options button that appears above the image.
- In the Format options pane, locate the Image Options section.
- Locate the Transparency slider under the Image options section.
- Adjust the Transparency slider by dragging it to the right or left to increase or decrease the transparency respectively.
- As you move the slider, you will see the image becoming more or less transparent in real time.
- Continue adjusting the slider until you achieve the desired level of transparency for your image.
By adjusting the transparency level, you can control how opaque or see-through the image appears on your slide. This customization allows you to find the perfect balance between showcasing the image and ensuring that it complements your content without overpowering it.
Once you are satisfied with the transparency setting, you can move on to the next step to adjust the size and position of the image.
Step 4: Use the Drag Handle to Adjust the Size and Position of the Image
After adjusting the transparency level of your image in Google Slides, the next step is to modify its size and position. Follow these steps to resize and reposition the image:
- Make sure that the image is still selected and that the Format options pane is open. If the pane is not displayed, click on the image and then select the Format options button that appears above the image.
- In the Format options pane, locate the Position and size section.
- Within this section, you will find an outline of the image with four small squares, known as the drag handles, at each corner.
- Click and drag any of the drag handles to adjust the size of the image. Dragging a corner handle will maintain the image’s aspect ratio, while dragging a side handle will allow you to resize the image vertically or horizontally.
- Release the mouse button once you have resized the image to your desired dimensions.
- To reposition the image, click and drag it within the slide. The image will move with your cursor until you release the mouse button at the desired location.
Using the drag handle, you can easily resize and reposition the image to fit your slide layout and design preferences. This flexibility allows you to create visually appealing presentations that make efficient use of the available space.
Take your time to experiment with different sizes and positions until you achieve the desired look and feel for your image. Once you are satisfied, you can move on to the next step to learn how to apply transparency to specific portions of the image using the format options.
Step 5: Apply Transparency to Specific Portions of the Image Using the Format Options
While adjusting the overall transparency level of an image in Google Slides is useful, sometimes you may want to apply transparency to specific portions or elements within the image. Follow these steps to achieve this:
- Ensure that the selected image is still open in the Format options pane.
- Within the Image options section, locate the Recolor dropdown menu.
- Click on the Recolor dropdown menu to reveal additional options.
- From the dropdown menu, select Set Transparent Color.
- Your cursor will transform into a paint can icon.
- Click on the specific portion or element within the image that you want to make transparent.
- Google Slides will identify the color you clicked on and apply transparency to that color within the image. It will appear as if the selected part has become transparent.
- If you want to undo the transparency effect on a specific portion, simply click on it again with the paint can icon.
By using the Set Transparent Color feature, you can selectively apply transparency to certain areas of the image. This capability allows you to retain the original look of the image while making certain elements blend into the slide background or other objects.
Experiment with applying transparency to different colors or areas within the image to achieve the desired visual effect. This technique can be particularly helpful when you want to remove a background or emphasize specific details within the image.
Once you have finished applying transparency to specific portions, you can move on to the next step to learn how to remove transparency from the image if desired.
Step 6: Remove Transparency from the Image if Desired
If you have applied transparency to an image in Google Slides and later decide that you want to remove it, you can easily revert back to the original opaque state. Follow these steps to remove transparency from the image:
- Select the image that has transparency applied to it.
- Ensure that the Format options pane is open.
- In the Image options section of the Format options pane, locate the Transparency slider.
- Drag the Transparency slider to the left, towards 100% transparency.
- As you move the slider, the transparency effect will gradually fade away until the image becomes fully opaque.
- Continue adjusting the slider until the transparency is completely removed.
- Once you have achieved the desired opacity, the image will be returned to its original state without any transparency.
By removing transparency from the image, you can restore the solid and non-transparent appearance of the image if it better suits your presentation needs. This step is particularly useful if you made adjustments to transparency and later decide to go back to the original image appearance.
Now that you know how to remove transparency from an image, you can proceed to the final step, where you will learn how to save and share your transparent image in Google Slides.
Step 7: Save and Share Your Transparent Image in Google Slides
After making an image transparent in Google Slides, you may want to save and share it for further use or collaboration. Follow these steps to save and share your transparent image:
- Ensure that the desired slide with the transparent image is open in Google Slides.
- In the menu bar at the top of the page, click on File.
- In the dropdown menu, select Download. Another dropdown menu will appear with various format options.
- Choose the appropriate format to save your transparent image. Options include PNG, JPEG, SVG, and PDF.
- Select the PNG format if you want to preserve the transparency of the image.
- After selecting the format, the image file will be downloaded to your computer or device.
- You can now locate the downloaded file and use it as needed.
- If you want to share the transparent image, you can upload it to cloud storage platforms like Google Drive or share it directly with others via email or messaging apps.
By saving your transparent image in a compatible format, you can ensure that the transparency is preserved and can be easily used in other applications or platforms that support transparent images.
Remember, when using transparent images in Google Slides, make sure to credit the source and respect copyright guidelines if you are using images that are not your own.
Now you have successfully saved and shared your transparent image from Google Slides, and you can continue creating visually stunning presentations.