
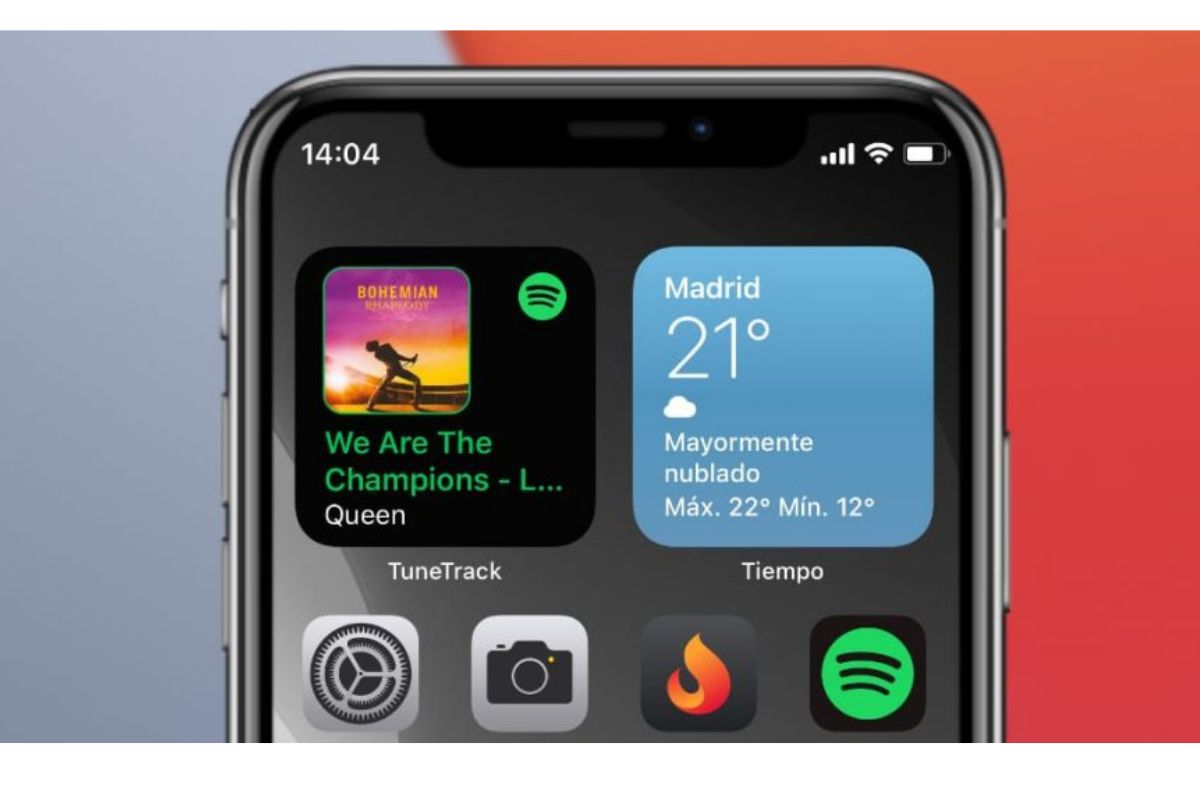
What is a Spotify Widget?
A Spotify Widget is a feature that allows you to embed Spotify functionality into your website or application. It provides a convenient way for users to interact with and play music directly from the Spotify platform without leaving your site. Whether you want to add a playlist, display the currently playing song, or allow users to search for and play tracks, a Spotify Widget can enhance the music experience for your visitors.
With a Spotify Widget, you can seamlessly integrate Spotify’s vast library of songs, albums, and playlists into your own digital space. It gives you the ability to provide a personalized and immersive music experience for your users, making your website or app more engaging and enjoyable.
The Spotify Widget provides various customization options, allowing you to tailor the appearance and behavior of the widget to match your branding and design preferences. This flexibility ensures that the Spotify Widget seamlessly integrates into your existing user interface, creating a cohesive and unified experience for your audience.
By incorporating a Spotify Widget, you not only enhance the overall user experience but also expand the functionality of your website or application. Users can explore the vast Spotify catalog, discover new music, and control their playback directly from your site or app, eliminating the need to switch between different platforms.
Spotify Widgets are easy to implement, requiring minimal coding skills. Using Spotify’s API and the appropriate libraries, you can embed the widget into your project and leverage the power of the Spotify ecosystem within your own digital space.
Whether you are a musician, podcaster, or simply a music enthusiast, a Spotify Widget offers a powerful and convenient way to integrate the music streaming experience into your website or application. It allows you to provide a unique and interactive platform for your users, enticing them to spend more time engaging with your content and enhancing their overall experience.
Setting Up Your Development Environment
Before you can start creating a Spotify Widget, you’ll need to set up your development environment. By following these steps, you’ll ensure that you have all the necessary tools and resources to build your widget efficiently.
1. Install a Text Editor: Choose a reliable text editor such as Visual Studio Code or Sublime Text. These editors provide features like syntax highlighting and code suggestions to streamline your development process.
2. Set Up a Server Environment: To test your Spotify Widget locally, you’ll need a server environment. You can use tools like XAMPP or MAMP to create a local server that can serve your webpages and handle HTTP requests.
3. Install Node.js: Spotify provides a JavaScript library called Spotify Web API that allows you to interact with their platform. In order to use this library, you’ll need to have Node.js installed on your system. Visit the Node.js website and download the latest stable version.
4. Create a Spotify Developer Account: To access the Spotify API and create your widget, you’ll need to register as a developer on the Spotify Developer website. Sign up for a free account and follow the instructions to create your application and obtain API credentials.
5. Install Spotify Web API Library: After setting up your Node.js environment, you can now install the Spotify Web API library using the Node Package Manager (npm). Open your terminal or command prompt and run the following command:
bash
npm install spotify-web-api-node
6. Obtain Spotify API Credentials: Once you have your Spotify Developer account, navigate to the dashboard and create a new application. This will provide you with the client ID and client secret credentials that you’ll need to authenticate your requests to the Spotify API.
7. Configure Environment Variables: To keep your Spotify API credentials secure, it’s recommended to store them in environment variables. Create a .env file in your project’s root directory and add the following lines, replacing “YOUR_CLIENT_ID” and “YOUR_CLIENT_SECRET” with your actual credentials:
text
CLIENT_ID=YOUR_CLIENT_ID
CLIENT_SECRET=YOUR_CLIENT_SECRET
Now that you have set up your development environment with the necessary tools and resources, you’re ready to start creating your Spotify Widget. In the next section, we’ll dive into the steps involved in building your widget and integrating it with the Spotify API.
Creating a New Project
To begin creating your Spotify Widget, you’ll need to set up a new project. This involves creating the necessary files and folder structure to organize your code effectively. By following these steps, you’ll be able to start building your widget in a structured and organized manner.
1. Create a Project Directory: Start by creating a new directory on your computer where you’ll store your project files. Name it something meaningful, like “spotify-widget.”
2. Set Up HTML and CSS Files: Within the project directory, create an HTML file called “index.html” and a CSS file called “style.css”. These files will hold the structure and styling for your widget. Open them in your text editor.
3. Initialize a Git Repository: If you plan to track your project’s changes using version control, you can initialize a Git repository in your project directory. Open your terminal or command prompt, navigate to your project directory, and run the following command:
bash
git init
4. Link CSS File to HTML: In your index.html file, link the style.css file by adding the following line of code within the head section:
html
With these initial steps, you have set up the foundation for your Spotify Widget project. In the next sections, we will explore how to add the necessary Spotify dependencies and start integrating the Spotify API to retrieve and display music data in your widget.
Adding Spotify Dependencies
In order to interact with the Spotify API and retrieve music data for your widget, you’ll need to add the necessary Spotify dependencies to your project. These dependencies will provide the functionality required to authenticate with the Spotify API and make requests to fetch music information. Follow these steps to add the Spotify dependencies to your project.
1. Install the Spotify Web API Node Package: Open your terminal or command prompt and navigate to your project directory. Run the following command to install the Spotify Web API Node package:
bash
npm install spotify-web-api-node
2. Import the Spotify Web API Package: In your JavaScript file (e.g., script.js), import the Spotify Web API package by adding the following line of code at the beginning:
javascript
const SpotifyWebApi = require(‘spotify-web-api-node’);
3. Set Up Spotify API Credentials: Retrieve your client ID and client secret from your Spotify Developer account. In your script.js file, add the following code to set up the Spotify API credentials:
javascript
const spotifyApi = new SpotifyWebApi({
clientId: YOUR_CLIENT_ID,
clientSecret: YOUR_CLIENT_SECRET
});
4. Authenticate with the Spotify API: To authenticate your requests to the Spotify API, you’ll need to retrieve an access token. Add the following code to your script.js file:
javascript
spotifyApi.clientCredentialsGrant().then(
function(data) {
spotifyApi.setAccessToken(data.body.access_token);
},
function(err) {
console.log(‘Something went wrong when retrieving an access token’, err);
}
);
With these steps, you have successfully added the necessary dependencies to your project and set up the Spotify API credentials. In the next sections, we will dive into creating the SpotifyWidget view and fetching data from the Spotify API to display song information in your widget.
Creating the SpotifyWidget View
Now that you have set up your project and added the necessary dependencies, it’s time to start creating the SpotifyWidget view. This is the section of your application where the Spotify Widget will be displayed and interacted with. Follow these steps to create the SpotifyWidget view.
1. Open your index.html file and add a container element where the Spotify Widget will be rendered. You can use a div element with a unique identifier, like this:
html
2. In your script.js file, find the appropriate place to add the code for creating the SpotifyWidget view. This can be within a function or directly within the document ready event handler.
3. Create a new instance of the SpotifyWidget class and pass in the container element as a parameter. Here’s an example:
javascript
const widgetContainer = document.getElementById(‘spotify-widget-container’);
const spotifyWidget = new SpotifyWidget(widgetContainer);
4. Define the SpotifyWidget class. This class will contain the logic for rendering the Spotify Widget and handling user interactions. Here’s a basic example of how the class can be structured:
javascript
class SpotifyWidget {
constructor(container) {
this.container = container;
}
render() {
// Code to render the Spotify Widget within the container element
}
// Other methods for handling user interactions, fetching data, etc.
}
5. Inside the render() method, you can add the necessary HTML structure and styling to display the Spotify Widget. You can use HTML, CSS, and JavaScript to customize the appearance and behavior of the widget based on your requirements.
With these steps, you have created the foundation for your SpotifyWidget view. In the next sections, we will explore how to fetch data from the Spotify API and display song information in your widget, as well as how to handle user interactions for controlling music playback.
Fetching Data from the Spotify API
To display song information in your Spotify Widget, you’ll need to fetch data from the Spotify API. This will allow you to retrieve details such as the currently playing track, artist information, album artwork, and more. Follow these steps to fetch data from the Spotify API and update your widget accordingly.
1. In your SpotifyWidget class, create a method called fetchData() that will handle the API request. Here’s an example:
javascript
fetchData() {
spotifyApi.getMyCurrentPlayingTrack()
.then((data) => {
// Code to handle the response and update the widget
})
.catch((error) => {
console.log(‘Failed to fetch data from the Spotify API’, error);
});
}
2. Inside the fetchData() method, use the appropriate Spotify Web API method to retrieve the desired data. In this example, we are using getMyCurrentPlayingTrack() to get the currently playing track. You can explore other methods available in the API documentation to fetch different types of data.
3. Once the data is successfully fetched, you can handle the response in the then() function. Extract the relevant information from the response and update your widget accordingly. Here’s an example:
javascript
.then((data) => {
const trackName = data.body.item.name;
const artistName = data.body.item.artists[0].name;
const albumImage = data.body.item.album.images[0].url;
// Code to update the widget with the retrieved data
})
4. Inside the widget’s update logic, use the extracted data to dynamically populate the relevant elements. For example, you can set the inner HTML of a <div> element to display the track name, artist name, and album image.
With these steps, you are now able to fetch data from the Spotify API and update your widget with the retrieved information. In the next section, we will explore how to display the song information in your widget and provide a seamless music playback experience for users.
Displaying Song Information
Displaying song information is a crucial aspect of your Spotify Widget. By showcasing the track name, artist name, and album artwork, you can provide users with a visually appealing and informative music experience. Follow these steps to display the song information in your widget.
1. Identify the elements in your widget’s HTML structure where you want to display the song information. These elements can be <div>, <span>, or any other suitable HTML tag. Add appropriate CSS classes or IDs to these elements for easier targeting in JavaScript.
2. In your fetchData() method, after successfully retrieving the necessary data from the Spotify API, update the corresponding HTML elements with the retrieved information. Here’s an example of how you can update the track name, artist name, and album image:
javascript
.then((data) => {
const trackNameElement = document.querySelector(‘.track-name’);
const artistNameElement = document.querySelector(‘.artist-name’);
const albumImageElement = document.querySelector(‘.album-image’);
const trackName = data.body.item.name;
const artistName = data.body.item.artists[0].name;
const albumImage = data.body.item.album.images[0].url;
trackNameElement.innerHTML = trackName;
artistNameElement.innerHTML = artistName;
albumImageElement.src = albumImage;
})
3. In your CSS file, apply appropriate styles to the elements for the song information display. You can customize the font, size, color, and positioning to match the overall design and theme of your widget.
By following these steps, you have successfully implemented the display of song information in your Spotify Widget. With the track name, artist name, and album artwork prominently visible, your users can easily identify and engage with the current song playing. In the next section, we will explore how to handle user interactions and enhance the functionality of your widget.
Handling User Interactions
To create an engaging and interactive experience, it’s important to handle user interactions in your Spotify Widget. By allowing users to control music playback, search for tracks, and explore playlists, you can enhance the functionality and enjoyment of your widget. Follow these steps to implement user interactions in your widget.
1. Add event listeners to the relevant HTML elements in your widget’s HTML structure. For example, if you have a play button, add a click event listener to it. Use the appropriate JavaScript code to handle the event and perform the desired action, such as playing or pausing the current track.
2. Inside the event handler function, utilize the methods provided by the Spotify Web API library to control music playback. For example, you can use play() or pause() methods to start or stop the current track. Here’s an example code snippet:
javascript
playButton.addEventListener(‘click’, () => {
spotifyApi.play()
.then(() => {
// Code to handle successful playback
})
.catch((error) => {
console.log(‘Failed to play the track’, error);
});
});
3. Implement other user interactions based on your project’s requirements. For instance, you can add a search bar where users can type in the name of a track and search for it using the Spotify API. Fetch the search results and display them in your widget, allowing users to select a track and play it.
4. Customize the widget’s appearance or behavior based on user interactions. For example, you can change the styling or add visual feedback when a user hovers over a track or clicks a button.
With these steps, you have implemented user interactions in your Spotify Widget. By providing users with the ability to control playback, search for tracks, and explore playlists, you create a dynamic and immersive music experience. In the next section, we will explore how to customize the appearance of your widget to match your branding and design preferences.
Customizing the Widget Appearance
Customizing the appearance of your Spotify Widget allows you to create a cohesive and visually appealing user experience. By matching the widget’s design with your branding and overall website or application aesthetics, you can provide a seamless integration that enhances the overall visual impact. Follow these steps to customize the appearance of your widget.
1. Identify the CSS classes or IDs associated with the elements in your widget’s HTML structure that you want to customize. This can include the play button, track name, artist name, album image, background color, font styles, and more.
2. Open your CSS file and define the styles for the identified classes or IDs. You can modify properties such as color, font-size, background color, border, padding, margin, and more. Use selectors like class selectors (e.g., .play-button) or ID selectors (e.g., #track-name) to target specific elements.
3. Experiment with different styles and layouts to achieve the desired look for your widget. Consider using CSS frameworks like Bootstrap or custom CSS libraries to make styling easier and ensure a consistent design across different devices.
4. Add transitions, animations, or hover effects to make the widget more engaging and interactive. For example, you can animate the play button when clicked or create a hover effect on the album image to provide visual feedback for user interactions.
5. Consider responsive design principles to ensure your widget looks good and functions properly on different screen sizes. Use media queries and responsive CSS techniques to adjust the layout and styles based on the viewport dimensions.
6. Test your customized widget on different devices and browsers to ensure it displays correctly and functions as intended. Make adjustments as needed to optimize the user experience.
By following these steps and experimenting with different styles, you can customize the appearance of your Spotify Widget to align with your aesthetics and brand identity. Customization not only enhances the visual appeal but also ensures a cohesive and immersive experience for users. In the next section, we will explore how to test your widget to ensure it functions correctly before deploying it to production.
Testing Your Widget
Testing your Spotify Widget is an essential step in the development process to ensure that it functions correctly and provides a smooth user experience. By thoroughly testing your widget, you can catch any bugs or issues and make necessary refinements before deploying it to a production environment. Follow these steps to effectively test your widget.
1. Test Widget Functionality: Start by verifying that the basic functionality of your widget is working as intended. This includes playing and pausing tracks, displaying song information accurately, and handling user interactions such as searching for tracks or skipping to the next song.
2. Cross-Browser and Cross-Device Testing: Test your widget on different browsers (such as Chrome, Firefox, Safari, and Edge) and devices (desktop, mobile, and tablet) to ensure compatibility and responsiveness. Pay attention to any variations in behavior or appearance across different platforms.
3. Error Handling and Edge Cases: Test your widget under various scenarios to assess how it handles different error conditions and edge cases. For example, check if appropriate error messages are displayed when the Spotify API requests fail or when the user interaction exceeds the expected limits.
4. Performance Testing: Assess the performance of your widget by monitoring its loading speed, memory usage, and responsiveness. Optimize it by minimizing unnecessary API requests, reducing file sizes, and optimizing code execution for improved performance.
5. User Acceptance Testing: If possible, gather feedback from a group of targeted users or beta testers to evaluate their experience with your widget. Consider their feedback to identify areas of improvement and make necessary adjustments accordingly.
6. Debugging and Logging: Utilize tools like browser developer console and logging statements in your code to debug and track any issues that may arise during testing. This will help you identify and resolve any bugs or inconsistencies in your widget.
By conducting comprehensive testing, you can ensure that your Spotify Widget functions smoothly and provides a seamless user experience. Once you are confident in the performance and functionality of your widget, you can move on to deploying it to your production environment.
Deploying Your Widget
After thoroughly testing your Spotify Widget and ensuring its functionality, it’s time to deploy it to your production environment. Deployment involves making your widget available to users through your website or application. Follow these steps to deploy your widget successfully.
1. Choose a Hosting Provider: Select a reliable hosting provider that suits your needs. Consider factors such as server uptime, scalability, security, and pricing. Common hosting options include shared hosting, virtual private servers (VPS), cloud hosting, or platform-as-a-service (PaaS) solutions.
2. Upload Your Files: Transfer your widget files, including the HTML, CSS, and JavaScript files, to your hosting provider’s server. This can be done using FTP (File Transfer Protocol) or through a control panel provided by your hosting provider.
3. Configure Server Environment: Set up the necessary server environment and dependencies required to run your widget. This may include installing Node.js or other server-side technologies if needed.
4. Configure Domain or Subdomain: If you have a custom domain or subdomain, configure it to point to the location where your widget files are hosted. This might involve updating your domain’s DNS settings.
5. Test Your Deployed Widget: Once your widget is deployed, test it again in the production environment to ensure all functionalities are working correctly. Perform tests on different devices and browsers to verify cross-compatibility.
6. Monitor and Maintain: Regularly monitor your deployed widget to ensure its availability and performance. Set up monitoring tools or services to receive notifications of any issues or downtime. Stay up-to-date with security patches and updates for any dependencies or server software.
7. Continuous Improvements: Collect user feedback and keep an eye on analytics to understand how users interact with your widget. Use this information to continuously improve and enhance the functionality and experience.
By following these deployment steps, you can make your Spotify Widget accessible to your audience and provide them with an enjoyable music experience. Remember to regularly update and maintain your widget to ensure its optimal performance and alignment with changing requirements.