
Checking Your Computer Hardware Compatibility
Before increasing game settings on your Oculus Rift, it’s important to ensure that your computer meets the necessary hardware requirements. This will ensure a smooth and enjoyable gaming experience without any lag or performance issues. Here are the steps to check your computer’s hardware compatibility:
- Check the Minimum System Requirements: Visit the Oculus website and look for the minimum system requirements for the Oculus Rift. Make sure that your computer meets or exceeds these requirements. This includes having a compatible operating system, a powerful processor, sufficient RAM, and a dedicated graphics card.
- Use the Oculus Compatibility Tool: Oculus provides a compatibility tool that you can download and run on your computer. This tool will automatically check your hardware specifications and let you know if your system is compatible with the Oculus Rift. It will also provide recommendations if any upgrades are needed.
- Check Graphics Card Compatibility: The graphics card is an essential component for rendering high-quality visuals on the Oculus Rift. Ensure that your graphics card is not only compatible with the Oculus Rift but also meets the recommended specifications. Visit the manufacturer’s website or use tools like GPU-Z to check your graphics card’s model and specifications.
- Check USB Ports: The Oculus Rift requires multiple USB ports for both the headset and the sensors. Check if your computer has enough available USB ports and if they meet the required specifications. USB 3.0 ports are recommended for optimal performance.
- Update Drivers: Make sure that all your computer’s drivers are up to date. This includes graphics card drivers, USB drivers, and any other relevant drivers for your hardware. Outdated drivers can cause compatibility issues and hinder the performance of your Oculus Rift.
By following these steps, you can ensure that your computer meets the necessary hardware requirements for an enhanced gaming experience on the Oculus Rift. It’s crucial to have a compatible system to fully enjoy the immersive virtual reality worlds that the Oculus Rift has to offer.
Updating Oculus Software
To fully optimize your Oculus Rift gaming experience and increase game settings, it’s important to keep your Oculus software up to date. Regular updates provide bug fixes, performance improvements, and new features. Here’s how you can update your Oculus software:
- Open the Oculus App: Launch the Oculus app on your computer. If you don’t have it already installed, you can download it from the official Oculus website. Ensure that your Oculus Rift is connected to your computer and turned on.
- Check for Updates: Once you have the Oculus app open, click on the gear icon in the top right corner to access the Settings menu. From there, select the “General” tab. Under the “Oculus Rift S and Rift” section, click on the “Beta” option. Toggle the “Public Test Channel” option to enable it.
- Update All: Once you have enabled the Public Test Channel, go back to the “General” tab and click on the “Beta” dropdown menu. Select “Restart Oculus.” This will initiate the update process, and any available updates will be installed. It may take some time to complete the update, depending on the size of the update and your internet connection speed.
- Restart Oculus: After the update is complete, you will be prompted to restart Oculus. Click on the “Restart Oculus” button to complete the process. This ensures that all the changes and updates are applied to your Oculus Rift.
Regularly updating your Oculus software ensures that you have access to the latest features and improvements. It keeps your system running smoothly and allows you to take full advantage of higher game settings and enhanced graphics.
Using Oculus Tray Tool
The Oculus Tray Tool is a third-party software utility that allows you to customize various settings and optimize your Oculus Rift experience. It provides additional control and fine-tuning options that are not available in the default Oculus app. Here’s how you can utilize the Oculus Tray Tool:
- Download and Install: Visit the official Oculus Tray Tool website and download the latest version of the software. Once downloaded, run the installer and follow the on-screen instructions to install it on your computer.
- Run the Oculus Tray Tool: After installation, launch the Oculus Tray Tool on your computer. You will see a small icon in the system tray at the bottom right corner of your screen.
- Explore the Settings: Right-click on the Oculus Tray Tool icon in the system tray to access the settings menu. Here, you will find various options to customize your Oculus Rift settings, including supersampling, ASW (Asynchronous Spacewarp), performance monitoring, and more. Take some time to explore these settings and understand their implications on performance and visual quality.
- Adjust Supersampling: Supersampling is a technique that renders the image at a higher resolution and then downscales it to improve image clarity. With the Oculus Tray Tool, you can adjust the supersampling factor to increase the sharpness of your virtual reality experience. However, be cautious not to set it too high, as it may impact performance.
- Manage ASW: ASW (Asynchronous Spacewarp) is a feature that helps maintain a smooth VR experience by automatically adjusting frame rates. With the Oculus Tray Tool, you can control the ASW behavior, enabling or disabling it based on your preferences and system performance.
The Oculus Tray Tool provides advanced users with additional control over their Oculus Rift settings, allowing them to optimize performance and customize their virtual reality experience. However, it’s important to note that modifying settings incorrectly can result in unstable performance or visual artifacts. Experimentation and finding the optimal balance for your specific hardware configuration is key.
Adjusting Oculus Rift Graphics Settings
To enhance your gaming experience on the Oculus Rift, you can adjust the graphics settings to optimize performance and visual quality. Here are some key settings you can modify:
- Launch the Oculus App: Open the Oculus app on your computer and ensure that your Oculus Rift is properly connected.
- Access the Devices tab: In the Oculus app, navigate to the Devices tab located in the bottom toolbar.
- Select your Oculus Rift: Under the Devices tab, click on your Oculus Rift headset to access its settings.
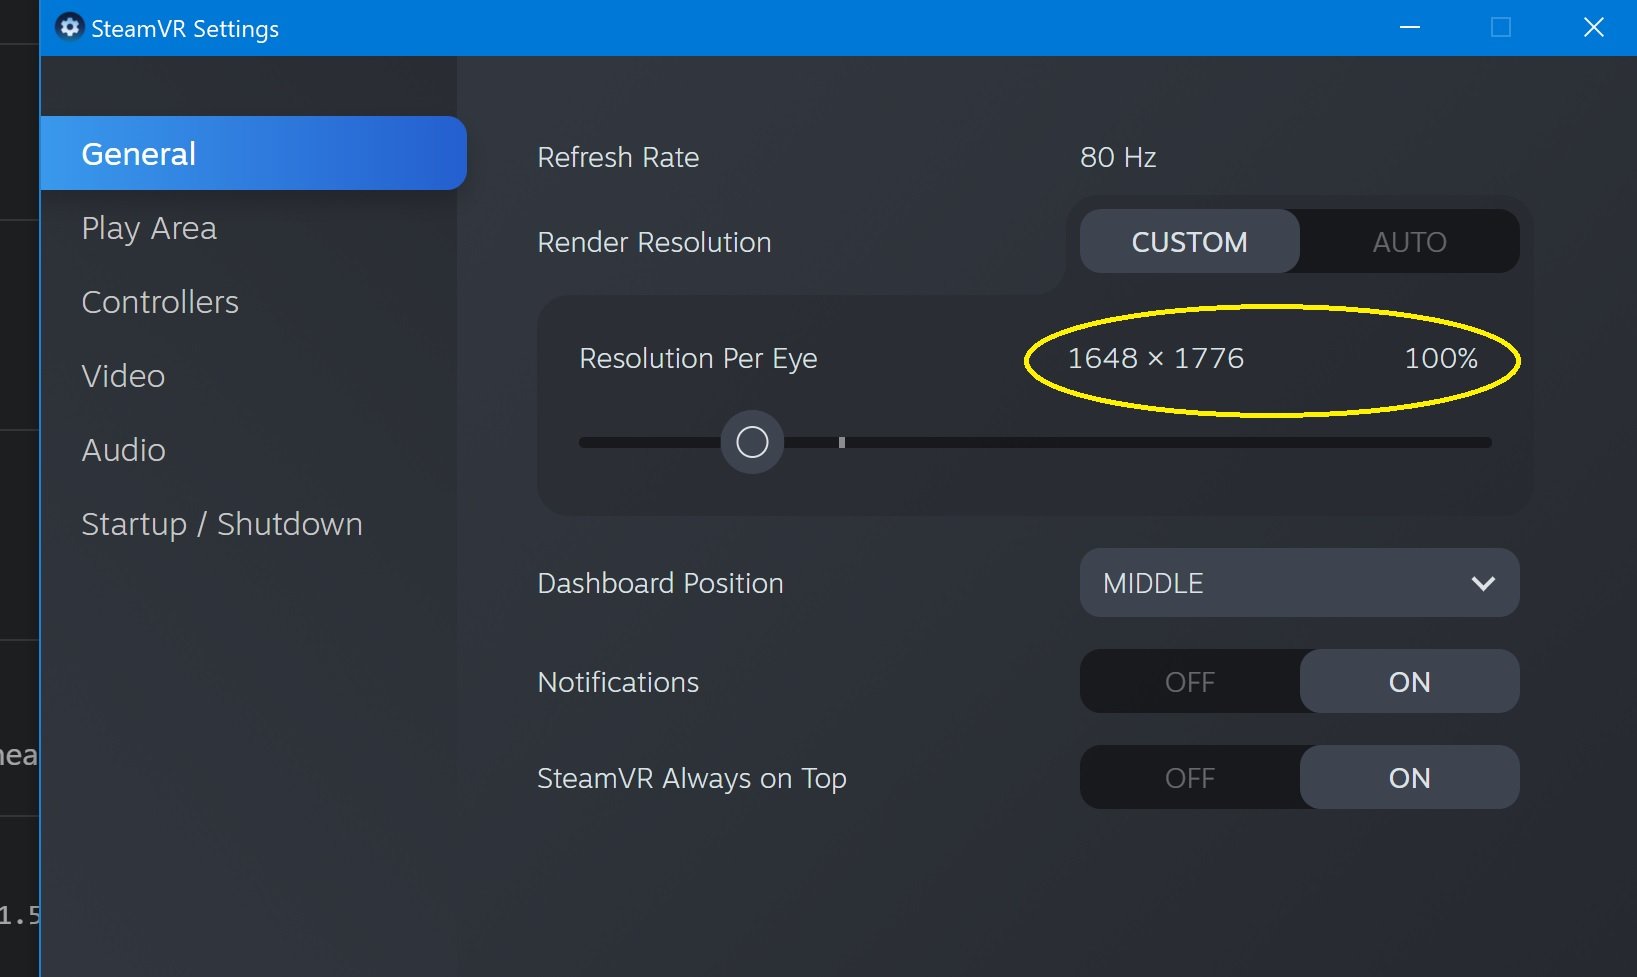
- Adjust the Graphics options: Within the Oculus Rift settings, you will find the Graphics options. Here, you can make changes to improve performance or increase visual quality. These options may vary depending on your graphics card and computer configuration but typically include options for Resolution, Anti-aliasing, Texture Quality, and Shadow Quality.
- Balance Performance and Quality: Consider your computer’s capabilities and the specific requirements of the game you want to play. Adjust the graphics settings accordingly to find the right balance between performance and visual quality. Lowering the Resolution or reducing the settings for effects like Anti-aliasing and Shadows can help improve performance, while increasing these settings can enhance the visual fidelity of the game.
- Experiment and Fine-tune: Every game and computer setup is unique, so don’t be afraid to experiment with different graphics settings to find what works best for you. Incrementally adjust the settings and test them in-game to determine the optimal configuration for smooth gameplay and immersive visuals.
By adjusting the graphics settings in the Oculus Rift app, you can customize your gaming experience according to your preferences and hardware capabilities. Finding the right balance between performance and visual quality will ensure an enjoyable and immersive VR experience on your Oculus Rift.
Optimizing Your Computer Settings
In addition to adjusting the graphics settings in the Oculus app, optimizing your computer settings can further enhance the performance of your Oculus Rift. Here are some key areas to focus on:
- Closing Unnecessary Applications: Before launching a game on your Oculus Rift, close any unnecessary background applications. This frees up system resources and ensures that your computer is dedicated to running the game and supporting the VR experience.
- Updating Operating System: Keeping your operating system up to date is crucial for optimal performance. Install the latest Windows updates or other relevant updates for your operating system to ensure that you have the latest features, bug fixes, and performance improvements.
- Disabling Power-saving Mode: Make sure that your computer is not in power-saving mode, as it can limit the processing power and negatively affect the performance of your Oculus Rift. Adjust the power settings to prioritize performance over energy saving.
- Updating Graphics Card Drivers: Regularly update your graphics card drivers as new drivers often come with performance enhancements and bug fixes. Visit the manufacturer’s website or use dedicated software to ensure that you have the latest drivers installed for your graphics card.
- Overclocking: Only attempt to overclock your CPU or graphics card if you have knowledge and experience in doing so. It can provide a performance boost, but improper overclocking can lead to instability or damage to your hardware. Follow proper overclocking techniques and monitor temperatures to ensure safe operation.
- Monitoring System Performance: Use software tools like MSI Afterburner, CPU-Z, or GPU-Z to monitor the performance of your system during gameplay. Keep an eye on factors like CPU usage, GPU temperature, and RAM usage to identify any potential bottlenecks or issues that may be affecting the performance of your Oculus Rift.
By optimizing your computer settings, you can maximize the potential of your Oculus Rift and create a smoother and more immersive virtual reality experience. Take the time to fine-tune your system and keep it updated to optimize its performance for gaming on the Oculus Rift.
Overclocking Your Graphics Card
If you’re looking to squeeze extra performance out of your graphics card for Oculus Rift gaming, overclocking can be an effective method. Overclocking involves increasing the clock speeds of your graphics card’s GPU and memory to achieve higher performance. However, it’s important to note that overclocking comes with potential risks and should only be attempted if you have the necessary knowledge and experience. Here’s how you can overclock your graphics card:
- Research and Prepare: Before overclocking, research your specific graphics card model and understand its capabilities and limitations. Familiarize yourself with the software utility provided by your graphics card manufacturer, such as MSI Afterburner or EVGA Precision X, to adjust clock speeds and monitor performance.
- Stress Testing: To ensure stability and prevent overheating, stress testing is crucial. Use programs like FurMark or Heaven Benchmark to test your graphics card’s stability under load. Monitor temperatures and observe for any artifacts or crashes that may indicate instability.
- Gradual Increases: Start by increasing the clock speed of your graphics card’s GPU or memory by small increments, such as 10 MHz or 50 MHz at a time. Apply the changes and test for stability using the stress testing software. If the system remains stable, gradually increase the clock speeds further.
- Monitor Temperatures: As you increase the clock speeds, keep a close eye on your graphics card’s temperatures. Excessive heat can cause instability and can potentially damage your graphics card. Ensure that your system’s cooling is sufficient or consider investing in additional cooling solutions.
- Test in Games: Once you’re satisfied with the overclocked settings and the stability has been verified, test your graphics card in actual games on your Oculus Rift. Monitor the performance and ensure that there are no visual artifacts or crashes during gameplay.
- Troubleshooting and Reverting: If you encounter stability issues or unexpected behavior, revert to the previous clock speeds and test for stability again. It’s crucial to find the balance between performance gains and system stability during overclocking.
Overclocking your graphics card can provide a noticeable performance increase, resulting in smoother gameplay and improved graphics on the Oculus Rift. However, it’s important to proceed with caution, monitor temperatures, and ensure system stability throughout the process. If you’re unsure or uncomfortable with overclocking, it’s recommended to seek assistance from experienced individuals or consider alternative performance-enhancing methods.