
What is Bitdefender Threat Scanner?
Bitdefender Threat Scanner is a component of the Bitdefender antivirus software that helps detect and remove potential threats on your computer. It is designed to scan your system and identify any malicious files or suspicious activities that could compromise your device’s security.
As a built-in feature of Bitdefender, Threat Scanner continuously monitors your computer for any signs of malware, viruses, or other types of malicious software. It uses advanced scanning algorithms to analyze files, processes, and system configurations to ensure the highest level of protection for your device.
Bitdefender Threat Scanner works silently in the background, constantly updating its virus definitions to stay updated with the latest threats. It also offers real-time protection, meaning it can detect and block potential threats as soon as they attempt to access your computer.
This powerful scanning tool operates at a deep level, examining files and directories thoroughly to detect any potential security risks. It not only identifies known malware but also utilizes heuristic analysis to identify suspicious activities and behavior that may indicate the presence of new, emerging threats.
With Bitdefender Threat Scanner, you can have peace of mind knowing that your computer is protected against various types of malware, including viruses, Trojans, worms, ransomware, spyware, and more. Its comprehensive scanning capabilities and continuous updates ensure that your device is safeguarded from the latest security threats.
However, there may be instances where you may want to get rid of Bitdefender Threat Scanner. This could be due to personal preferences to use alternative antivirus software or if you encounter issues with the program. The next sections will guide you through the process of removing Bitdefender Threat Scanner from your device.
Why do you want to get rid of it?
While Bitdefender Threat Scanner is a robust and reliable antivirus component, there can be several reasons why you may want to remove it from your computer:
- Preference for alternative antivirus software: You may have a personal preference for a different antivirus program that offers different features or a more user-friendly interface. Some users may find that another antivirus solution better suits their specific needs and preferences.
- Conflicts with other software: In some cases, Bitdefender Threat Scanner may conflict with other programs installed on your computer. Conflicting software can cause performance issues, system crashes, or unexpected behavior. If you experience issues or performance degradation directly related to the presence of Bitdefender Threat Scanner, you might consider removing it.
- Resource consumption: Although Bitdefender Threat Scanner is designed to have a minimal impact on system resources, some users may find that it consumes a significant amount of CPU or memory. If your computer’s performance is affected or you require additional system resources for other tasks, you may choose to uninstall Bitdefender Threat Scanner.
- Switching to a different security solution: As technology evolves, you might decide to switch to a different antivirus software program that offers specific features or better compatibility with your system. Changing security solutions can be a valid reason to remove Bitdefender Threat Scanner.
- Compatibility with older systems: Bitdefender Threat Scanner may not be fully compatible with older operating systems or hardware configurations. If you are using an outdated system that is no longer supported by Bitdefender or experiencing compatibility issues, removing the Threat Scanner component may be necessary.
It is important to note that removing Bitdefender Threat Scanner should only be done if you have a valid reason and have another reliable antivirus solution in place. Your computer’s security is essential, and choosing an alternative antivirus software that offers comparable protection is crucial to maintaining a secure computing environment.
Removing Bitdefender Threat Scanner on Windows
If you have decided to remove Bitdefender Threat Scanner from your Windows computer, follow these steps:
- Open the Control Panel: Click on the Start menu, search for “Control Panel,” and open it.
- Access Programs and Features: In the Control Panel, navigate to “Programs” or “Programs and Features” (depending on your Windows version).
- Locate Bitdefender Threat Scanner: Look for Bitdefender or Bitdefender Threat Scanner in the list of installed programs. Click on it to select it.
- Uninstall Bitdefender Threat Scanner: Once Bitdefender Threat Scanner is selected, click on the “Uninstall” or “Remove” button (the exact wording may vary depending on your Windows version).
- Follow the uninstallation wizard: You will be guided through the uninstallation process with a wizard. Follow the on-screen instructions to complete the removal of Bitdefender Threat Scanner.
- Restart your computer: After the uninstallation process is complete, restart your computer to ensure that all changes take effect.
Once you have completed these steps, Bitdefender Threat Scanner should be successfully removed from your Windows system. However, it is recommended to double-check the list of installed programs in the Control Panel to confirm that Bitdefender Threat Scanner is no longer listed.
If you encounter any issues during the uninstallation process or if Bitdefender Threat Scanner is not listed in the Programs and Features section, you may need to use the official Bitdefender removal tool. It is a specialized tool provided by Bitdefender to ensure the complete removal of their software from your computer.
Remember that removing Bitdefender Threat Scanner will leave your computer without Bitdefender’s comprehensive protection. If you decide to uninstall it, make sure you have an alternative antivirus program installed to maintain the security of your system.
Uninstalling Bitdefender Threat Scanner on Mac
If you are using a Mac and want to uninstall Bitdefender Threat Scanner, follow the steps below:
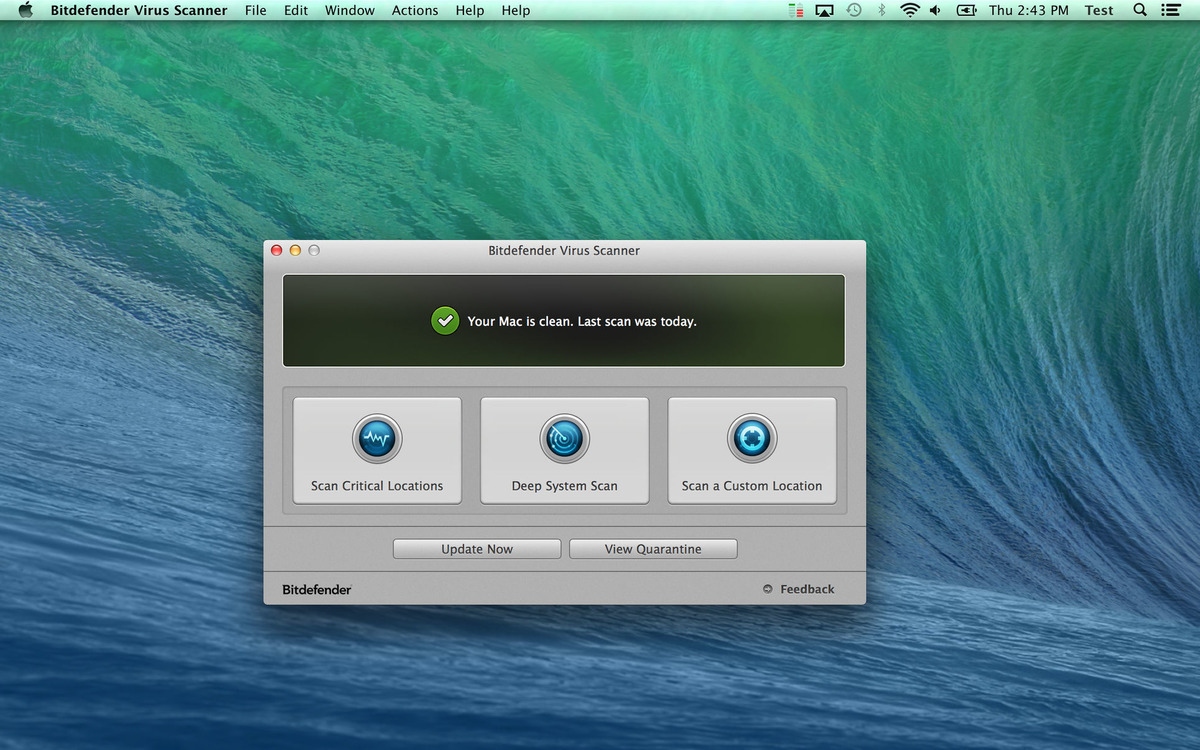
- Quit Bitdefender: Before uninstalling Bitdefender Threat Scanner, make sure to quit the program completely. To do this, click on the Bitdefender icon in the menu bar, and choose “Quit” or “Exit.”
- Open Finder: Click on the Finder icon in your Dock or press Command + Spacebar to open Spotlight and search for “Finder.”
- Go to Applications: In the Finder window, navigate to the “Applications” folder.
- Locate Bitdefender Threat Scanner: Look for the Bitdefender folder in the Applications folder. Open the folder to find the Bitdefender Threat Scanner application.
- Move Bitdefender Threat Scanner to Trash: Drag the Bitdefender Threat Scanner application icon to the Trash folder in your Dock. Alternatively, you can right-click on the application icon and choose “Move to Trash.”
- Empty Trash: To completely remove Bitdefender Threat Scanner from your Mac, right-click on the Trash icon in your Dock and select “Empty Trash.” Confirm the action if prompted.
After completing these steps, Bitdefender Threat Scanner should be successfully uninstalled from your Mac. It is recommended to restart your computer to ensure that all related processes are terminated and any remaining files are removed.
If you encounter any issues during the uninstallation process or if you find any leftover files related to Bitdefender Threat Scanner, you can also use third-party uninstaller software to ensure the complete removal of the program from your Mac.
Remember that uninstalling Bitdefender Threat Scanner will leave your computer without the protection offered by Bitdefender. Make sure to have an alternative antivirus program installed to maintain the security of your Mac.
Disabling Bitdefender Threat Scanner notifications
If you want to disable the notifications from Bitdefender Threat Scanner, you can do so by following these steps:
- Open the Bitdefender interface: Locate the Bitdefender icon in your system tray or menu bar and double-click on it to open the Bitdefender interface.
- Access the Notifications settings: In the Bitdefender interface, look for the settings or preferences section. The exact location may vary depending on the version of Bitdefender you are using, but it is typically labeled as “Settings” or “Preferences.”
- Navigate to the Notifications section: Within the settings or preferences window, find the “Notifications” or “Alerts” section. This is where you can disable or customize the notifications you receive from Bitdefender Threat Scanner.
- Disable Threat Scanner notifications: Look for the option to disable notifications specifically related to Bitdefender Threat Scanner. It may be labelled as “Threat Scanner Notifications,” “Scan Notifications,” or similar. Toggle the switch or uncheck the box to disable these notifications.
- Review and customize other notifications: While you’re in the Notifications section, take the opportunity to review and customize other notifications from Bitdefender according to your preferences. You can choose to enable or disable notifications for different components or activities, such as virus updates or system scans.
- Save the changes: Once you have disabled or customized the Bitdefender Threat Scanner notifications to your liking, make sure to save the changes before closing the settings or preferences window.
By following these steps, you can disable the notifications specifically related to Bitdefender Threat Scanner. Keep in mind that disabling the notifications will not affect the scanning and protection capabilities of the antivirus software. The scans will still be performed in the background without interrupting you with notifications.
If you change your mind in the future and want to re-enable the notifications, simply follow the same steps and toggle the switch or check the box to enable them again.
Remember that while disabling the notifications can provide a less intrusive experience, it is important to keep your antivirus software updated and periodically check the interface for any important alerts or security issues.
Using an alternative antivirus program
If you have decided to remove Bitdefender Threat Scanner or simply want to explore different options for antivirus software, using an alternative antivirus program can provide you with the security and features you desire. Here are some steps to consider when switching to an alternative antivirus program:
- Research and choose a reliable antivirus software: Take the time to research and compare different antivirus programs available on the market. Consider factors such as the level of protection, user interface, resource usage, customer reviews, and additional features. Look for reputable antivirus programs that offer comprehensive protection against a wide range of malware and have a proven track record.
- Download and install the chosen antivirus software: Once you have decided on an alternative antivirus program, visit the official website of the software provider and download the installer file. Follow the instructions provided by the antivirus software to install it on your computer.
- Uninstall Bitdefender Threat Scanner (if not already done): If you haven’t already done so, follow the appropriate steps mentioned earlier to uninstall Bitdefender Threat Scanner from your computer. Make sure that no remnants of Bitdefender Threat Scanner are present on your system before installing the alternative antivirus program.
- Perform a system scan and set up the alternative antivirus: After installing the new antivirus software, perform a system scan to ensure that your computer is free from any potential threats. Set up the software according to your preferences, adjusting options such as real-time scanning, scheduled scans, and quarantine settings. Familiarize yourself with the user interface and available features to make the most of the alternative antivirus program.
- Regularly update the alternative antivirus software: To ensure optimal protection, keep the alternative antivirus software updated with the latest virus definitions and program updates. Most antivirus programs provide automatic updates to keep your computer protected against the latest threats.
- Configure scans and notifications: Customize the scanning and notification settings of the alternative antivirus software to best suit your needs. Set up regular scans to ensure a proactive approach to malware detection, and adjust notification preferences to your desired level of alertness.
By following these steps and migrating to an alternative antivirus program, you can continue to safeguard your computer from potential threats while utilizing the features and interface that meet your requirements.
Remember that selecting a reliable antivirus program and keeping it updated is crucial for the overall security of your computer. Regularly scanning your systems and implementing best practices for online safety will help maintain a secure computing environment.
Clearing temporary files and registry entries related to Bitdefender Threat Scanner
After uninstalling Bitdefender Threat Scanner, it is a good practice to clear any remaining temporary files and registry entries associated with the program. This helps ensure a thorough removal and avoids any potential conflicts or remnants left behind. Here’s how you can clear these files and entries:
- Delete temporary files: Click on the Start menu and type “%temp%” (without the quotes) in the search bar. This will open the temporary files folder. Select all the files in this folder and delete them. Some files may be in use and cannot be deleted – skip them and delete the rest. Emptying the Recycle Bin afterward will permanently remove these files.
- Clean up system files: Open the Disk Cleanup utility by typing “Disk Cleanup” in the Start menu search bar and selecting the appropriate result. Choose your system drive (usually the C: drive) and wait for the utility to calculate the amount of disk space you can free up. Select the “Temporary files” option and any other categories you wish to clean. Click on “OK” and then on “Delete Files” to remove the selected files.
- Modify the Windows Registry: Please note that modifying the Windows Registry is a sensitive process and should be done with caution. Press the Windows key + R to open the Run dialog box, then type “regedit” and press Enter to open the Registry Editor. Before making any changes, it is essential to back up the registry. Navigate to the following registry keys and delete any entries related to Bitdefender Threat Scanner:
- HKEY_CURRENT_USER\Software\Bitdefender
- HKEY_LOCAL_MACHINE\SOFTWARE\Bitdefender
Once you’ve deleted the Bitdefender-related entries, close the Registry Editor.
- Restart your computer: Restarting your computer after performing these cleanup actions helps ensure that any lingering system processes or references are cleared completely.
By following these steps, you can go beyond the standard uninstallation process and remove temporary files as well as registry entries associated with Bitdefender Threat Scanner. This helps ensure a clean removal and prevents any potential conflicts or leftover data that might affect system performance or interfere with other software.
It’s important to exercise caution while modifying the Windows Registry, as making incorrect changes can cause system instability. If you’re unsure or uncomfortable with making registry modifications, seeking professional assistance is recommended.
Once you’ve completed these steps, you can be confident that your system is free from any residual files or registry entries related to Bitdefender Threat Scanner, allowing you to proceed smoothly with your preferred antivirus solution.
Scanning your computer for any remaining Bitdefender Threat Scanner components
After removing Bitdefender Threat Scanner from your system, it’s recommended to perform a thorough scan to ensure that no remnants or hidden components of the software are left behind. Here’s how you can scan your computer for any remaining Bitdefender Threat Scanner components:
- Install and update an alternative antivirus program: If you haven’t already done so, install a reliable alternative antivirus program on your computer. Ensure that the antivirus program is up to date with the latest virus definitions and program updates.
- Perform a full system scan: Open your chosen antivirus program and initiate a full system scan. This scan will thoroughly examine all files and directories on your computer to detect and remove any potential threats or remaining Bitdefender Threat Scanner components.
- Allow the scan to complete: Depending on the size of your computer’s storage and the speed of your antivirus program, the scan may take some time to complete. It’s important to allow the scan to finish so that it can thoroughly analyze all files and folders on your computer.
- Review the scan results: Once the scan is complete, review the scan results provided by your antivirus program. Pay close attention to any files or components related to Bitdefender Threat Scanner that may have been detected. Follow the recommended actions provided by your antivirus program to remove or quarantine any potential threats or suspicious files.
- Repeat the scan if necessary: If any remaining Bitdefender Threat Scanner components are detected or if you have concerns about potential threats, it’s recommended to run additional scans to ensure a comprehensive removal. Some antivirus programs offer options for custom or targeted scans, allowing you to focus on specific areas or files on your computer.
By performing a thorough scan of your computer using an alternative antivirus program, you can identify and eliminate any remaining Bitdefender Threat Scanner components. This step helps ensure that your computer is free from any potential security risks and allows you to have complete confidence in your new antivirus solution.
Remember to regularly scan your computer with your chosen antivirus program to keep it protected against current and emerging threats. Additionally, practice safe browsing habits, keep your operating system and software up to date, and exercise caution when downloading or opening files from unfamiliar sources to maintain a secure computing environment.
Final Thoughts on Removing Bitdefender Threat Scanner
Removing Bitdefender Threat Scanner from your computer requires careful consideration and appropriate steps to ensure a smooth transition. Here are some final thoughts to keep in mind when removing Bitdefender Threat Scanner:
First and foremost, it’s important to have a valid reason for removing Bitdefender Threat Scanner. Whether you prefer an alternative antivirus program, encounter compatibility issues, or require additional system resources, make sure to weigh the pros and cons before proceeding with the removal.
When uninstalling Bitdefender Threat Scanner, follow the proper procedures based on your operating system. Whether you are using Windows or Mac, be diligent in locating and removing all associated files and registry entries of the program. Additionally, consider clearing temporary files and performing a scan to detect any remaining Bitdefender Threat Scanner components.
Switching to an alternative antivirus program needs careful consideration and research. Look for a reliable and up-to-date software that suits your needs in terms of features, performance, and user interface. Install and configure the alternative antivirus program properly to ensure continued protection against potential threats.
Keep in mind that while removing Bitdefender Threat Scanner, it’s important to maintain a secure computing environment. Regularly update your chosen antivirus software, perform system scans, and practice safe browsing habits. Remember that antivirus software plays a critical role in protecting your computer from a wide range of security threats.
If you encounter any difficulties during the removal process or have concerns about residual files or components, consider reaching out to Bitdefender support or seeking professional assistance. They can provide guidance and ensure the proper removal of Bitdefender Threat Scanner from your system.
Lastly, remember that maintaining computer security is an ongoing process. Regularly update your operating system and software, exercise caution when downloading or opening files, and stay informed about emerging threats and recommended security practices.
By following these guidelines and considering the various aspects involved in removing Bitdefender Threat Scanner, you can successfully transition to an alternative antivirus program and maintain a secure computing environment.