Check the AirPods settings on your device
Having trouble with the microphone on your AirPods? The first thing you should do is check the settings on your device. Here’s how:
1. Open the settings on your iOS device and tap on “Bluetooth.”
2. Find your AirPods in the list of connected devices and tap on the “i” icon next to it.
3. Make sure that the “Microphone” option is enabled. If it’s not, tap on the toggle switch to turn it on.
4. Check the volume level of your AirPods. Sometimes, the microphone may not pick up sound properly if the volume is too low. Adjust the volume using the volume buttons on your device or the volume slider in the Control Center.
By ensuring that the microphone is enabled and the volume is appropriate, you can eliminate any potential software or configuration issues that may be affecting the microphone performance on your AirPods. This simple step may just solve your microphone problem.
Clean the microphone on your AirPods
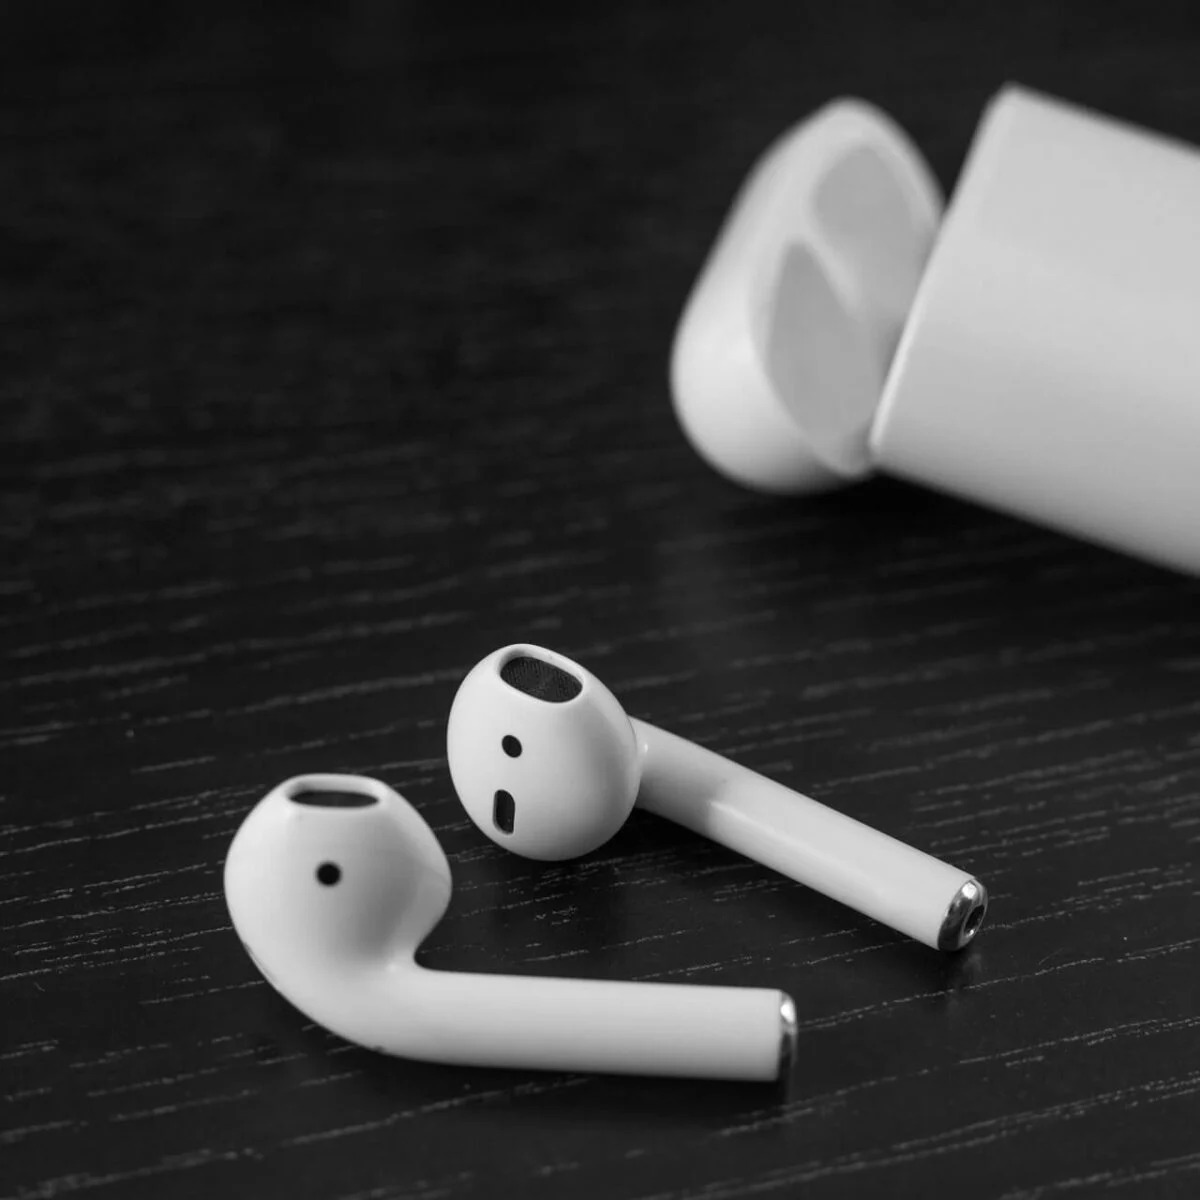
If checking the settings didn’t resolve the microphone issue, the next step is to clean the microphone on your AirPods. Over time, dirt, debris, or even earwax can accumulate on the microphone, hindering its functionality. Follow these steps to clean the microphone:
1. Remove your AirPods from their charging case.
2. Inspect the microphones on both AirPods. You may need to use a magnifying glass or a well-lit area to get a clear view.
3. Gently blow onto the microphone openings to dislodge any debris. Alternatively, you can use an air blower or a can of compressed air to remove dust and particles.
4. If there is visible dirt or grime on the microphones, use a soft, lint-free cloth lightly dampened with water to gently wipe the microphone openings. Avoid using abrasive materials or excessive moisture, as this could damage the AirPods.
By cleaning the microphone, you can remove any obstructions that might be hindering its functionality. Ensure that the microphones are clear of any dirt or debris, and then try using the AirPods’ microphone again. This simple cleaning step can often restore the microphone’s performance.
Test the microphone on another device
If you’re still experiencing microphone issues with your AirPods, it’s worth testing the microphone on another device. This will help determine whether the problem is specific to your device or if it persists across multiple devices. Here’s how to do it:
1. Connect your AirPods to a different iOS device, such as an iPhone or iPad, or any other compatible device with Bluetooth capabilities.
2. Once connected, open a voice recording app or use a communication app that allows voice calls.
3. Make a test call or record a short voice memo while speaking into the AirPods’ microphone.
4. Play back the recording or listen to the call to see if the microphone is functioning properly.
If the microphone works fine on another device, this indicates that the issue may be related to your original device. In this case, you may need to troubleshoot your device settings or seek assistance from its manufacturer. However, if the microphone problem persists even on a different device, there may be a hardware issue with your AirPods that requires further attention.
Testing the microphone on another device helps to isolate the problem and provides valuable insight into whether the issue lies with your AirPods or the device you are using. It’s an important step in diagnosing the problem and finding a suitable solution.
Reset your AirPods to factory settings
If the previous steps haven’t solved the microphone problem, you can try resetting your AirPods to their factory settings. This will revert them back to their original state, potentially resolving any software-related issues affecting the microphone. Here’s how to reset your AirPods:
1. Place your AirPods in their charging case and ensure they are connected to a power source.
2. Open the lid of the charging case.
3. Press and hold the button on the back of the case until the LED indicator on the front starts flashing white.
4. Keep the button pressed for about 15 seconds or until the LED indicator flashes amber and then white again.
5. Release the button and close the lid of the charging case.
6. On your device, go to the Bluetooth settings and forget the AirPods connection.
7. Put your AirPods back in the charging case and then pair them with your device again.
Resetting your AirPods to factory settings can help resolve any firmware or software-related issues that may be affecting the microphone. Once the reset is complete, reconnect your AirPods to your device and test the microphone’s functionality. Hopefully, this step will bring your AirPods’ microphone back to working order.
Contact Apple Support for further assistance
If none of the previous troubleshooting steps have resolved the microphone issue with your AirPods, it’s time to reach out to Apple Support for further assistance. Apple’s support team is knowledgeable and experienced with their products and can provide guidance specific to your situation. Here’s how you can contact Apple Support:
1. Visit the Apple Support website (https://support.apple.com/) and navigate to the AirPods section.
2. Select your specific AirPods model and click on the “Contact Support” option.
3. Choose the appropriate contact method, such as chat, phone, or email, based on your preference and availability.
4. Describe the microphone issue you’re experiencing in detail when contacting Apple Support. Provide any relevant information, such as the steps you’ve already taken to troubleshoot the problem.
Apple Support will guide you through additional troubleshooting steps specific to your AirPods model and help identify any underlying issues that may be affecting the microphone. They can provide guidance on potential repairs, replacements, or other solutions to resolve the problem.
Remember, Apple’s support team is there to assist you. By contacting Apple Support, you’ll receive personalized assistance to help resolve the microphone issue with your AirPods.

