
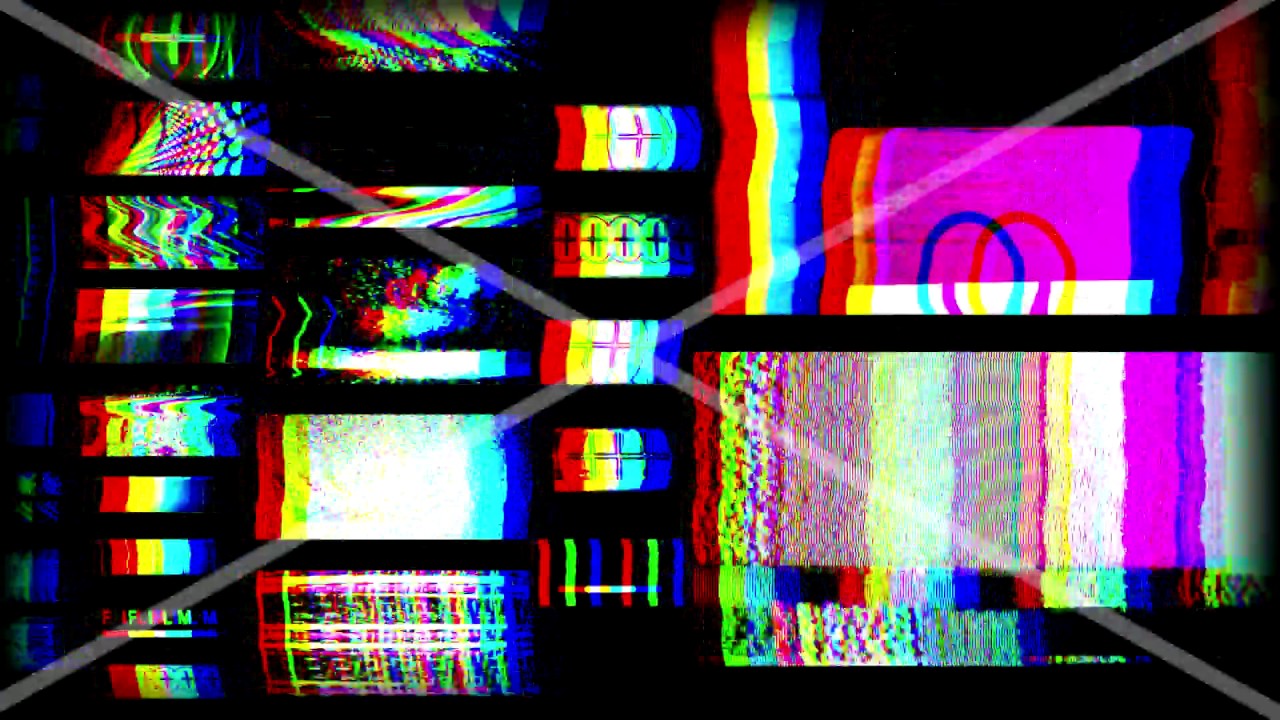
Common Causes of Discoloration and Distortion on a Computer Screen
When using a computer, encountering issues such as discoloration and distortion on the screen can be frustrating. Understanding the common causes of these problems can help you identify and resolve them effectively. Here are some of the most common causes:
- Loose or Damaged Cables: Loose or damaged cables, such as VGA, HDMI, or DisplayPort, can result in poor connection and lead to discoloration or distortion.
- Outdated Graphics Drivers: If your graphics drivers are outdated, they may not be able to properly render colors and images, resulting in discoloration or distortion.
- Incorrect Color Settings: Improper color settings on your computer can cause discoloration or distortion. This can include settings related to brightness, contrast, saturation, or color balance.
- Hardware Issues: Faulty graphics card, monitor, or other hardware components can lead to discoloration or distortion on the screen.
- Magnetic Interference: Strong magnetic fields from nearby devices or objects can interfere with the display, causing discoloration or distortion.
- Dirty Screen: Dust, fingerprints, or smudges on the screen can affect the display quality, resulting in discoloration or distortion.
- Incorrect Screen Resolution: Incompatible or incorrect screen resolution settings can cause the screen to appear distorted or discolored.
- Screen Protector or Anti-Glare Filter: Poor quality or incompatible screen protectors or anti-glare filters can introduce unwanted distortions or discoloration.
By understanding these common causes, you can start troubleshooting the issue and determine the best solution to fix the discoloration or distortion on your computer screen. In the following sections, we will explore how to identify the type of discoloration or distortion and provide step-by-step instructions to resolve these problems.
How to Identify the Type of Discoloration or Distortion
Before proceeding with any troubleshooting steps, it is essential to identify the type of discoloration or distortion you are experiencing on your computer screen. This will help you narrow down the possible causes and find the appropriate solution. Here are some steps to identify the type of issue:
- Observe the colors: Pay close attention to the colors on your screen. Is the entire screen affected, or is it specific areas? Are the colors appearing faded, washed out, or tinted?
- Look for pixelation or blurriness: Check if the images or text on your screen appear pixelated or blurry. This can indicate a different type of distortion issue.
- Check for flickering: If you notice a flickering effect on your screen, where the display continuously goes on and off, it may indicate a separate problem.
- Test different applications or content: Open various applications, websites, or videos to see if the issue persists across different content. This will help determine if it is software-related or specific to certain programs.
- Inspect screen edges and corners: Examine the edges and corners of your screen for any physical damage, such as cracks or dents, that could be causing the discoloration or distortion.
By carefully observing and evaluating these factors, you can gain a better understanding of the type and extent of the issue. This information will be useful when implementing the appropriate troubleshooting steps to resolve the discoloration or distortion on your computer screen.
Adjusting Color Settings on Windows
If you are experiencing discoloration or distortion on your computer screen, adjusting the color settings on Windows can often help resolve the issue. Follow these steps to make the necessary adjustments:
- Open the Display Settings: Right-click on the desktop and select “Display settings” from the context menu.
- Go to the Color Calibration: In the Display settings window, scroll down and click on “Advanced display settings.”
- Click on “Color calibration”: In the Advanced display settings, click on the “Color calibration” link located towards the bottom of the window.
- Follow the on-screen instructions: The Windows Color Calibration wizard will guide you through a series of steps to adjust the gamma, brightness, contrast, and color balance. Follow the instructions carefully to achieve the desired color settings.
- Click “Next” and “Finish”: After completing the calibration process, click “Next” and then “Finish” to apply the new color settings.
- Restart your computer: To ensure the changes take effect, restart your computer.
If adjusting the color settings does not resolve the issue, try updating your graphics drivers. Outdated drivers can sometimes cause discoloration or distortion on the screen. Visit the manufacturer’s website for your graphics card, download the latest drivers, and follow the installation instructions provided.
If the issue persists after adjusting the color settings and updating the drivers, additional troubleshooting steps may be necessary. Refer to the manufacturer’s documentation or seek professional assistance for further guidance.
Calibrating Color on a Mac
If you are using a Mac and noticing discoloration or distortion on your computer screen, calibrating the color settings can often help rectify the issue. Here’s how you can calibrate color on a Mac:
- Open System Preferences: Click on the Apple menu in the top left corner of your screen and select “System Preferences” from the dropdown menu.
- Go to Displays: In the System Preferences window, click on the “Displays” icon.
- Select “Color”: In the Displays window, navigate to the “Color” tab.
- Click on “Calibrate”: On the Color tab, click on the “Calibrate” button.
- Follow the on-screen instructions: The Display Calibrator Assistant will guide you through a series of steps to adjust the gamma, brightness, contrast, and color settings. Follow the instructions carefully to achieve the desired calibration.
- Perform a visual assessment: After completing the calibration process, perform a visual assessment to ensure that the color display meets your preferences.
- Click “Continue” and “Done”: Once you are satisfied with the calibration, click “Continue” and then “Done” to apply the new color settings.
- Restart your Mac: To ensure that the changes take effect, restart your Mac.
If calibrating the color settings does not resolve the issue, consider updating your graphics drivers. Outdated drivers can sometimes cause discoloration or distortion on the screen. Visit the manufacturer’s website for your graphics card, download the latest drivers compatible with macOS, and follow the installation instructions provided.
If the problem persists even after calibrating the color settings and updating the drivers, it is advisable to consult the Apple Support website or contact a professional technician for further assistance.
Updating Graphics Drivers
If you are experiencing discoloration or distortion on your computer screen, one possible cause could be outdated graphics drivers. Updating the graphics drivers can help resolve compatibility issues and improve the overall performance of your display. Here’s how you can update your graphics drivers:
- Identify your graphics card: Determine the make and model of your graphics card. You can find this information by opening the Device Manager (Windows) or System Information (Mac).
- Visit the manufacturer’s website: Go to the website of the graphics card manufacturer, such as NVIDIA, AMD, or Intel.
- Download the latest drivers: Look for the “Support” or “Drivers” section on the manufacturer’s website. Locate the appropriate drivers for your graphics card model and operating system version. Download the latest available drivers.
- Install the drivers: Once the drivers are downloaded, run the installation file and follow the on-screen instructions to install them.
- Restart your computer: After installing the drivers, restart your computer to ensure that the changes take effect.
It is worth noting that some computers may have integrated graphics cards that require different drivers. If you have both an integrated and dedicated graphics card, make sure to update the drivers for the appropriate card.
If updating the graphics drivers does not resolve the issue, try other troubleshooting steps mentioned earlier or seek professional help to diagnose and fix the problem.
Troubleshooting Hardware Issues
If you are still experiencing discoloration or distortion on your computer screen after trying the software-based solutions, it is possible that the problem may be related to hardware issues. Here are some troubleshooting steps to identify and resolve potential hardware problems:
- Check the connections: Ensure all cables connecting your computer to the monitor are securely plugged in. In case of loose or damaged cables, try replacing them.
- Test with a different monitor: Connect your computer to a different monitor or use your current monitor with a different computer. This will help determine if the issue is with the monitor or the computer.
- Inspect the monitor: Examine the monitor for any visible physical damage, such as cracks, dents, or flickering components. If you notice any, it might indicate a hardware issue requiring professional repair.
- Check the graphics card: If you have a dedicated graphics card, ensure it is properly seated in the motherboard and doesn’t show any signs of damage. If necessary, consult your computer’s documentation for steps to reseat or replace the graphics card.
- Monitor for overheating: Keep an eye on the temperature of your computer and monitor. Overheating can cause display issues. Ensure proper ventilation and clean any dust buildup that may restrict airflow.
- Seek professional assistance: If the above steps don’t resolve the problem, it’s recommended to consult a professional technician who specializes in hardware repairs. They can diagnose the issue more accurately and provide appropriate solutions.
Remember, troubleshooting hardware issues can be more complex, and it’s crucial to handle delicate components with care. If you’re unsure or uncomfortable performing any of these steps, rely on professional help to avoid any further damage.
By thoroughly troubleshooting hardware-related problems, you can determine whether the issue lies with the monitor, graphics card, or other components. This will guide you towards the appropriate steps for resolution, whether it involves repairs, replacements, or seeking expert assistance.
Removing Magnetic Interference
Magnetic interference can disrupt the display and cause discoloration or distortion on your computer screen. If you suspect that magnetic fields are affecting your screen, follow these steps to remove or minimize the interference:
- Identify nearby sources of magnetic fields: Look for any devices or objects that emit strong magnetic fields, such as speakers, subwoofers, or large electronic devices. Keep in mind that magnets themselves, such as those found in magnetic cases or phone holders, can also cause interference.
- Move the sources of interference: If possible, relocate the devices or objects emitting the magnetic fields away from your computer and monitor. Increasing the distance between the sources of interference and the screen can reduce their impact.
- Check for electromagnetic equipment: Ensure that electromagnetic equipment, such as transformers or power supplies, are not placed near your computer. These devices can generate strong magnetic fields that interfere with the display.
- Utilize shielding materials: Consider using specialized shielding materials, such as magnetic shielding foil or fabric, to create a barrier between the interference source and your computer screen.
- Avoid placing magnets near the screen: Keep magnets, including magnetic name tags or fridge magnets, away from your computer screen. Even small magnets can disrupt the display.
- Reset the monitor: Some monitors have a degaussing feature that can help remove magnetic interference. Check your monitor’s manual or menu settings for the degaussing option and follow the instructions to perform a degaussing operation.
By reducing or eliminating the sources of magnetic interference, you can minimize the impact on your computer screen’s display. If the issue persists, consider trying other troubleshooting steps or seeking professional help to diagnose and fix the problem.
Cleaning the Screen
A dirty screen can affect the display quality and lead to discoloration or distortion. Cleaning your computer screen regularly can help improve its clarity and prevent potential issues. Follow these steps to effectively clean your screen:
- Power off the computer: Before cleaning the screen, turn off your computer and unplug it from the power source. This will prevent any electrical damage and allow you to see the dirt and smudges more clearly.
- Use a soft, lint-free cloth: Dampen a soft, lint-free cloth with a small amount of water or screen cleaning solution. It’s important to use a cloth specifically designed for cleaning screens to avoid scratches or damage.
- Gently wipe the screen: Carefully wipe the screen in a gentle, circular motion. Do not apply excessive pressure as it may damage the screen or cause liquid to seep into the device. Pay special attention to areas with visible smudges or dirt buildup.
- Don’t forget the edges and corners: Clean the edges and corners of the screen as they can accumulate dust and grime over time. Use a cotton swab or a soft brush to reach these areas without causing any damage.
- Avoid using harsh chemicals: Avoid using strong solvents, alcohol, ammonia-based cleaners, or abrasive materials such as paper towels or rough fabrics. These can damage the screen’s coating and impair the display quality.
- Let it dry completely: After cleaning, let the screen dry completely before turning on your computer. This will prevent any moisture from causing damage.
- Repeat as needed: Depending on usage and environmental factors, you may need to clean your screen regularly. Make it a habit to clean it periodically to keep it in optimal condition.
By regularly cleaning your computer screen using the proper techniques and materials, you can maintain its clarity and prevent discoloration or distortion caused by dirt or smudges. However, if the issue persists even after cleaning, consider trying other troubleshooting steps or seeking professional assistance.
Adjusting Screen Resolution
If you are experiencing discoloration or distortion on your computer screen, adjusting the screen resolution can sometimes help resolve the issue. The screen resolution determines how many pixels are displayed on the screen, and an incorrect setting can result in a distorted or discolored image. Follow these steps to adjust the screen resolution:
- Right-click on the desktop: Find an empty area on your desktop, right-click, and select “Display settings” from the context menu. This will open the Display settings window.
- Go to the Display tab: In the Display settings window, navigate to the “Display” tab. Here, you will find the screen resolution settings.
- Adjust the resolution: Drag the slider under the “Resolution” section to adjust the screen resolution. Move it to the recommended resolution for your monitor, which is typically the native resolution for the best display quality.
- Apply the changes: Click on the “Apply” button to apply the new resolution settings. A prompt will appear asking you to confirm the changes.
- Test the new resolution: After applying the changes, your screen will temporarily switch to the new resolution. Check if the discoloration or distortion has improved. If the issue persists, try a different resolution or revert to the previous one.
- Keep the changes: If you are satisfied with the new resolution and the display appears normal, click on the “Keep changes” button.
- Restart your computer: To ensure that the changes take effect, restart your computer.
Adjusting the screen resolution can often resolve issues related to distorted or discolored displays. If the problem persists, consider trying other troubleshooting steps mentioned earlier or seeking professional help to diagnose and fix the issue.
Using a Screen Protector or Anti-Glare Filter
If you are experiencing discoloration or distortion on your computer screen, using a screen protector or an anti-glare filter can be a helpful solution. These accessories offer additional benefits like protecting the screen from scratches and reducing glare. Follow these steps to use a screen protector or an anti-glare filter:
- Choose the right protector: Select a screen protector or anti-glare filter that is specifically designed for your type and size of monitor or laptop. Consider factors such as compatibility, ease of installation, and the level of protection or anti-glare properties you require.
- Clean the screen: Before applying the protector, ensure that the screen is clean and free from dust, fingerprints, or smudges. Use a microfiber cloth or a screen cleaning solution to gently clean the surface.
- Place the protector: Carefully align the screen protector with the edges of your screen. Start applying it from one side and gradually press it down, smoothing out any air bubbles as you go. Follow the instructions provided by the manufacturer for the best results.
- Remove air bubbles: If you notice any air bubbles trapped under the screen protector, use a credit card or a similar object to gently push them towards the edges and out of the screen.
- Adjust or reapply: If the protector is not aligned correctly or if you encounter any issues, carefully remove and reapply it. Take your time to achieve a precise and smooth installation.
- Consider an anti-glare filter: If glare is a concern, consider using an anti-glare filter. These filters reduce the reflection of light on the screen, making it easier to view and reducing eye strain.
- Clean the protector: Regularly clean the screen protector or anti-glare filter using a soft, lint-free cloth and a mild cleaning solution. This will help maintain its effectiveness and clarity of display.
Using a screen protector or an anti-glare filter can not only protect your screen but also minimize the impact of discoloration or distortion caused by external factors. However, if the issues persist even after using these accessories, consider trying other troubleshooting steps or seeking professional assistance.
Seeking Professional Help or Replacing the Screen
If you have tried various troubleshooting steps and the discoloration or distortion on your computer screen persists, it may be time to seek professional help or consider replacing the screen altogether. Here are some options to consider:
- Contact the manufacturer: If your computer or monitor is still under warranty, contact the manufacturer’s customer support. They can provide guidance, troubleshoot the issue remotely, or recommend authorized service centers.
- Consult a professional technician: If you are not comfortable performing advanced troubleshooting or repairs yourself, consult a professional technician. They have the expertise and specialized equipment to diagnose and resolve hardware-related issues.
- Consider screen replacement: If the discoloration or distortion is severe, or if the screen is physically damaged, you may need to replace it. Research the compatibility and availability of replacement screens. It’s recommended to consult an expert or authorized service center for the best outcome.
- Weigh the cost: Before deciding to repair or replace the screen, consider the cost involved. Compare the repair costs, including labor and parts, with the price of a new monitor or laptop. Sometimes, it may be more cost-effective to invest in a new device.
- Back up your data: If you opt for screen replacement or repair, ensure that you back up your important data to prevent any loss during the process. Create a backup on an external storage device or use cloud storage services for safekeeping.
- Retain documentation: Keep records of any communication, repair attempts, or receipts related to the issue. This documentation can be useful for warranty claims, future reference, or if you decide to sell the device in the future.
Remember, seeking professional assistance is essential when dealing with complex hardware issues or screen replacement. Their expertise and experience can help ensure a successful repair or replacement process.
If the cost of repair exceeds your budget or if your device is outdated, replacing the screen or the entire device may be the most practical solution. Consider your needs, budget, and the advice of professionals to make an informed decision.