
Check your internet connection
One of the most common reasons why an iPhone can’t update apps is due to a weak or unstable internet connection. Before troubleshooting any further, it’s essential to check your internet connection and ensure it’s working properly. Here are a few steps you can take to troubleshoot your internet connection:
1. Verify Wi-Fi or Cellular Data Connection: Make sure you are connected to a stable and reliable Wi-Fi network or have a strong cellular data connection. Check if other devices are able to access the internet to confirm that the issue is isolated to your iPhone.
2. Restart Wi-Fi Router/Modem: If you’re using Wi-Fi, try restarting your router or modem. Sometimes, a simple power cycle can fix any temporary network glitches.
3. Switch to Cellular Data: If you’re experiencing issues with your Wi-Fi connection, try switching to cellular data to see if the problem persists. This can help determine if the issue lies with your Wi-Fi network or your device.
4. Toggle Airplane Mode: Turn on Airplane Mode and wait for a few seconds, then turn it off again. This can reset your iPhone’s network connections and may help resolve any connectivity issues.
5. Reset Network Settings: If none of the above steps work, you can try resetting your iPhone’s network settings. Go to Settings > General > Reset > Reset Network Settings. Keep in mind that this will erase your saved Wi-Fi networks and passwords, so you’ll need to reconnect to them.
By following these steps, you can ensure that your internet connection is working properly, which is crucial for updating apps on your iPhone. If you’re still experiencing issues after checking your connection, proceed to the next troubleshooting step.
Restart your iPhone
If you’re unable to update apps on your iPhone, restarting the device can often resolve minor software glitches that may be causing the issue. Here’s how you can restart your iPhone:
1. Restart iPhone Models with Home Button: Press and hold the power button (also known as the sleep/wake button) until you see the “slide to power off” option on your screen. Swipe the slider to the right to turn off your iPhone. Once it’s completely off, press and hold the power button again until the Apple logo appears, indicating that your iPhone is restarting.
2. Restart iPhone Models without Home Button: Press and hold the side/power button and either volume button until the “slide to power off” option appears. Swipe the slider to the right to turn off your iPhone. After it’s turned off, press and hold the side/power button again until the Apple logo appears, indicating that the device is restarting.
3. Force Restart iPhone: If your iPhone becomes unresponsive or the regular restart doesn’t work, you can perform a force restart. The process varies depending on the iPhone model:
- iPhone 6s and earlier: Press and hold the home button and the power button together until the Apple logo appears on the screen.
- iPhone 7/7 Plus: Press and hold the volume down button and the power button together until the Apple logo appears.
- iPhone 8 and later: Quickly press and release the volume up button, then do the same with the volume down button. Finally, press and hold the side/power button until the Apple logo appears.
After your iPhone restarts, check if you can update apps without any issues. Restarting your iPhone helps refresh its system and can often resolve temporary software glitches that may be interfering with the update process.
Update your iPhone’s iOS software
Keeping your iPhone’s iOS software up to date is crucial for ensuring it runs smoothly and is compatible with the latest app updates. If you’re unable to update apps on your iPhone, it’s essential to check if there’s a pending iOS software update. Here’s how you can update your iPhone’s iOS software:
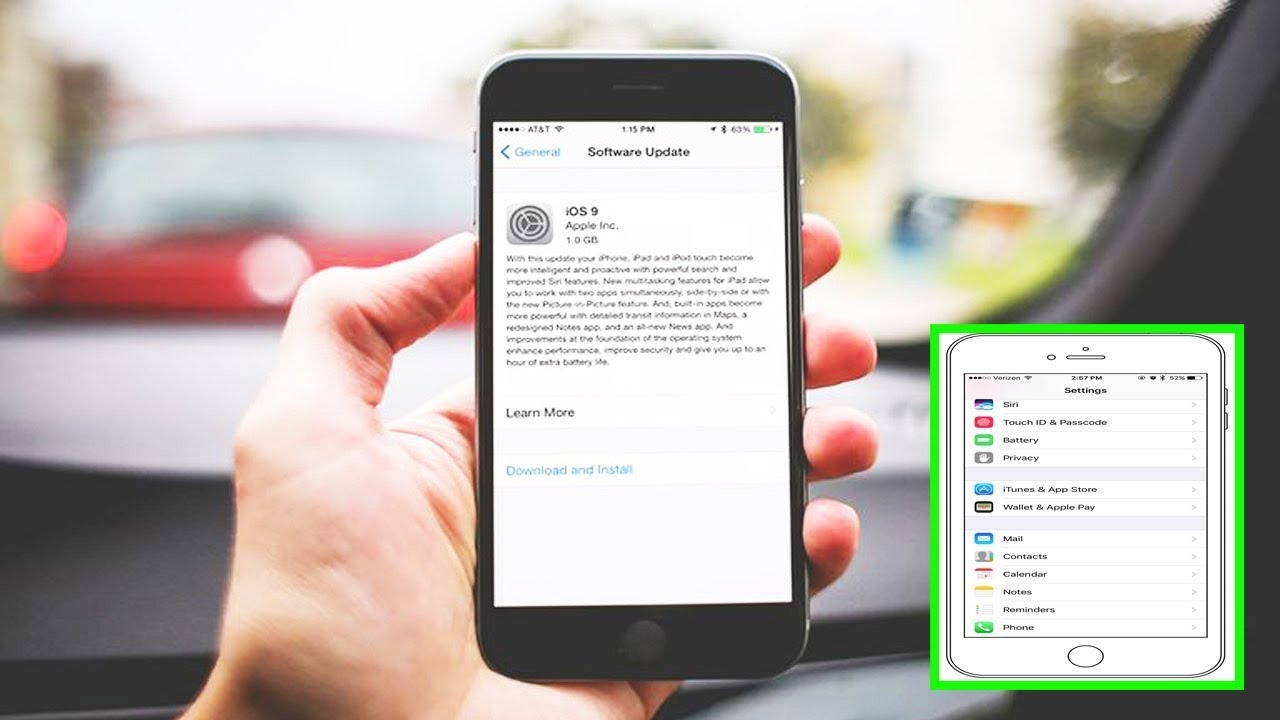
1. Check for software update: Go to Settings > General > Software Update. If a new iOS update is available, you will see a notification prompting you to download and install it. Make sure your iPhone is connected to a stable Wi-Fi network and has sufficient battery charge (or connected to a power source) before proceeding with the update.
2. Download and install: If an update is available, tap on “Download and Install” to begin the process. The update will be downloaded to your device, and once it’s complete, you will be prompted to install it. Follow the on-screen instructions to complete the installation.
3. Set up automatic updates: You can also enable automatic updates on your iPhone to ensure that you’re always running the latest iOS software version. Go to Settings > General > Software Update > Customize Automatic Updates and toggle on “Download iOS updates” and “Install iOS updates.” This way, your iPhone will automatically download and install software updates when connected to Wi-Fi and charging.
Updating your iPhone’s iOS software not only brings new features and improvements but also addresses any bugs or performance issues that may be affecting the app update process. It’s recommended to regularly check for software updates and keep your iPhone up to date to maintain optimal performance and compatibility.
Check for app updates manually
If you’re having trouble updating apps on your iPhone, it’s essential to check if there are any pending app updates. App updates often include bug fixes, performance improvements, and new features that can help resolve issues with updating apps. Here’s how you can check for app updates manually:
1. Open the App Store: Tap on the App Store icon on your iPhone’s home screen to launch the App Store.
2. Go to the Updates tab: At the bottom right corner of the App Store, tap on the “Updates” tab to access the list of app updates available.
3. Check for app updates: On the Updates screen, you’ll see a list of apps that have updates available. If there are updates, you can tap on the “Update” button next to each app to update them individually. Alternatively, you can tap on “Update All” at the top right corner to update all available apps at once.
4. Enter your Apple ID password: If prompted, enter your Apple ID password or use Touch ID/Face ID to authenticate the app update process.
5. Monitor the update progress: The App Store will begin downloading and installing the app updates. You can monitor the progress by checking the circle next to each app. Once the updates are complete, the circle will be replaced with an “Open” button.
By checking for app updates manually, you ensure that you have the latest version of the app installed on your iPhone. This can help resolve any compatibility issues and improve the app’s performance, allowing you to update other apps more smoothly.
Clear the App Store cache
If you’re facing issues with updating apps on your iPhone, clearing the App Store cache can help resolve any temporary data or cache-related problems. Here’s how you can clear the App Store cache:
1. Open the App Store: Tap on the App Store icon on your iPhone’s home screen to launch the App Store.
2. Scroll to the bottom: On the App Store’s main page, scroll all the way to the bottom until you see a series of tabs.
3. Tap on any tab 10 times: Tap on any of the tabs at the bottom of the screen (e.g., Featured, Top Charts, Updates, etc.) ten times consecutively. This action will help clear the cache stored by the App Store.
4. Force close the App Store: After tapping on the tab ten times, press the home button (or swipe up from the bottom if you’re using an iPhone without a home button) to close the App Store completely. This will ensure that the cache is cleared effectively.
5. Reopen the App Store: Launch the App Store again to see if the issue with updating apps has been resolved. If not, try restarting your iPhone and follow the steps again.
Clearing the App Store cache can help eliminate any temporary data conflicts or corrupted cache files that may be hindering the app update process. By resetting the cache, you create a fresh start and enhance the chances of successful app updates on your iPhone.
Free up storage space on your iPhone
Insufficient storage space on your iPhone can often prevent apps from updating properly. If you’re encountering issues with app updates, it’s crucial to free up storage space. Here are some tips to help you optimize your iPhone’s storage:
1. Delete unnecessary apps: Go through your apps and remove any that you no longer use. Tap and hold an app icon until it starts shaking, then tap the “x” icon to delete it. You can always re-download apps from the App Store if needed.
2. Manage your photos and videos: Review your camera roll and delete any unwanted photos or videos. You can also enable the “Optimize iPhone Storage” option in Settings > Photos, which will store lower-resolution versions of your media while keeping the originals in your iCloud storage.
3. Clear app caches and data: Some apps accumulate cache and data over time, taking up valuable storage space. To clear app caches, go to Settings > General > iPhone Storage, choose an app, and tap on “Offload App” or “Delete App.” This will remove the app but keep its documents and data for when you reinstall it. Additionally, you can manually clear app data within certain apps’ settings.
4. Offload unused apps: Instead of deleting apps entirely, you can offload them to free up space. This removes the app but retains its data. Go to Settings > General > iPhone Storage, tap on an app, and select “Offload App.” You can always reinstall the app later to access its data.
5. Manage your downloads: Review and delete any unnecessary files or documents stored on your iPhone. Check apps like Files, Mail, or other cloud storage apps and remove any unwanted files taking up space.
By freeing up storage space on your iPhone, you provide ample room for app updates to download and install smoothly. Regularly managing your device’s storage not only ensures optimal performance but also allows you to utilize your iPhone’s features without any constraints.
Reset all settings
If you’re still encountering issues with app updates on your iPhone, resetting all settings can help resolve any software-related conflicts. Keep in mind that this option will reset your device’s settings but will not delete any data or apps. Here’s how you can reset all settings:
1. Open the Settings app: Tap on the Settings app on your iPhone’s home screen to access the device’s settings.
2. Go to General: Scroll down and tap on “General” to access the general settings.
3. Tap on Reset: Scroll to the bottom of the General settings and tap on “Reset” to access the reset options.
4. Select Reset All Settings: On the Reset screen, select “Reset All Settings.” You may be prompted to enter your device passcode or Apple ID password for security verification.
5. Confirm the reset: A warning message will appear informing you that resetting all settings will revert your device’s settings to their default state. Tap on “Reset All Settings” to confirm and proceed with the reset.
6. Wait for your iPhone to restart: After confirming the reset, your iPhone will restart and apply the changes. This process may take a few moments.
After your iPhone restarts, you’ll need to reconfigure your settings, such as Wi-Fi networks, display settings, privacy options, and more. However, your apps, media, and personal data will remain untouched. Resetting all settings can often resolve any underlying software conflicts that may be affecting the app update process.
Sign out and sign back into your Apple ID
If you’re experiencing issues with updating apps on your iPhone, signing out and signing back into your Apple ID can help refresh the connection and resolve any authentication or account-related problems. Here’s how you can sign out and sign back into your Apple ID:
1. Open the Settings app: Tap on the Settings app on your iPhone’s home screen to access the device’s settings.
2. Tap on your Apple ID: At the top of the Settings screen, you’ll see your Apple ID profile. Tap on it to access your Apple ID settings.
3. Scroll down and tap Sign Out: On the Apple ID screen, scroll down and tap on “Sign Out.” A pop-up window will appear, asking you to confirm the sign-out process.
4. Enter your Apple ID password: Enter your Apple ID password and tap “Turn Off” to disable Find My iPhone. This step ensures that your device is disconnected from your Apple ID before signing out.
5. Sign out of iCloud: On the next screen, you’ll have the option to keep a copy of your iCloud data on your iPhone or remove it. Choose the option that suits your preference.
6. Sign back into your Apple ID: Once you’ve successfully signed out, you can sign back into your Apple ID by going to Settings > Sign In. Enter your Apple ID credentials and follow the on-screen prompts to complete the sign-in process.
Signing out and signing back into your Apple ID can refresh the connection between your device and your Apple ID account. This can help resolve any authentication or account-related issues that may be preventing app updates on your iPhone. Additionally, it ensures that your device is properly connected to your Apple ID for a seamless and secure app update experience.
Reset network settings
If you’re still encountering issues with updating apps on your iPhone, resetting network settings can help resolve any network-related problems that may be affecting the update process. Here’s how you can reset network settings:
1. Open the Settings app: Tap on the Settings app on your iPhone’s home screen to access the device’s settings.
2. Go to General: Scroll down and tap on “General” to access the general settings.
3. Tap on Reset: Scroll to the bottom of the General settings and tap on “Reset” to access the reset options.
4. Select Reset Network Settings: On the Reset screen, select “Reset Network Settings.” You may be prompted to enter your device passcode for security verification.
5. Confirm the reset: A warning message will appear informing you that resetting network settings will remove all saved Wi-Fi networks and their passwords. Tap on “Reset Network Settings” to confirm and proceed with the reset.
6. Wait for your iPhone to restart: After confirming the reset, your iPhone will restart and apply the changes. This process may take a few moments.
Once your iPhone restarts, you’ll need to reconnect to Wi-Fi networks and enter their passwords again. Resetting network settings clears any network configurations and preferences, including saved Wi-Fi networks, cellular network settings, VPN settings, and more. This can help eliminate any network-related factors that may be causing issues with app updates on your iPhone.
Update apps using iTunes
If you’re unable to update apps directly on your iPhone, using iTunes on your computer can be an alternative method to update your apps. Here’s how you can update apps using iTunes:
1. Open iTunes on your computer: Launch iTunes on your Windows PC or Mac. Ensure that you have the latest version of iTunes installed.
2. Connect your iPhone to your computer: Use a USB cable to connect your iPhone to your computer. You may need to unlock your iPhone and trust the device if prompted.
3. Select your iPhone in iTunes: In iTunes, you’ll see a device icon at the top left corner. Click on it to select your iPhone.
4. Go to the Apps section: In the left sidebar of iTunes, click on “Apps” under your iPhone’s name to access the app management section.
5. Check for updates: On the Apps screen, you’ll see a list of installed apps on your iPhone. Scroll through the list and look for apps with available updates. If there are updates, you’ll see an “Update” button next to each app.
6. Click Update for specific apps: To update specific apps, click on the “Update” button next to each app. This will download and install the latest version of the app onto your iPhone.
7. Click Update All to update all apps: If you want to update all available apps at once, click on the “Update All” button at the bottom right corner of the iTunes window. This will download and install the latest versions of all your installed apps.
8. Sync your iPhone: Once the app updates are complete, click on the “Sync” button in iTunes to sync your iPhone and apply the changes.
By updating apps using iTunes, you bypass any potential issues that may be occurring directly on your iPhone. It provides a reliable and efficient way to ensure all your apps are up to date, even if you’re facing difficulties updating them on your device.
Restore your iPhone using iTunes
If you’re still unable to update apps on your iPhone despite trying other troubleshooting steps, restoring your iPhone using iTunes can be a last resort to resolve any persistent software issues. Here’s how you can restore your iPhone using iTunes:
1. Backup your iPhone: Before restoring your device, it’s crucial to create a backup of your iPhone to ensure that all your data is preserved. Connect your iPhone to your computer and open iTunes. Select your iPhone and click on “Back Up Now” to initiate the backup process.
2. Put your iPhone into Recovery Mode: To restore your iPhone, you’ll need to put it into Recovery Mode. The steps to enter Recovery Mode may vary slightly depending on your iPhone model:
- For iPhone 8 and newer: Press and hold the Side (or Top) button and one of the volume buttons until the power-off slider appears. Drag the slider to turn off your iPhone. Connect the USB cable to your computer, but don’t connect it to your iPhone yet. Hold the Side (or Top) button and connect the USB cable to your iPhone. Continue holding the Side (or Top) button until you see the recovery-mode screen.
- For iPhone 7 and 7 Plus: Press and hold the Side (or Top) button until the power-off slider appears. Drag the slider to turn off your iPhone. Connect the USB cable to your computer, but don’t connect it to your iPhone yet. Hold the Volume Down button and connect the USB cable to your iPhone. Continue holding the Volume Down button until you see the recovery-mode screen.
- For iPhone 6s and earlier: Press and hold the Home button and the Side (or Top) button until the power-off slider appears. Drag the slider to turn off your iPhone. Connect the USB cable to your computer, but don’t connect it to your iPhone yet. Hold the Home button and connect the USB cable to your iPhone. Continue holding the Home button until you see the recovery-mode screen.
3. Restore your iPhone: In iTunes, you’ll see a prompt saying that it has detected an iPhone in recovery mode. Click on “Restore” to start the restoration process. Keep in mind that this will erase all data on your device and install the latest iOS version.
4. Set up your iPhone: After the restore process is complete, follow the on-screen instructions on your iPhone to set it up as a new device or restore it from a backup. If you chose to restore from a backup, connect your iPhone to your computer, open iTunes, and select “Restore Backup” to transfer your data back to your device.
Restoring your iPhone using iTunes can be an effective solution when all other troubleshooting steps fail. It reinstalls the iOS software and clears any persistent software issues that may be causing app update problems. However, it’s important to remember that restoring your device will erase all data, so it’s crucial to have a backup before proceeding.