
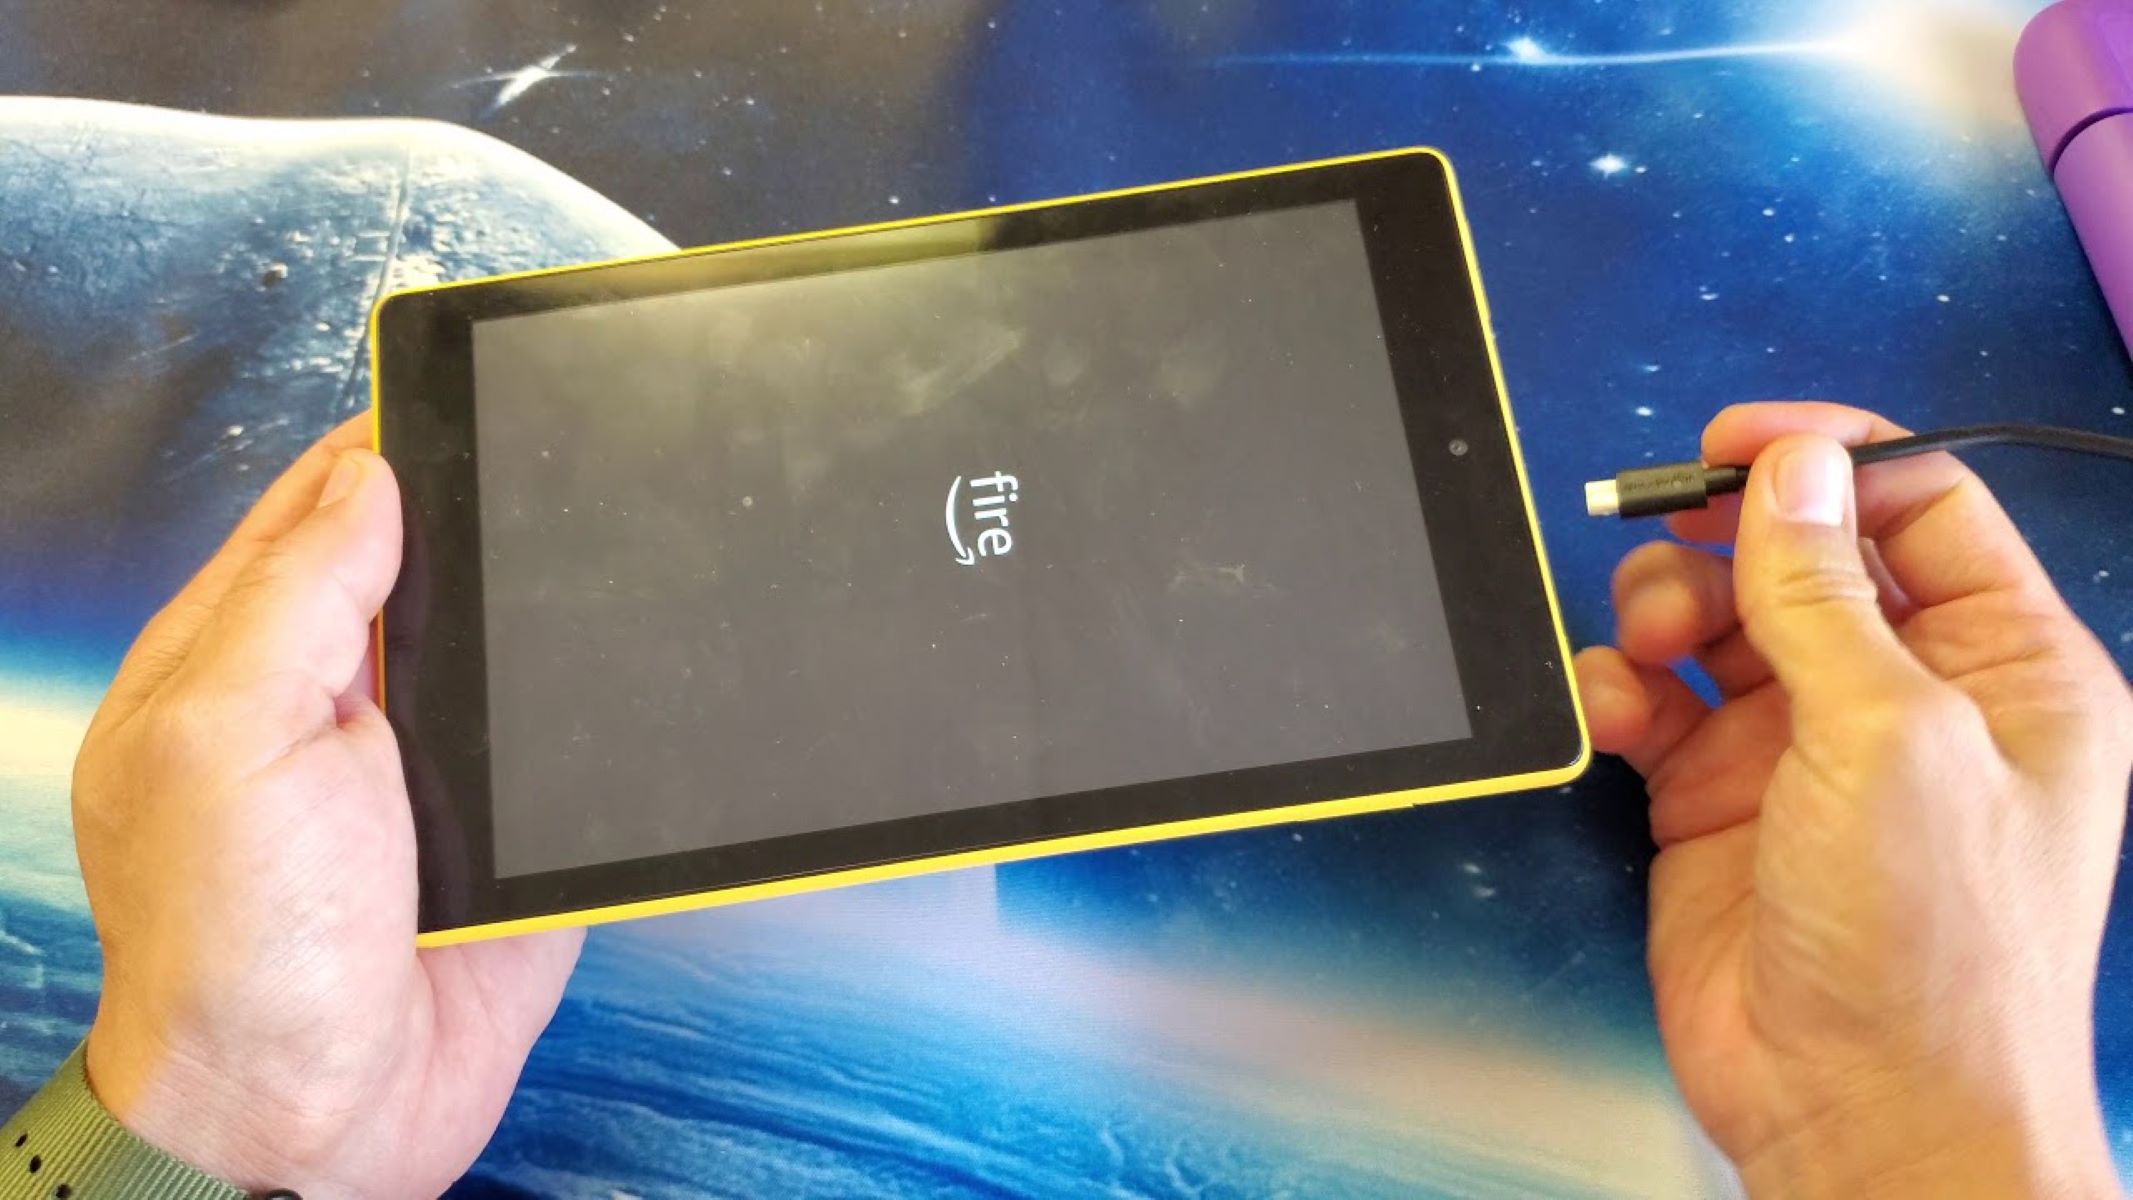
Check the Power Cable and Adapter
If your Kindle Fire won’t charge, the first thing you should do is check the power cable and adapter. Sometimes, the issue lies with the charging accessories rather than the device itself. Here are a few steps you can follow:
- Inspect the cable: Examine the power cable for any visible signs of damage, such as frayed wires or bent connectors. If you notice any issues, it’s time to replace the cable with a new one.
- Try a different power outlet: Plug the charging cable into a different power outlet to ensure that the problem isn’t with the electrical source. Faulty outlets or power surges can prevent the Kindle Fire from charging properly.
- Use a different USB port: If you’re charging your Kindle Fire through a computer or laptop, try using a different USB port. Sometimes, certain ports might not provide enough power to charge the device effectively.
- Check the adapter: Inspect the adapter for any visible signs of damage. If you have access to another compatible adapter, try using it to charge your Kindle Fire to determine if the original adapter is faulty.
By checking the power cable and adapter, you can rule out any potential issues with these components. If the problem persists after following these steps, proceed to the next troubleshooting method.
Clean the Charging Port
If your Kindle Fire is still not charging, it’s possible that the charging port has accumulated dirt, debris, or lint, preventing proper connection with the charging cable. Here’s how you can clean the charging port:
- Power off the Kindle Fire: Before attempting to clean the charging port, make sure to turn off the device to avoid any electrical mishaps.
- Use a flashlight: Shine a flashlight into the charging port to get a clear view of any dirt or debris that might be obstructing the connection. If you see any foreign objects, proceed to the next step.
- Gently remove debris: Take a small, non-metallic object (such as a toothpick or a plastic opening tool) and carefully remove any lint, dirt, or debris from the charging port. Be cautious not to damage the port or push the debris further inside.
- Blow air into the port: If you have access to compressed air, use it to blow air into the charging port to dislodge any remaining dust or debris. Make sure to use short bursts of air to avoid causing any damage.
- Reconnect the charger: Once you’re confident that the charging port is clean, reconnect the charging cable to the Kindle Fire and plug it into a power source. Check if the device starts charging properly.
Cleaning the charging port can sometimes resolve charging issues caused by dirt or debris. However, if the Kindle Fire still fails to charge, continue troubleshooting with the next step.
Restart the Kindle Fire
If your Kindle Fire is not charging, a simple restart can often resolve minor software glitches that may be causing the issue. Here’s how you can restart your device:
- Press and hold the power button: Locate the power button on your Kindle Fire and press and hold it for about 20 seconds.
- Release the power button: After holding the power button for 20 seconds, release it. The screen may go blank momentarily.
- Power on the Kindle Fire: Press the power button again for a few seconds until the device powers back on.
- Check for charging: Once the device restarts, connect the charging cable to the Kindle Fire and plug it into a power source. Verify if the device begins to charge.
Restarting your Kindle Fire can help to reset any temporary software issues that may be preventing it from charging properly. If the problem persists, try the next troubleshooting method.
Perform a Hard Reset
If your Kindle Fire still refuses to charge, performing a hard reset can sometimes resolve more stubborn software issues that may be impacting the charging functionality. Please follow these steps to perform a hard reset:
- Ensure the device is powered on: Make sure your Kindle Fire is turned on and functioning.
- Press and hold the power button: Locate the power button on your device and press and hold it for a minimum of 40 seconds. You may need to use a timer or stopwatch to ensure you hold it for the full duration.
- Release the power button: After the 40-second interval, release the power button. The screen may go blank momentarily.
- Wait for the device to restart: Give your Kindle Fire a few moments to restart on its own. Once it powers back on, proceed to the next step.
- Reconnect the charger: Plug the charging cable into the Kindle Fire and connect it to a power source to check if the device is now charging.
A hard reset can help to resolve more complex software issues that may be causing your Kindle Fire to refuse charging. If the problem persists, continue to the next troubleshooting step.
Replace the Battery
If all the previous troubleshooting steps have failed to resolve the charging issue with your Kindle Fire, it may be time to consider replacing the battery. Over time, batteries can degrade and lose their ability to hold a charge. Here’s what you can do:
- Verify warranty status: Check if your Kindle Fire is still under warranty. If it is, contact Amazon Support for assistance. They may offer a replacement or repair service free of charge.
- Order a replacement battery: If your device is no longer under warranty or you prefer to handle the battery replacement yourself, you can order a new battery. Make sure to purchase a battery that is compatible with your specific Kindle Fire model.
- Power off the Kindle Fire: Before replacing the battery, ensure that your Kindle Fire is turned off. This will prevent any potential electrical hazards during the battery removal process.
- Remove the back cover: Most Kindle Fire models have a removable back cover. Use a small tool or your fingernail to carefully pry off the back cover and expose the battery.
- Replace the battery: Take out the old battery and replace it with the new one. Make sure to align the connectors properly and gently press the battery into place.
- Reassemble the device: Put the back cover back on your Kindle Fire, ensuring it securely snaps into place.
Replacing the battery can be a more advanced troubleshooting step, so it’s important to exercise caution and follow the manufacturer’s instructions or seek professional help if needed. If replacing the battery does not resolve the charging issue, it may be time to contact Amazon Support for further assistance.
Contact Amazon Support for Further Assistance
If you have exhausted all the previous troubleshooting methods and your Kindle Fire still won’t charge, it is recommended to reach out to Amazon Support for further assistance. Their knowledgeable support team can provide you with dedicated guidance and potential solutions specific to your device. Here’s how you can contact Amazon Support:
- Visit the Amazon Help & Customer Service page: Go to the Amazon website and navigate to the Help & Customer Service section.
- Choose your Kindle Fire device: Select your specific Kindle Fire model from the list provided.
- Select “Contact Us”: Look for the “Contact Us” or “Help” button to access the support options.
- Choose your preferred contact method: Amazon offers various options for support, such as live chat, email, or phone. Select the method that suits you best.
- Provide necessary details: When contacting Amazon Support, be ready to provide information about your Kindle Fire model, the troubleshooting steps you have already taken, and any error messages or symptoms you are experiencing.
- Engage with Amazon Support: Communicate your issue clearly to the support representative and follow their instructions carefully. They will assist you in finding a suitable solution, which may involve repair, replacement, or further troubleshooting.
Remember to remain patient and polite when interacting with Amazon Support. They are there to assist you and ensure the best possible resolution to your charging issue.