
What is a Ledger Nano S private key?
A Ledger Nano S private key is a crucial piece of information that allows you to access and manage your cryptocurrency assets securely. It is a unique alphanumeric code that serves as a digital fingerprint for your crypto holdings. With this private key, you have control over your digital assets and can authorize transactions.
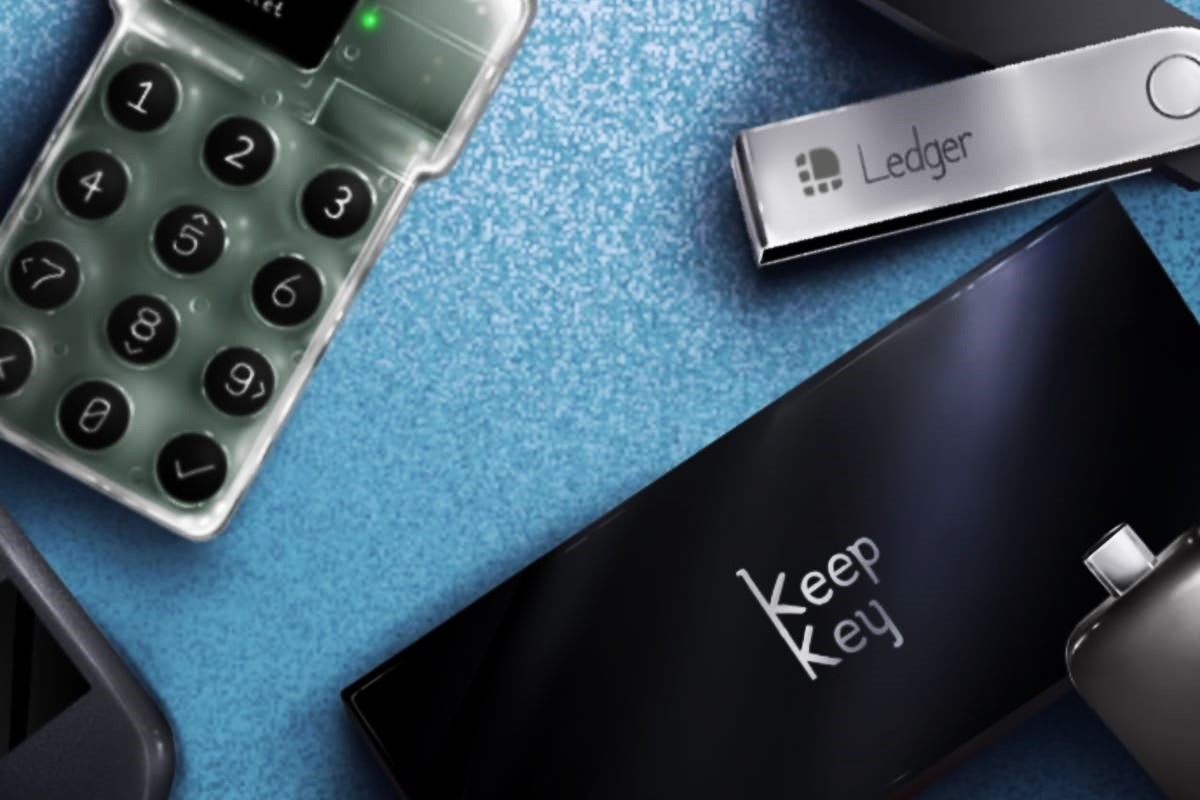
The Ledger Nano S, a popular hardware wallet, is designed to store private keys offline, providing an extra layer of security compared to software wallets. When you set up your Ledger Nano S, it generates a private key that is encrypted and stored securely within the device itself.
Unlike public keys, which are used to receive funds, private keys should be kept confidential and protected from unauthorized access. If someone gains access to your private key, they could potentially gain control over your cryptocurrency assets, leading to significant financial loss.
It is essential to understand that the private key generated by your Ledger Nano S is unique to you and your wallet. It cannot be recovered or reset if lost or forgotten. Therefore, it is crucial to take the necessary precautions to store and backup your private key securely.
With your Ledger Nano S private key, you can access various cryptocurrencies supported by the device, including Bitcoin, Ethereum, Ripple, and many others. Each cryptocurrency has its unique private key associated with it.
In the following sections, we will guide you through the necessary steps to find, manage, and protect your Ledger Nano S private key to ensure the security of your crypto assets.
Step 1: Update your Ledger Nano S firmware
Before diving into managing your Ledger Nano S private key, it’s crucial to ensure that your device’s firmware is up to date. Regular firmware updates enhance the security features and functionality of your hardware wallet.
To update your Ledger Nano S firmware, follow these steps:
- Connect your Ledger Nano S to your computer using the provided USB cable.
- Visit the official Ledger website and download the Ledger Live application, which is the desktop software used to manage your hardware wallet.
- Install the Ledger Live application on your computer and open it.
- After opening Ledger Live, follow the on-screen instructions to set up your device and create a new wallet.
- In the dashboard, you will find a notification if a firmware update is available for your Ledger Nano S.
- Click on the notification and follow the prompts to start the firmware update process.
- During the update, make sure to keep your Ledger Nano S connected and avoid disconnecting or interrupting the process.
- Once the update is complete, your Ledger Nano S will restart, and you will be ready to proceed with managing your private key.
Updating your Ledger Nano S firmware is essential as it ensures that your device has the latest security patches and bug fixes. By keeping your device up to date, you minimize the risk of potential vulnerabilities that could compromise the security of your private key and crypto assets.
It is good practice to regularly check for firmware updates and install them as soon as they become available. This ensures that you are benefiting from the latest security enhancements and features offered by Ledger.
Now that your Ledger Nano S firmware is up to date, let’s move on to the next step: installing the Ledger Live app and connecting your device.
Step 2: Install the Ledger Live app and connect your device
To manage your Ledger Nano S private key, you need to install the Ledger Live app on your computer and connect your device. The Ledger Live app acts as a bridge between your hardware wallet and the cryptocurrency networks.
Follow these steps to install the Ledger Live app and connect your device:
- Visit the official Ledger website and navigate to the Ledger Live download page.
- Select the appropriate version of the Ledger Live app for your operating system and download it.
- Once the download is complete, open the installation file and follow the on-screen instructions to install the app on your computer.
- After installing the Ledger Live app, open it and select “Initialize as a new device” or “Restore from recovery phrase” depending on your situation.
- Follow the prompts to set up a new wallet or restore an existing one using your recovery phrase.
- Once you have set up or restored your wallet, connect your Ledger Nano S to your computer using the USB cable.
- On your device, navigate to the settings and ensure that “Browser Support” is enabled.
- In the Ledger Live app, click on “Manager” to access the app catalog and install the necessary apps for the cryptocurrencies you want to manage.
- Follow the on-screen instructions to install the appropriate apps on your Ledger Nano S.
- Once the installations are complete, you can disconnect your device and proceed to use the Ledger Live app to manage your private key and crypto assets.
By installing the Ledger Live app and connecting your device, you establish a secure and convenient way to interact with your Ledger Nano S. The Ledger Live app provides a user-friendly interface for managing your private key, checking balances, making transactions, and more.
Remember to keep your Ledger Live app up to date by installing any available updates. This ensures that you have the latest features and security improvements for managing your private key and crypto assets.
Now that you have installed the Ledger Live app and connected your device, it’s time to generate a new private key in the next step.
Step 3: Generate a new private key
Generating a new private key on your Ledger Nano S is an essential step to ensure the security of your crypto assets. Each time you create a new wallet or add a cryptocurrency to your Ledger Nano S, a new private key is generated.
Follow these steps to generate a new private key:
- Ensure that your Ledger Nano S is connected to your computer and the Ledger Live app is open.
- In the Ledger Live app, navigate to the “Manager” tab and select the cryptocurrency for which you want to generate a new private key.
- Click on “Install” if the app for that specific cryptocurrency is not installed on your device.
- Once the app is installed, click on “Add Account” to create a new account for the selected cryptocurrency.
- On your Ledger Nano S device, confirm the transaction by pressing the right button when prompted.
- The Ledger Live app will then generate a new private key for the selected cryptocurrency.
- Once the process is complete, you can view your new account and private key details within the Ledger Live app.
It is important to note that generating a new private key does not affect the previously generated private keys or the cryptocurrency balances associated with them. Each private key corresponds to a specific wallet or cryptocurrency account on your Ledger Nano S.
By generating a new private key for each cryptocurrency, you enhance the security of your funds. Even if one private key is compromised, the other cryptocurrencies and their respective private keys remain safe.
Always double-check the details and ensure that you are generating a new private key for the correct cryptocurrency. Take the time to verify the address on your Ledger Nano S device screen to minimize the risk of any mistakes or potential scams.
Now that you have generated a new private key, it’s crucial to safeguard it properly. In the next step, we will discuss how to safely store your private key.
Step 4: Safely store your private key
Safely storing your Ledger Nano S private key is of utmost importance to protect your cryptocurrency assets from unauthorized access. Losing or exposing your private key can result in irreversible loss of funds.
Consider the following best practices to ensure the safe storage of your private key:
- Physical Backup: Consider making a physical backup of your private key. This can be done by writing down the mnemonic seed phrase provided during the initial setup of your Ledger Nano S. Keep this backup in a secure location away from prying eyes and potential physical damage.
- Secure Location: Store your physical backup and other sensitive information, such as passwords and recovery phrases, in a secure location such as a safe deposit box, a home safe, or an encrypted digital storage device.
- Offline Storage: Consider using an encrypted USB drive or other offline storage solutions to keep digital copies of your private key and backup files. Keep these devices disconnected from the internet and securely stored when not in use.
- Password Protection: If you choose to store digital copies of your private key and backup files on your computer or other electronic devices, ensure they are password protected. Use strong, unique passwords for added security.
- Multiple Copies: Make multiple copies of your physical backup and distribute them in separate secure locations. This provides redundancy and safeguards against loss or damage to a single copy.
- Avoid Digital Sharing: Never share your private key or mnemonic seed phrase digitally, such as through email, messaging apps, or cloud storage platforms. Always assume that any digital communication can be intercepted or compromised.
Remember, the security of your private key is crucial in protecting your funds. Treat your private key with the same level of care and caution as you would treat valuable physical assets.
If you are concerned about the physical security of your Ledger Nano S, consider using a secure hardware storage solution, such as a safe or a hardware wallet vault, to store your device and backup securely.
Following these practices will help mitigate the risk of losing your private key and protect your crypto assets from potential threats.
Next, we will explore how to access your private key when needed in Step 5.
Step 5: Access your private key when needed
Accessing your Ledger Nano S private key when needed is necessary for managing your cryptocurrency assets. Whether you want to send or receive funds or perform other transactions, understanding how to access your private key is essential.
Follow these steps to access your private key when needed:
- Ensure that your Ledger Nano S device is connected to your computer and the Ledger Live app is open.
- In the Ledger Live app, navigate to the cryptocurrency account for which you want to access the private key.
- Click on the account to view its details and transactions.
- In the account details, you will find the public address associated with the account. This address can be shared with others to receive funds.
- To access the private key, click on the “Account” tab and select “Settings.”
- In the settings, you will find an option to display the private key. Click on it.
- For security purposes, you may be prompted to provide additional authentication, such as entering your Ledger Nano S device’s PIN code or verifying a transaction on the device itself.
- Once authenticated, the Ledger Live app will display your private key. Take note of it and ensure that no one else can see or access this information.
- Remember to close the private key display once you have finished viewing or using it.
It is important to remember that accessing and revealing your private key should be done with caution. Always ensure that you are in a secure and private environment when accessing this sensitive information.
Be mindful of any potential phishing attempts or malicious software that may attempt to capture your private key. Double-check the website addresses and applications you are using to ensure that they are legitimate and from trusted sources.
Lastly, it is advised to limit the access to your private key to only the necessary individuals involved in managing your cryptocurrency assets. Sharing your private key exposes your funds to risks, such as theft or unauthorized transactions.
Now that you know how to access your private key, let’s proceed to the next step: importing your private key into a compatible wallet.
Step 6: Import your private key into a compatible wallet
Importing your Ledger Nano S private key into a compatible wallet can provide you with additional flexibility and accessibility to manage your cryptocurrency assets. It allows you to use alternative wallets that support the same cryptocurrencies and provide different features or user experiences.
Follow these steps to import your private key into a compatible wallet:
- Research and choose a compatible wallet that supports the cryptocurrency associated with your private key. Ensure that the wallet is reputable and trusted.
- Download and install the chosen wallet on your computer or mobile device.
- Open the wallet and look for the option to import a wallet or private key.
- Select the import option and enter your private key when prompted. Be cautious and ensure that you enter the private key accurately.
- Follow the wallet’s instructions to complete the import process and access your cryptocurrency funds.
It is important to note that importing your private key into a compatible wallet does not remove the funds from your Ledger Nano S. Instead, it allows the wallet to access and manage the same funds through the private key.
By importing your private key into a compatible wallet, you can benefit from different wallet features, such as advanced trading options, enhanced security measures, or a more user-friendly interface. However, be aware that using a third-party wallet introduces additional risks, as the security of the new wallet is dependent on its own safeguards and practices.
Before importing your private key, make sure to research the wallet’s reputation, security features, and user reviews. Be cautious of fake wallets or phishing attempts that may aim to steal your private key and cryptocurrency assets.
Lastly, ensure that your Ledger Nano S firmware is up to date and continue to take proper security measures to safeguard your private key and Ledger device, as the private key will remain on your hardware wallet even after importing it into a compatible software wallet.
Now that you know how to import your private key into a compatible wallet, let’s move on to the importance of regularly backing up your private key in Step 7.
Step 7: Backup your private key regularly
Regularly backing up your Ledger Nano S private key is crucial in ensuring the safety and accessibility of your cryptocurrency funds. It provides an extra layer of protection against the loss or damage of your hardware wallet and allows you to recover your funds in case of any unfortunate events.
Follow these steps to backup your private key regularly:
- Connect your Ledger Nano S to your computer and open the Ledger Live app.
- In the Ledger Live app, navigate to the “Accounts” tab and select the account associated with the private key you want to backup.
- Click on the “Account” settings and look for an option to export or backup the private key.
- Follow the on-screen prompts to initiate the backup process.
- Choose your preferred backup method, such as exporting the private key as a file or printing a paper wallet.
- Ensure that the backup is securely stored in a safe location, such as a physical safe, a safety deposit box, or an encrypted digital storage device.
- Consider making multiple copies of the backup and storing them in separate secure locations for redundancy.
- If you choose to store a digital backup, ensure that it is encrypted and password-protected to prevent unauthorized access.
Regularly backing up your private key is essential because it serves as a fail-safe measure in case your Ledger Nano S is lost, damaged, or becomes inaccessible. It also provides a means of recovery in case of accidental deletion or other unforeseen circumstances.
Remember to update your backups whenever you add new cryptocurrencies or generate new private keys on your Ledger Nano S. Keep your backups up to date to ensure they reflect the most recent state of your cryptocurrency holdings.
Ultimately, the responsibility of safeguarding your private key and backups lies with you. Ensure that you adopt best practices for physical and digital storage, including keeping your backups in secure locations, using strong passwords, and limiting access to trusted individuals.
By regularly backing up your private key, you provide yourself with peace of mind and ensure that your cryptocurrency funds are protected, even in the event of unforeseen circumstances.
Now that you understand the importance of backing up your private key, let’s move on to discussing the importance of being cautious of phishing attacks in Step 8.
Step 8: Be cautious of phishing attacks
Being cautious of phishing attacks is crucial to protect your Ledger Nano S private key and prevent unauthorized access to your cryptocurrency assets. Phishing attacks are deceptive attempts by malicious actors to trick individuals into revealing sensitive information, such as private keys, passwords, or other credentials.
Here are some steps to help you stay cautious of phishing attacks:
- Verify Website Authenticity: Always double-check the website URL to ensure its authenticity. Phishing websites may use URLs that closely resemble legitimate websites but have slight variations or misspellings.
- Avoid Clicking Suspicious Links: Be cautious of unsolicited emails, messages, or advertisements that contain suspicious links. Avoid clicking on these links as they may redirect you to phishing websites.
- Validate Communication Sources: If you receive any communication claiming to be from Ledger or any other service provider, verify its authenticity before taking any action. Reach out to the official support channels of the service to confirm the legitimacy of the communication.
- Protect Your Recovery Phrase: Never share your recovery phrase with anyone online or through digital communication channels. No legitimate support team or service provider will ever ask for your recovery phrase.
- Authenticate Ledger Live App: Ensure that you download the Ledger Live app only from the official Ledger website or from trusted app stores. Avoid downloading the app from third-party sources.
- Stay Informed: Keep yourself updated about the latest phishing techniques and scams in the cryptocurrency space. Stay informed through reliable sources and communities to be aware of potential risks.
- Enable Two-Factor Authentication (2FA): Use two-factor authentication whenever possible to add an extra layer of security to your accounts and transactions.
Phishing attacks can be sophisticated and may have convincing visual designs or copies of legitimate websites. Therefore, it is important to stay vigilant and exercise caution when interacting online.
Remember that Ledger will never ask for your private key, recovery phrase, or any other sensitive information. Always be skeptical of any requests for such information and take proactive steps to verify the legitimacy of the source.
If you suspect that you have encountered a phishing attempt, report it to the appropriate authorities and notify the official support channels of the service or platform being targeted.
By being cautious of phishing attacks, you can significantly reduce the chances of falling victim to scams and protect your Ledger Nano S private key and cryptocurrency assets.
Now that you are aware of the importance of being cautious, let’s discuss the advantages of using a hardware wallet for added security in Step 9.
Step 9: Use a hardware wallet for added security
Using a hardware wallet, such as the Ledger Nano S, provides added security for managing your private key and safeguarding your cryptocurrency assets. Hardware wallets offer several advantages over other types of wallets, such as software or web-based wallets.
Here are some reasons why using a hardware wallet can enhance the security of your private key:
- Offline Private Key Storage: Hardware wallets store your private key offline, ensuring it remains out of reach from potential online threats or hacking attempts. This greatly reduces the risk of your private key being compromised.
- Secure Element Chip: Hardware wallets incorporate secure element chips, which are tamper-resistant components specifically designed to protect sensitive information. These chips ensure that your private key is securely stored and isolated from potential attacks.
- Verification of Transactions: Hardware wallets enable you to verify transactions directly on the device’s screen, allowing you to review and approve each transaction before it is executed. This provides an additional layer of security and ensures that you have full control over the funds being transferred.
- Protection Against Malware: Hardware wallets protect your private key from malware attacks when you connect them to a compromised computer. Since the private key does not leave the device, it is not exposed to potential malware threats.
- Backup and Recovery Options: Hardware wallets usually provide backup and recovery options, such as the generation of a mnemonic seed phrase. This allows you to safely recover your private key and regain access to your funds if your device is lost, stolen, or damaged.
- Support for Multiple Cryptocurrencies: Hardware wallets like the Ledger Nano S support a wide range of cryptocurrencies, allowing you to manage and store different digital assets in a single device.
Using a hardware wallet is an effective way to minimize the risks associated with managing your private key. It provides peace of mind, knowing that your private key is stored in a secure, offline environment.
However, it is important to note that while hardware wallets provide significant security benefits, they are not entirely immune to risks. It is still essential to follow best practices, such as updating firmware, using secure backup methods, and being cautious of phishing attacks.