
What is Chromebook Developer Mode?
Chromebooks are known for their simplicity, security, and ease of use. However, for those who want to dig deeper and unlock the full potential of their devices, there is Chromebook Developer Mode. Developer Mode allows users to access advanced features and install custom firmware, which is not possible in the regular mode.
In Developer Mode, users have the ability to modify system files and install alternative operating systems, giving them more control over their Chromebook. This mode is primarily intended for developers and advanced users who need to test and debug applications or work on projects that require a deeper level of customization.
Enabling Developer Mode on your Chromebook will provide you with a wide range of benefits. You can install and run Linux applications, use command-line tools, access the Chrome OS debug shell, and experiment with different software configurations. It also allows you to install custom firmware like GalliumOS or Ubuntu, opening up a whole new world of possibilities for your Chromebook.
However, it is important to note that enabling Developer Mode comes with its own set of risks and limitations. Your Chromebook will be more vulnerable to malware and security threats, and some features like Google Play Store and Chrome OS automatic updates will be disabled. Additionally, enabling Developer Mode will reset your Chromebook to its factory settings, erasing all the data on your device. Therefore, it is essential to back up your important files and be prepared for a potentially lengthy and complicated setup process.
Before diving into the process of enabling Developer Mode on your Chromebook, it is important to take some precautions. Make sure you have a stable internet connection, a fully charged battery, and all necessary cables and adapters. Additionally, it is advisable to consult the manufacturer’s documentation or support resources to understand how Developer Mode may affect your specific Chromebook model.
Benefits of Enabling Developer Mode
Enabling Developer Mode on your Chromebook can provide you with a multitude of benefits that are not available in the regular mode. Here are some of the key advantages:
- Access to Linux Applications: By enabling Developer Mode, you can install and run Linux applications on your Chromebook. This opens up a vast range of software options and allows you to use popular developer tools, programming languages, and IDEs.
- Command-line Tools and Shell Access: Developer Mode grants you access to the Chrome OS debug shell, where you can use powerful command-line tools. This is particularly useful for advanced users and developers who prefer working with command-line interfaces.
- Custom Firmware Installations: Developer Mode allows you to install custom firmware like GalliumOS or Ubuntu, giving you the ability to tweak the operating system to your preference. This enables you to personalize your Chromebook and use alternative software configurations.
- Deeper System Modifications: With Developer Mode, you gain the ability to modify system files and make deeper changes to the Chrome OS. This can be beneficial if you need to debug applications, perform advanced system optimizations, or experiment with different configurations.
- Expand Software Compatibility: Developer Mode makes it easier to install and use software that is not officially supported on Chromebooks. If you have specific applications or tools that you need for your work or projects, enabling Developer Mode can help you access and use them seamlessly.
- Development and Testing Freedom: If you are a developer, enabling Developer Mode is a must. It allows you to test your applications and projects in a more flexible and customizable environment. You can also simulate various system settings to ensure your software performs optimally.
These are just a few examples of the benefits you can expect by enabling Developer Mode on your Chromebook. It provides a gateway to enhanced functionality, customization, and development opportunities, empowering you to make the most of your device.
Precautions to Take before Enabling Developer Mode
Before diving into the process of enabling Developer Mode on your Chromebook, it is crucial to take some precautions to ensure a smooth and secure experience. Here are some key measures you should consider:
- Backup Your Data: Enabling Developer Mode will reset your Chromebook to its factory settings, erasing all the data on your device. Therefore, it is essential to back up any important files, documents, or media to an external storage device or cloud service.
- Understand the Risks: Enabling Developer Mode increases the vulnerability of your Chromebook to malware and security threats. It also disables certain security features, such as verified boot and automatic system updates. It is important to be aware of these risks and proceed with caution.
- Read the Documentation: Consult the manufacturer’s documentation or support resources to understand how enabling Developer Mode might affect your specific Chromebook model. Different models may have varying requirements and restrictions.
- Ensure a Stable Internet Connection: Make sure you have a reliable internet connection before enabling Developer Mode. You may need to download additional software or updates during the setup process.
- Charge Your Battery: While enabling Developer Mode, your Chromebook should be connected to a power source or have a fully charged battery. The process can be time-consuming, and a loss of power during the setup could lead to complications.
- Keep in Mind the Warranty: It’s important to know that enabling Developer Mode may void the warranty of your Chromebook. If you are still under warranty and have concerns about the potential loss of warranty, consider keeping your device in its regular mode.
By taking these precautions, you can minimize the risks and potential issues associated with enabling Developer Mode on your Chromebook. It is always a good idea to be well-prepared and informed before making any significant changes to your device’s settings.
Step-by-Step Guide to Enable Developer Mode on Chromebook
Enabling Developer Mode on your Chromebook requires a few simple steps. However, it’s important to note that the exact process may vary slightly depending on your specific Chromebook model. Here is a general step-by-step guide to enabling Developer Mode:
- Back Up Your Data: Before proceeding, make sure to back up all your important files and data to an external storage device or cloud service.
- Power Off Your Chromebook: To begin, fully power off your Chromebook by pressing and holding the power button until the screen turns off.
- Enter Recovery Mode: Press and hold the Esc key and the Refresh key (circular arrow) simultaneously, then press the power button to turn on your Chromebook. Release all the keys once you see the recovery screen.
- Enable Developer Mode: On the recovery screen, press Ctrl + D. A warning message will appear, informing you about the potential risks and limitations of enabling Developer Mode. Read the message and press Enter to proceed.
- Confirm Enablement: Another message will appear, asking you to confirm your decision to enable Developer Mode. Press Enter again to proceed.
- System Reset: Your Chromebook will now reset and enable Developer Mode. This process may take a few minutes, and the Chromebook will display a message indicating the progress.
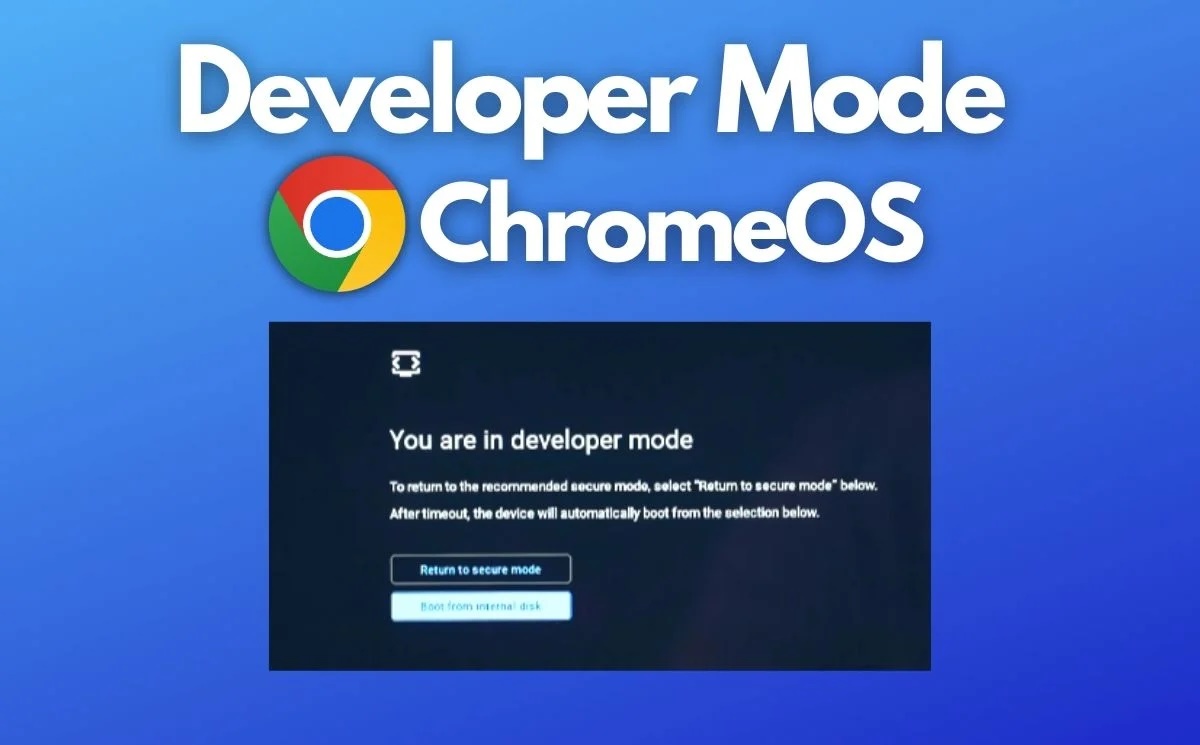
- Initial Setup: After the system reset, your Chromebook will reboot into Developer Mode. You will see a new screen with a warning that Developer Mode is enabled.
- Disable OS Verification: On the warning screen, press Ctrl + D to proceed and disable OS verification. This step allows your Chromebook to bypass the “Chrome OS is missing or damaged” message that appears during startup.
- Finalize Setup: After disabling OS verification, your Chromebook will proceed with the final setup process. You may need to sign in with your Google account and configure some basic settings.
- Developer Mode Enabled: Congratulations! Your Chromebook is now in Developer Mode, allowing you to access advanced features and customization options.
Remember that enabling Developer Mode will reset your Chromebook to its factory settings and erase all data. Therefore, it is important to have a backup of your files and understand the risks involved before proceeding with these steps.
Enabling Developer Mode on Different Chromebook Models
While the general steps to enable Developer Mode on Chromebooks are similar across different models, there may be slight variations in the key combinations or procedures. Here are some common methods to enable Developer Mode on different Chromebook models:
- HP Chromebook: For most HP Chromebook models, you can enable Developer Mode by pressing and holding the Esc key and the Power button simultaneously until the Chromebook restarts. Release the keys when the recovery screen appears, then press Ctrl + D and confirm to proceed.
- Acer Chromebook: On most Acer Chromebook models, enter recovery mode by pressing and holding the Esc key and the Refresh key (circular arrow), and then press the Power button. Once in recovery mode, press Ctrl + D and confirm to enable Developer Mode.
- ASUS Chromebook: To enable Developer Mode on most ASUS Chromebook models, press and hold the Esc key and the Refresh key (circular arrow) simultaneously, and then press the Power button. Release the keys once you see the recovery screen, press Ctrl + D to enable Developer Mode.
- Samsung Chromebook: On many Samsung Chromebook models, power off the device, then press and hold the Esc key and the Refresh key (circular arrow) simultaneously while pressing the Power button to turn on the Chromebook. Release the keys and press Ctrl + D to enable Developer Mode.
- Dell Chromebook: For most Dell Chromebook models, enter recovery mode by holding down the Esc key and the Refresh key (circular arrow), and then press the Power button. Once in recovery mode, press Ctrl + D and confirm to enable Developer Mode.
These are just a few examples of the steps you may follow to enable Developer Mode on different Chromebook models. It is always recommended to consult the documentation or support resources provided by the manufacturer for your specific Chromebook model to ensure accurate and up-to-date instructions.
Keep in mind that enabling Developer Mode will reset your Chromebook and void its warranty in some cases. Before proceeding, make sure you understand the implications and back up any important files to avoid data loss.
Troubleshooting Tips for Enabling Developer Mode
While enabling Developer Mode on your Chromebook is generally a straightforward process, you may encounter certain issues or roadblocks along the way. Here are some troubleshooting tips to help you overcome common challenges:
- Check Keyboard Layout: Make sure you are using the correct keyboard layout and key combinations for your specific Chromebook model. Different manufacturers and models may require different key combinations to enter recovery mode.
- Verify Power Source: Ensure that your Chromebook is connected to a reliable power source or has a fully charged battery. Insufficient power can interrupt the enabling process and lead to complications.
- Perform a Hard Reset: If your Chromebook becomes unresponsive or stuck during the enabling process, perform a hard reset by pressing and holding the power button until the device turns off. Then, turn it back on and retry the enabling process.
- Disable Extensions or External Devices: Some extensions or external devices connected to your Chromebook can interfere with the enabling process. Disconnect any external devices and disable extensions, then try enabling Developer Mode again.
- Reset Hardware Configuration: In certain cases, you may need to reset the hardware configuration of your Chromebook. This can usually be done by removing any connected USB devices, performing a hard reset, and then trying to enable Developer Mode.
- Ensure Stable Internet Connection: A stable internet connection is crucial during the enabling process. Make sure you are connected to a reliable network and have adequate bandwidth to download any necessary updates or firmware files.
- Update Chromebook: Before attempting to enable Developer Mode, ensure that your Chromebook is running the latest Chrome OS version. Install any pending updates and try enabling Developer Mode again.
- Contact Manufacturer Support: If you have followed all the troubleshooting steps and are still unable to enable Developer Mode, it may be helpful to contact the manufacturer’s support for further assistance. They can provide specific guidance based on your Chromebook model and help resolve any issues you may be facing.
By following these troubleshooting tips, you can navigate through potential challenges and successfully enable Developer Mode on your Chromebook. Remember to consider the risks involved and back up your important files before making any changes to your device’s settings.