
Enable Chrome OS Developer Mode
If you want to add a website to your Chromebook shelf, you’ll need to enable Developer Mode on your Chrome OS device. Enabling Developer Mode allows you to access advanced settings and features that are not normally available in the standard user mode. Keep in mind that enabling Developer Mode will erase all the data on your Chromebook, so it’s important to backup any important files before proceeding with this process.
To enable Developer Mode, follow these steps:
- Power off your Chromebook completely.
- Press and hold the Esc key and the Refresh key (which is also the F3 key).
- While holding these keys, press the Power button to turn on your Chromebook.
- Release the keys when you see a warning screen. This screen will inform you that Chrome OS is missing or damaged.
- Press Ctrl + D on your keyboard to enable Developer Mode.
- A confirmation screen will appear. Press Enter to continue.
- Your Chromebook will now go through the process of enabling Developer Mode, which may take a few minutes.
- Once the process is complete, your Chromebook will reboot into Developer Mode.
Congratulations! You have successfully enabled Developer Mode on your Chromebook. Now you can proceed with the next steps to add a website to your Chromebook shelf.
Install Linux on your Chromebook
To add a website to your Chromebook shelf, you’ll need to have Linux installed on your device. Linux gives you access to a wider range of applications and allows for more customization options. Follow the steps below to install Linux on your Chromebook:
- Click on the clock in the bottom right corner of your Chromebook screen.
- Select the “Settings” option.
- Scroll down and click on “Advanced” at the bottom of the settings page.
- Under the “Developers” section, select “Developers Mode.”
- Click on “Turn on.”
- Once your Chromebook reboots into Developers Mode, press Ctrl + Alt + T to open the terminal.
- Type “shell” and hit Enter.
- Next, type “sudo su” and hit Enter.
- You will be prompted to enter your Chromebook password. Enter it and press Enter.
- Type “sudo apt-get install -y virtualbox-guest-x11” and hit Enter to install the necessary components for running Linux.
- After the installation is complete, type “exit” and hit Enter to exit the terminal.
You have successfully installed Linux on your Chromebook. Now you can move on to the next steps to add a website to your Chromebook shelf.
Launch the Linux Terminal
To add a website to your Chromebook shelf, you’ll need to work with the Linux terminal. The terminal allows you to execute commands and perform various tasks in Linux. Follow the steps below to launch the Linux terminal on your Chromebook:
- On your Chromebook, click on the app launcher icon located in the bottom left corner of the screen.
- In the search bar at the top, type “Terminal” and press Enter.
- The Linux terminal window will open, showing a command prompt where you can enter commands.
- You can resize the terminal window by clicking and dragging the edges.
- To execute a command, type it in the terminal and press Enter. For example, you can use commands like “cd” to change directories, “ls” to list files and folders, or “sudo” to run commands as the superuser.
- You can also copy and paste commands in the terminal by using the Ctrl + Shift + V shortcut.
- Once you’re done working in the terminal, you can close the window by clicking the “x” button in the top right corner.
You have now launched the Linux terminal on your Chromebook. You’re ready to proceed with the next steps to add a website to your Chromebook shelf.
Install Google Chrome on Linux
In order to add a website to your Chromebook shelf, you’ll need to have Google Chrome installed on your Linux system. Google Chrome is a widely used web browser that provides a seamless browsing experience. Here’s how you can install Google Chrome on your Linux system:
- Open the Linux terminal by following the steps mentioned earlier.
- Type the following command and press Enter:
sudo apt-get install gdebi-core - Enter your password when prompted and press Enter to continue with the installation.
- Next, download the latest version of Google Chrome by typing the following command and pressing Enter:
wget https://dl.google.com/linux/direct/google-chrome-stable_current_amd64.deb - Once the download is complete, run the following command to install Google Chrome:
sudo gdebi google-chrome-stable_current_amd64.deb - Follow the prompts on the screen to complete the installation process.
- After the installation is complete, you can launch Google Chrome by searching for it in the app launcher or by typing
google-chrome-stablein the terminal.
Now that you have successfully installed Google Chrome on your Linux system, you can proceed to the next steps to add a website to your Chromebook shelf.
Add the Website to Google Chrome
To add a website to your Chromebook shelf, you’ll first need to open Google Chrome and navigate to the website you want to add. Follow these simple steps to add the website to Google Chrome:
- Launch Google Chrome on your Chromebook by clicking on its icon in the app launcher.
- Type the URL of the website you want to add into the address bar at the top of the Chrome browser.
- Press Enter or click the Go button to load the website.
- Once the website is loaded, click on the three-dot menu icon in the top right corner of the Chrome browser.
- From the dropdown menu, select the “More Tools” option, and then click on “Add to Shelf.”
- A dialog box will appear, asking you to confirm the addition of the website to your shelf. Click on the “Add” button.
Congratulations! You have successfully added the website to Google Chrome. The website will now appear as an icon on your Chromebook shelf, allowing you to quickly access it with just a single click.
Repeat these steps for any additional websites you wish to add to your Chromebook shelf.
Create a Shortcut for the Website
Adding a website to your Chromebook shelf as a shortcut allows you to access it quickly and conveniently. Here’s how you can create a shortcut for the website you want:
- Open Google Chrome on your Chromebook and navigate to the website you want to create a shortcut for.
- Once the website loads, click on the three-dot menu icon in the top right corner of the Chrome browser.
- From the dropdown menu, select the “More Tools” option, and then click on “Create Shortcut.”
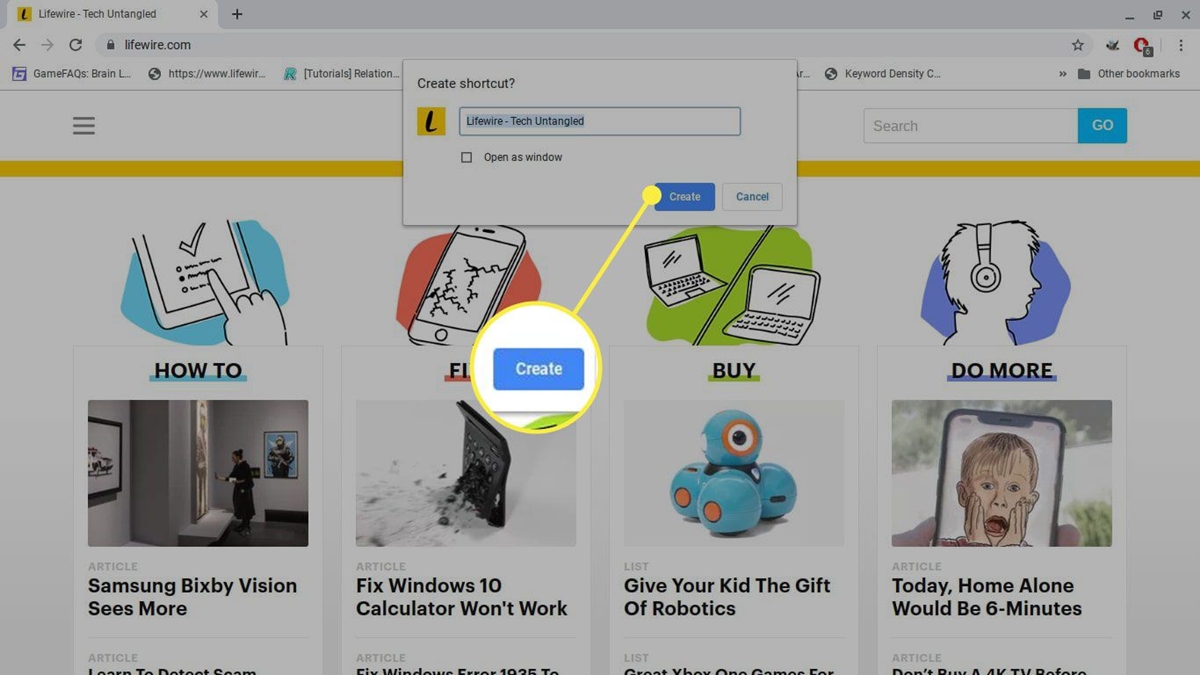
- A dialog box will appear, asking you to name the shortcut. Enter a descriptive name for the shortcut and click on the “Create” button.
- The shortcut will be created on your Chromebook shelf with the name you provided.
Congratulations! You have successfully created a shortcut for the website. The shortcut will now be easily accessible on your Chromebook shelf, allowing you to launch the website with just one click.
Repeat these steps for any additional websites you wish to create shortcuts for on your Chromebook shelf.
Pin the Shortcut to the Chromebook Shelf
Once you have created a shortcut for a website on your Chromebook, the final step is to pin it to the Chromebook shelf. Pinning the shortcut ensures that it remains easily accessible and visible on your shelf at all times. Follow these steps to pin the shortcut:
- Locate the shortcut for the website you created on your Chromebook shelf.
- Click and hold the shortcut icon with your mouse or trackpad.
- Drag the shortcut to the desired position on the Chromebook shelf.
- Release the mouse or trackpad to drop the shortcut in its new position.
Congratulations! You have successfully pinned the shortcut to your Chromebook shelf. The website’s shortcut will now remain visible and easily accessible for quick access whenever you need it.
You can rearrange the position of the shortcut on the shelf by repeating the above steps. Simply click and hold the shortcut icon, drag it to a new position, and release it to drop it in the new position.
By pinning shortcuts to your Chromebook shelf, you can keep your frequently visited websites within easy reach. This convenient feature allows you to quickly access your favorite sites without the need to open Google Chrome and manually navigate to each website.