
Why You Should Disconnect Your Trezor Device
Your Trezor device is a valuable tool for securely storing your cryptocurrencies. However, it is important to remember that even the most advanced security measures are not foolproof. Disconnecting your Trezor device when not in use can provide an extra layer of protection against potential threats and minimize the risk of unauthorized access to your digital assets. Here are a few reasons why it is crucial to disconnect your Trezor device:
- Prevent Remote Attacks: While Trezor devices are designed with robust security features, no system is completely immune to attacks. By disconnecting your Trezor device, you can eliminate the possibility of hackers gaining access to your device remotely. This reduces the risk of your private keys being compromised and ensures that your cryptocurrencies remain safe.
- Avoid Malware Infections: Malicious software and viruses can pose a significant threat to your cryptocurrency holdings. When your Trezor device is connected to a computer or other electronic devices, there is a chance of it being exposed to potential malware infections. Disconnecting your Trezor device when not in use minimizes the risk of malware infiltrating your device and compromising the security of your digital assets.
- Protect Against Physical Tampering: Physical security is just as crucial as digital security when it comes to safeguarding your cryptocurrencies. If your Trezor device remains connected to a computer or other electronic devices, it is more susceptible to physical tampering. By disconnecting your device and storing it securely when not in use, you can ensure that it is protected from unauthorized handling or tampering.
- Enhance Privacy: Disconnecting your Trezor device helps to maintain your privacy. When your device is connected, it may transmit certain data or information to the connected device or the internet. By disconnecting it, you can limit the exposure of personal or sensitive data, ensuring that your privacy is upheld.
By following the best practice of disconnecting your Trezor device when not in use, you can significantly reduce the potential risks associated with storing your cryptocurrencies. Implementing this simple precautionary step adds an extra layer of security to your digital assets, giving you peace of mind and a greater sense of control over your financial future.
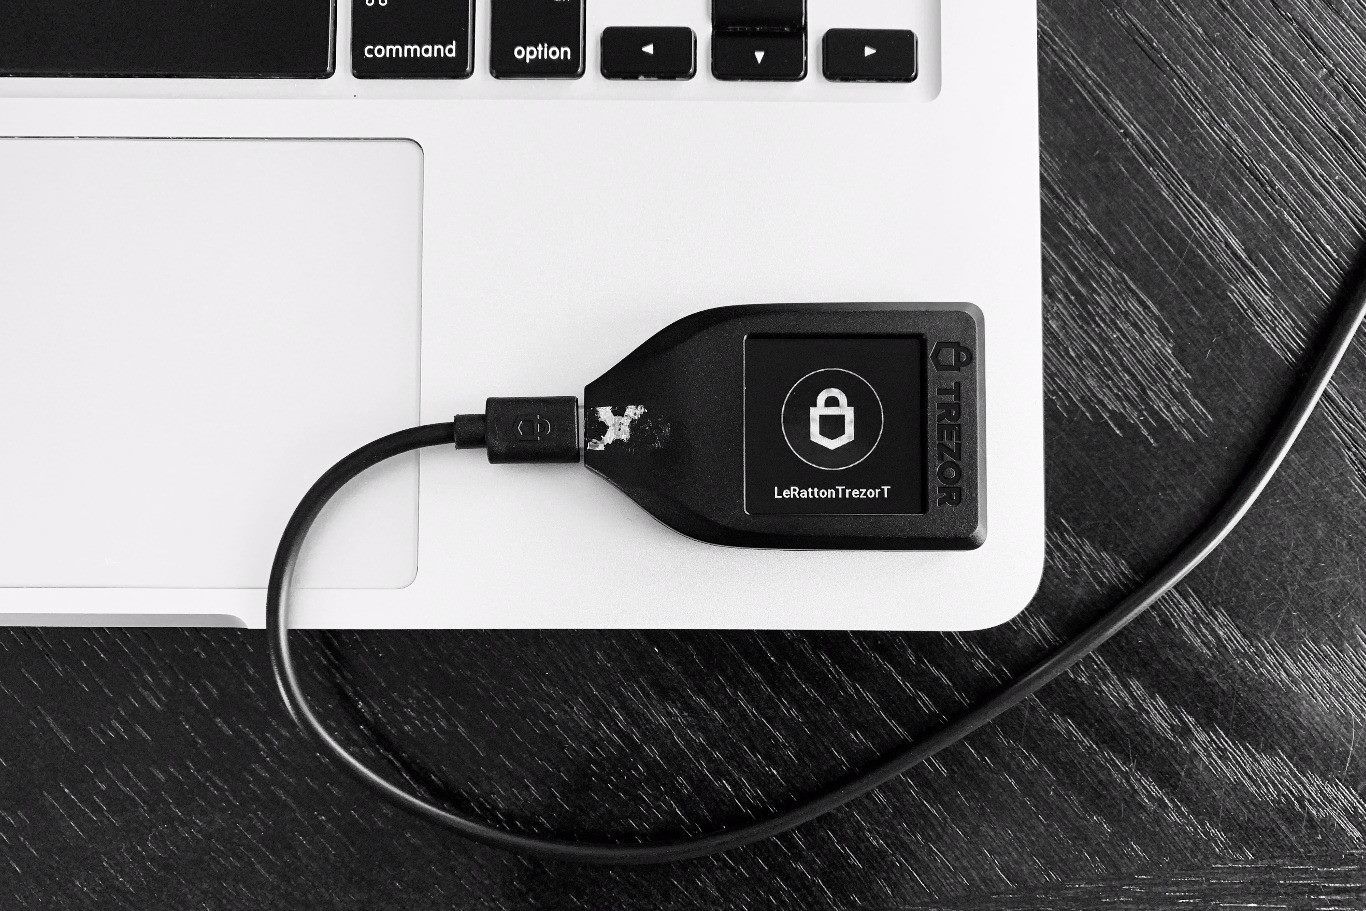
Step 1: Ensure a Stable Connection
Before disconnecting your Trezor device, it is important to ensure that you have a stable connection. Follow these steps to ensure a stable connection:
- Use a Reliable USB Cable: Use a high-quality USB cable that is specifically designed for data transfer. Avoid using damaged, worn-out, or cheap cables, as they may result in an unstable connection or even damage your Trezor device.
- Connect to a Secure Computer: Make sure you connect your Trezor device to a computer or device that is free from malware and other security threats. Verify that the computer has reliable antivirus software installed and is up to date with the latest security patches.
- Check USB Ports: Inspect the USB ports on your computer or device to ensure they are clean and free from debris. Dust or dirt can interfere with the connection and result in an unstable connection. If necessary, gently clean the USB ports using compressed air or a soft brush.
- Avoid USB Hubs: Whenever possible, connect your Trezor device directly to the USB port on your computer and avoid using USB hubs or extension cables. USB hubs may introduce additional points of failure and can lead to an unstable connection.
- Update Trezor Bridge: Ensure that you have the latest version of the Trezor Bridge software installed on your computer. The Trezor Bridge acts as a communication bridge between your Trezor device and the web applications you use to manage your cryptocurrencies.
By following these steps, you can ensure that you have a stable and secure connection between your Trezor device and your computer or device. A stable connection is essential for performing transactions, checking balances, and managing your cryptocurrencies effectively.
Step 2: Check for Firmware Updates
Regularly updating the firmware of your Trezor device is a crucial step in maintaining its security and functionality. Firmware updates often include important bug fixes, performance improvements, and security enhancements. Follow these steps to check for firmware updates:
- Visit the Trezor Website: Go to the official Trezor website and navigate to the firmware section. The website will provide you with the latest firmware version available for your specific Trezor model.
- Connect Your Trezor Device: Connect your Trezor device to your computer using a reliable USB cable. Make sure your Trezor Bridge software is up to date and running smoothly.
- Open the Trezor Wallet: Launch the Trezor Wallet on your computer and enter your PIN to unlock your device. Ensure that you are connected to a secure internet connection.
- Check for Firmware Updates: Within the Trezor Wallet, navigate to the firmware update section. The wallet will automatically check for available updates and display the latest firmware version.
- Follow the Update Instructions: If a firmware update is available, carefully follow the instructions provided by the Trezor Wallet. The process may involve confirming the update on your device and waiting for the update to complete.
It is important to note that during a firmware update, your Trezor device may display a recovery mode screen. Do not panic; this is a normal part of the update process. Follow the on-screen instructions and do not disconnect your device until the update is complete.
Regularly checking for firmware updates ensures that your Trezor device is equipped with the latest security patches and features. By keeping your device up to date, you can enhance its resilience against potential vulnerabilities and ensure the optimal performance of your Trezor device.
Step 3: Close All Connected Applications
Before disconnecting your Trezor device, it is crucial to close all connected applications to ensure the security of your cryptocurrencies and prevent any potential risks. Follow these steps to properly close all connected applications:
- Save and Exit: Before closing any applications, make sure to save your work and exit any open files or documents. This ensures that you don’t lose any unsaved data or progress.
- Verify Connectivity: Double-check that the applications connected to your Trezor device are closed on your computer or device. This includes any cryptocurrency wallets, exchanges, or other platforms that rely on your Trezor device for authentication or transaction signing.
- Log Out: If you are logged into any web-based platforms or applications that require your Trezor device for secure access, make sure to properly log out. Logging out prevents unauthorized access to your accounts and provides an additional layer of security.
- Clear Application Cache: Some applications store data or cache files on your computer. To ensure that no sensitive information remains, clear the cache or temporary files associated with the applications connected to your Trezor device.
- Disconnect Applications: If there is an option to disconnect your Trezor device from within the application itself, use that option to safely disconnect it before closing the application. This ensures that the application terminates any ongoing communication with your Trezor device.
By following these steps, you can ensure that all connected applications are properly closed and that no lingering connections remain between your Trezor device and your computer or device. Taking these precautions minimizes the risk of unauthorized access to your cryptocurrencies and protects the integrity of your accounts and data.
Step 4: Safely Eject Your Trezor Device
When you have closed all connected applications and completed your transaction or cryptocurrency management tasks, it is crucial to safely eject your Trezor device from your computer or device. Follow these steps to safely eject your Trezor device:
- Verify No Active Processes: Ensure that there are no active processes or transactions involving your Trezor device. Wait for any ongoing operations to complete before proceeding with the ejection process.
- Stop Data Transfer: If your Trezor device is currently connected to your computer for data transfer or synchronization purposes, safely stop the data transfer process by closing the associated software or application.
- Use Proper Ejection Method: On your computer, locate the device’s icon or the Trezor bridge icon on the system tray or menu bar. Right-click or click on the icon and choose the “Eject,” “Safely Remove,” or a similar option associated with your Trezor device.
- Wait for Confirmation: After initiating the ejection process, wait for your computer to confirm that it is safe to remove your Trezor device. This notification is essential to ensure that all data transfers are complete and that the device can be safely disconnected.
- Physically Disconnect: Once you receive the confirmation, gently disconnect the USB cable from your Trezor device. Avoid pulling or yanking on the cable, as this can cause damage to the USB port or the device itself.
By following these steps, you can ensure that your Trezor device is safely ejected from your computer or device, minimizing the risk of data loss or damage. Properly ejecting your device is essential for maintaining the longevity and reliability of your Trezor device.
Step 5: Power Off Your Trezor Device
After safely ejecting your Trezor device from your computer or device, it is important to power off the device to ensure optimal security. Follow these steps to power off your Trezor device:
- Verify Disconnection: Ensure that your Trezor device is no longer connected to your computer or device, as indicated by the absence of a physical connection and any associated software or applications.
- Check Device Screen: On the display of your Trezor device, navigate to the main menu or home screen. Take a moment to review the information displayed on the screen, ensuring that there are no ongoing transaction processes or abnormal messages present.
- Hold Power Button: Locate the power button on your Trezor device. Press and hold the power button to initiate the power-off process. The device’s screen should indicate that it is shutting down.
- Wait for Power-Off: Allow your Trezor device sufficient time to complete the power-off process. This typically takes a few seconds. Avoid interrupting the process by pressing any buttons or disconnecting the device prematurely.
- Verify Power-Off: Once the device’s screen has gone blank or displays a “Power Off” message, you can be confident that your Trezor device is powered off and no longer active.
By following these steps and ensuring that your Trezor device is powered off, you eliminate any potential risks associated with leaving it active and reduce the chances of unauthorized access to your digital assets. Powering off your device when not in use enhances the overall security of your Trezor device and helps protect your cryptocurrencies.
Step 6: Physically Disconnect Your Trezor Device
After ensuring that your Trezor device is powered off, it is important to physically disconnect it from any cables or devices to maintain its security and protect it from potential risks. Follow these steps to properly disconnect your Trezor device:
- Verify Power Indicator: Before disconnecting your Trezor device, double-check that the device’s power indicator is off. This indicator confirms that the device is no longer receiving power and is safe to disconnect.
- Gently Remove USB Cable: Locate the USB cable that is connected to your Trezor device. Grip the connector firmly but gently, and pull it straight out of the USB port, ensuring that you do not bend or damage the connector.
- Inspect USB Port: Take a moment to inspect the USB port on your Trezor device. Ensure that there is no debris, dust, or foreign objects that may have accumulated within the port. Cleaning the port with compressed air or a soft brush can help maintain a clean and reliable connection for future use.
- Keep Cables Organized: Once disconnected, neatly coil the USB cable and any other associated cables or accessories. This helps prevent tangling and ensures that your Trezor device and cables are ready for future use.
- Store Your Trezor Device Securely: After disconnecting your device, store it in a secure place, such as a safe or a locked drawer. Keeping your Trezor device away from potential risks, such as extreme temperatures, water, or physical damage, is essential to maintain its longevity and security.
By following these steps to physically disconnect your Trezor device, you ensure that it remains protected from potential risks and maintain its integrity. Properly disconnecting and storing your device contribute to the overall security of your cryptocurrencies and provide you with peace of mind.
Step 7: Store Your Trezor Device Safely
The security of your Trezor device extends beyond disconnecting and powering it off. Storing your device safely when not in use is crucial to ensure its protection and preserve the integrity of your cryptocurrencies. Follow these steps to store your Trezor device securely:
- Choose an Appropriate Storage Solution: Select a storage solution that provides physical protection and minimizes the risk of damage or loss. Options include a dedicated hardware wallet case, a tamper-proof bag, or a locked container.
- Avoid Obvious Locations: Avoid storing your Trezor device in obvious or easily accessible locations, such as a desk drawer or a visible area. Opt for a secure and discreet location that is not easily identifiable by others.
- Consider Additional Security Measures: Depending on your circumstances, you may want to consider using additional security measures, such as a safe deposit box or a home safe, to provide an extra layer of protection for your Trezor device.
- Keep Track of Accessories: Take note of any additional accessories that come with your Trezor device, such as recovery cards or backup cables. Store these securely alongside your Trezor device to ensure everything is readily available when needed.
- Create and Store Backup Seeds: As an extra precaution, it is highly recommended to create and securely store backup seeds or recovery phrases in a separate location. The recovery seed is crucial in case your Trezor device is lost, stolen, or damaged.
By following these steps, you can ensure that your Trezor device is safely stored and protected when not in use. Mitigating the risk of physical damage or unauthorized access is essential for safeguarding the security and integrity of your cryptocurrencies. Remember to access and handle your Trezor device responsibly and keep it secure at all times.
Step 8: Verifying Disconnection
After following the previous steps to disconnect and store your Trezor device safely, it is essential to verify that the disconnection process was successful. This step ensures that your Trezor device is no longer connected to any unauthorized or potentially compromised devices. Here’s how you can verify the disconnection:
- Check Indicator Lights: Inspect the Trezor device for any indicator lights or activity. If the device is completely powered off and disconnected, there should be no signs of power or connectivity, such as LED lights being lit or blinking.
- Check Device Screen: Power on your Trezor device and review the information displayed on the screen. Ensure that there are no unexpected messages or prompts indicating a connection to another device or software.
- Reconnect Test: If you want to be extra cautious, you can perform a quick test by reconnecting your Trezor device to your computer. Observe if any connected applications or software are able to detect or interact with your device. If there is no connection or recognition, it implies a successful disconnection.
- Confirm Transactions: If you have made any recent transactions, verify that they were successfully completed and reflect the correct balances on your blockchain wallets or exchanges. This ensures that no unauthorized actions were taken and that your Trezor device is properly disconnected.
By following these verification steps, you can be confident that your Trezor device is securely disconnected and not vulnerable to any potential risks or unauthorized access. Taking the time to verify the disconnection adds an extra layer of security and peace of mind to your cryptocurrency storage and management.