
Overview
The Philips Hue app is a versatile and user-friendly tool that allows you to control your smart lighting from your Android device. It provides you with the ability to easily manage all your Philips Hue accessories, including bulbs, lamps, and switches.
At times, you may find yourself wanting to remove or delete an accessory from the Philips Hue app. This could be because you no longer have that specific accessory or because you want to reconfigure your setup. Whatever the reason, the process of deleting an accessory is quick and straightforward.
In this guide, we will walk you through the step-by-step process of deleting an accessory on the Philips Hue app for Android. By following these instructions, you can easily remove any unwanted accessories and ensure that your setup is tailored to your preferences.
Before we get started, make sure you have the latest version of the Philips Hue app installed on your Android device. This ensures that you have access to all the necessary features and updates required for deleting accessories.
Now, let’s dive into the simple steps you need to follow to delete an accessory on the Philips Hue app.
Step 1. Open the Philips Hue App
To begin the process of deleting an accessory on the Philips Hue app, you first need to open the app on your Android device. Locate the Philips Hue app icon on your home screen or app drawer and tap on it to launch the app.
Once the app is open, you will be greeted with the home screen of the Philips Hue app, which displays an overview of your connected accessories and lighting setups. Take a moment to familiarize yourself with the app’s interface, as it will be your main hub for managing your Philips Hue devices.
If this is your first time using the app, you may be prompted to sign in with your Philips Hue account or create a new one. Follow the on-screen instructions to log in or set up an account.
Once you are logged in, you will be taken to the main screen of the app, where you can access various settings and functionalities.
The Philips Hue app provides a user-friendly and intuitive interface, making it easy to navigate and find the options you need. The app’s design is visually appealing, with a sleek and modern look that enhances the user experience.
Now that you have successfully opened the Philips Hue app, you are ready to proceed to the next step and access the settings page, where you can delete the desired accessory.
Step 2. Go to the Settings Page
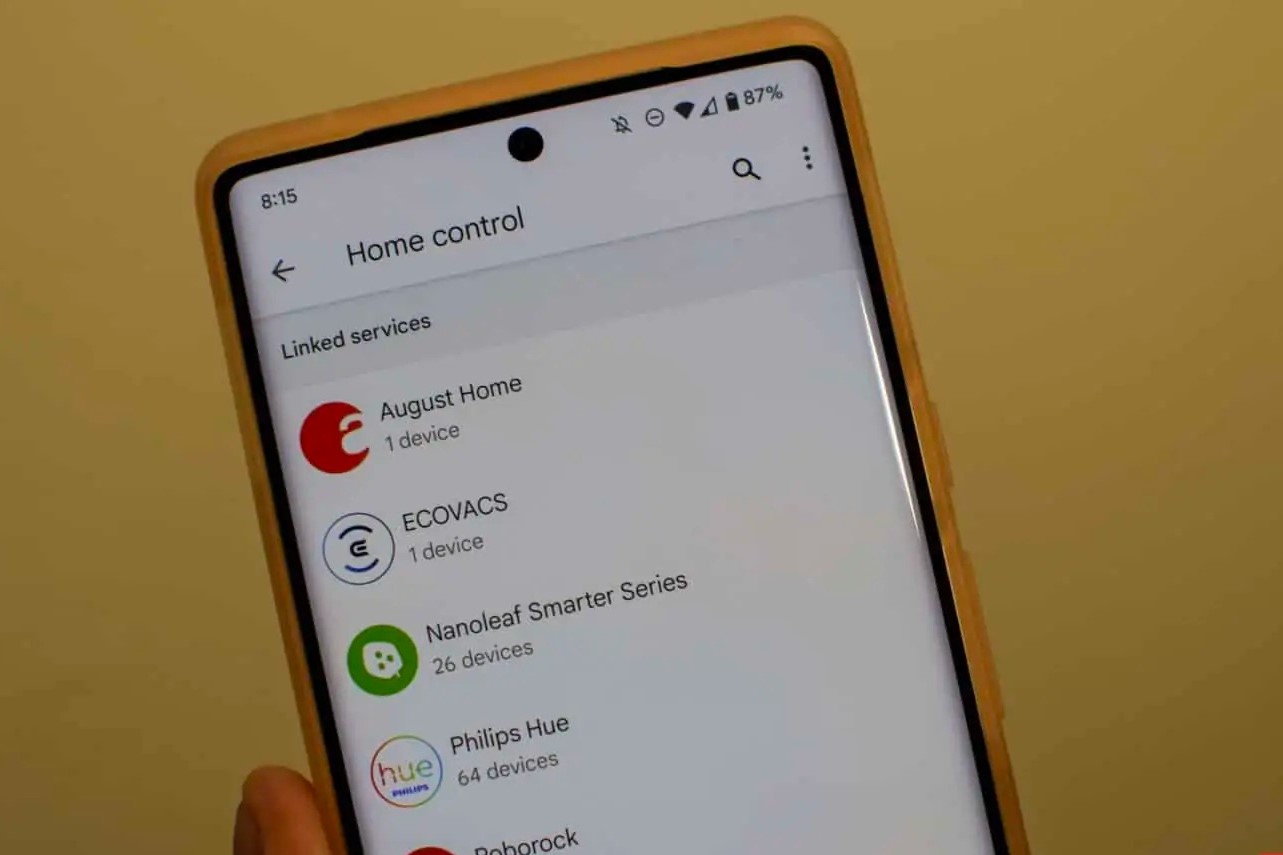
Once you have opened the Philips Hue app on your Android device, the next step is to navigate to the settings page. The settings page is where you can access various configuration options and manage your Philips Hue accessories.
To go to the settings page, look for the menu icon in the top left corner of the app interface. It is usually represented by three horizontal lines. Tap on this icon to open the menu.
Once the menu is open, you will see a list of options. Scroll through the menu until you find the “Settings” option and tap on it.
This will take you to the settings page, where you can customize and control various aspects of your Philips Hue setup. The settings page provides you with a comprehensive set of options to manage your accessories, adjust lighting preferences, and configure advanced settings.
Take a moment to explore the settings page and familiarize yourself with the different sections and options available. Here, you can customize your lighting scenes, create schedules, set up rooms, and much more.
On the settings page, you will also find options related to managing your accessories. This is where you will be able to delete the accessory you no longer want to have in your Philips Hue app.
Now that you have successfully reached the settings page, let’s move on to the next step and select the “Accessory Setup” option, which will allow you to delete the desired accessory.
Step 3. Select “Accessory Setup”
Once you have arrived at the settings page of the Philips Hue app, it’s time to select the “Accessory Setup” option. This option will allow you to manage and configure your Philips Hue accessories, including the ability to delete specific accessories.
To access the “Accessory Setup” page, navigate through the settings menu until you find the option labeled “Accessory Setup.” This option might be located under a sub-menu or within a specific category, depending on the version of the app you are using.
Once you have located the “Accessory Setup” option, tap on it to proceed.
By choosing this option, you will be taken to the “Accessory Setup” page, where you can view all the connected accessories registered with your Philips Hue app. This page provides a detailed overview of the accessories, including their names and current configurations.
On the “Accessory Setup” page, you will also find options to add new accessories, configure existing ones, and manage their settings. However, for the purpose of this guide, we will focus on deleting an accessory from the app.
Scroll through the list of accessories until you find the one you wish to delete. Take your time to ensure that you select the correct accessory, as deleting an accessory will remove it permanently from the Philips Hue app.
Now that you have successfully accessed the “Accessory Setup” page and located the desired accessory, let’s move on to the next step and proceed with deleting it.
Step 4. Choose the Accessory to Delete
Now that you have reached the “Accessory Setup” page in the Philips Hue app, it’s time to choose the specific accessory that you want to delete. Take a moment to review the list of accessories displayed on the screen, and select the one you wish to remove.
To select the accessory for deletion, simply tap on its name or icon. This will open the accessory’s settings and configuration page, where you can make further adjustments or proceed with the deletion process.
Before deleting the accessory, double-check that you have selected the correct one. It’s essential to ensure that you do not accidentally delete an accessory that you still want to have in your Philips Hue app.
On the accessory’s settings page, you may find specific information about the accessory, such as its name, location, and current configuration settings. This page also provides options for further customization and management, including deleting the accessory.
Take a moment to review the accessory’s settings and verify that you are indeed deleting the correct one. If everything looks correct, proceed to the next step to initiate the deletion process.
By choosing the accessory you want to delete, you are one step closer to removing it from your Philips Hue app. In the next step, we will guide you through the process of tapping on the “Remove Accessory” option to initiate the deletion.
Step 5. Tap on “Remove Accessory”
Once you have selected the accessory you want to delete on the settings page, it’s time to initiate the deletion process by tapping on the “Remove Accessory” option. This option allows you to permanently remove the selected accessory from your Philips Hue app.
To access the “Remove Accessory” option, navigate through the settings and configuration page of the chosen accessory. Look for the option specifically labeled as “Remove Accessory” or something similar.
Once you have found the “Remove Accessory” option, tap on it to proceed with the deletion process. By selecting this option, you are confirming your intention to delete the selected accessory from your Philips Hue app.
Depending on the version of the Philips Hue app and the specific accessory you are deleting, you may be presented with a confirmation message or prompt. This message will typically ask you to confirm your decision before proceeding with the deletion process.
Take a moment to review the confirmation message and ensure that you want to proceed with deleting the accessory. Once you are confident in your decision, click on the “Confirm” or “Remove” button to finalize the deletion.
After tapping on the “Remove Accessory” option and confirming your decision, the Philips Hue app will begin the process of deleting the chosen accessory. This process may take a few moments, depending on the number of accessories you have connected to the app.
Once the deletion process is complete, you will receive a notification or confirmation message indicating that the accessory has been successfully removed from your Philips Hue app.
Congratulations! You have successfully tapped on the “Remove Accessory” option, initiating the deletion process for the selected accessory. In the next step, we will guide you through confirming the deletion and ensuring the accessory has been removed.
Step 6. Confirm Deletion
After tapping on the “Remove Accessory” option, the Philips Hue app will prompt you to confirm the deletion of the chosen accessory. Confirming the deletion is an important step to ensure that you are intentionally removing the accessory from your Philips Hue app.
When prompted to confirm the deletion, carefully review the information presented on the screen. Ensure that you have selected the correct accessory and that you no longer need it connected to your Philips Hue app.
If you are certain about deleting the accessory, proceed by confirming the deletion. This is typically done by tapping on the “Confirm,” “OK,” or “Delete” button.
By confirming the deletion, you are giving your final approval for the accessory to be permanently removed from your Philips Hue app. Once the confirmation is received, the Philips Hue app will initiate the deletion process and remove the chosen accessory from your list of connected devices.
During the deletion process, the Philips Hue app may display a loading or progress indicator to indicate that the removal is underway. Depending on the number of accessories you have in your app and the app’s performance, this process may take a few moments to complete.
Once the deletion process is finished, the app will notify you with a confirmation message stating that the accessory has been successfully deleted. At this point, you can be assured that the chosen accessory is no longer linked to your Philips Hue app.
It’s important to note that deleting an accessory will remove it from the app’s list and revoke any control or customization capabilities associated with it. If you decide to reconnect the accessory in the future, you will need to follow the appropriate setup instructions to add it back to your Philips Hue app.
With the confirmation of the deletion and successful removal of the accessory, you have completed the sixth step. In the final step of this guide, we will confirm that the accessory has been deleted and celebrate your accomplishment.
Step 7. Accessory Deleted Successfully
Congratulations! You have successfully completed the process of deleting an accessory from the Philips Hue app on your Android device. The chosen accessory has been successfully removed and is no longer associated with your Philips Hue setup.
Upon the successful deletion of the accessory, the Philips Hue app will display a confirmation message indicating that the removal process has been completed. This message serves as validation that the selected accessory has been effectively deleted from your app.
Now that the accessory has been deleted, it will no longer appear in the list of connected devices within the Philips Hue app. This helps to declutter your app’s interface and ensures that only relevant accessories are displayed.
From this point forward, you can continue to enjoy seamless control over your remaining Philips Hue accessories through the app. You can customize lighting scenes, manage color preferences, set up automation, and much more.
If you ever decide to reconfigure or add new accessories to your Philips Hue app, you can follow the appropriate setup instructions provided by Philips Hue. This will allow you to expand or adjust your smart lighting system to suit your changing needs and preferences.
Remember, the Philips Hue app is a powerful tool that offers a wide range of features and functionalities to enhance your smart lighting experience. By managing your accessories effectively, you can create the perfect ambiance for any occasion and effortlessly control your lighting environment.
Thank you for following this step-by-step guide on how to delete an accessory on the Philips Hue app for Android. We hope that this information has been helpful and that you have successfully accomplished your goal.
Should you have any further questions or need additional assistance, don’t hesitate to consult the Philips Hue app’s support resources or reach out to the Philips Hue customer service team for guidance.
Enjoy your Philips Hue smart lighting setup, and happy controlling!