
Installing the Scanner Driver
Installing the scanner driver is the first step to connect your Zebra scanner to your computer. Follow these steps to ensure a successful installation:
- Begin by locating the driver installation file. This file is typically provided by the manufacturer and can be found on the CD that came with your scanner or downloaded from the manufacturer’s website.
- Once you have the driver installation file, double-click on it to start the installation process. Follow the on-screen prompts to complete the installation.
- During the installation, you may be asked to choose the installation directory. It is recommended to select the default directory, but you can choose a different location if desired.
- After the installation is complete, restart your computer to ensure that the driver is correctly installed and ready to use.
- Once your computer has restarted, connect the Zebra scanner to your computer using the appropriate USB cable. The driver will automatically detect the scanner and establish the connection.
It is important to note that some scanners may require additional steps for installation, such as configuring scanner settings or installing additional software. Consult the scanner’s user manual or the manufacturer’s website for specific instructions.
By following these steps, you should be able to successfully install the scanner driver and establish a connection between your Zebra scanner and your computer. Once the driver is installed, you can proceed to configure the scanner settings to meet your specific needs.
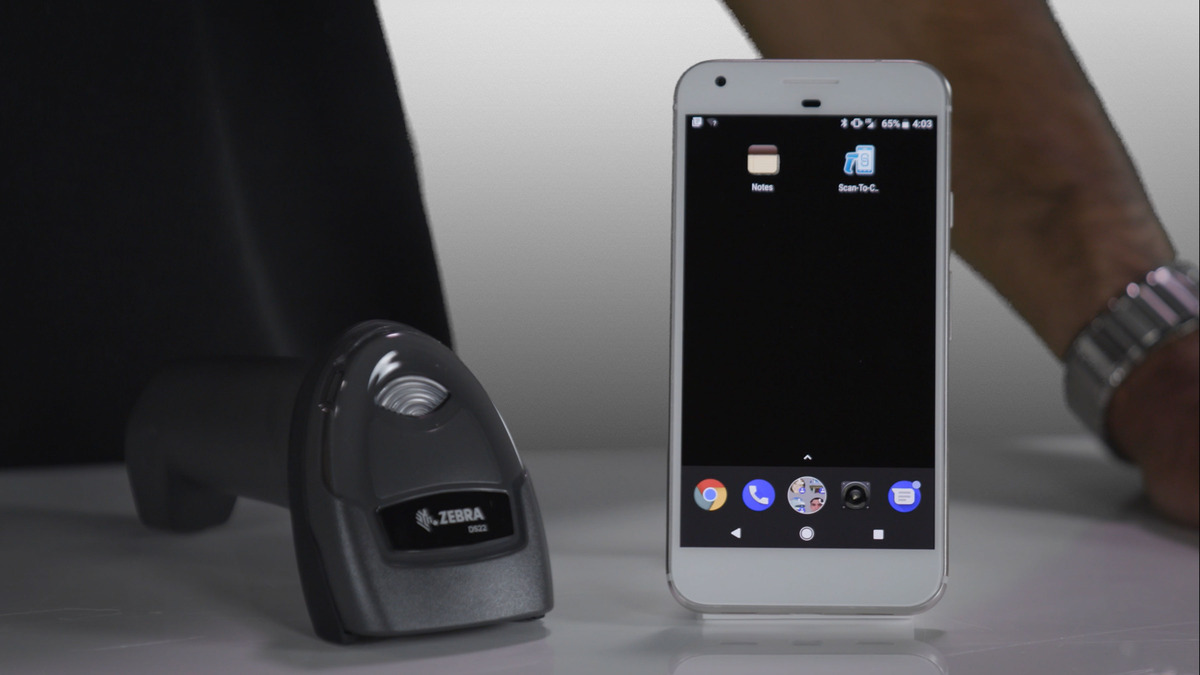
Connecting the Scanner to the Computer
To connect your Zebra scanner to your computer, follow these steps:
- Before connecting the scanner, ensure that your computer is powered on and the scanner is in close proximity.
- Locate the USB port on your computer and the corresponding port on the scanner. The USB port on the scanner is typically located on the bottom or back of the device.
- Insert one end of the USB cable into the USB port on the scanner and the other end into an available USB port on your computer.
- Once the cable is securely connected, your computer should recognize the new device and automatically install any necessary drivers.
- Wait for the installation process to complete. You may see a notification or pop-up message confirming the successful connection of the scanner.
It is important to use a high-quality USB cable to ensure a stable and reliable connection. If you encounter any issues during the connection process, try using a different USB port on your computer or a different USB cable if available.
After successfully connecting the scanner to your computer, you can proceed to configure the scanner settings and test its functionality. Refer to the scanner’s user manual or the manufacturer’s website for detailed instructions on configuring and using the scanner with different applications.
With the scanner connected, you are now ready to take advantage of its capabilities and streamline your scanning tasks. Whether you are using the scanner for retail, inventory management, or other purposes, a properly connected scanner can greatly enhance your efficiency and accuracy.
Configuring the Scanner Settings
After connecting your Zebra scanner to your computer, it’s important to configure the scanner settings to optimize its performance for your specific needs. Follow these steps to configure the scanner settings:
- Launch the scanner configuration utility or software that came with your scanner. This utility allows you to customize various settings, such as scanning mode, barcode types, and data formatting.
- Explore the settings available in the configuration utility. Depending on the scanner model, you may have options to adjust the scan beam intensity, scanning distance, and sound notifications.
- Customize the scanning mode to suit your requirements. Some scanners offer multiple scanning modes, such as continuous or trigger-activated scanning. Choose the mode that best fits your workflow.
- Configure the supported barcode types. Depending on your application, you may need to enable or disable specific barcode types to ensure accurate scanning.
- Adjust the data formatting settings. This allows you to determine how the scanned data is formatted and transmitted to your computer or application. Options may include adding a prefix or suffix to the scanned data, removing leading or trailing characters, or inserting special characters.
Take the time to test the configured settings by scanning various barcodes and verifying that the scanned data is correctly formatted and transmitted. This will ensure that the scanner is functioning properly and meeting your specific requirements.
It’s worth noting that certain scanners may require firmware updates to access advanced settings or features. Check the manufacturer’s website for any available firmware updates and follow the provided instructions to keep your scanner up-to-date.
By configuring the scanner settings according to your needs, you can optimize its performance and maximize its efficiency. With the scanner now customized to your requirements, you are ready to put it to use and streamline your scanning operations.
Testing the Scanner
Once you have installed the scanner driver, connected the scanner to your computer, and configured the settings, it’s crucial to test the scanner to ensure its functionality. Testing the scanner will help you verify that it is scanning properly and accurately capturing data. Follow these steps to test the scanner:
- Open a text editor or any application that accepts keyboard input on your computer.
- Position the scanner in front of a barcode that you wish to scan.
- Ensure that the scanner is in the appropriate scanning mode (e.g., continuous or trigger-activated) as configured in the previous section.
- Aim the scanner at the barcode and press the scan trigger or button to initiate the scanning process.
- Once the scan is complete, check the text editor or application to verify that the scanned data is accurately displayed. Pay attention to any formatting or special characters that were configured in the scanner settings.
- Repeat the process for different barcodes to ensure that the scanner can read various types of barcodes accurately.
If the scanner is not scanning properly, double-check the scanner settings and make sure that the barcode is positioned correctly within the scanner’s reading range.
If you are still experiencing issues, consult the scanner’s user manual or the manufacturer’s website for troubleshooting steps and support.
Testing the scanner is crucial to ensure that it is functioning correctly and meeting your scanning needs. By verifying its accuracy and performance, you can confidently use the scanner for your specific applications and tasks.
Troubleshooting Common Connection Issues
While connecting a Zebra scanner to your computer is usually a straightforward process, there may be instances where you encounter connection issues. Here are some troubleshooting steps to help resolve common connection problems:
- Check the USB cable: Ensure that the USB cable is securely connected to both the scanner and your computer. Try using a different USB cable to see if the issue persists.
- Try different USB ports: Plug the USB cable into different USB ports on your computer to determine if the problem lies with a specific port. This can rule out any potential port-related issues.
- Restart your computer and scanner: Sometimes, a simple restart can fix connection problems. Try restarting both your computer and the scanner to see if it resolves the issue.
- Update the driver: Visit the manufacturer’s website and check for any available driver updates for your Zebra scanner. Download and install the latest driver to ensure compatibility and resolve potential connection problems.
- Check compatibility: Verify that your scanner is compatible with your operating system. Some scanners may not be supported on certain versions of Windows, macOS, or Linux.
If you have followed these troubleshooting steps and are still unable to establish a connection, it may be necessary to contact the manufacturer’s support for further assistance. They can provide specific guidance and help resolve any underlying issues with the scanner or the computer.
Remember, maintaining a stable and reliable connection between your Zebra scanner and computer is crucial to ensure efficient and accurate scanning operations. By following these troubleshooting steps, you can quickly identify and address common connection issues, allowing you to resume your scanning tasks without interruptions.
Updating the Scanner Firmware
Keeping your Zebra scanner firmware up-to-date is essential to ensure optimal performance and compatibility with the latest software applications. Firmware updates often include bug fixes, performance enhancements, and new features. Follow these steps to update the firmware of your Zebra scanner:
- Visit the Zebra Technologies website or the manufacturer’s support page to check for available firmware updates for your specific scanner model. Locate and download the firmware update file to your computer.
- Connect your Zebra scanner to your computer using the appropriate USB cable, ensuring a stable and secure connection.
- Ensure that your scanner is powered on and ready for the firmware update process.
- Launch the firmware update tool/application provided by Zebra Technologies or the scanner manufacturer. This tool will guide you through the firmware update process.
- Follow the on-screen instructions to select the downloaded firmware update file and initiate the update process. Be patient and avoid interrupting the update process to prevent any potential damage to the scanner.
- Once the firmware update is complete, you may need to restart the scanner or follow any additional instructions provided by the firmware update tool.
- Verify the successful update by checking the scanner’s display or the firmware version information in the scanner settings.
It’s important to note that firmware updates may vary between different scanner models and manufacturers. Always refer to the specific instructions provided by Zebra Technologies or the scanner manufacturer to ensure a smooth and successful firmware update process.
By regularly updating the scanner firmware, you can take advantage of performance improvements, bug fixes, and new features, ensuring your scanner operates at its best and remains compatible with the latest software applications.
Using the Scanner with Different Applications
Your Zebra scanner can be used with various applications across different industries and workflows. Whether you’re using it for retail, inventory management, healthcare, or any other purpose, here are some general guidelines to help you effectively utilize the scanner with different applications:
- Ensure application compatibility: Verify that the application you intend to use with the scanner supports barcode scanning and is compatible with your scanner model. Check the application’s documentation or contact the software provider for specific instructions.
- Configure the scanner for the application: Depending on the application requirements, you may need to customize the scanner settings. This can include selecting the appropriate barcode types, enabling specific data formatting options, or setting scanner-specific parameters.
- Integration options: Many applications offer integration options to seamlessly incorporate barcode scanning. Explore the documentation or settings of the application to learn how to enable this integration. This could involve using barcode scanner input fields or leveraging interface components provided by the application itself.
- Test and validate scanning functionality: Before fully deploying the scanner within the application, conduct thorough testing to ensure the scanner can accurately capture and transmit data to the application. Verify that scanned data appears correctly in the respective fields or screens and matches the expected format.
- Training and familiarity: Train users who will be using the scanner with the specific application. Familiarize them with any customized settings, workflow processes, or specific features of the application to ensure smooth and efficient scanning operations.
It’s essential to note that different applications may have specific requirements or integration methods for barcode scanning. Always refer to the application’s documentation or consult with the software provider for precise guidance on utilizing the scanner effectively.
By properly configuring the scanner and integrating it with different applications, you can streamline processes, improve data accuracy, and enhance operational efficiency across various industries and workflows.