
Reasons to Uninstall Trend Micro Internet Security
Trend Micro Internet Security is a popular antivirus program that offers protection against various online threats. However, there are several reasons why you might consider uninstalling it and opting for an alternative security solution. Here are a few key reasons to consider:
- Incompatibility with other software: Trend Micro Internet Security may conflict with certain software applications, causing system instability or performance issues. If you are experiencing compatibility problems with other programs on your computer, uninstalling Trend Micro can potentially resolve these issues.
- Resource-intensive: Internet Security software is known to consume significant system resources. If you have an older or less powerful computer, you may notice a decrease in performance when using Trend Micro. Uninstalling it can free up valuable system resources and improve overall system performance.
- Unwanted alerts and notifications: Some users find the constant notifications and alerts from Trend Micro to be intrusive and disruptive. While these notifications serve as reminders for system updates and potential threats, they can be bothersome, especially if you want a more streamlined and seamless user experience.
- Complexity and difficulty: Trend Micro Internet Security has advanced features and settings, which can be overwhelming for less tech-savvy users. If you find the software confusing to navigate or configure, it may be more convenient to switch to a security solution with a simpler interface and user-friendly options.
- Subscription cost: Trend Micro Internet Security is a paid antivirus program, and the subscription needs to be renewed annually. If you are looking for a free or more affordable alternative, uninstalling Trend Micro can help you explore other cost-effective security options without compromising on protection.
While Trend Micro Internet Security offers comprehensive protection against online threats, it is important to evaluate whether it aligns with your specific needs and preferences. If any of the above reasons resonate with you, you may want to consider uninstalling Trend Micro and exploring other antivirus solutions that better suit your requirements.
Step 1: Disable Real-time Scan and Other Trend Micro Features
Before proceeding with uninstalling Trend Micro Internet Security, it is important to disable the real-time scan and other features to ensure a smooth and error-free process. Here is a step-by-step guide to help you disable these features:
- Open Trend Micro Internet Security: Locate the Trend Micro icon in your system tray or on your desktop and double-click to open the program.
- Navigate to the settings: Once the program is open, look for the settings or preferences option within the interface. This can usually be found in the upper-right corner of the program window or in the main menu.
- Select real-time scan: Within the settings or preferences menu, locate the real-time scan option. This feature continuously monitors your system for potential threats. Disable this feature by unchecking the appropriate box or by selecting the “off” option.
- Disable other Trend Micro features: Depending on the version of Trend Micro Internet Security you have installed, there may be additional features that need to be disabled before uninstalling the program. These features can include web filtering, firewall protection, and email scanning. Look for these options within the settings or preferences menu and disable them accordingly.
- Save and exit settings: After disabling the real-time scan and other features, navigate to the bottom of the settings or preferences menu and select the “Save” or “Apply” button. This will ensure that the changes are applied and saved.
- Restart your computer: To ensure that the changes take effect, it is recommended to restart your computer after disabling the Trend Micro features. This will prevent any conflicts or interruptions during the uninstallation process.
By following the above steps, you can effectively disable the real-time scan and other Trend Micro features, preparing your system for a successful uninstallation. It is important to note that these steps may vary slightly depending on the version of Trend Micro Internet Security you have installed. Always refer to the program’s documentation or online resources for specific instructions related to your version.
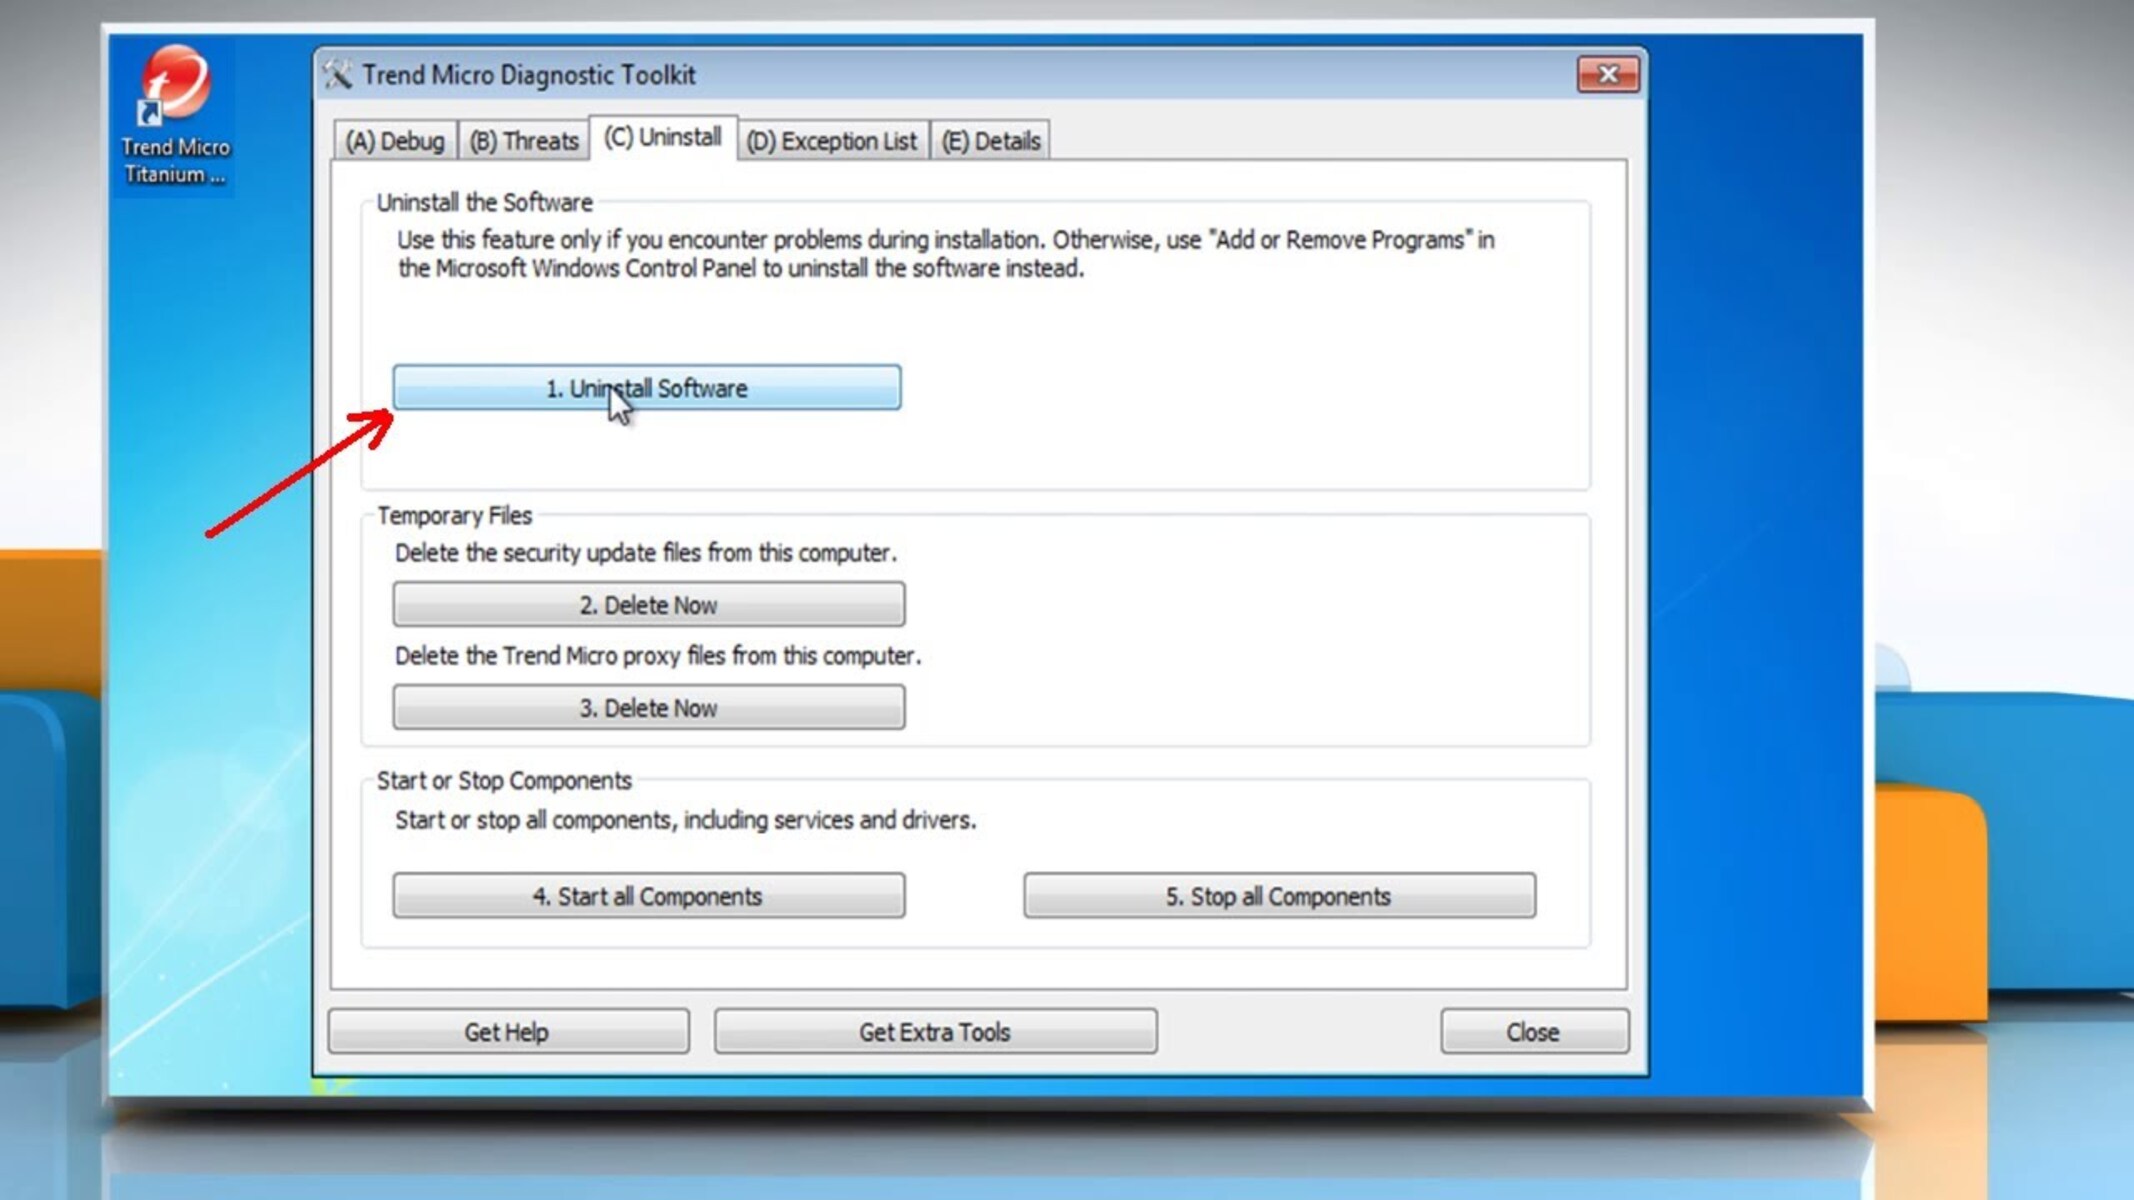
Step 2: Uninstall Trend Micro Internet Security through Programs and Features
Once you have disabled the real-time scan and other features of Trend Micro Internet Security, you can proceed with uninstalling the program. Follow these steps to uninstall Trend Micro through the Programs and Features utility:
- Open the Control Panel: Click on the “Start” menu and search for “Control Panel”. Open the Control Panel from the search results.
- Select Programs and Features: In the Control Panel, navigate to the “Programs” or “Programs and Features” section. This will display a list of all the programs installed on your computer.
- Locate Trend Micro Internet Security: Scroll through the list of installed programs and locate “Trend Micro Internet Security”. Alternatively, you can use the search bar within the Programs and Features window to locate the program more quickly.
- Uninstall Trend Micro: Once you have located Trend Micro Internet Security, right-click on it and select “Uninstall” or “Uninstall/Change” from the context menu. Follow the on-screen prompts to proceed with the uninstallation process.
- Complete the uninstallation: Wait for the uninstallation process to complete. This may take a few minutes, depending on the size of the program. Once the process is finished, you may be prompted to restart your computer. Follow the instructions provided.
By following these steps, you can successfully uninstall Trend Micro Internet Security through the Programs and Features utility. It is important to note that the steps may slightly vary depending on your operating system. If you encounter any issues during the uninstallation process, refer to the program’s documentation or online resources for further assistance.
Step 3: Remove Remaining Files and Folders
After uninstalling Trend Micro Internet Security through the Programs and Features utility, there may still be some remaining files and folders associated with the program. To ensure a thorough cleanup, follow these steps to remove any residual files:
- Open File Explorer: Right-click on the “Start” menu and select “File Explorer” from the context menu. Alternatively, you can press the Windows key + E on your keyboard to open File Explorer.
- Navigate to the installation directory: In File Explorer, navigate to the directory where Trend Micro Internet Security was installed. The default installation directory is typically located in the “Program Files” or “Program Files (x86)” folder on your system drive (usually C:). Look for a folder named “Trend Micro” or “TrendMicro”.
- Delete the Trend Micro folder: Once you have located the Trend Micro folder, right-click on it and select “Delete” from the context menu. Confirm the deletion by clicking “Yes” when prompted. This will remove the main program files and folders associated with Trend Micro Internet Security.
- Empty the Recycle Bin: After deleting the Trend Micro folder, open the Recycle Bin icon on your desktop or in the File Explorer. Select “Empty Recycle Bin” to permanently delete the contents of the Recycle Bin, including the files and folders related to Trend Micro.
It is important to note that manually deleting files and folders can be risky, as it may accidentally remove files needed by other programs. Therefore, exercise caution and ensure that you are only deleting the appropriate files related to Trend Micro Internet Security.
By following these steps, you can remove any remaining files and folders associated with Trend Micro Internet Security. This will help ensure a thorough uninstallation of the program and clear up any unnecessary disk space on your computer.
Step 4: Remove Registry Entries
When you uninstall Trend Micro Internet Security, there may still be registry entries left behind in your system registry. To complete the uninstallation process, it is important to remove these entries. Follow these steps to remove the registry entries related to Trend Micro:
- Open the Registry Editor: Press the Windows key + R on your keyboard to open the Run dialog box. Type “regedit” in the dialog box and click “OK”. This will open the Registry Editor.
- Backup your registry: Before making any changes to the registry, it is recommended to create a backup. To do this, click on “File” in the Registry Editor menu and select “Export”. Choose a location to save the backup file and enter a name for it. Click “Save” to create the backup.
- Navigate to the Trend Micro registry entries: In the Registry Editor, navigate to the following locations by expanding the folders in the left pane:
HKEY_CURRENT_USER\Software\TrendMicroHKEY_LOCAL_MACHINE\SOFTWARE\TrendMicroHKEY_LOCAL_MACHINE\SOFTWARE\Wow6432Node\TrendMicro(only for 64-bit systems)
- Delete the Trend Micro registry entries: Once you have located the Trend Micro registry entries, right-click on each of them and select “Delete” from the context menu. Confirm the deletion by clicking “Yes” when prompted. Repeat this step for each registry entry related to Trend Micro Internet Security.
- Close the Registry Editor: After deleting the Trend Micro registry entries, close the Registry Editor to complete the process.
It is important to note that the registry contains critical system information, and any incorrect changes or deletions can cause system instability or errors. Therefore, exercise caution when working with the registry and ensure that you are only deleting the registry entries associated with Trend Micro Internet Security.
By following these steps, you can remove the registry entries related to Trend Micro Internet Security. This will help ensure a complete uninstallation of the program, leaving your system free from any residual registry entries.
Step 5: Ensure Complete Uninstallation
After following the previous steps to uninstall Trend Micro Internet Security, it is important to take a few additional steps to ensure a complete removal of the program and its associated files. Follow these steps to ensure a thorough uninstallation:
- Restart your computer: Restarting your computer helps finalize the uninstallation process and ensures that any lingering processes or files are properly cleared from your system memory.
- Run a system scan: After restarting your computer, it is advisable to run a thorough system scan using an alternative antivirus or antimalware program. This will help detect and remove any remaining traces of Trend Micro Internet Security or any potential threats that may have gone undetected by Trend Micro.
- Clean up your system: Use a system optimization tool or disk cleanup utility to remove temporary files and other unnecessary data from your computer. This will help free up disk space and improve overall system performance.
- Install an alternative security solution: To ensure ongoing protection for your computer, consider installing an alternative antivirus or internet security program. There are many reputable options available that offer powerful protection against threats without the potential compatibility or performance issues associated with Trend Micro.
By following these additional steps, you can ensure that all remnants of Trend Micro Internet Security are removed from your computer. This will help maintain a clean and secure system and provide you with the peace of mind that your computer is protected against online threats.
Remember to always keep your security software up to date and regularly scan your system for any potential threats, as ensuring the security of your computer is crucial in today’s digital landscape.