
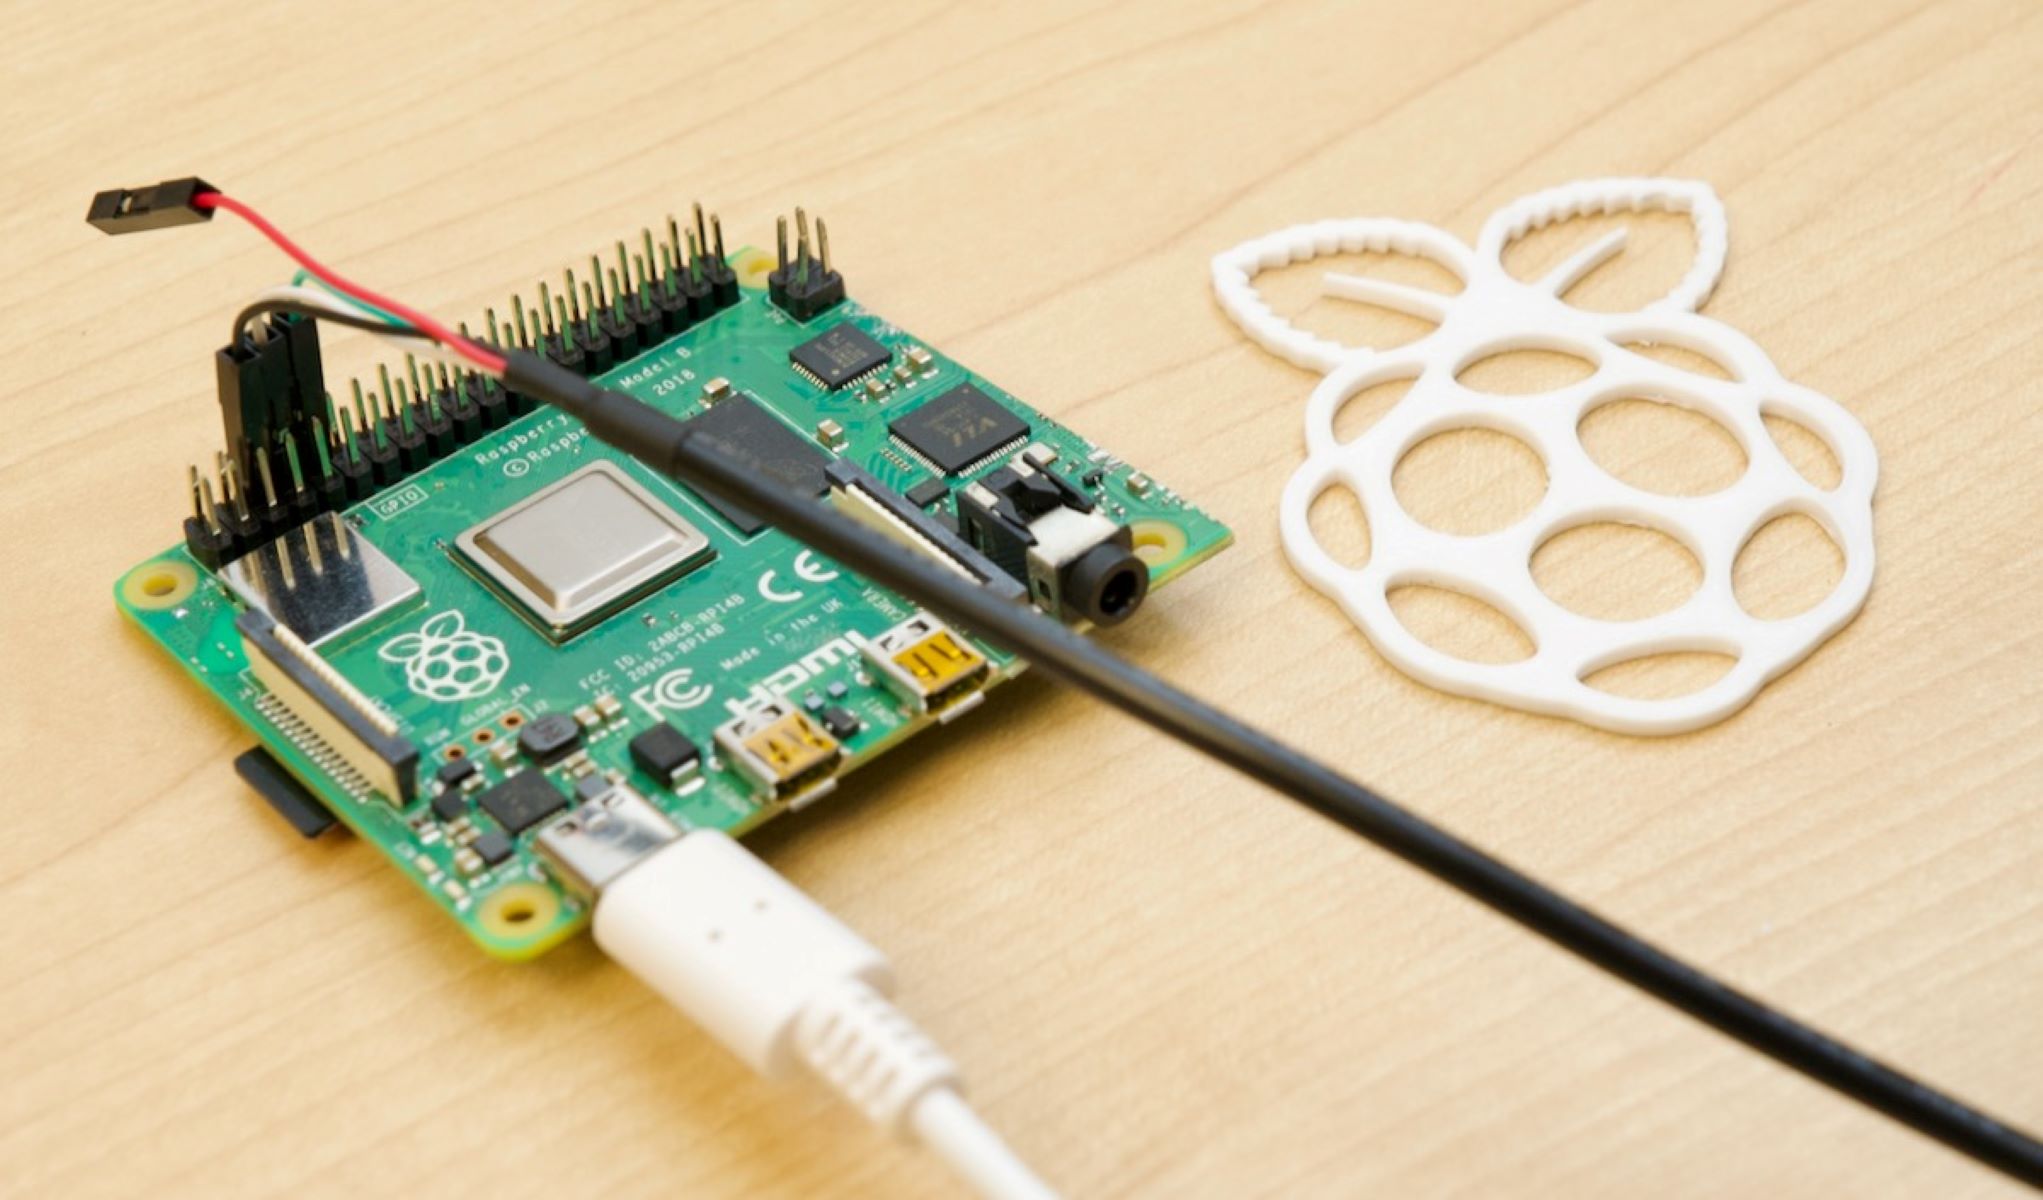
Why Check if a USB Hub Is Connected to Raspberry Pi
Checking whether a USB hub is properly connected to your Raspberry Pi is crucial for ensuring smooth operation and detecting any potential issues. Here are a few reasons why you should regularly check the connection status of your USB hub:
1. Expand USB Ports: Raspberry Pi boards have a limited number of built-in USB ports. Connecting a USB hub allows you to expand the number of available ports, enabling you to connect more devices simultaneously. However, it is important to verify that the hub is properly connected for all devices to function correctly.
2. Power Management: USB hubs may require external power to supply sufficient power to connected devices. Checking the connection ensures that the hub is receiving power and can provide an adequate power supply to the devices plugged into it. This is particularly important if you are using power-hungry devices or multiple peripherals simultaneously.
3. Device Enumeration: When a USB hub is connected to a Raspberry Pi, the connected devices need to be recognized and enumerated by the system. Verifying the connection allows you to ensure that all connected devices are properly detected and registered by the operating system.
4. Troubleshooting: If you are experiencing issues with the USB devices connected to your Raspberry Pi, checking the connection of the USB hub is a good starting point for troubleshooting. It helps you identify if the hub itself is the cause of the problem or if there are other underlying issues.
5. System Stability: A loose or unstable connection between the USB hub and the Raspberry Pi can lead to intermittent disconnections, data loss, and system instability. Regularly checking the connection helps maintain a stable and reliable system, preventing unexpected interruptions during important tasks.
These are just a few reasons why it is important to check if a USB hub is properly connected to your Raspberry Pi. By ensuring a solid and reliable connection, you can maximize the functionality of your USB devices and avoid potential headaches caused by connection issues.
Step 1: Connect the USB Hub to Raspberry Pi
Before you can check the connection status of a USB hub on your Raspberry Pi, you need to make sure it is properly connected. Follow these steps to connect the USB hub:
1. Gather the necessary equipment: Make sure you have a USB hub compatible with your Raspberry Pi model. Also, ensure that you have a compatible USB cable for connecting the hub to the Raspberry Pi’s USB port.
2. Power off your Raspberry Pi: It’s important to shut down your Raspberry Pi before making any hardware connections to avoid potential damage.
3. Locate the USB port on your Raspberry Pi: Depending on the model, the USB ports may be located either on the board itself or on an attached USB board.
4. Connect the USB cable: Plug one end of the USB cable into an available USB port on the Raspberry Pi. Then, connect the other end of the cable to the USB port on the USB hub.
5. Power the USB hub: If your USB hub requires external power, connect it to a power source. Make sure the power source meets the hub’s power requirements.
6. Power on your Raspberry Pi: Once the USB hub is properly connected, power on your Raspberry Pi and allow it to boot up.
After completing these steps, your USB hub should be successfully connected to your Raspberry Pi. To ensure that the connection is secure, you can gently wiggle the USB cable and hub to check for any loose connections. If everything is connected properly, you can proceed to the next steps to verify the connection and ensure it is working correctly.
Step 2: Verify Power Connection
Once the USB hub is connected to your Raspberry Pi, it is important to verify that the power connection is established correctly. Here are the steps to verify the power connection:
1. Check the power indicator: Most USB hubs have a power indicator light that shows whether the hub is receiving power. Locate the power indicator on your USB hub and check if it is illuminated or blinking. If the power indicator is not lit, double-check the power connection to ensure it is properly connected.
2. Inspect the power source: If your USB hub requires external power, verify that it is connected to a reliable power source. Check if the power source is functional and supplying the required voltage. Ensure that the power cable is securely plugged into both the USB hub and the power source.
3. Measure the power output: If you have a multimeter, you can use it to measure the power output of the USB hub. Turn on the multimeter, set it to measure DC voltage, and touch the positive (red) probe to the positive terminal on the USB hub’s power input and the negative (black) probe to the negative terminal. The multimeter should display the voltage output of the USB hub. Compare it to the required voltage specified by the manufacturer to ensure it falls within the acceptable range.
4. Verify power delivery: Connect a power-hungry USB device, such as an external hard drive or a high-power USB device, to the USB hub. Check if the device receives sufficient power and operates smoothly. If the device is not functioning properly or experiencing intermittent power-related issues, it may indicate a power delivery problem.
5. Recheck connections: Sometimes, a loose or poorly connected power cable can cause power issues. Double-check all power connections, including the USB cable connecting the hub to the Raspberry Pi and the power cable connecting the hub to the power source. Ensure a secure and stable connection for uninterrupted power supply.
By following these steps, you can verify the power connection of your USB hub and ensure that it is receiving sufficient power. This will help prevent power-related issues and ensure that your connected USB devices function properly without any interruptions.
Step 3: Check for Device Enumeration
After connecting the USB hub to your Raspberry Pi and verifying the power connection, the next step is to check if the connected devices are properly recognized and enumerated by the system. Device enumeration refers to the process of the operating system identifying and assigning unique identifiers to each connected device. Here’s how you can check for device enumeration:
1. Open the terminal: Access the terminal on your Raspberry Pi. You can do this by clicking on the terminal icon in the toolbar or by pressing Ctrl+Alt+T.
2. Enter the command: In the terminal, enter the following command: lsusb. This command lists all the USB devices connected to your Raspberry Pi.
3. Check for connected devices: After executing the command, you will see a list of connected USB devices along with their vendor and product IDs. Verify that all the devices you expect to be connected to the USB hub are listed. If any expected device is missing from the list, it could indicate a connection issue or a problem with the device itself.
4. Examine device details: Within the list of connected USB devices, you can gather more information about each device by noting the vendor and product IDs. You can search for these IDs online to identify the specific device model and ensure it is correctly recognized by the system.
5. Unplug and re-connect devices: If you notice any issues with device enumeration or if a device is not properly detected, you can try unplugging and re-connecting the device to the USB hub. This can help establish a more stable connection and trigger the system to re-enumerate the device.
6. Repeat the process: It is a good practice to periodically check for device enumeration, especially if you frequently connect and disconnect USB devices from your Raspberry Pi. This ensures that all devices are properly identified and allows you to detect any connection issues or changes in device recognition.
By checking for device enumeration, you can verify that all connected devices are correctly recognized by the system. This step is crucial for ensuring that all devices function properly and for troubleshooting any potential issues related to device detection and identification.
Step 4: Monitor USB Ports
Monitoring the USB ports on your Raspberry Pi is an important step in checking the connection status of your USB hub. By monitoring the USB ports, you can ensure that the devices connected to the USB hub are functioning correctly and are being recognized by the system. Here’s how you can monitor the USB ports:
1. Open the terminal: Launch the terminal on your Raspberry Pi by clicking on the terminal icon in the toolbar or pressing Ctrl+Alt+T.
2. Enter the command: In the terminal, type the following command: lsusb. This command will display a list of connected USB devices and their corresponding IDs.
3. Monitor the output: Pay attention to the output of the lsusb command. Any changes in the output when you connect or disconnect devices from the USB hub can indicate successful detection or disconnection of the devices. If the output does not change when you connect or disconnect a device, it may indicate a connection issue with the USB hub or the device itself.
4. Use device-specific commands: For more detailed monitoring, you can use device-specific commands. For example, to monitor USB storage devices, you can use the lsblk command to display information about connected storage devices, including USB flash drives or external hard drives. Similarly, for USB input devices like keyboards or mice, you can use the lsinput command to monitor their activity.
5. Check for errors or warnings: Monitor the system logs for any errors or warnings related to the USB ports or the connected devices. You can access the system logs by entering the command sudo dmesg. Look for any messages that indicate connection issues or malfunctions.
6. Test the USB ports: Connect a known working USB device to each USB port on the hub to test its functionality. For example, connect a USB flash drive and make sure it is detected, accessible, and can be read/write. This will help you identify any faulty ports or potential issues with the hub.
Regularly monitoring the USB ports on your Raspberry Pi allows you to ensure that the USB hub and its connected devices are functioning correctly. By observing any changes in the output, using device-specific commands, checking system logs, and performing tests, you can identify and troubleshoot any connection or device-related issues effectively.
Step 5: Check System Logs
Checking the system logs on your Raspberry Pi can provide valuable information about the status and behavior of the connected USB hub. System logs capture important data related to USB devices, including any errors, warnings, or events that occur during device connection and operation. Here’s how you can check the system logs:
1. Open the terminal: Launch the terminal on your Raspberry Pi by clicking on the terminal icon in the toolbar or pressing Ctrl+Alt+T.
2. Enter the command: In the terminal, type the following command: sudo dmesg. This command will display the system logs that contain information about USB devices and their connections.
3. Scan for USB-related entries: Look for entries in the system logs that are specifically related to USB devices. These entries may include information about device connections, disconnections, errors, warnings, or other relevant events. Pay attention to timestamps to identify recent events.
4. Identify any connection issues: Look for any error or warning messages that indicate connection issues between the USB hub and the Raspberry Pi. These messages might suggest problems with USB driver compatibility, power delivery, or other hardware-related concerns.
5. Verify device recognition: System logs can provide information about the recognition and enumeration of connected USB devices. Check for entries that confirm the successful detection of the USB hub and each connected device. If you notice any devices that are not recognized or are exhibiting irregular behavior, it may indicate a connection issue or a problem with the device itself.
6. Look for error codes or messages: Pay attention to any error codes or error messages that are associated with USB devices. These codes can help troubleshoot and diagnose specific issues related to the USB hub or the connected devices. Searching for these error codes online can provide further insights into the cause and potential solutions.
7. Monitor log updates: Keep the terminal window open and observe any new log entries that appear as you connect or disconnect USB devices from the hub. This real-time monitoring can help identify immediate issues or changes in the USB connection status.
By checking the system logs, you can gain valuable information about the USB hub’s connection status, device recognition, and any potential issues or errors. This step can assist in troubleshooting, identifying hardware or driver compatibility problems, and ensuring the smooth operation of the USB devices connected to your Raspberry Pi.
Step 6: Use USB Detect Scripts
Using USB detect scripts can automate the process of checking the connection status of your USB hub on the Raspberry Pi. These scripts provide a convenient way to monitor USB devices, detect connection events, and perform actions based on those events. Here’s how you can use USB detect scripts:
1. Install the USB detect software: Start by installing the USB detect software on your Raspberry Pi. You can do this by running the command: sudo apt-get install usb-modeswitch usb-modeswitch-data.
2. Create a USB detect script: Create a shell script that will be executed when USB devices are connected or disconnected. For example, you can use a text editor to create a file called “usb_detect_script.sh”.
3. Write the script: In the script file, you can write commands or actions that you want to perform when a USB device is connected or disconnected. For example, you can display a notification, run a specific program, or trigger a system command. You can make use of conditional statements and loops to customize the script as per your requirements.
4. Make the script executable: Once you have written the script, make it executable by running the command: chmod +x usb_detect_script.sh.
5. Run the script: To run the USB detect script, execute the command: ./usb_detect_script.sh. The script will start monitoring USB device events in real-time.
6. Test the script: Connect or disconnect a USB device from the hub and observe the script’s reaction. If everything is set up correctly, the script should perform the defined actions based on the connection events.
7. Customize the script: You can further customize the USB detect script to meet your specific requirements. For example, you can add additional conditional statements, log the events to a file, or integrate it with other scripts or programs.
Using USB detect scripts provides a flexible and automated way to monitor USB hub connections on your Raspberry Pi. It eliminates the need for manual checking and allows you to perform custom actions based on USB device events. Whether you want to display notifications, automate tasks, or perform specific actions, USB detect scripts can simplify the process and enhance your USB hub monitoring experience.
Step 7: Run USB Diagnostics Tools
Running USB diagnostics tools can help you thoroughly analyze and troubleshoot any issues related to your USB hub on the Raspberry Pi. These tools provide detailed information about the USB devices, their performance, and potential errors. Follow these steps to run USB diagnostics tools:
1. Research available tools: Look for USB diagnostics tools that are compatible with the Raspberry Pi. There are various tools available, such as USBView, lsusb, USBlyzer, and USBPcap. Research their features, compatibility, and installation instructions.
2. Install the selected tool: Install the USB diagnostics tool of your choice by following the provided installation instructions. This may involve downloading and compiling the tool’s source code or installing it from a package repository.
3. Launch the diagnostics tool: Open the terminal window on your Raspberry Pi and launch the installed USB diagnostics tool by executing the command associated with the tool. For example, to run USBView, the command might be usbview.
4. Connect the USB hub and devices: Ensure that your USB hub is properly connected to the Raspberry Pi and that the USB devices you want to diagnose are connected to the hub.
5. Start the diagnostics scan: Within the USB diagnostics tool interface, initiate a scan or refresh to detect the connected USB devices. The tool will display detailed information about the devices, including their vendor and product IDs, power requirements, device class, and more.
6. Analyze the diagnostic results: Study the diagnostics output provided by the tool. Look for any warnings, errors, or anomalies reported. Pay attention to aspects such as device compatibility, power management, bandwidth utilization, and device performance.
7. Follow recommended actions: If the diagnostics tool identifies any issues or errors, consult the tool’s documentation or online resources to understand the recommended actions for resolving those specific problems. This may involve updating drivers, adjusting power management settings, or addressing compatibility issues.
8. Repeat diagnostics as needed: Conduct USB diagnostics periodically or when you suspect any issues with your USB hub. Regular diagnostics can help catch and resolve potential problems early, ensuring reliable and optimal performance of your USB devices.
Running USB diagnostics tools provides you with a deep analysis of your USB hub and connected devices, helping you identify any underlying issues or performance bottlenecks. By following the steps above, you can efficiently diagnose and address problems, ultimately improving the functionality and stability of your USB hub on the Raspberry Pi.
Step 8: Test Connected Devices
Once you have completed the previous steps to check the connection status of your USB hub on the Raspberry Pi, it is important to test the connected devices to ensure their functionality. Testing the devices helps verify that they are working correctly and properly communicating with the Raspberry Pi. Here’s how you can test the connected devices:
1. Identify the connected devices: Take note of the devices connected to the USB hub. This may include USB storage devices, input devices, cameras, printers, or any other peripherals you have connected.
2. Test device functionality: Use the connected devices as intended and check if they perform their respective tasks without any issues. For example, if you have a USB storage device connected, try reading and writing data to it to ensure it is accessible and functioning properly.
3. Check device responsiveness: Interact with the connected input devices, such as keyboards, mice, or game controllers, and verify that they are responsive and functioning correctly. Test the buttons, switches, and other features of the devices to ensure they are working as expected.
4. Verify device recognition: Review the output of commands like lsusb or lsblk to ensure that all the connected devices are recognized by the system. If any device is not listed or appears with unknown identifiers, it may indicate a connection issue or unsupported device.
5. Test device compatibility: If you have recently added new devices to your USB hub, make sure they are compatible with your Raspberry Pi and its operating system. Check the manufacturer’s specifications or consult online resources to confirm compatibility.
6. Perform stress tests: If you are using power-hungry USB devices or have multiple devices connected simultaneously, consider performing stress tests. These tests involve pushing the devices to their limits to ensure they can handle the intended workload without overheating or experiencing performance degradation.
7. Monitor device behavior: Keep an eye on the devices’ behavior during an extended period of use. If you notice any unusual behavior, such as intermittent disconnections or errors, it may indicate a problem with the device or the USB hub.
8. Troubleshoot device-specific issues: If you encounter any issues during the testing phase, consult the documentation or support resources for the specific device. Follow troubleshooting steps provided by the manufacturer to address any device-specific problems.
Testing the connected devices ensures their proper functionality and compatibility with your Raspberry Pi. By following the steps outlined above, you can verify that the devices are working as expected and address any issues or incompatibilities early on, ensuring a smooth user experience with your USB hub and Raspberry Pi setup.