
Adjusting Power Plan Settings
Your laptop’s power plan settings play a vital role in determining its performance. By adjusting these settings, you can optimize your laptop’s power usage and enhance its overall performance. Follow these steps to make the necessary changes:
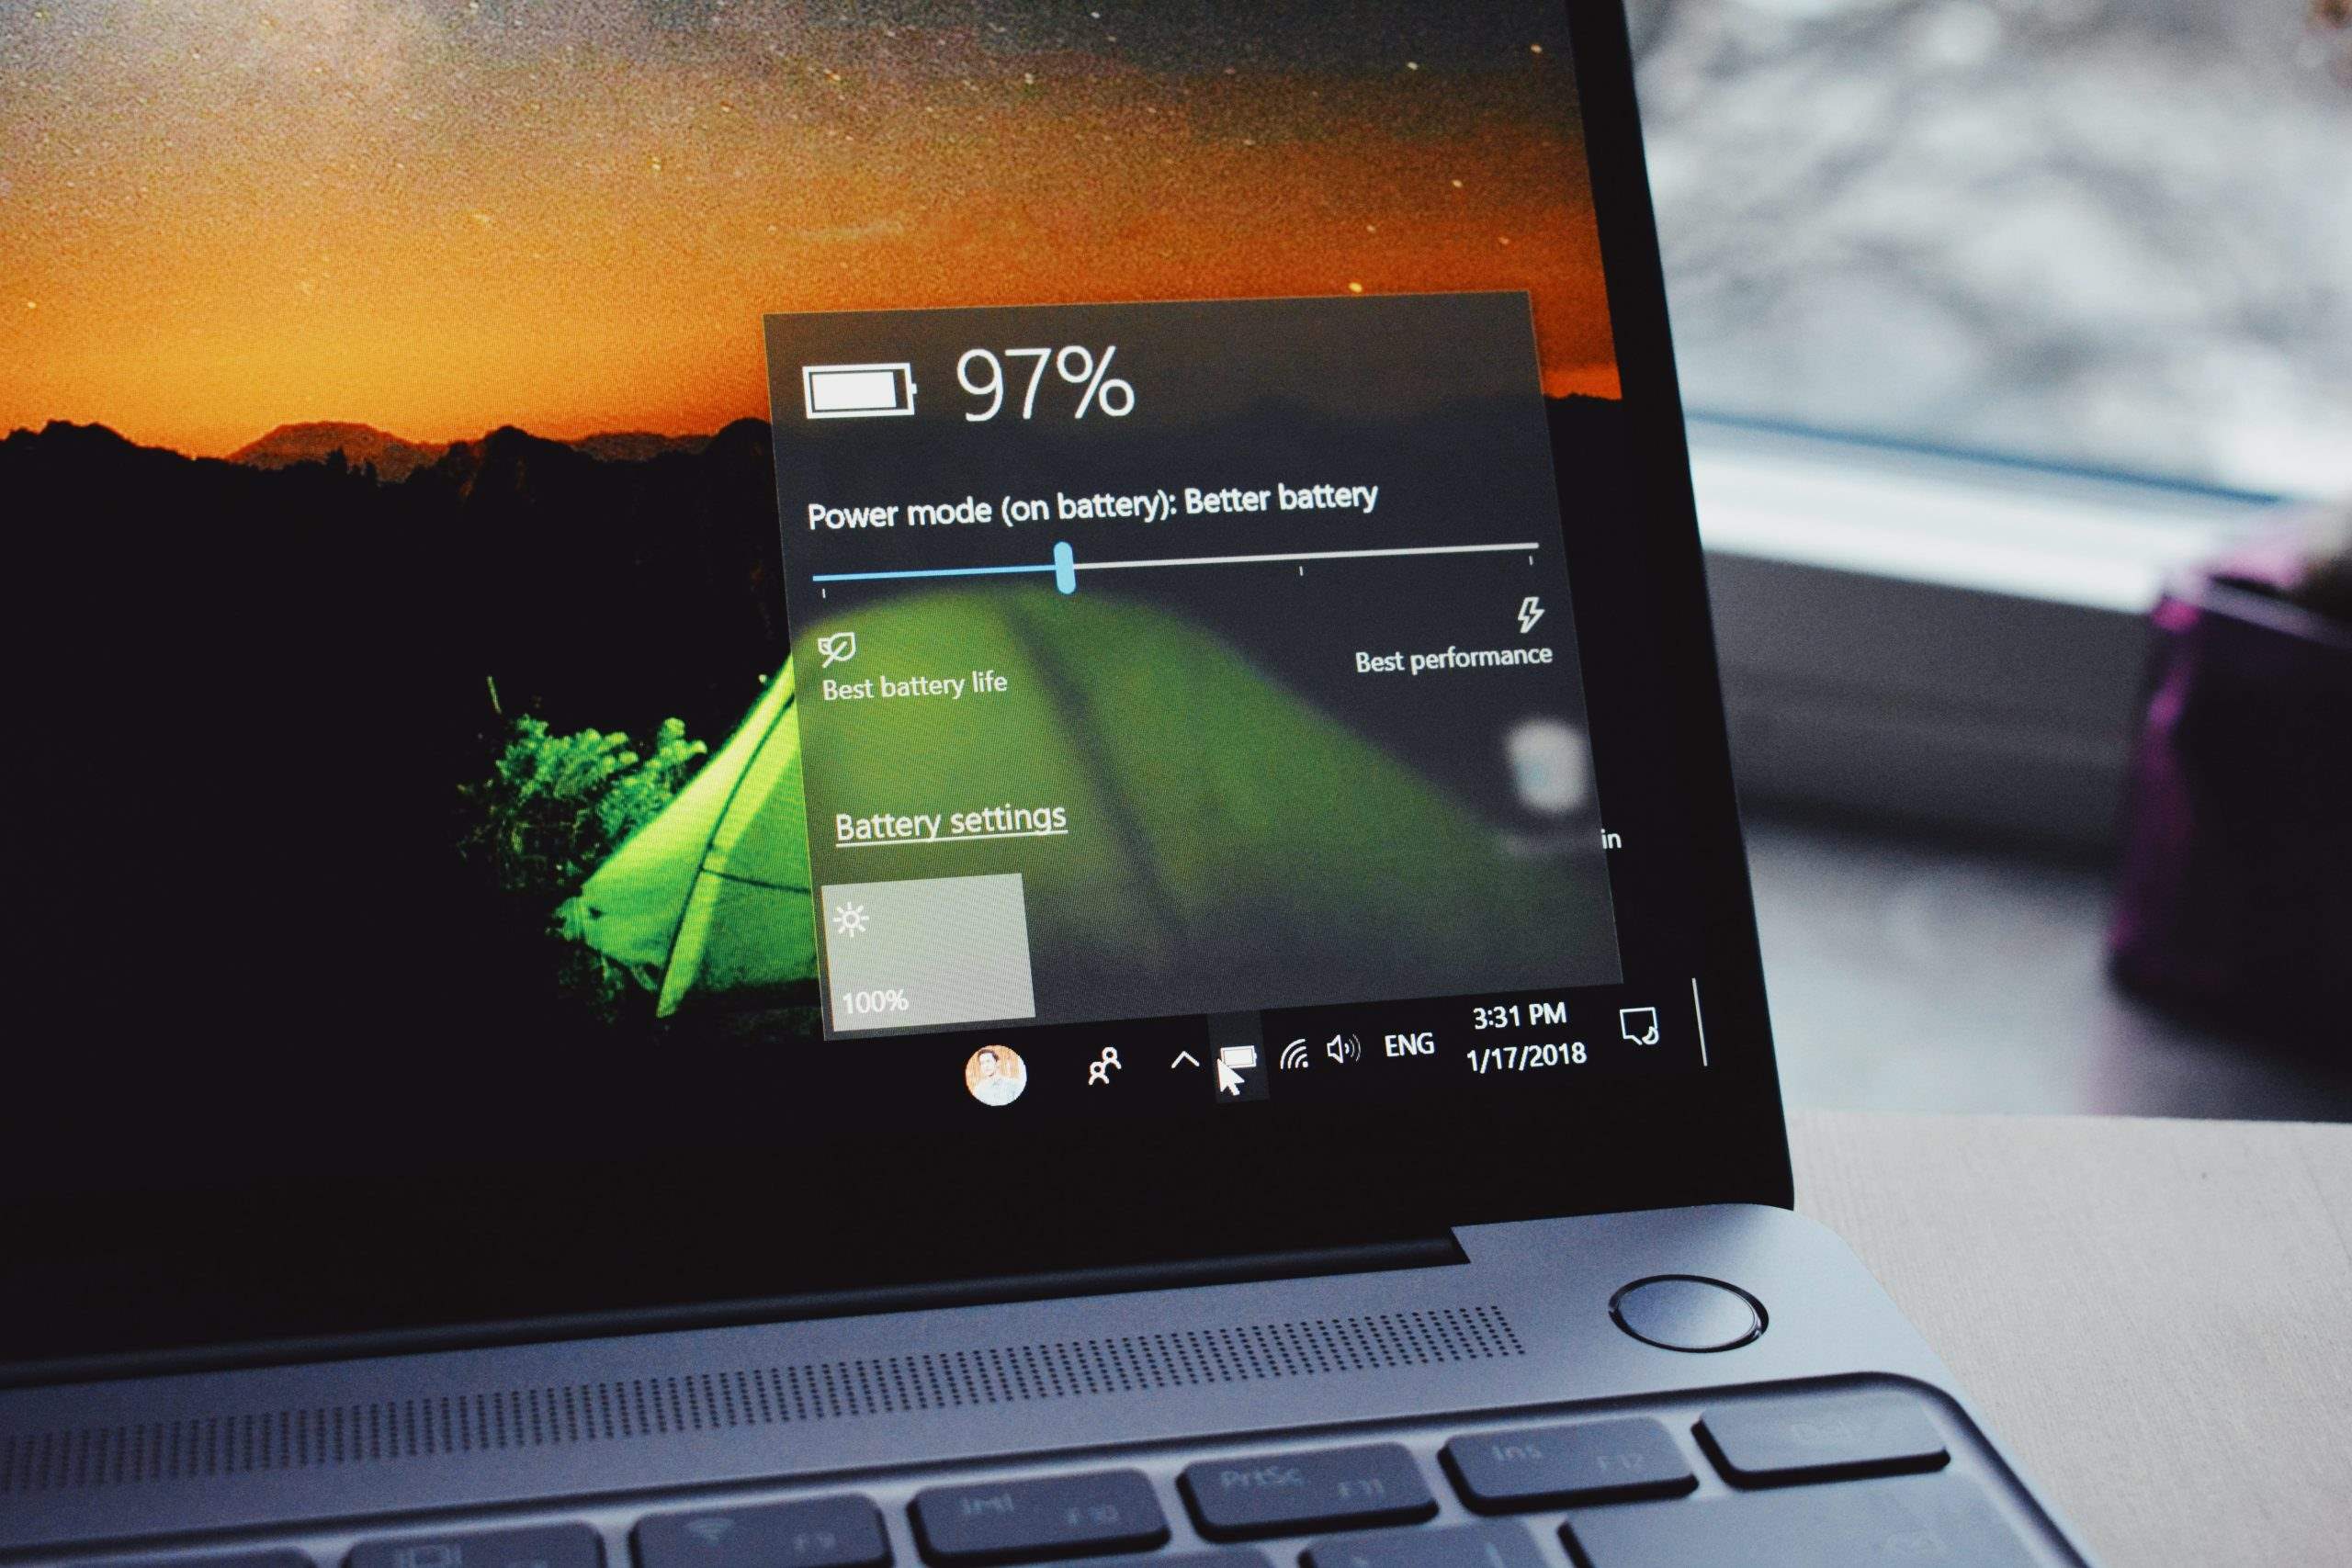
- Access the Power Options: Open the Control Panel and navigate to the “Power Options” section. Alternatively, you can right-click on the battery icon in the system tray and select “Power Options.”
- Select a Power Plan: You will see different power plans available, such as “Balanced,” “Power Saver,” and “High Performance.” Choose the one that suits your needs the best.
- Adjust Advanced Power Settings: Click on “Change plan settings” next to your selected power plan. Then, click on “Change advanced power settings.” A new window will open with various categories.
- Modify Power Plan Options: Expand each category and customize the power settings according to your preferences. For example, you can adjust the sleep time, display brightness, and processor power management.
- Apply the Changes: After making the desired modifications, click on “Apply” and then “OK” to save the changes. These changes will take effect immediately.
By adjusting these power plan settings, you can control the balance between performance and power consumption. The “Balanced” power plan is typically recommended for most users, as it offers a good balance between performance and battery life. However, if you need maximum performance, you can choose the “High Performance” plan, although this may reduce battery life.
Experiment with different power plans and settings to find the optimal configuration that meets your specific needs. Keep in mind that changing the power plan settings may lead to slight variations in performance, so it’s important to find the right balance based on how you use your laptop.
Modifying Visual Effects
The visual effects on your laptop can impact its performance, especially if you’re using older hardware or if your laptop is running multiple demanding applications. By modifying the visual effects settings, you can optimize your laptop’s performance and make it more responsive. Here’s how you can do it:
- Access System Properties: Right-click on the “This PC” or “My Computer” icon and select “Properties.” This will open the System Properties window.
- Open Performance Options: In the System Properties window, click on the “Advanced system settings” link. Then, under the “Performance” section, click on the “Settings” button.
- Adjust Visual Effects: In the Performance Options window, you will see different tabs, such as “Visual Effects,” “Advanced,” and “Data Execution Prevention.” Click on the “Visual Effects” tab to access the settings.
- Choose Performance Options: You will have two options to choose from: “Let Windows choose what’s best for my computer” and “Adjust for best performance.” The first option allows Windows to automatically adjust the visual effects based on your hardware, while the second option maximizes performance by disabling all visual effects.
- Customize Visual Effects: If you prefer more control, you can choose the “Custom” option and manually enable or disable specific visual effects. Review the list and uncheck the effects you can live without.
- Apply the Changes: Once you’ve made your selections, click on the “Apply” button and then “OK” to save the changes. The modified visual effects settings will take effect immediately.
By modifying the visual effects settings, you can free up system resources and allocate them towards more critical tasks, improving overall performance. Disabling unnecessary visual effects like animations and transparent windows can make your laptop feel faster and more responsive.
Keep in mind that disabling too many visual effects may result in a less visually appealing interface. It’s a good idea to strike a balance between performance and aesthetics by selectively disabling effects that have a significant impact on performance without compromising your overall user experience.
Managing Startup Programs
When you turn on your laptop, several programs and applications may be set to launch automatically. While this can be convenient, too many startup programs can significantly slow down your laptop’s boot time and overall performance. By managing your startup programs, you can improve your laptop’s speed and efficiency. Here’s how you can do it:
- Access Task Manager: Right-click on the taskbar and select “Task Manager” from the context menu. Alternatively, you can press Ctrl+Shift+Esc to quickly open Task Manager.
- Navigate to the Startup Tab: In the Task Manager window, click on the “Startup” tab to view the list of programs that launch during startup.
- Disable Unnecessary Programs: Carefully review the list of programs and identify the ones that you don’t need to start automatically. Right-click on the program and select “Disable” to prevent it from launching during startup.
- Enable Necessary Programs: Be cautious not to disable essential programs, such as antivirus software or system utilities, which are required for proper operation. If you’re unsure about a program, it’s best to leave it enabled.
- Restart your Laptop: Once you’ve disabled unnecessary startup programs, restart your laptop to apply the changes. You should notice a faster boot time and smoother overall performance.
By managing startup programs, you can reduce the amount of time it takes for your laptop to start up and become usable. This allows you to get to work faster and improves the overall responsiveness of your laptop. Additionally, with fewer programs running in the background, you’ll have more system resources available for the applications and tasks you actively use.
It’s advisable to periodically review your startup programs and disable any new additions that may have been automatically enabled without your knowledge. This will help keep your laptop running smoothly and efficiently.
Controlling System Notifications
System notifications on your laptop can provide valuable information and alerts, but they can also be distracting and interrupt your workflow. By controlling the system notifications, you can minimize interruptions and improve your focus and productivity. Follow these steps to manage system notifications:
- Access the Notification Settings: Click on the “Start” menu and select “Settings” (gear icon). Then, click on “System” and choose “Notifications & actions” from the left-hand menu.
- Customize Notification Settings: In the Notifications & actions settings window, you’ll find various options to control system notifications. For each app listed, you can toggle the switch to turn notifications on or off. Consider disabling notifications for non-essential apps or those that frequently interrupt your work.
- Priority of Notifications: You can also customize the priority of notifications by selecting the “Get notifications from apps and other senders” option. Here, you can choose which apps are allowed to show notifications in the Action Center. You can even control the number of notifications visible at a time.
- Quiet Hours: To prevent interruptions during specific hours, such as during important meetings or while you’re sleeping, you can enable the “Quiet Hours” feature. Go to the “Settings” menu again and select “System” followed by “Focus assist.” From there, you can schedule specific hours during which you don’t want to receive notifications.
By controlling system notifications, you can create a distraction-free environment and prioritize your focus on important tasks. Whether you’re working, giving a presentation, or simply need a break from constant notifications, customizing your notification settings allows you to take control of your laptop’s interruptions.
Remember to strike a balance between silence and staying informed. Disable or limit notifications for non-essential apps, while keeping important notifications enabled, such as those from your email or messaging apps. This way, you can receive necessary updates without being overwhelmed by unnecessary distractions.
Optimizing Virtual Memory
Virtual memory is a feature that allows your laptop to use a portion of your hard drive as additional RAM (Random Access Memory). Optimizing virtual memory can help improve the overall performance and responsiveness of your laptop, especially when running memory-intensive applications. To optimize virtual memory, follow these steps:
- Access System Properties: Right-click on the “This PC” or “My Computer” icon and select “Properties.” This will open the System Properties window.
- Open Advanced System Settings: In the System Properties window, click on the “Advanced system settings” link. This will open the System Properties dialog box.
- Access Virtual Memory Settings: In the System Properties dialog box, click on the “Settings” button under the “Performance” section. Next, click on the “Advanced” tab and then the “Change” button under the “Virtual memory” section.
- Modify Virtual Memory: In the Virtual Memory dialog box, ensure that the “Automatically manage paging file size for all drives” option is unchecked. Select the drive where your operating system is installed (typically, the C: drive) and choose the “Custom size” option.
- Set Initial and Maximum Size: Set the initial size (in MB) based on the recommended value displayed below or choose a custom size. The maximum size should ideally be 1.5 times the amount of RAM installed on your laptop.
- Apply the Changes: Once the sizes are specified, click on the “Set” button and then “OK” to save the changes. Restart your laptop for the changes to take effect.
Optimizing virtual memory can help prevent your laptop from running out of memory and experiencing slowdowns. By manually setting the initial and maximum size of the virtual memory, you allocate enough space on your hard drive to supplement the physical RAM, ensuring smooth operation even when dealing with memory-demanding tasks.
Keep in mind that setting the virtual memory size too low can result in performance issues, while setting it too high can consume valuable disk space. It’s recommended to follow the recommended values or use the custom size option based on your specific requirements and available disk space.
Adjusting Processor Power Management
The processor power management settings on your laptop determine how your processor utilizes its resources, affecting the overall performance and power consumption. By adjusting these settings, you can optimize your laptop’s performance based on your needs. Here’s how you can do it:
- Access Power Options: Open the Control Panel and navigate to the “Power Options” section. Alternatively, you can right-click on the battery icon in the system tray and select “Power Options.”
- Select a Power Plan: Choose the power plan you want to customize by clicking on “Change plan settings” next to the selected plan.
- Modify Advanced Power Settings: In the Edit Plan Settings window, click on the “Change advanced power settings” link to open the Advanced Settings dialog box.
- Adjust Processor Power Management: Within the Advanced Settings dialog box, expand the “Processor power management” category to view various power management options.
- Customize Power Options: Adjust the settings under “Minimum processor state” and “Maximum processor state” to specify the minimum and maximum processor speed percentages when running on battery or plugged in.
- Apply the Changes: Once you’ve made the desired modifications, click on “Apply” and then “OK” to save the changes. The new power management settings will take effect immediately.
By adjusting the processor power management settings, you can balance performance and battery life. Setting the minimum processor state lower can help conserve power, while setting the maximum processor state higher can improve performance during demanding tasks.
Experiment with different power management settings to find the optimal configuration that suits your needs. Keep in mind that setting the maximum processor state too high may increase the laptop’s temperature and reduce battery life. Similarly, setting the minimum processor state too low may result in slower performance when running resource-intensive applications.
Adjusting processor power management is particularly useful for users who require optimized performance for specific tasks, such as gaming, video editing, or 3D rendering. By customizing these settings, you can maximize the potential of your laptop’s processor and enhance your user experience.
Managing Temporary Files
Temporary files are created by various applications and processes on your laptop, serving as temporary storage for necessary data. Over time, these files can accumulate and take up valuable storage space, affecting the performance of your laptop. By managing temporary files, you can free up disk space and improve the overall speed and efficiency of your system. Here’s how you can do it:
- Access Disk Cleanup: Open the File Explorer and right-click on the drive you want to clean up (usually the C: drive). Select “Properties” from the context menu and then click on the “Disk Cleanup” button.
- Select Temporary Files: In the Disk Cleanup utility, you will see a list of file categories that can be cleaned up. Check the box next to “Temporary files” to select it.
- Choose Additional Categories: While you’re in the Disk Cleanup utility, you can also select other file categories to clean up, such as “Recycle Bin” or “Temporary Internet Files.” Review the options and check the boxes for the files you want to remove.
- Start the Cleanup: Once you’ve selected the desired file categories, click on the “OK” button to start the cleanup process. The utility will calculate the amount of disk space you can free up.
- Confirm the Cleanup: In the confirmation window, click on the “Delete Files” button to proceed with the cleanup. Depending on the amount of data being removed, the process may take a few minutes.
By managing temporary files regularly, you can reclaim valuable disk space and improve the performance of your laptop. This is especially important if you have limited storage capacity or if your laptop feels sluggish due to a lack of available space.
It’s a good practice to regularly perform disk cleanup, especially after installing or uninstalling software, browsing the internet, or working on large projects. By keeping your temporary files in check, you can maintain a lean and efficient system that runs smoothly.
Tackling Disk Space Issues
Running out of disk space can significantly impact the performance and functionality of your laptop. It can slow down your system, prevent you from installing new software or updates, and even cause crashes or errors. To tackle disk space issues and ensure your laptop runs smoothly, follow these steps:
- Analyze Disk Usage: Use the built-in disk usage analysis tool or a third-party software to identify which files and folders are taking up the most space on your laptop. This will help you pinpoint areas where you can make the most significant impact in terms of freeing up space.
- Delete Unnecessary Files: Sort through your files and remove any that you no longer need, such as old documents, outdated downloads, or unnecessary backups. Be sure to empty the recycle bin afterwards to free up additional space.
- Uninstall Unneeded Applications: Review the list of installed applications on your laptop and uninstall any that you no longer use or need. This will not only free up disk space, but also reduce clutter on your system.
- Move Files to External Storage: If you have large files, such as videos, photos, or multimedia projects, consider moving them to an external hard drive or cloud storage. This will free up space on your laptop’s internal storage while still allowing you to access the files when needed.
- Clear Browser Cache: Web browsers often store temporary files, cookies, and cached data, which can take up a significant amount of space over time. Clear your browser cache regularly to free up space and potentially improve browser performance.
- Use Disk Cleanup Utility: Utilize the built-in Disk Cleanup tool to remove unnecessary system files and free up disk space. This tool can help you identify and safely delete various types of temporary files, including Windows update files and system error memory dump files.
Regularly addressing disk space issues is essential for maintaining optimal performance and ensuring your laptop runs smoothly. By taking the time to analyze disk usage, delete unnecessary files and applications, and implement storage management strategies, you can prevent disk space constraints from impacting your productivity and overall user experience.
Remember to regularly check your disk space usage and perform these steps as needed to maintain a healthy balance of available storage on your laptop.
Updating Device Drivers
Device drivers are software programs that facilitate communication between your laptop’s hardware components and the operating system. Outdated or incompatible device drivers can lead to performance issues, hardware malfunctions, and system instability. To ensure optimal performance and compatibility, it’s crucial to keep your device drivers up to date. Here’s how you can update them:
- Identify Outdated Drivers: Start by identifying which device drivers on your laptop need updating. Some manufacturers provide dedicated software or websites that automatically detect outdated drivers. Alternatively, you can manually check the manufacturer’s website for driver updates.
- Download the Latest Drivers: Visit the manufacturer’s support website and navigate to the driver download section. Locate the drivers specific to your laptop model and download the latest versions for the devices needing updating.
- Backup Existing Drivers: Before installing the updated drivers, it’s wise to back up your existing drivers as a precautionary measure. This allows you to revert to the previous versions if any issues arise during or after the update process.
- Install the Updated Drivers: Run the downloaded driver installation files and follow the on-screen instructions to install the updated drivers. It’s important to follow the installation process carefully, as certain drivers may require additional steps or system restarts to complete the update.
- Verify Driver Updates: After installing the updated drivers, verify their successful installation. Check the Device Manager or the manufacturer’s driver software to ensure that the device drivers have been updated to the latest versions.
Updating device drivers is essential for maintaining hardware compatibility, resolving performance issues, and ensuring the smooth operation of your laptop. By keeping your drivers up to date, you can enhance system stability, improve functionality, and even enhance the overall security of your system.
Regularly checking for driver updates is particularly important after major system updates or changes in hardware. Manufacturers often release driver updates to address issues, introduce new features, and improve overall performance. Staying up to date with the latest driver versions will help you get the most out of your laptop’s hardware and ensure a seamless user experience.
Monitoring Resource Usage
Monitoring the resource usage of your laptop allows you to identify any performance bottlenecks or issues that may be impacting its overall speed and responsiveness. By keeping an eye on key system resources, such as CPU, memory, and disk usage, you can optimize your laptop’s performance and ensure efficient operation. Here are some strategies for monitoring resource usage:
- Task Manager: Utilize the Task Manager, a built-in Windows utility, to monitor resource usage in real-time. Simply right-click on the taskbar and select “Task Manager” from the context menu. From within Task Manager, you can view CPU, memory, disk, and network usage, as well as identify resource-intensive applications or processes.
- Resource Monitor: Resource Monitor provides a more detailed view of system resource usage. To access it, open the Task Manager and navigate to the “Performance” tab. From there, click on the “Resource Monitor” button. Resource Monitor offers insights into CPU, memory, disk, and network activity, allowing you to pinpoint resource-hungry applications or background processes.
- Third-Party Monitoring Tools: Consider using third-party monitoring tools, such as HWMonitor or Process Explorer, for more comprehensive monitoring capabilities. These tools provide detailed information and advanced features to track resource usage and diagnose performance issues. They offer insights into temperature, fan speed, battery health, and other hardware-related metrics.
- Performance Logs and Alerts: Windows also offers performance logging and alerting features. You can configure performance counters to track specific resource metrics over time. Use the Windows Performance Monitor, accessible via the Control Panel, to set up performance logging and generate reports for analysis.
- Identify Resource-Intensive Processes: Keep an eye on processes or applications that consume a large portion of system resources. If you notice an application consistently consuming excessive CPU or memory, consider closing or uninstalling it, or investigating if there are updates available.
Regularly monitoring resource usage is crucial for identifying performance issues, optimizing system performance, and troubleshooting potential bottlenecks. By keeping track of resource-intensive applications or processes, you can take appropriate actions to improve your laptop’s performance and ensure smooth operation.
Remember that resource usage levels may vary depending on your specific usage patterns and the demands of the applications you run. It’s important to continuously monitor, adapt, and make necessary adjustments to ensure optimal performance based on your individual needs and preferences.