
What You Will Need
In order to change the band on your Fitbit Charge HR, you will need a few things to ensure a smooth and successful replacement. Here are the items you will need:
- A replacement band for your Fitbit Charge HR. Make sure to choose a band that is compatible with your specific model. There are a variety of bands available in different colors and materials, so you can choose the one that best suits your style and preference.
- A small flathead or Phillips screwdriver. This will be used to remove the screws that secure the old band in place.
- A clean cloth or towel. This will come in handy for wiping off any dirt or sweat from your Fitbit Charge HR before and after the band replacement.
- A clear and well-lit workspace. Find a comfortable and well-lit area where you can work on changing the band. A clutter-free space will make the process easier and help prevent any accidental damage to your Fitbit.
- A steady hand and patience. Changing the band on your Fitbit Charge HR requires some precision and patience. Take your time and be careful with each step to ensure a successful band replacement.
By gathering all of these necessary items beforehand, you can avoid any interruptions during the band changing process and make the task easier and more enjoyable. Now that you have everything you need, let’s move on to the step-by-step instructions for changing the band on your Fitbit Charge HR.
Step 1: Remove the Old Band
Before you can attach the new band to your Fitbit Charge HR, you’ll need to remove the old band. Follow these steps to do so:
- Turn your Fitbit Charge HR over so that the back is facing up.
- Locate the two small screws on each side of the tracker. These screws secure the band in place.
- Use a small flathead or Phillips screwdriver to carefully unscrew the screws. Be sure to hold onto the screws as you remove them to prevent them from getting lost.
- Once the screws are removed, gently slide the old band away from the tracker. You may need to apply a bit of pressure to detach it completely.
- Set the old band aside and take a moment to clean any dirt or debris from the tracker using a clean cloth or towel.
Removing the old band is the first step towards giving your Fitbit Charge HR a fresh new look. With the old band removed, you’re now ready to prepare the new band for installation.
Step 2: Prepare the New Band
Now that you have successfully removed the old band from your Fitbit Charge HR, it’s time to prepare the new band for installation. Follow these steps to get the new band ready:
- Take out the new replacement band that you have chosen for your Fitbit Charge HR. Ensure that it is the correct size and compatible with your specific model.
- Inspect the new band for any defects or damage. Check the connectors and clips to make sure they are in good condition and will securely attach to the tracker.
- Give the new band a quick wipe using a clean cloth or towel to remove any dust or debris. This will ensure a clean and smooth installation.
- If your new band has any adjustable clasps or straps, adjust them to fit your wrist size. Refer to the manufacturer’s instructions on how to correctly adjust the band.
- Take a moment to familiarize yourself with the placement of the connectors on the new band. These connectors will attach to the tracker and hold the band in place.
Preparing the new band is an important step to ensure a proper fit and secure attachment to your Fitbit Charge HR. With the new band ready, you’re now ready to move on to the next step – attaching the new band to the tracker.
Step 3: Attach the New Band
With the new band prepared, it’s time to attach it to your Fitbit Charge HR. Follow these steps to securely attach the new band to the tracker:
- Turn your Fitbit Charge HR over so that the back is facing up.
- Take the new band and align the connectors with the slots on the tracker. Make sure the connectors are facing the correct way.
- Gently slide the new band into place, ensuring that the connectors are fully inserted into the slots on the tracker.
- Apply light pressure to the band to ensure a secure attachment. You should feel and hear a click when the band is properly in place.
- Double-check that the band is securely attached by gently tugging on it. It should not easily come off or feel loose.
Attaching the new band is an exciting step as it transforms the appearance of your Fitbit Charge HR. Once the band is securely attached, it’s time to move on to the next step – securing the new band in place.
Step 4: Secure the New Band
Now that the new band is attached to your Fitbit Charge HR, it’s important to ensure that it is securely in place. Follow these steps to properly secure the new band:
- Locate the small screws that came with your new replacement band.
- Using a small flathead or Phillips screwdriver, carefully insert and tighten the screws on each side of the tracker. Make sure they are securely fastened, but be careful not to overtighten them.
- Check the alignment of the new band and adjust it if necessary. It should be centered and sit comfortably on your wrist.
- Give the entire band a final inspection to ensure that everything is secure and in place.
Securing the new band is essential to avoid it coming loose during your everyday activities. By tightening the screws and checking the alignment, you can ensure a comfortable and secure fit for your Fitbit Charge HR.
Step 5: Test the Fitbit Charge HR
After successfully changing the band on your Fitbit Charge HR, it’s time to test the device and ensure that everything is functioning as it should. Follow these steps to test your Fitbit Charge HR:
- Place the Fitbit Charge HR on your wrist and fasten the new band securely.
- Power on your Fitbit Charge HR by pressing the side button.
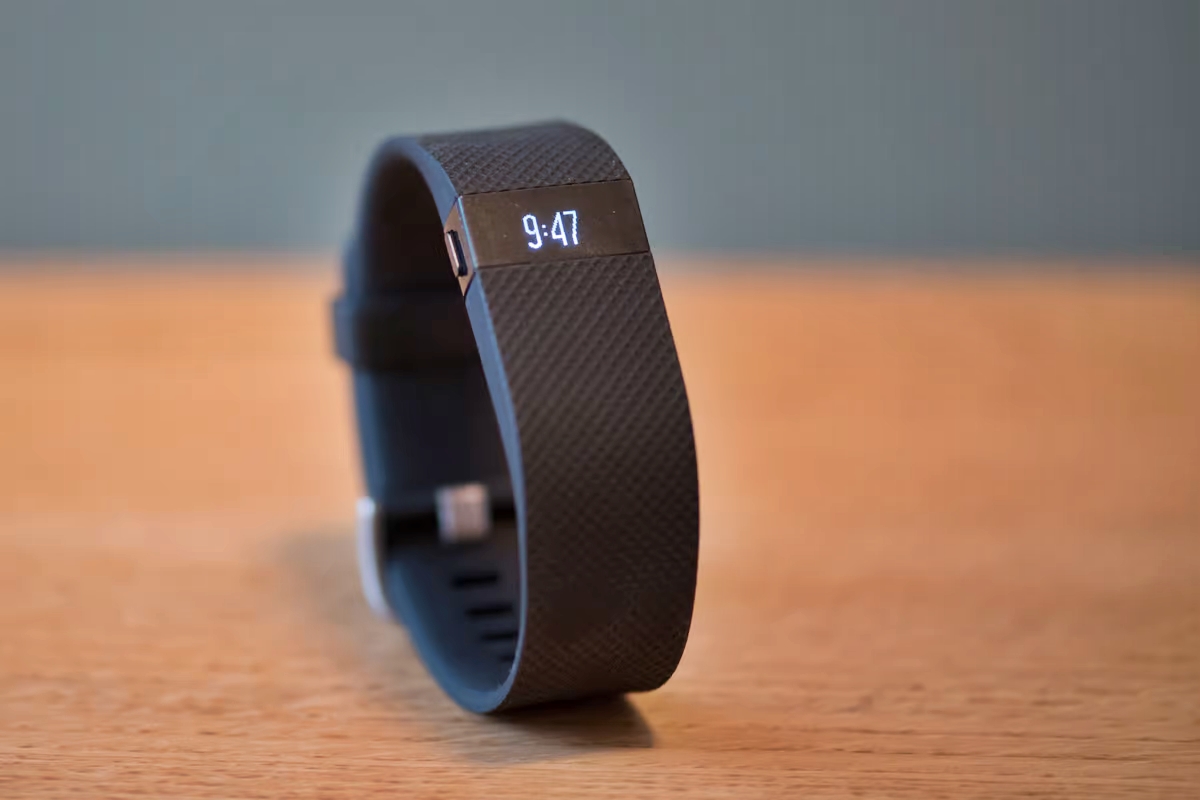
- Check that the device turns on and displays the time or any other relevant information.
- Proceed to navigate through the menus and features of your Fitbit Charge HR to confirm that all the functionalities are working correctly.
- Take a few moments to sync your Fitbit with the corresponding app on your smartphone or computer to ensure that the connection is established and data is properly recorded.
By testing your Fitbit Charge HR, you can ensure that the band replacement has not affected the device’s functionality. If everything is working as expected, congrats! You have successfully changed the band on your Fitbit Charge HR and can now enjoy a fresh new look.