
Factors to Consider Before Changing your Wi-Fi Network Name
Changing your Wi-Fi network name can be a simple and effective way to personalize your wireless network and improve its security. However, before you go ahead and change your network name, there are a few factors you should consider. This section will highlight the key points you need to keep in mind before making any changes.
1. Compatibility with Devices: Before changing your Wi-Fi network name, ensure that all your devices, including smartphones, tablets, and smart home gadgets, are compatible with the new network name format. Some older devices may not recognize certain characters or symbols in the network name, resulting in connectivity issues.
2. Informing Connected Devices: If you have multiple devices connected to your Wi-Fi network, such as laptops, gaming consoles, and smart TVs, you’ll need to update the network name on each device after making the change. Failure to do so may result in connectivity disruptions or the inability to connect at all.
3. Shared Network: If you share your Wi-Fi network with family members, roommates, or colleagues, it’s essential to communicate the change with them in advance. Provide them with the new network name and password, ensuring a smooth transition for everyone.
4. Internet of Things (IoT) Devices: If you have smart home devices, such as security cameras, thermostats, or voice assistants, connected to your Wi-Fi network, changing the network name may require reconfiguration of these devices. Make sure you have the necessary documentation or information to successfully reconnect these devices to the new network name.
5. Password Reset: In some cases, changing the network name can also lead to a password reset. If this happens, ensure that you have the administrative credentials to access your router settings and update the password accordingly. It’s crucial to maintain a secure network to prevent unauthorized access.
Considering these factors will help ensure a smooth and hassle-free transition when changing your Wi-Fi network name. Once you’ve taken these aspects into account, you can proceed with confidence knowing that you’ve prepared yourself for any potential issues that may arise during the process.
Step 1: Accessing the Router Settings Page
Before you can change your Wi-Fi network name, you’ll need to access the router settings page. The router settings page is where you can customize various aspects of your network, including the network name and password. Follow the steps below to access the router settings page:
1. Connect to the Router: Ensure that your computer or smartphone is connected to the Wi-Fi network. Open a web browser of your choice, such as Chrome or Firefox.
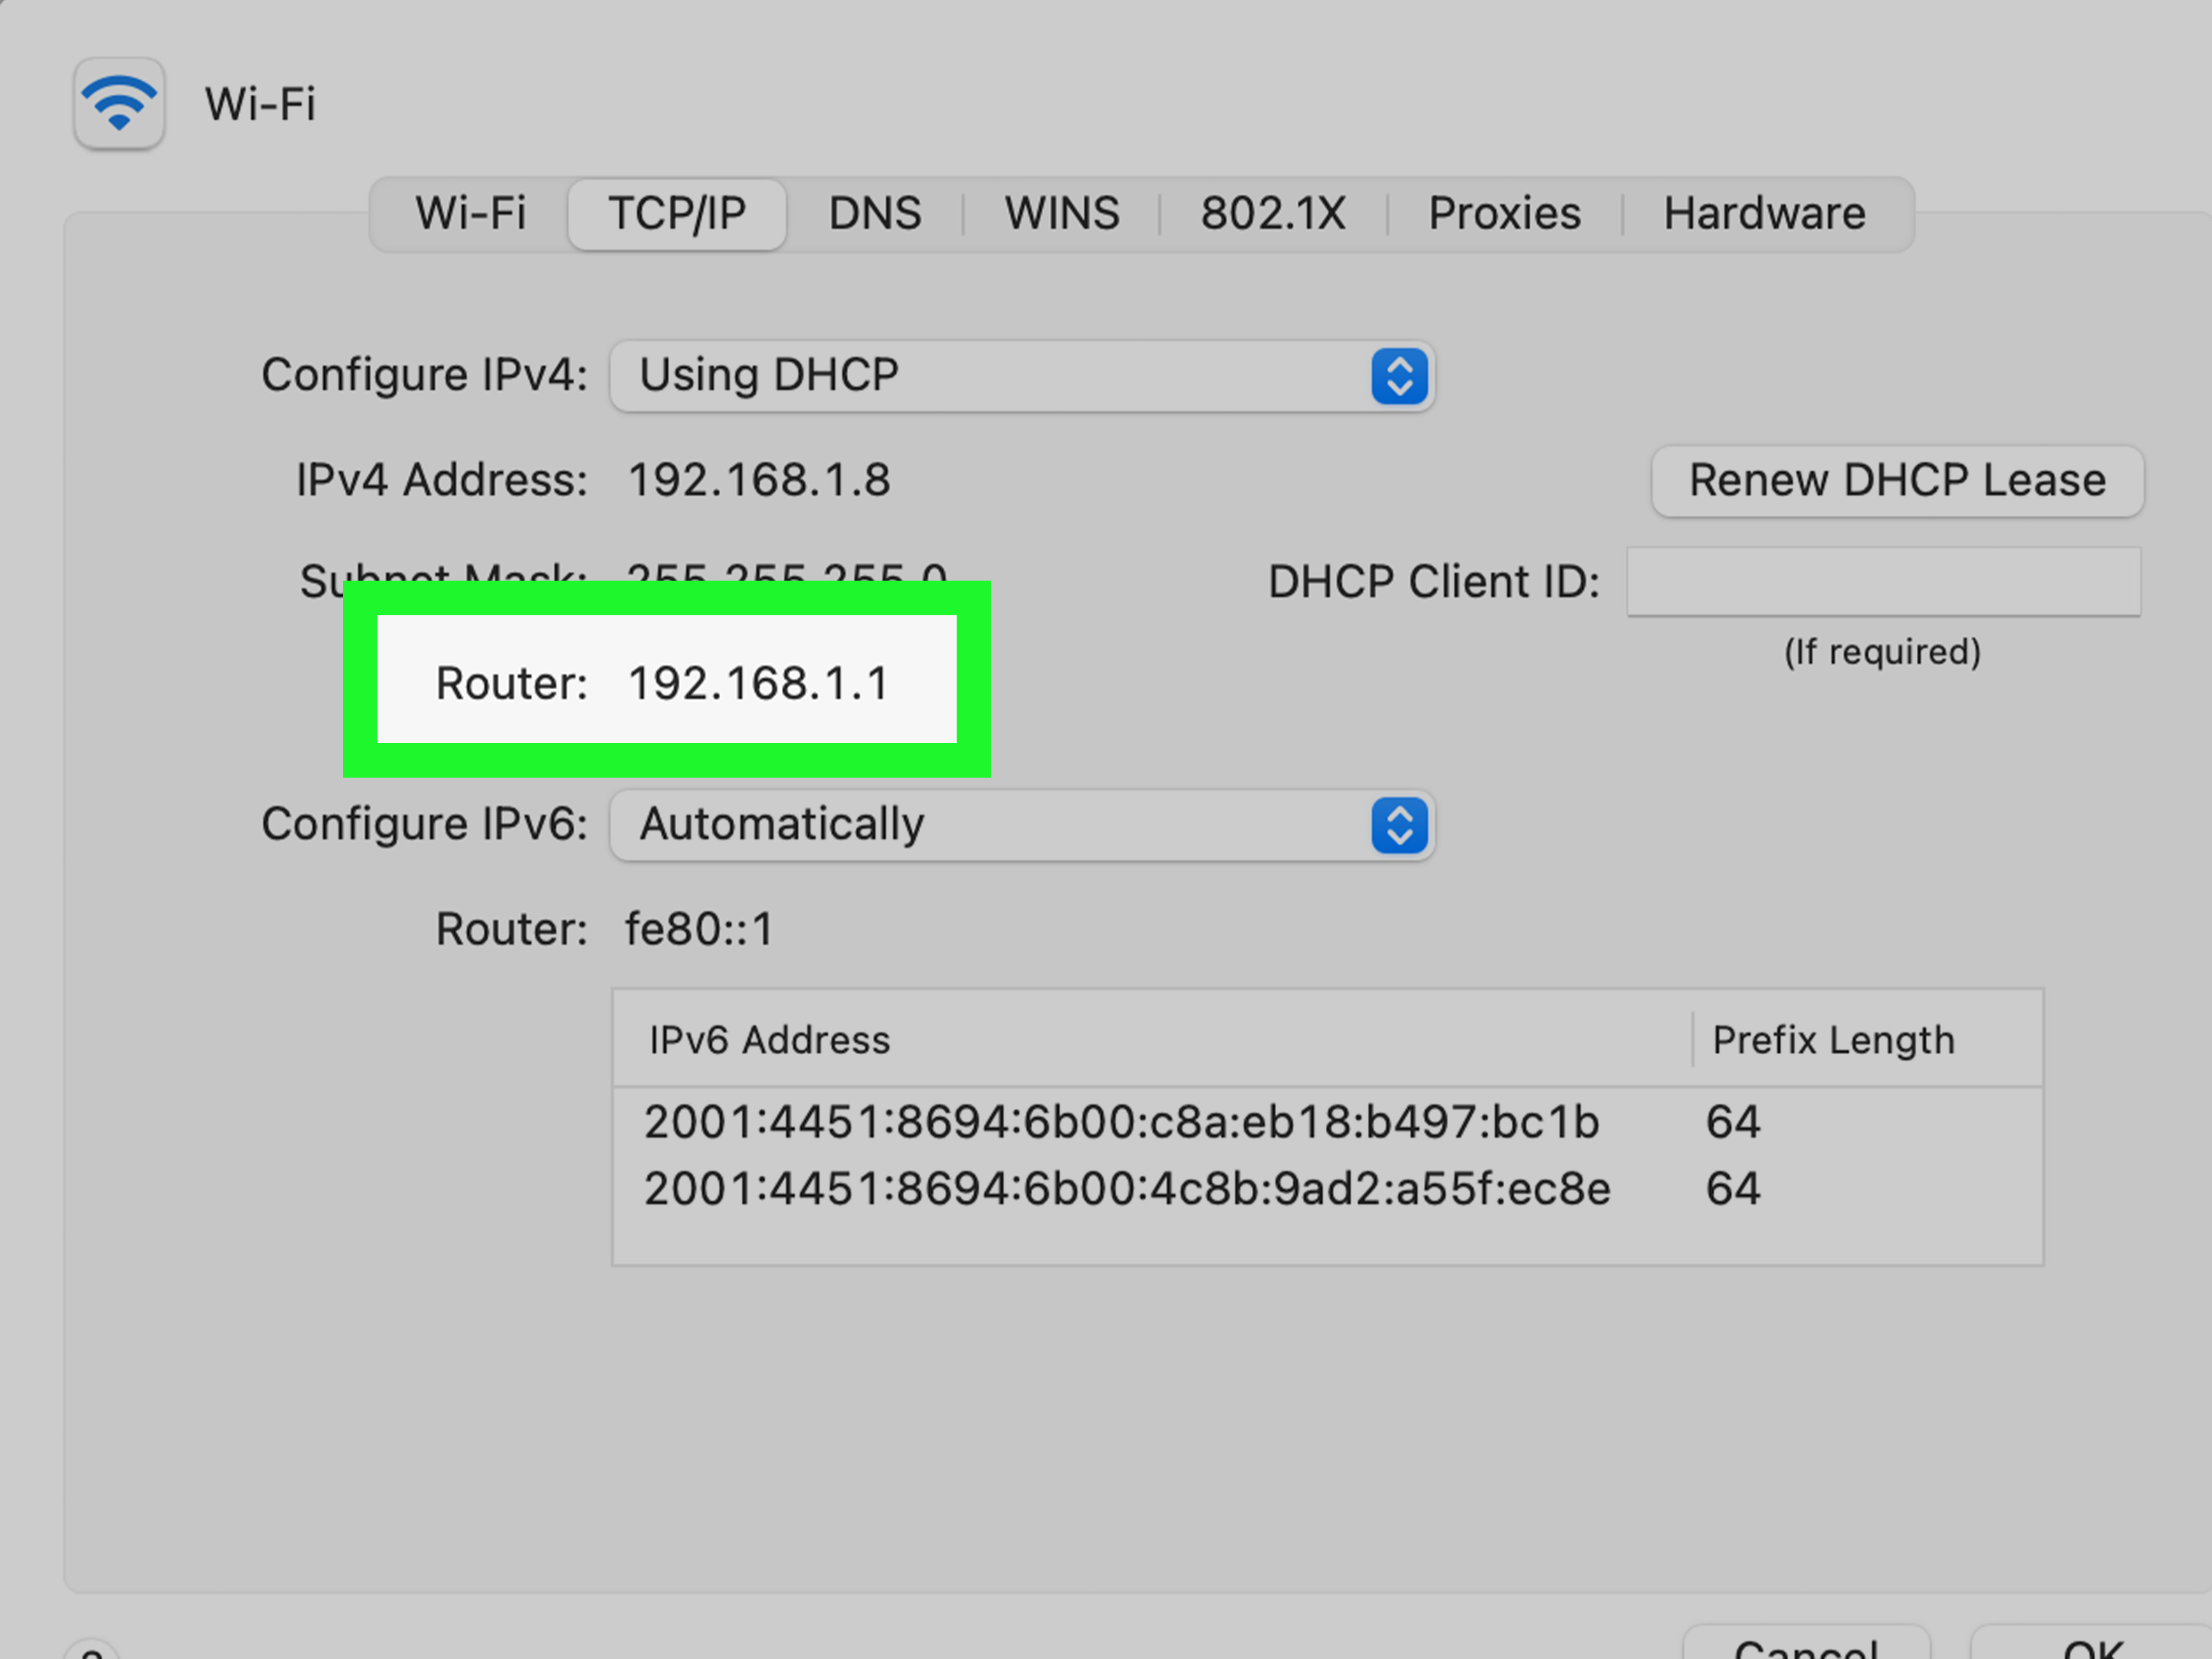
2. Enter the IP Address: In the address bar of the web browser, enter the IP address of your router. The IP address is typically a series of numbers and periods, such as 192.168.1.1 or 192.168.0.1. If you’re not sure of the IP address, you can find it in the router’s manual or by checking the sticker on the bottom or back of the router.
3. Enter the Login Credentials: Once you’ve entered the IP address, you’ll be prompted to enter the login credentials for your router. This information is often printed on the router or provided in the manual. If you have never changed the login credentials before, the default username and password can be found in the router’s manual or on the manufacturer’s website.
4. Access the Router Settings Page: After entering the correct login credentials, you will be directed to the router settings page. This page contains various tabs and menus where you can configure different settings for your Wi-Fi network.
5. Note: If you’re unable to access the router settings page, it’s possible that the default IP address or login credentials have been changed. In such cases, it’s recommended to reset the router to its factory settings and try the above steps again.
Accessing the router settings page is the first step in changing your Wi-Fi network name. It’s important to remember that the interface for accessing router settings can vary depending on the make and model of your router. If you encounter any difficulties, refer to the router’s manual or consult the manufacturer’s website for specific instructions.
Step 2: Logging into the Router
After accessing the router settings page, the next step in changing your Wi-Fi network name is logging into the router. Logging into the router allows you to make changes to the network settings. Follow the steps below to log into your router:
1. Locate the Login Section: On the router settings page, look for the login section. It is usually located at the top or in a sidebar. This section may be labeled as “Login,” “Admin,” or “Administration.”
2. Enter the Login Credentials: In the login section, enter the username and password associated with your router. If you have never changed the login credentials, the default username and password can be found in the router’s manual or on the manufacturer’s website. It’s important to change the default login credentials for security reasons.
3. Click on “Login” or “Submit”: Once you have entered the login credentials, click on the “Login” or “Submit” button to proceed. The router settings page will refresh, and you will gain access to the administrative features and settings.
4. Note: If you’re unable to log into the router using the default login credentials, it’s possible that they have been changed. In such cases, you may need to reset the router to its factory settings. Refer to the router’s manual or the manufacturer’s website for instructions on how to perform a factory reset.
5. Keep the Login Information Secure: Remember to keep your login information secure and avoid sharing it with others. Creating a strong, unique password for your router login is essential for maintaining the security of your network.
Logging into the router provides you with the necessary access to make changes to your Wi-Fi network settings, including changing the network name. It’s important to familiarize yourself with the router interface and explore the various options available to configure your network effectively.
Step 3: Locating the Wi-Fi Network Settings
Once you have logged into your router’s settings page, the next step in changing your Wi-Fi network name is locating the Wi-Fi network settings. These settings allow you to customize the name of your network. Follow the steps below to find the Wi-Fi network settings:
1. Navigate to the Wireless or Wi-Fi Section: Look for a tab or menu option labeled “Wireless,” “Wi-Fi,” or similar. This section will contain all the settings related to your wireless network.
2. Access the Network Settings: Within the Wireless or Wi-Fi section, you should be able to find the network settings for your Wi-Fi network. Look for options such as “Network Name,” “SSID,” or “Wi-Fi Name.”
3. Note: The location and label of the network settings may vary depending on your router model. If you’re having trouble finding the specific settings, refer to the router’s manual or consult the manufacturer’s website for guidance.
4. Edit the Network Name: Once you have located the network settings, you can now edit the network name. Click on the field or the pencil icon next to the network name to make changes. Remember to choose a unique and easily recognizable name that reflects your personal preference or business branding.
5. Consider Security Settings: While changing the network name, it’s also a good time to review your Wi-Fi security settings. Ensure that you have a strong password set for your network to prevent unauthorized access.
6. Save the Changes: After editing the network name, don’t forget to save the changes. Look for a “Save,” “Apply,” or “Submit” button within the network settings section. Click on it to apply the new network name and finalize the changes.
Locating the Wi-Fi network settings is an important step in changing your network name. Take your time to explore the router settings page and understand the various options available. By customizing your network name, you can establish a more personalized and easily identifiable Wi-Fi network for yourself or your organization.
Step 4: Choosing a New Network Name
Choosing a new network name for your Wi-Fi network is an exciting opportunity to add a personal touch and make your network more identifiable. Follow the steps below to select a new network name:
1. Reflect Your Identity: Consider choosing a network name that reflects your identity, interests, or the purpose of the network. For example, if you’re a fan of a particular TV show, you could use the show’s name as your network name. Alternatively, you could incorporate your name or a clever play on words.
2. Avoid Personal Information: It’s important to prioritize security when choosing a new network name. Avoid including any personal information, such as your name, address, or phone number, in the network name. Including personal information can make it easier for someone to identify you and potentially compromise your security.
3. Keep it Unique: Select a network name that stands out and is unique. Having a generic network name like “Linksys” or “NETGEAR” may make it difficult for you and your devices to distinguish your network from others in the area.
4. Consider Visibility: Think about the visibility of your network name. If you live in an apartment complex or densely populated area, you may want to choose a network name that isn’t too generic or common, as it can become confusing when multiple networks with similar names are in range.
5. Check for Character and Length Limitations: Some routers have character limitations for network names, and special characters may not be supported. Check the limitations set by your router and make sure your chosen network name fits within those requirements.
6. Test the Network Name: Before finalizing the new network name, it can be helpful to test it out on a few devices to see how it appears and if it aligns with your intentions. This step can help avoid any formatting or visibility issues that may arise.
Remember, the network name should be a combination of creativity and practicality. Choosing a unique and meaningful name that aligns with your preferences will make your Wi-Fi network more personalized and easily recognizable.
Step 5: Applying the Changes to the Router
After selecting a new network name for your Wi-Fi network, the next step is to apply the changes to your router settings. Applying the changes ensures that your new network name becomes active and visible to devices connecting to your network. Follow the steps below to apply the changes:
1. Save your changes: On the router settings page, look for a “Save,” “Apply,” or “Submit” button. Click on it to save the changes you made to the network name.
2. Wait for the changes to take effect: After saving the changes, give your router a moment to apply the new network name. This process may take a few seconds to a minute depending on your router model.
3. Verify the new network name: To ensure that the changes have been successfully applied, check the Wi-Fi network list on your devices. Look for the new network name and verify that it is now appearing as the active Wi-Fi network.
4. Reboot your router (if necessary): In some cases, you may need to reboot your router for the changes to take effect. If you don’t see the updated network name after waiting for a reasonable amount of time, try turning off your router, waiting for a few seconds, and then turning it back on.
5. Update connected devices (if required): If you have devices that were previously connected to your Wi-Fi network, they may still display the old network name. To ensure a consistent experience, update the network name on each connected device manually. Go to the Wi-Fi settings on each device and select the new network name from the available options.
By following these steps, you will successfully apply the changes to your router settings and activate your new network name. Remember to update the network name on all your connected devices to ensure seamless connectivity.
Step 6: Reconnecting Devices to the New Network Name
Changing your Wi-Fi network name requires you to reconnect all your devices to the new network. Reconnecting devices ensures that they can access the updated network name and maintain a stable connection. Follow the steps below to reconnect your devices:
1. Access the Wi-Fi settings on your device: Start by opening the Wi-Fi settings on the device you want to reconnect. This can usually be found in the settings menu or by swiping down from the top of the screen on mobile devices.
2. Scan for available networks: In the Wi-Fi settings, scan for available networks. The new network name should appear in the list of available networks. Tap on it to select it.
3. Enter the new network password (if applicable): If you have changed the network password along with the network name, you will be prompted to enter the new password. Type in the new password exactly as it is, ensuring that the correct characters are used.
4. Connect to the new network: After entering the password, tap on the “Connect” or “Join” button to establish a connection with the new network.
5. Repeat for all devices: Repeat this process for each device that was previously connected to the old network. Ensure that every device is connected to the new network by checking their Wi-Fi settings.
6. Keep track of connected devices: As you reconnect devices, make note of the devices that have successfully connected to the new network. If any devices encounter connectivity issues, troubleshoot the problem by restarting the device or double-checking the entered password.
7. Troubleshooting: If you are still unable to connect a particular device to the new network, you may need to forget the old network on that device and repeat the connection process. This can often resolve any issues caused by residual network settings.
By reconnecting all your devices to the new network name, you ensure that they can seamlessly connect to and enjoy the benefits of your updated Wi-Fi network.
Step 7: Testing the Connection
After changing the Wi-Fi network name and reconnecting your devices, it’s crucial to test the connection to ensure that everything is functioning properly. Testing the connection will help verify that all devices can successfully connect to the new network and access the internet without any issues. Follow the steps below to test the connection:
1. Open a web browser: Launch a web browser on any connected device, such as a laptop, smartphone, or tablet.
2. Visit a website: Enter a website URL in the address bar and press Enter. This can be any website you prefer, such as www.google.com or www.youtube.com.
3. Check for loading speed: Once the website loads, check the loading speed. If the website loads quickly and without any interruptions, it indicates a stable connection.
4. Repeat the test on multiple devices: Perform the website loading test on multiple devices that are connected to the new network. This will help confirm that all devices can access the internet smoothly.
5. Test other online activities: Besides website loading, test other online activities on each device, such as streaming videos, online gaming, or video conferencing. Ensure that these activities can be performed without buffering, lag, or connection drops.
6. Check signal strength: Move around your home or office to check the signal strength in different areas. Make sure that the signal remains strong throughout your intended coverage area. If you encounter weak or inconsistent signals in certain areas, consider adjusting the placement of your router or using Wi-Fi extenders to boost coverage.
7. Troubleshoot connectivity issues: If any devices are experiencing connectivity issues or slow speeds, try rebooting the device, resetting network settings, or contacting your internet service provider for assistance.
By testing the connection on multiple devices and ensuring a stable and reliable internet connection, you can be confident that the changes to your Wi-Fi network name have been successfully implemented.
Step 8: Updating Network Names on Connected Devices
Changing the network name of your Wi-Fi network requires updating the network name on all your connected devices. By doing so, you ensure that each device recognizes and connects to the newly named network. Follow the steps below to update the network names on your connected devices:
1. Access Wi-Fi settings: Go to the Wi-Fi settings on each device that was previously connected to the old network. This can usually be found in the settings menu or by swiping down from the top of the screen on mobile devices.
2. Locate the network name: Look for the previous network name in the list of saved networks. Tap on the network name to select it and reveal the options menu.
3. Forget the old network: In the options menu, look for an option to “Forget,” “Delete,” or “Remove” the old network. Tap on this option to remove the old network name from the list of saved networks.
4. Scan for available networks: After removing the old network, scan for available networks to detect the new network name. It should appear in the list of available networks.
5. Connect to the new network: Tap on the new network name to select it. If you have set a new password along with the network name change, enter the new password as prompted. Tap on “Connect” or “Join” to establish a connection with the new network.
6. Repeat for all devices: Repeat this process for each device that was previously connected to the old network. Ensure that every device is now connected to the new network by checking their Wi-Fi settings.
7. Test the connections: After updating the network name on all devices, test the connections by browsing the internet, streaming videos, or performing other online activities. Ensure that each device can successfully access the internet and perform tasks without any connectivity issues.
8. Troubleshooting: If any device experiences difficulty connecting to or staying connected to the new network, double-check the entered password and Wi-Fi settings. Restarting the device or resetting network settings can often resolve any persisting issues.
By updating the network name on all connected devices, you ensure that each device recognizes and connects to the newly named Wi-Fi network. This allows for seamless connectivity and a consistent network experience across all devices.
Tips for Choosing a Wi-Fi Network Name
When it comes to choosing a Wi-Fi network name, there are a few tips you can keep in mind to make the process easier and more effective. Follow these tips to select an appropriate and memorable network name:
1. Be unique and creative: Stand out from the crowd by choosing a network name that is unique and reflects your personality or interests. Avoid generic names that are commonly used, as they may be confusing when multiple networks with similar names are in range.
2. Keep it simple: While being creative is encouraged, it’s important to keep the network name simple and easy to remember. Avoid using long phrases or complex combinations of numbers or symbols that may be difficult for others to enter when connecting to your network.
3. Avoid personal information: Ensure your network name does not include any personal information, such as your name, address, or phone number. Including personal information in your network name can pose a security risk.
4. Stay professional (if applicable): If you are setting up a Wi-Fi network for a business or professional environment, consider using a network name that reflects your brand or business name. This can help create a sense of professionalism and branding.
5. Consider your neighbors: If you live in an apartment complex or a crowded area, consider the proximity of other networks. Avoid using network names that are too similar to your neighbors’ network names to minimize confusion.
6. Keep it family-friendly: If you have children or share your network with family members, choose a network name that is appropriate and family-friendly. Make sure it does not contain any offensive or inappropriate language.
7. Avoid special characters: Some devices or networks may not recognize special characters in network names. Keep the network name alphanumeric (letters and numbers) to ensure compatibility with as many devices as possible.
8. Test the readability: Before finalizing your network name, consider testing it on different devices to ensure that it is easily readable. Check if the name is clear and distinguishable in Wi-Fi network lists.
Remember, your chosen network name is an opportunity to showcase your personality or brand while maintaining security and easy identification. By following these tips, you can select a Wi-Fi network name that is both memorable and functional.