
Applying Flags in Apple Mail
Flagging emails in Apple Mail is a convenient way to organize your inbox and prioritize important messages. Whether you want to mark an email as urgent, for follow-up, or simply to categorize it, applying flags can help you stay organized and focused. Here’s how you can easily apply flags in Apple Mail:
- Select the email: Open Apple Mail and navigate to your inbox or the folder where the email is located. Click on the email you want to flag to select it.
- Click on the flag icon: In the Mail toolbar, you’ll find a flag icon that looks like a small colored flag. Click on this icon to select the default flag color (usually yellow).
- Choose a flag color: If you prefer a different flag color, right-click on the flag icon. A drop-down menu will appear with various color options. Select the color that suits your preference or indicates the importance or category of the email.
- Confirm the flag: Once you’ve selected the flag color, the email will be flagged accordingly. You’ll see the flag icon next to the subject line of the email.
Alternatively, you can also apply flags by using the keyboard shortcut by selecting the email and pressing the ‘F’ key on your keyboard.
Applying flags in Apple Mail provides a visual cue that helps you quickly identify important emails or those that require your attention. It’s an efficient way to stay organized and ensures that no important messages get lost in the shuffle of a busy inbox.
Renaming Flags in Apple Mail
Renaming flags in Apple Mail allows you to customize the label associated with each flag, making it easier to identify their purpose or meaning. Follow these steps to rename flags in Apple Mail:
- Open Preferences: Launch Apple Mail and click on the “Mail” menu in the top-left corner of the screen. From the drop-down menu, select “Preferences.”
- Go to the Flag section: In the Preferences window, click on the “Flag” tab at the top.
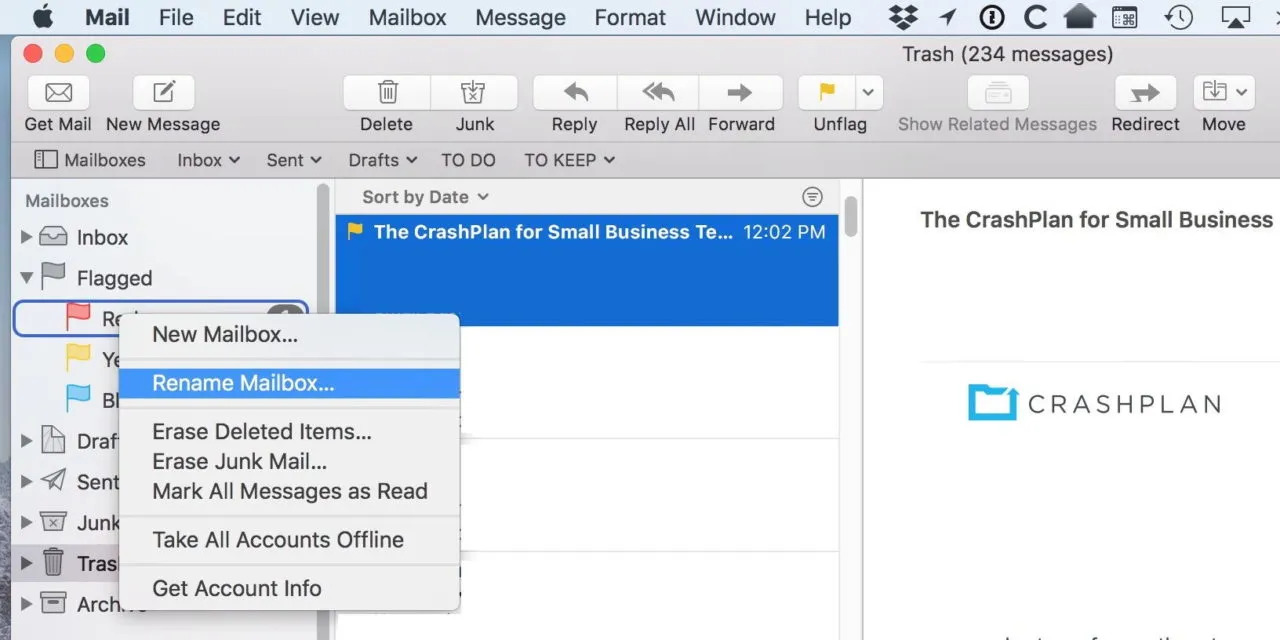
- Click on the flag you want to rename: A list of available flags will be displayed. Select the flag you wish to rename by clicking on it.
- Click on the “Rename” button: Once you’ve selected the flag, click on the “Rename” button located below the flag list.
- Enter the new name: A dialog box will appear, allowing you to enter a new name for the flag. Type in the desired label, such as “Important” or “Follow-up.”
- Save the changes: After entering the new flag name, click on the “OK” button to save the changes.
The flag will now be renamed with your chosen label. You can repeat these steps for any other flags you want to rename.
Renaming flags in Apple Mail is a useful feature, especially if you prefer labels that better align with your workflow or specific requirements. By customizing the flag names, you can enhance your email management process and effortlessly categorize your messages.
Removing Flags in Apple Mail
Removing flags from emails in Apple Mail is a straightforward process that can help declutter your inbox and remove any unnecessary visual cues. If you want to remove a flag from an email, here’s how you can do it:
- Select the flagged email: Open Apple Mail and navigate to your inbox or the folder containing the flagged email. Click on the email to select it.
- Click on the flag icon: In the Mail toolbar, you will see the flag icon next to the subject line of the selected email. Click on this flag icon to remove the flag.
- Alternatively, use the keyboard shortcut: If you prefer using a keyboard shortcut, select the email and press the ‘F’ key on your keyboard. This will remove the flag from the selected email.
Once the flag has been removed, the visual indicator next to the subject line will disappear, indicating that the email is no longer flagged.
Removing flags from emails is useful when you no longer need to mark a message as important or to ensure that your inbox remains organized and clutter-free. By easily removing flags, you can streamline your email management and focus on the most relevant information.