
What You’ll Need
To add Philips Hue lights to your Apple Home, you’ll need a few essential items:
- A Philips Hue Starter Kit: This kit includes the essential components you need to get started, such as the Hue Bridge and at least one Hue light bulb.
- Additional Philips Hue Lights: Depending on the size and layout of your home, you may want to purchase additional Hue light bulbs or light strips to create a fully connected lighting system.
- An iPhone or iPad: The Philips Hue app is available for both iOS devices, making it easy to control and set up your Hue lights.
- A Wi-Fi network: Since the Philips Hue system relies on a wireless connection, you’ll need a stable Wi-Fi network to connect your Hue devices to.
With these items in hand, you’ll be well-equipped to set up and enjoy the convenience and versatility of Philips Hue lights in your Apple Home.
Step 1: Set Up Your Philips Hue Lights
Before you can connect your Philips Hue lights to your Apple Home, you’ll need to set them up properly. Here’s how:
- Unbox your Philips Hue Starter Kit and remove the Hue light bulbs and the Hue Bridge.
- Screw the Hue light bulbs into the desired fixtures around your home. These can be standard light sockets or compatible fixtures.
- Plug the Hue Bridge into a power outlet using the provided power adapter.
- Connect one end of the included Ethernet cable to the Hue Bridge and the other end to your home’s router.
- Ensure that the power supply for both the Hue Bridge and your Hue lights is turned on.
- Wait for a few moments to allow the Hue Bridge and lights to power up and establish a connection.
Once you’ve completed these steps, your Philips Hue lights are physically set up and ready to be connected to your Apple Home system. The next step is to connect the Hue Bridge to your Wi-Fi network.
Step 2: Connect Your Hue Bridge to Your Wi-Fi Network
Connecting your Hue Bridge to your Wi-Fi network is a crucial step in integrating your Philips Hue lights with your Apple Home. Follow these instructions:
- Open the Philips Hue app on your iPhone or iPad and ensure that you’re connected to the same Wi-Fi network that you want to connect your Hue lights to.
- Tap on the “Settings” tab at the bottom right corner of the app.
- Select “Hue Bridges” and then choose the option to “Add Hue Bridge.”
- The app will prompt you to press the button on your Hue Bridge to establish a connection.
- Press the button on the Hue Bridge, and the app will begin searching for nearby bridges.
- Once the app finds your Hue Bridge, tap on it to select it.
- The app will now guide you through the process of connecting the Hue Bridge to your Wi-Fi network. Follow the on-screen instructions to complete the setup.
- Once the connection is established, the app will notify you that your Hue Bridge is connected to your Wi-Fi network.
With your Hue Bridge successfully connected to your Wi-Fi network, you’re one step closer to enjoying the convenience and control of your Philips Hue lights through your Apple Home system.
Step 3: Install the Hue App on Your iPhone or iPad
To control and manage your Philips Hue lights through your Apple Home, you’ll need to install the Philips Hue app on your iPhone or iPad. Follow these steps to get started:
- Open the App Store on your iPhone or iPad.
- In the search tab, type “Philips Hue” and tap on the search result for the official Philips Hue app.
- Tap the “Get” or “Install” button to begin downloading and installing the app onto your device.
- Once the app is successfully installed, locate and tap on the app icon to launch it.
- Upon launching the app, you may be prompted to allow certain permissions, such as accessing your location, camera, or notifications. Grant the necessary permissions to ensure full functionality of the app.
- If you have already set up your Hue Bridge and connected it to your Wi-Fi network, the app should automatically detect your setup and guide you through the process.
- Follow the on-screen instructions to complete the setup, which may include registering and creating an account with Philips Hue.
- Once the setup is complete, you’ll be able to control and customize your Philips Hue lights directly from the app on your iPhone or iPad.
With the Philips Hue app installed on your device, you’re now ready to pair your lights with the Hue Bridge and add them to your Apple Home system.
Step 4: Pair Your Lights with the Hue Bridge
Now that you have the Philips Hue app installed on your iPhone or iPad, it’s time to pair your lights with the Hue Bridge. Follow these instructions:
- Open the Philips Hue app on your device and log in if prompted.
- Ensure that your Hue Bridge is connected to your Wi-Fi network and powered on.
- In the app, tap on the “Settings” tab at the bottom right corner.
- Select “Light setup” from the menu.
- Tap on the plus (+) icon to start the light pairing process.
- The app will detect any nearby Hue lights that are ready to be paired. Make sure that the lights you want to pair are powered on and within range of the Hue Bridge.
- Tap on the lights you want to pair to select them. You can choose multiple lights at once.
- Follow the on-screen instructions to complete the pairing process. This may involve turning the lights off and on or pressing the buttons on the lights.
- Once the pairing is successful, the app will display a confirmation message, and the newly paired lights will appear in the app’s device list.
Great job! Your lights are now paired with the Hue Bridge and ready to be added to your Apple Home system. In the next step, we’ll guide you through the process of setting up your home in the Home app.
Step 5: Set Up Your Home in the Home App
To integrate your Philips Hue lights with your Apple Home system, you’ll need to set up your home in the Home app. Follow these steps:
- Open the Home app on your iPhone or iPad. If you don’t have it installed, you can download it from the App Store.
- Tap on the “+” icon at the upper right corner of the app to add a new accessory.
- Select “Add Accessory” from the options provided.
- The app will start scanning for available accessories. Wait for it to detect your Hue Bridge.
- Once the Hue Bridge is detected, tap on it to add it to your home.
- Follow the on-screen instructions to set up your home, including giving it a name and assigning it to a room if desired. You can also choose to enable remote access for controlling your lights when you’re away from home.
- Once you’ve completed the setup, the app will display a confirmation message, indicating that your home has been successfully added.
- You can now access your home and control your Philips Hue lights from the Home app.
Congratulations! Your home is set up in the Home app, and the next step is to add your Philips Hue lights to your home and customize their settings according to your preferences.
Step 6: Add Your Philips Hue Lights to the Home App
Now that your home is set up in the Home app, it’s time to add your Philips Hue lights and bring them into your Apple Home system. Follow these steps:
- Open the Home app on your iPhone or iPad.
- Tap on the “Rooms” tab at the bottom of the app to view your rooms.
- Tap on the room where you want to add your Philips Hue lights. If you haven’t created a room yet, you can do so by tapping on the “+” icon and selecting “Room.”
- Tap on the “+” icon in the room to add an accessory.
- The app will start searching for accessories. It should automatically detect your Philips Hue lights that are connected to the Hue Bridge.
- Once your lights are detected, tap on them to add them to the room. You can select multiple lights at once, if desired.
- Assign a name to each light to easily identify and control them. You can also set the room’s appearance and icon to personalize your setup.
- Tap “Done” when you’re finished adding and customizing your lights.
Well done! You have successfully added your Philips Hue lights to the Home app, and they are now part of your Apple Home system. In the final step, we’ll explore how you can customize your Philips Hue settings in the Home app.
Step 7: Customize Your Philips Hue Settings in the Home App
With your Philips Hue lights added to the Home app, it’s time to customize their settings and make the most out of your smart lighting system. Follow these steps to personalize and enhance your Philips Hue experience:
- Open the Home app on your iPhone or iPad.
- Tap on the “Rooms” tab at the bottom of the app and select the room where your Philips Hue lights are located.
- You’ll see a list of the lights in the room. Tap on a light to access its settings and options.
- From here, you can adjust the brightness and color of your Hue lights by using the sliders or selecting presets. Explore different colors and intensity levels to create the desired ambiance in your home.
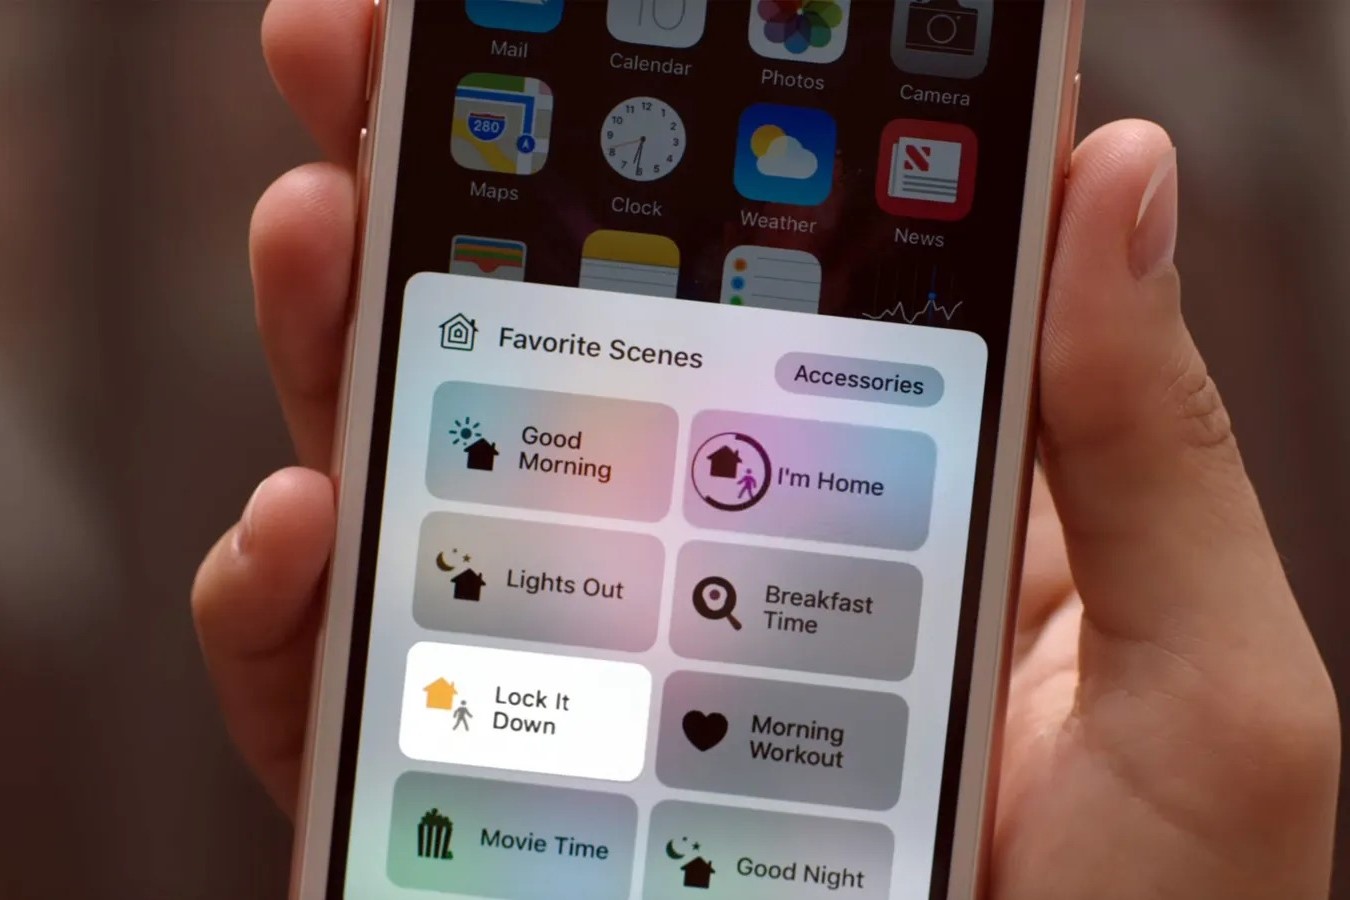
- Additionally, you can set up automations and scenes to simplify control of your lights. Automations allow you to set schedules, triggers, and conditions to have your lights respond automatically. Scenes enable you to save and recall specific light settings for different moods or scenarios.
- Don’t forget to experiment with features like timers, notifications, and control via Siri or the Control Center to further enhance your lighting experience.
- Repeat these steps for each room and light to customize the settings according to your preferences.
- Feel free to explore the other features and functionalities of the Home app, such as grouping lights, creating zones, or integrating other smart devices to create a comprehensive smart home setup.
Great job! By customizing your Philips Hue settings in the Home app, you can create personalized lighting scenes, automate your lights, and enjoy a customized lighting experience tailored to your needs and preferences.
Troubleshooting Tips
While setting up and integrating your Philips Hue lights with your Apple Home system, you may encounter some challenges. Here are some troubleshooting tips to help you resolve common issues:
- Ensure that your Wi-Fi network is stable and working properly. Restart your router if necessary.
- Make sure that your Hue Bridge and lights are powered on and properly connected.
- If you’re having trouble connecting your Hue Bridge to your Wi-Fi network, try moving it closer to your router or connecting it to a different Ethernet port.
- Resetting your Hue Bridge can often help resolve connectivity issues. Follow the instructions provided by Philips to perform a factory reset.
- If your lights aren’t responding, check that they are properly screwed in, the power switches are on, and the bulbs are not damaged.
- Ensure that you’re using the latest version of the Philips Hue app and that your iOS device has the latest software updates installed.
- If you’re experiencing inconsistent or unreliable connections between your Hue lights and the Hue Bridge, try repositioning the Hue Bridge or adding a Hue range extender. Ensure there are no obstructions interfering with the wireless signal.
- If you’re unable to control your lights through the Home app, double-check that you’ve properly added them to rooms in the Home app and that they are connected and powered on.
- If you’re still encountering issues, consult the official Philips Hue support documentation or reach out to their customer support for further assistance.
By following these troubleshooting tips, you can quickly identify and resolve common problems that may arise during the setup and use of your Philips Hue lights in your Apple Home system.