
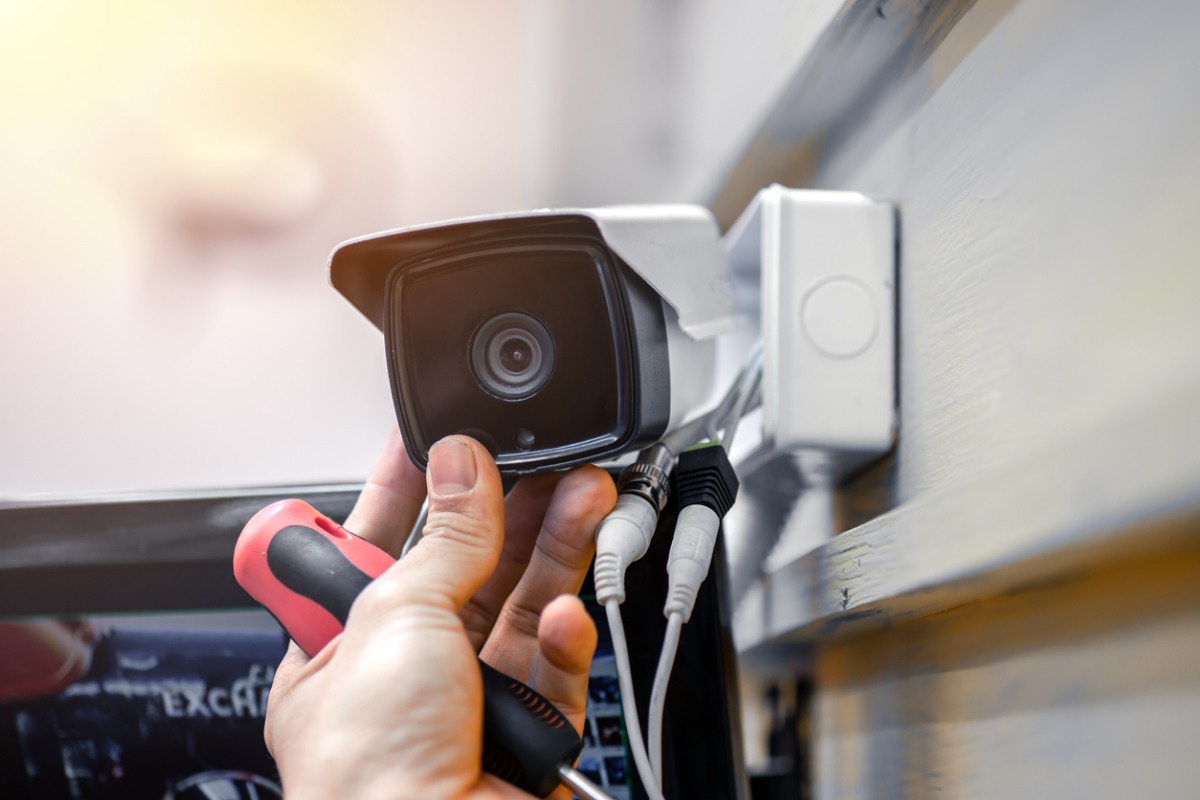
Requirements for Adding Camera to Google Home
If you’re looking to enhance the security and monitoring capabilities of your smart home, adding a camera to your Google Home setup is a great option. By integrating your camera with Google Home, you can easily view live feeds, receive alerts, and even control your camera using voice commands. However, before you proceed with the setup process, there are a few requirements you need to meet:
- A compatible camera: Make sure you have a camera that is compatible with Google Home. Check the camera’s specifications or consult the manufacturer to ensure compatibility.
- A Google Home device: You’ll need a Google Home device, such as a Google Home Mini, Google Home, or Google Nest Hub, to integrate with your camera.
- Stable Wi-Fi connection: Ensure that your home network has a stable Wi-Fi connection. This is essential for seamless communication between your camera, Google Home, and your mobile devices.
- Mobile device: You’ll need a smartphone or tablet with the Google Home app installed. The app will be used to set up the camera and configure its settings.
- Google Account: Make sure you have a Google Account linked to your Google Home device. This will be used to connect and control the camera.
It’s important to have these requirements fulfilled in order to ensure a smooth and successful integration of your camera with Google Home. Once you have checked off all the requirements, you can proceed with the step-by-step setup process to add your camera to Google Home.
Step 1: Set Up Your Google Home Device
The first step in adding a camera to your Google Home is to set up your Google Home device. Follow these instructions to get started:
- Choose a suitable location: Select a location for your Google Home device that is within range of your Wi-Fi network and offers optimal voice recognition. It should also be an area where you plan to use the camera.
- Plug in your Google Home device: Connect the power cable to your Google Home device and plug it into a power outlet. The device will turn on and you will see colored lights indicating it is in setup mode.
- Download and open the Google Home app: On your smartphone or tablet, download the Google Home app from the App Store (iOS) or Google Play Store (Android). Open the app and sign in with your Google Account.
- Add a new device: Tap the “+” button in the top-left corner of the screen to add a new device. Follow the on-screen instructions and select “Set up device” > “New devices” > “Google Home” from the list.
- Connect to Wi-Fi: The app will guide you through connecting your Google Home device to your Wi-Fi network. Make sure you have the Wi-Fi network name (SSID) and password handy.
- Sync Google Home with your Google Account: Follow the prompts to link your Google Account to the device. This will enable personalized features and allow you to control the camera with your voice.
- Complete the setup: Once the setup process is complete, you can customize your Google Home settings, such as preferred language and default music streaming services, to match your preferences.
Now that your Google Home device is set up and connected to your Wi-Fi network, you’re ready to move on to the next step: connecting the camera to your home network.
Step 2: Connect the Camera to Your Home Network
Once you have set up your Google Home device, the next step in adding a camera to Google Home is to connect the camera to your home network. Follow these steps to establish the connection:
- Locate the camera’s network settings: Check the camera’s user manual or manufacturer’s website to find the instructions for accessing the camera’s network settings. This typically involves connecting your mobile device to the camera’s Wi-Fi network.
- Access the camera’s network settings: Open the camera’s mobile app on your smartphone or tablet. Navigate to the settings or setup menu and select the option to connect the camera to your home network.
- Select your home Wi-Fi network: From the list of available Wi-Fi networks, choose your home network and enter the password when prompted. Ensure that the camera is within range of your Wi-Fi router to ensure a stable connection.
- Wait for the camera to connect: The camera will attempt to connect to your home network. This process may take a few moments. Once the connection is established, you will receive a confirmation message on the camera’s mobile app.
- Perform a test: To ensure that the camera is successfully connected to your home network, use the app to test the live streaming feature. If you can see a live feed from the camera on your mobile device, it means the connection is working correctly.
By following these steps, you will successfully connect the camera to your home network. This allows for seamless communication between the camera, your Google Home device, and your mobile app.
With the camera connected to your home network, you’re now ready to move on to the next step: installing the camera’s mobile app.
Step 3: Install the Camera’s Mobile App
In order to configure and control your camera, you will need to install the camera’s mobile app on your smartphone or tablet. Follow these steps to install the camera’s mobile app:
- Check the camera’s compatibility: Before installing the mobile app, ensure that it is compatible with your device’s operating system. Visit the app store (App Store for iOS or Google Play Store for Android) and search for the camera’s mobile app.
- Download the app: Once you have confirmed compatibility, download the camera’s mobile app by tapping the “Install” or “Get” button. The app will begin downloading and installing on your device.
- Launch the app: Once the installation is complete, locate the app on your device’s home screen or app drawer and tap on the icon to launch it.
- Create an account or sign in: Depending on the camera’s mobile app, you may be required to create a new account or sign in with an existing account. Follow the on-screen prompts to complete the account setup or sign-in process.
- Grant necessary permissions: The mobile app may require access to certain permissions, such as camera, microphone, or location. Grant the necessary permissions for the app to function properly.
Once you have installed and set up the camera’s mobile app, you will be ready to proceed with the next step: connecting the camera to your mobile app.
Note: It’s important to refer to the camera’s user manual or manufacturer’s website for specific installation instructions and any additional requirements for the mobile app installation.
Step 4: Connect the Camera to Your Mobile App
Once you have installed the camera’s mobile app on your smartphone or tablet, it’s time to connect the camera to the app. Follow these steps to establish the connection:
- Open the camera’s mobile app: Locate the camera’s mobile app on your device’s home screen or app drawer. Tap on the app icon to open it.
- Sign in to your account: If you created an account during the app installation process, sign in using your credentials. If not, follow the app’s instructions to create a new account.
- Add a new device: In the mobile app, look for an option to add a new device. This may be shown as a “+” icon or a similar symbol. Tap on it to start the device setup process.
- Select the camera model: From the list of available devices, select your camera model. If it’s not listed, look for an option to manually add the camera.
- Put the camera in pairing mode: Follow the instructions on the app to put your camera in pairing mode. This usually involves pressing a button or scanning a QR code on the camera.
- Connect the camera to the app: The mobile app will search for the camera and establish a connection. This may take a few moments. Once the camera is detected, select it to initiate the pairing process.
- Verify the connection: The app will confirm when the connection between the camera and the mobile app is successfully established. You may be prompted to enter a name for the camera or customize its settings at this stage.
Once the camera is connected to the mobile app, you can start exploring the app’s features and settings to configure the camera according to your preferences. This includes adjusting motion detection sensitivity, setting up notifications, and configuring recording options.
With the camera successfully connected to your mobile app, you’re one step closer to integrating it with your Google Home device. The next step involves linking the camera to your Google Account.
Step 5: Link the Camera to Your Google Account
In order to integrate the camera with your Google Home device, you need to link it to your Google Account. Follow these steps to link the camera to your Google Account:
- Open the camera’s mobile app: Launch the camera’s mobile app on your smartphone or tablet.
- Access the settings: Look for the settings or account menu within the mobile app. This is typically represented by an icon with three horizontal lines or as a cogwheel.
- Select “Account” or “Integration”: Within the settings menu, find the “Account” or “Integration” option and tap on it.
- Select “Link to Google Account”: Look for the option to link the camera to your Google Account. Tap on it to begin the linking process.
- Sign in to your Google Account: Follow the on-screen prompts to sign in to your Google Account. Enter your email address and password associated with your Google Account.
- Grant necessary permissions: The camera’s mobile app may request permission to access your Google Account and interact with other Google services. Grant the necessary permissions to proceed with the linking process.
- Confirm the linking: Once the camera is successfully linked to your Google Account, you will receive a confirmation message. The camera is now ready to be added to your Google Home device.
By linking the camera to your Google Account, you enable seamless integration between the camera, your mobile app, and your Google Home device. This allows you to control the camera using voice commands and receive alerts and notifications through Google Home.
In the next step, you will learn how to add the camera to your Google Home device.
Step 6: Add the Camera to Your Google Home Device
Now that your camera is linked to your Google Account, it’s time to add it to your Google Home device. Follow these steps to complete the setup:
- Open the Google Home app: Launch the Google Home app on your smartphone or tablet.
- Tap on the “+” icon: Look for the “+” icon at the top-left corner of the screen and tap on it. This will initiate the device setup process.
- Select “Set up device”: From the list of options, choose “Set up device” to begin adding a new device to your Google Home.
- Choose “Have something already set up?”: Look for the option that says “Have something already set up?” It’s usually located at the bottom of the screen. Tap on it.
- Search for your camera: Use the search bar or scroll through the list to find your camera’s brand or model. Select it from the list of available devices.
- Follow the on-screen prompts: The app will guide you through the process of adding your camera to Google Home. This may include granting permissions, signing in to your camera’s mobile app, or syncing data.
- Test the camera integration: Once the camera is successfully added to your Google Home, perform a test to ensure the integration is working. Use voice commands to view live feeds or access camera-related features.
By adding your camera to Google Home, you can now control and monitor it using voice commands through your Google Home device. This allows for a seamless and convenient way to interact with your camera and enhances the overall functionality of your smart home.
In the next step, you will learn how to configure camera settings in the Google Home app.
Step 7: Configure Camera Settings in the Google Home App
After successfully adding your camera to Google Home, it’s important to configure the camera settings to align with your preferences. Follow these steps to configure camera settings in the Google Home app:
- Open the Google Home app: Launch the Google Home app on your smartphone or tablet.
- Tap on the device: Locate and tap on the device icon corresponding to your camera in the Google Home app. This will bring up the camera settings page.
- Access camera settings: Look for the settings or options menu within the camera settings page. This can be represented by an icon with three vertical dots or as a gear/cogwheel icon. Tap on it to access the camera settings menu.
- Adjust camera settings: Within the camera settings menu, you can customize various features and options. This may include adjusting motion detection sensitivity, enabling or disabling sound detection, configuring recording settings, or setting up notifications.
- Explore advanced settings: Depending on your camera and app, you may have access to advanced settings. These can include options for scheduling recordings, setting up zones for motion detection, or enabling privacy modes.
- Save the settings: After making any desired changes, save the camera settings to apply the modifications. The Google Home app will communicate the updated settings to your camera.
Configuring the camera settings in the Google Home app allows you to tailor its functionality to suit your specific needs. Whether it’s adjusting the sensitivity of motion detection or customizing notification settings, these configurations will ensure an optimal camera experience within your smart home ecosystem.
With camera settings configured, you’re now ready to test the integration between your camera and Google Home. In the next step, we will explore how to perform a test of the camera integration.
Step 8: Test the Camera Integration with Google Home
Now that you have set up and configured your camera in the Google Home app, it’s time to test the integration to ensure everything is working smoothly. Follow these steps to test the camera integration with Google Home:
- Wake up your Google Home device: Activate your Google Home device by saying “Hey Google” or “OK Google” followed by a command to wake it up.
- Issue a voice command: Use a voice command to test the camera integration. For example, you can say “Hey Google, show me the [camera name]” or “OK Google, view [camera name] feed.”
- Monitor the camera feed: If the integration is successful, Google Home will display the live feed from your camera on a compatible device, such as Google Nest Hub or a Chromecast-enabled TV.
- Test additional features: Explore other camera-related voice commands, such as turning the camera on or off, adjusting settings, or asking for the status of the camera.
- Check notifications: Enable motion detection or sound detection in the camera settings and test if you receive notifications on your Google Home device when an event is triggered.
By testing the camera integration with Google Home, you can ensure that you can easily view and monitor your camera’s live feed and access its features using voice commands. This enhances the convenience and accessibility of your camera within your smart home ecosystem.
If you encounter any issues during the testing process, refer to the troubleshooting section or consult the camera’s support documentation for assistance.
With the camera integration successfully tested, you have completed the process of adding and integrating a camera with your Google Home device. Enjoy the enhanced security and monitoring capabilities that this integration brings to your smart home!
Troubleshooting Tips for Camera Integration with Google Home
Integrating a camera with your Google Home device can sometimes encounter challenges. If you experience any issues during the setup or usage process, refer to these troubleshooting tips to resolve common problems:
- Check for firmware updates: Ensure that both your camera and Google Home device have the latest firmware updates installed. Outdated firmware can cause compatibility issues and hinder proper integration.
- Verify the camera’s compatibility: Double-check that your camera is officially listed as compatible with Google Home. Refer to the camera’s user manual or manufacturer’s website for compatibility information.
- Ensure a stable internet connection: Make sure your Google Home device, camera, and mobile app all have a stable and reliable internet connection. Unstable connections can lead to intermittent connectivity issues.
- Confirm the camera’s settings: Check the camera’s settings within the mobile app to ensure that it is properly configured to work with Google Home. Review settings related to network connectivity, sharing, and compatibility.
- Restart devices: Try restarting your camera, Google Home device, and mobile app. This simple step can often resolve minor glitches and improve connectivity.
- Verify account linking: Double-check that the camera is properly linked to your Google Account. Revisit the camera’s mobile app and the Google Home app to verify the account linking process.
- Adjust camera positioning and range: If you are experiencing issues with camera feeds or connectivity, ensure the camera is properly positioned within range of your Wi-Fi signal. Consider moving the camera closer to the router, or using Wi-Fi extenders or mesh network systems to improve coverage.
- Reset and reconfigure: As a last resort, you can try resetting your camera and reconfiguring it with the Google Home app. This process may involve going through the initial setup steps again.
If you have exhausted these troubleshooting tips and are still experiencing issues, it is recommended to reach out to the camera’s support team or consult their documentation for specific troubleshooting guidance. They will be able to provide further assistance and help resolve any persistent issues.
By following these troubleshooting tips, you can overcome common obstacles and ensure a smooth integration between your camera and Google Home device, providing you with a seamless and efficient smart home experience.