
What is Pinterest?
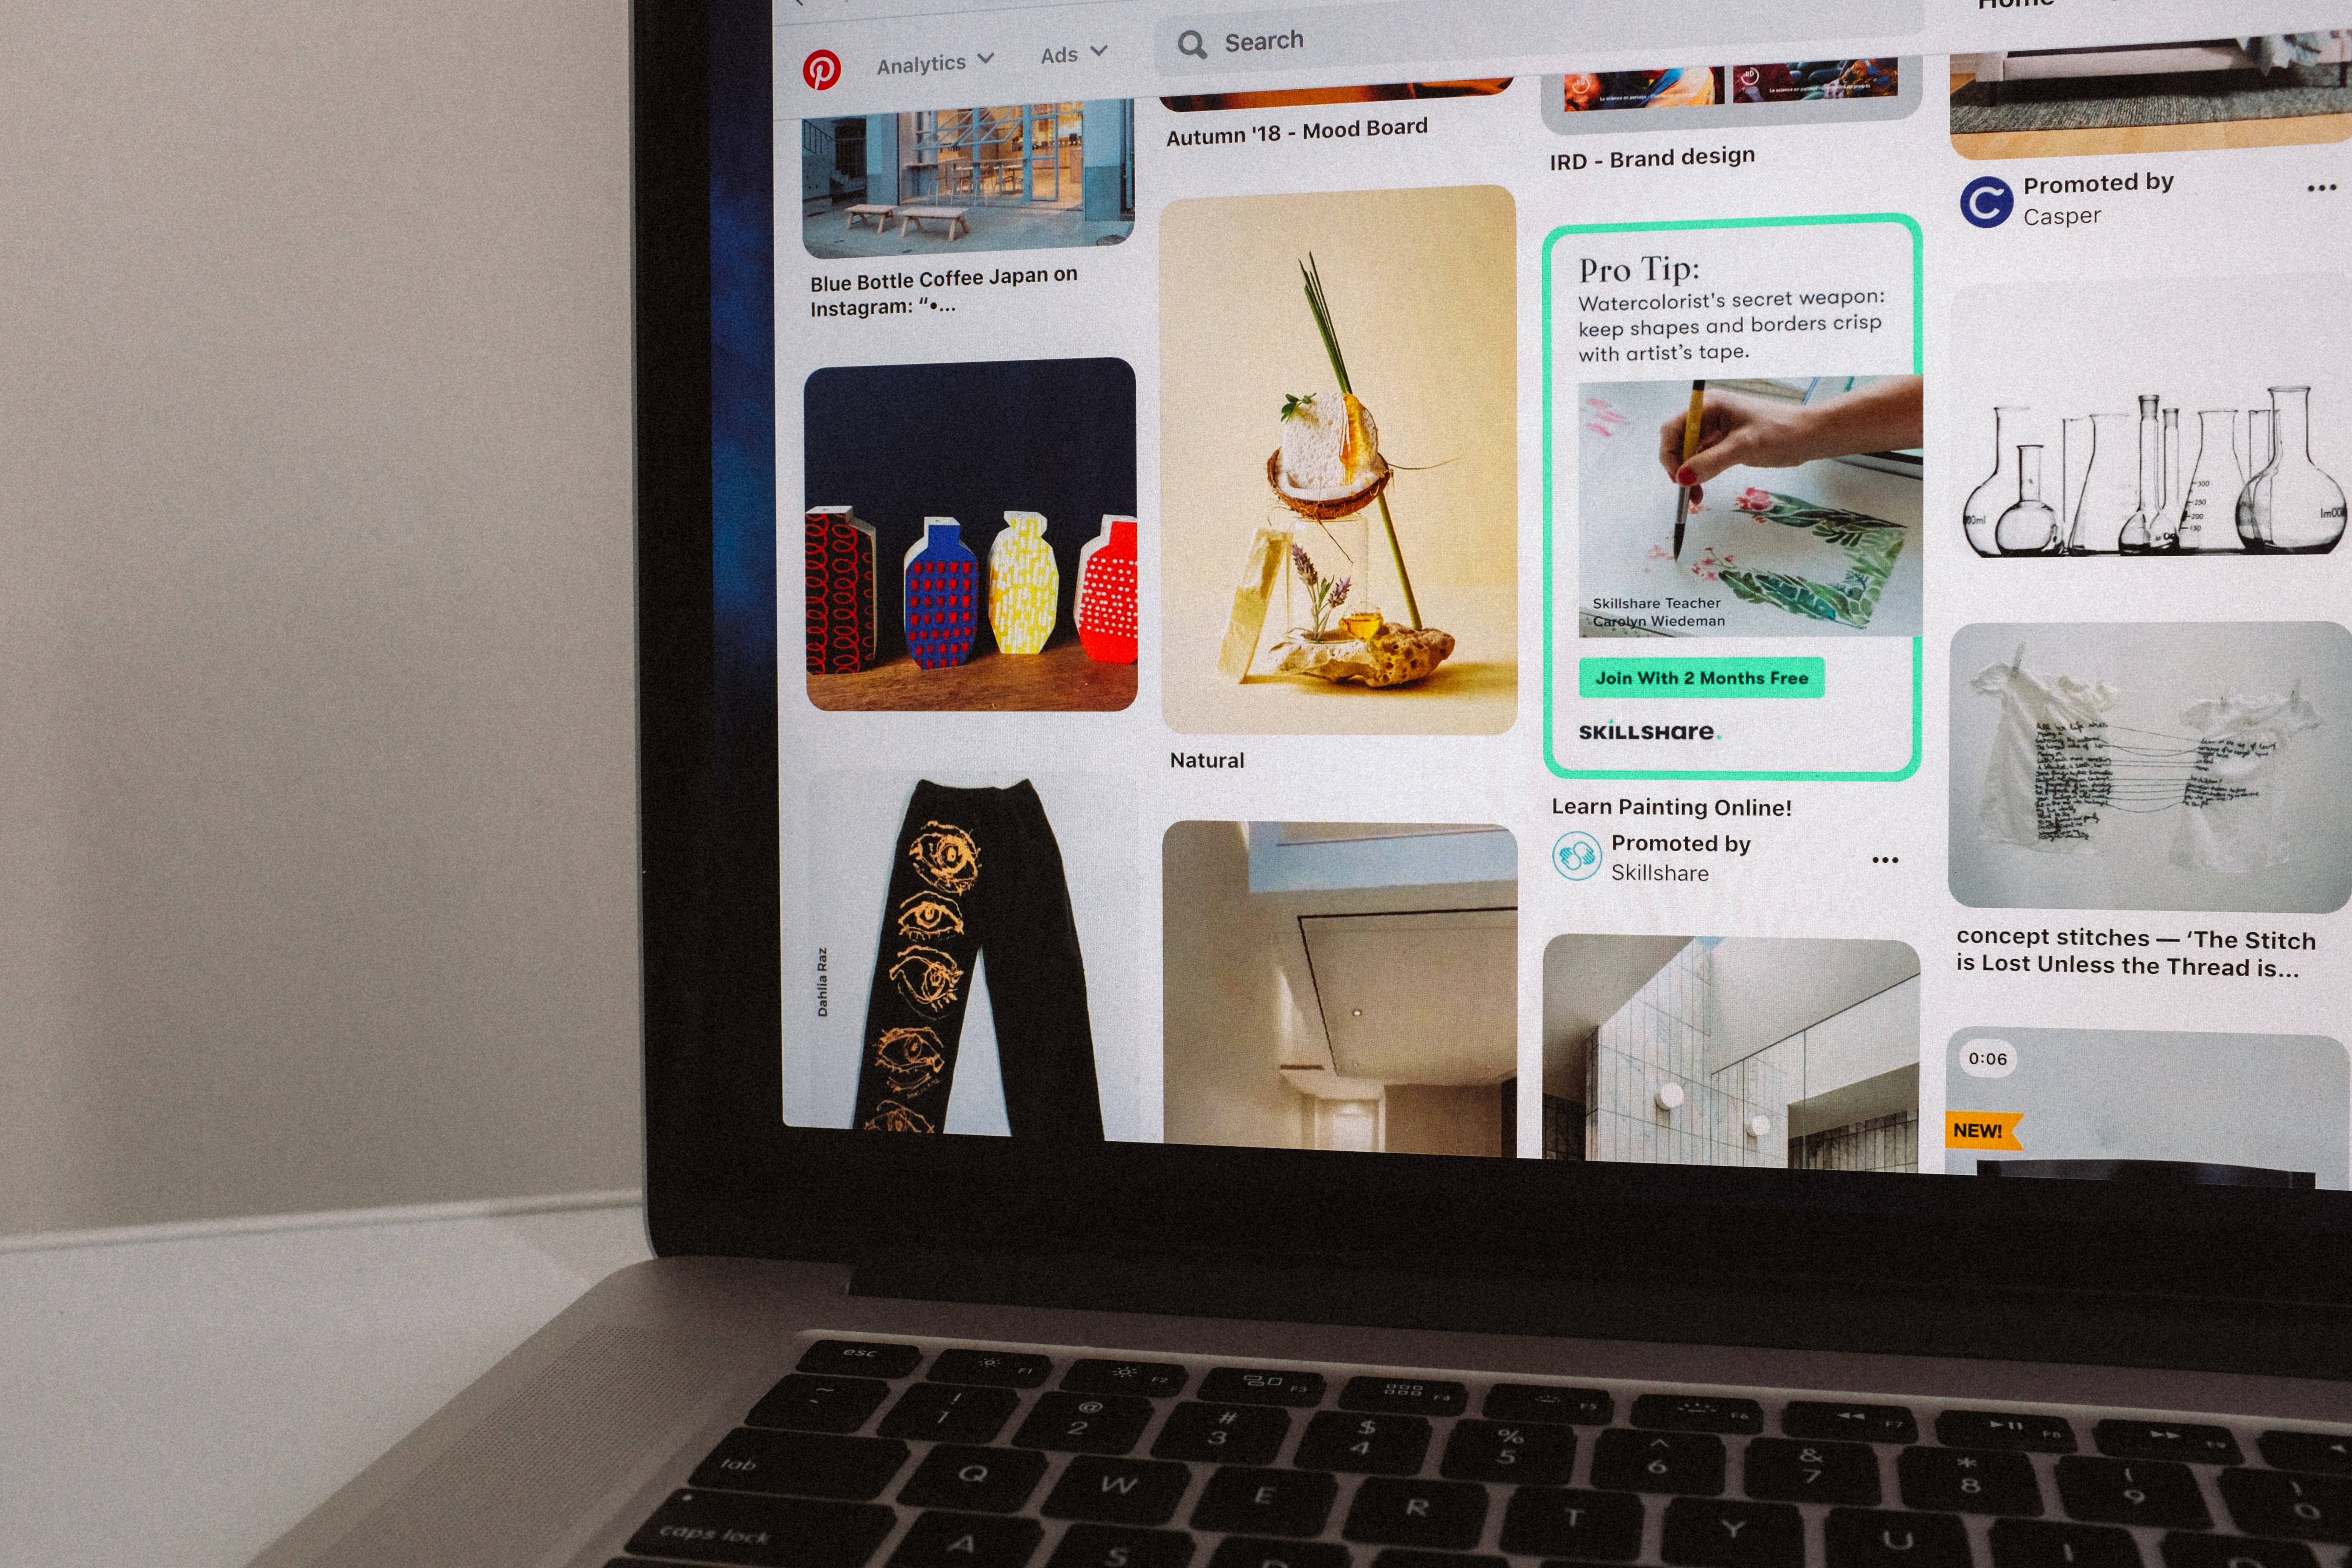
Pinterest is a popular social media platform that allows users to discover, save, and share ideas through visual inspiration. Launched in 2010, it has grown into a vast virtual pinboard where users can create boards and “pin” images or videos that they find interesting or inspiring. Pinterest is often referred to as a visual search engine, as it provides a unique way for users to search for ideas and inspiration.
Unlike other social media platforms that primarily focus on sharing personal updates or connecting with friends and family, Pinterest is centered around exploring and curating content based on specific interests. Users can follow boards or accounts related to their passions, such as cooking, fashion, home decor, travel, and more.
The platform’s visual nature makes it a powerful tool for businesses and individuals looking to showcase their products or services in a visually appealing way. Brands can create their own boards and share content that aligns with their niche or target audience, giving users the opportunity to discover and engage with their offerings.
Pinterest’s unique algorithm also plays a significant role in content discovery. The platform analyzes user behavior and preferences to provide personalized recommendations, making it easy for users to discover new ideas and content that resonates with their interests.
Overall, Pinterest offers a highly visual and user-friendly experience, making it a valuable platform for both personal and professional use. Whether you’re seeking inspiration for a home renovation project, gathering ideas for a special occasion, or promoting your business, Pinterest offers a wealth of opportunities to explore and share ideas in a visually captivating way.
Why should you add a Pinterest tab to your Facebook Page?
Integrating a Pinterest tab into your Facebook Page can offer numerous benefits, helping you expand your reach, engage your audience, and showcase your visual content. Here are a few compelling reasons why you should consider adding a Pinterest tab:
- Increased visibility: By adding a Pinterest tab to your Facebook Page, you can expose your audience to your Pinterest profile and boards, increasing your visibility across platforms. This can help attract new followers and expand your reach beyond your existing Facebook audience.
- Seamless content sharing: Integrating Pinterest into your Facebook Page allows for seamless sharing of your visually appealing content. You can easily showcase your Pinterest boards, pins, and images without the need for users to leave Facebook. This makes it more convenient for your audience to explore and interact with your Pinterest content.
- Enhanced engagement: Pinterest is known for its highly engaged user base. Adding a Pinterest tab to your Facebook Page gives your audience another avenue to connect with your brand and interact with your content. Users can like, comment, and share your pins directly on your Facebook Page, boosting engagement and driving more traffic to your Pinterest profile.
- Visual storytelling: Pinterest is a powerful platform for visual storytelling, and by integrating it into your Facebook Page, you can leverage its visual appeal to tell a compelling brand story. Showcase your products, services, or brand aesthetic through eye-catching images, videos, and infographics to captivate your audience and leave a lasting impression.
- Increased website traffic: Pinterest is known for driving significant referral traffic. By adding a Pinterest tab to your Facebook Page, you can encourage users to click through to your Pinterest profile and subsequently visit your website. This can lead to increased website traffic and potentially more conversions or sales for your business.
With the power of Pinterest and the reach of Facebook, integrating a Pinterest tab into your Facebook Page opens up a world of opportunities to engage your audience, showcase your visual content, and drive more traffic to your Pinterest profile and website. It’s a win-win situation that can help boost your online presence and take your social media marketing efforts to new heights.
Step 1: Logging in to your Facebook Page
Adding a Pinterest tab to your Facebook Page is a straightforward process. Here’s a step-by-step guide to help you get started:
- Access your Facebook account: Open a web browser and navigate to www.facebook.com. Enter your login credentials (email and password) in the designated fields and click on the “Log In” button to access your Facebook account.
- Select your Facebook Page: If you have multiple Facebook Pages associated with your account, click on the down arrow in the top-right corner of the navigation bar. From the drop-down menu, select the Facebook Page to which you want to add a Pinterest tab.
- Access your Page settings: Once you are on your Facebook Page, locate the settings tab at the top-right corner of the screen. It is represented by a gear icon. Click on the gear icon to access the settings menu for your Page.
- Navigate to the Templates and Tabs section: In the left-hand column of the settings menu, you will find a list of various settings options. Look for the “Templates and Tabs” section and click on it to proceed.
- Scroll down to the Tabs section: Within the Templates and Tabs settings, scroll down until you find the “Tabs” section. This is where you can manage the tabs that appear on your Facebook Page.
- Add the Pinterest tab: In the Tabs section, you will see a list of available tabs that you can add to your Facebook Page. Look for the option that says “Add a Tab” or something similar. Click on it to view the available tab options.
- Search for the Pinterest Tab app: In the tab options, use the search bar to search for the Pinterest Tab app. Enter “Pinterest Tab” or “Pinterest” in the search bar and wait for the results to populate.
- Select the Pinterest Tab app: Once the search results appear, locate the Pinterest Tab app and click on the “Add” or “Install” button next to it. This will add the Pinterest tab to your Facebook Page.
- Reorder the tabs (optional): If you want to change the order in which the tabs appear on your Facebook Page, you can click and drag the tabs in the “Tabs” section of your Page settings to rearrange them.
By following these steps, you have successfully logged in to your Facebook Page and accessed the settings to add a Pinterest tab. Now, you can move on to the next steps to configure and customize your Pinterest tab to showcase your Pinterest content on your Facebook Page.
Step 2: Finding the Pinterest Tab app
Once you have logged in to your Facebook Page, the next step is to find the Pinterest Tab app. Here’s how you can locate it:
- Access your Facebook Page settings: After logging in to your Facebook account, navigate to the Facebook Page to which you want to add the Pinterest tab. Click on the gear icon in the top-right corner of the screen to access the settings menu for your Page.
- Navigate to the Templates and Tabs section: In the settings menu, look for the “Templates and Tabs” section on the left-hand side. Click on it to proceed.
- Scroll down to the Tabs section: Within the Templates and Tabs settings, scroll down until you find the “Tabs” section. This is where you can manage the tabs that appear on your Facebook Page.
- Explore the available tab options: In the Tabs section, you will see a list of tabs that you can add to your Facebook Page. Take a moment to review the available options.
- Search for the Pinterest Tab app: If you don’t see the Pinterest Tab app in the list, you can use the search bar within the Tabs section to find it. Simply type “Pinterest Tab” or “Pinterest” in the search bar and wait for the results to populate.
- Select the Pinterest Tab app: Once the search results appear, locate the Pinterest Tab app from the list of options. It is usually denoted by the app’s logo or name. Click on the “Add” or “Install” button next to it to add the Pinterest Tab app to your Facebook Page.
- Verify successful installation: After adding the Pinterest Tab app, you should see it listed as one of the tabs in the “Tabs” section of your Page settings. This confirms that the Pinterest Tab app has been successfully added to your Facebook Page.
By following these steps, you will be able to locate and add the Pinterest Tab app to your Facebook Page. Once you have successfully installed the app, you can proceed to the next steps to configure and customize the Pinterest tab to showcase your Pinterest content on your Facebook Page.
Step 3: Installing the Pinterest Tab app
After finding the Pinterest Tab app for your Facebook Page, the next step is to install it. Follow these instructions to install the Pinterest Tab app:
- Access your Facebook Page settings: Start by logging in to your Facebook account and navigating to the Facebook Page where you want to install the Pinterest Tab app. Click on the gear icon in the top-right corner of the screen to access the settings menu for your Page.
- Navigate to the Templates and Tabs section: In the settings menu, find the “Templates and Tabs” section on the left-hand side. Click on it to proceed.
- Scroll down to the Tabs section: Within the Templates and Tabs settings, you’ll see a list of tabs that are available for your Facebook Page. Scroll down until you find the “Tabs” section.
- Find the Pinterest Tab app: In the Tabs section, locate the Pinterest Tab app. It should be displayed in the list of available tabs that you can add to your Facebook Page. Look for the app’s logo or name.
- Install the Pinterest Tab app: To install the Pinterest Tab app to your Facebook Page, click on the “Add” or “Install” button next to the app’s name. This will initiate the installation process for the Pinterest Tab app.
- Grant necessary permissions: During the installation process, you may be prompted to grant certain permissions to the Pinterest Tab app. These permissions are required for the app to access your Pinterest account and display your Pinterest content on your Facebook Page. Follow the on-screen prompts and grant the necessary permissions.
- Verify successful installation: Once the installation is complete, the Pinterest Tab app should appear in the “Tabs” section of your Facebook Page settings. You can verify that the app has been successfully installed by checking its presence in the list of tabs.
By following these steps, you will be able to install the Pinterest Tab app to your Facebook Page. Once the app is installed, you can proceed to the next steps to configure and customize the Pinterest tab to showcase your Pinterest content on your Facebook Page.
Step 4: Configuring the Pinterest Tab app
After successfully installing the Pinterest Tab app to your Facebook Page, the next step is to configure it. Here’s how you can configure the Pinterest Tab app:
- Access your Facebook Page settings: Start by logging in to your Facebook account and navigating to the Facebook Page where you installed the Pinterest Tab app. Click on the gear icon in the top-right corner of the screen to access the settings menu for your Page.
- Navigate to the Templates and Tabs section: In the settings menu, find the “Templates and Tabs” section on the left-hand side. Click on it to proceed.
- Scroll down to the Tabs section: Within the Templates and Tabs settings, you’ll see a list of tabs that are available for your Facebook Page. Scroll down until you find the “Tabs” section.
- Find the Pinterest Tab app: In the Tabs section, locate the Pinterest Tab app. It should be displayed in the list of available tabs that you have added to your Facebook Page. Click on the settings button (usually represented by three dots or a gear icon) next to the app’s name.
- Configure the Pinterest Tab settings: By clicking on the settings button, you will access the configuration options for the Pinterest Tab app. Depending on the app, you may be able to customize the title, description, display mode, or other settings. Customize these settings according to your preferences and the type of Pinterest content you want to showcase.
- Connect your Pinterest account: To display your Pinterest content on the Facebook Page tab, you will need to connect your Pinterest account to the Pinterest Tab app. Look for an option to connect or authorize your Pinterest account and follow the instructions to grant access. This will allow the app to fetch your Pinterest content and display it on your Facebook Page.
- Save your configuration: After adjusting the settings and connecting your Pinterest account, make sure to save the configuration changes in the Pinterest Tab app. Look for a “Save” or “Apply” button within the app’s settings and click on it to save your changes.
By following these steps, you will be able to configure the Pinterest Tab app to your desired settings. Make sure to customize the app’s settings to align with your branding and showcase the Pinterest content that best represents your business or personal interests.
Step 5: Customizing the Pinterest Tab app
Once you have configured the Pinterest Tab app for your Facebook Page, the next step is to customize it to enhance its appearance and make it align with your branding. Here’s how you can customize the Pinterest Tab app:
- Access your Facebook Page settings: Start by logging in to your Facebook account and navigating to the Facebook Page where you have the Pinterest Tab app installed. Click on the gear icon in the top-right corner of the screen to access the settings menu for your Page.
- Navigate to the Templates and Tabs section: In the settings menu, find the “Templates and Tabs” section on the left-hand side. Click on it to proceed.
- Scroll down to the Tabs section: Within the Templates and Tabs settings, you’ll see a list of tabs that are available for your Facebook Page. Scroll down until you find the “Tabs” section.
- Find the Pinterest Tab app: In the Tabs section, locate the Pinterest Tab app. It should be displayed in the list of available tabs that you have added to your Facebook Page. Click on the settings button (usually represented by three dots or a gear icon) next to the app’s name.
- Customize the tab name and image: Within the Pinterest Tab app settings, you will have the option to customize the tab’s name and image. Choose a name that accurately represents the content you will be showcasing on the tab, and consider using a visually appealing image or logo that is recognizable to your audience.
- Choose a layout: Depending on the Pinterest Tab app’s features, you may have the option to select a layout for your Pinterest tab. Explore the available layouts and choose the one that best fits your style and showcases your Pinterest content effectively.
- Set a featured board: If the Pinterest Tab app allows it, you can choose a featured board to display on your Facebook Page tab. Select a board that represents your brand or interests well and will engage your audience.
- Customize the color scheme (if available): Some Pinterest Tab apps may offer customization options for the color scheme of the tab. If available, choose colors that harmonize with your branding or create an appealing visual experience for your audience.
- Preview your customization: After making changes to the Pinterest Tab app settings and customization options, take a moment to preview how the tab will appear on your Facebook Page. This will allow you to review and fine-tune any further adjustments.
- Save your customization: Once you are satisfied with the customization, make sure to save the changes within the Pinterest Tab app. Look for a “Save” or “Apply” button and click on it to save your customization for the tab.
By following these steps, you can customize the Pinterest Tab app on your Facebook Page to reflect your brand, showcase your Pinterest content effectively, and provide an engaging visual experience for your audience.
Step 6: Previewing the Pinterest tab on your Facebook Page
After customizing the Pinterest Tab app on your Facebook Page, it’s important to preview how the tab will appear to your audience. Follow these steps to preview the Pinterest tab:
- Access your Facebook Page settings: Start by logging in to your Facebook account and navigating to the Facebook Page where you have the Pinterest Tab app installed. Click on the gear icon in the top-right corner of the screen to access the settings menu for your Page.
- Navigate to the Templates and Tabs section: In the settings menu, find the “Templates and Tabs” section on the left-hand side. Click on it to proceed.
- Scroll down to the Tabs section: Within the Templates and Tabs settings, you’ll see a list of tabs that are available for your Facebook Page. Scroll down until you find the “Tabs” section.
- Locate the Pinterest Tab app: In the Tabs section, locate the Pinterest Tab app. It should be displayed in the list of available tabs that you have added to your Facebook Page. Make sure the tab is enabled and visible to your audience.
- Preview the tab: Once you have located the Pinterest Tab app, click on the “View Tab” or “Preview” button to see how the tab will appear on your Facebook Page. This will open a new window or tab displaying the Pinterest tab.
- Review the appearance and functionality: Take a detailed look at the preview of the Pinterest tab. Pay attention to the layout, images, featured board (if applicable), and overall user experience. Verify if the settings and customization you applied have been properly reflected.
- Interact with the tab: Interact with the Pinterest tab as a user would. Click on various pins, explore the content, and ensure that everything is functioning as intended. Use this opportunity to check for any potential issues or areas for improvement.
- Make necessary adjustments: If you notice any issues or elements that require adjustment, go back to the Facebook Page settings and make the necessary changes within the Pinterest Tab app settings. Repeat the process of previewing until you are satisfied with the appearance and functionality of the tab.
By following these steps, you can preview the Pinterest tab on your Facebook Page and ensure that it looks and works as intended. This allows you to make any necessary adjustments before making the tab accessible to your audience.
Step 7: Publishing the Pinterest tab on your Facebook Page
Once you have customized and previewed the Pinterest tab on your Facebook Page, the next step is to publish it and make it accessible to your audience. Here’s how you can publish the Pinterest tab:
- Access your Facebook Page settings: Start by logging in to your Facebook account and navigating to the Facebook Page where you have the Pinterest Tab app installed. Click on the gear icon in the top-right corner of the screen to access the settings menu for your Page.
- Navigate to the Templates and Tabs section: In the settings menu, find the “Templates and Tabs” section on the left-hand side. Click on it to proceed.
- Scroll down to the Tabs section: Within the Templates and Tabs settings, you’ll see a list of tabs that are available for your Facebook Page. Scroll down until you find the “Tabs” section.
- Locate the Pinterest Tab app: In the Tabs section, find the Pinterest Tab app that you have customized. Make sure it is enabled and visible to your audience. If it’s not already enabled, click on the “Settings” button next to the app’s name and make sure the toggle switch is set to “On” or “Enabled”.
- Reorder the tabs (optional): If you want to change the order in which the tabs appear on your Facebook Page, you can click and drag the tabs in the “Tabs” section of your Page settings to rearrange them. Place the Pinterest tab in the desired position.
- Review the visibility and audience: Double-check the visibility settings for the Pinterest tab. Ensure that it is visible to the desired audience (such as “Public”, “Friends”, or “Custom”). Adjust the visibility settings as needed.
- Save and publish the changes: Once you have reviewed and finalized the settings for the Pinterest tab, click on the “Save” or “Apply” button within the Facebook Page settings to publish the changes. This will make the Pinterest tab visible to your audience on your Facebook Page.
- Notify your audience (optional): Consider making a post or announcement on your Facebook Page to inform your audience about the new Pinterest tab. Encourage them to check out the tab and explore your Pinterest content.
By following these steps, you can publish the Pinterest tab on your Facebook Page, making it accessible to your audience. Take the opportunity to make any necessary adjustments and promote the new tab to increase engagement and awareness of your Pinterest content.
Step 8: Promoting your Pinterest tab on your Facebook Page
After publishing the Pinterest tab on your Facebook Page, it’s essential to promote it to increase engagement and drive traffic to your Pinterest content. Here are some effective strategies to promote your Pinterest tab:
- Create a post announcing the Pinterest tab: Craft a compelling post on your Facebook Page to introduce your audience to the new Pinterest tab. Highlight the value they can gain from exploring your Pinterest content and encourage them to check it out.
- Pin a post to the top: Consider pinning the announcement post about your Pinterest tab to the top of your Facebook Page. This ensures that it remains visible and easily accessible to your audience whenever they visit your Page.
- Utilize Facebook ads: Leverage Facebook’s advertising features to reach a wider audience beyond your existing followers. Run targeted ads promoting your Pinterest tab, focusing on users who are likely to have an interest in your niche or industry.
- Share eye-catching visuals: Create visually appealing images or graphics that showcase your Pinterest tab and the content it offers. Use attention-grabbing visuals to capture the interest of your audience and compel them to explore your Pinterest content.
- Create engaging captions: Craft compelling captions that accompany your posts promoting the Pinterest tab. Use language that sparks curiosity, emphasizes the value of your Pinterest content, and encourages users to engage and share.
- Encourage user-generated content: Run contests or campaigns where you ask your followers to create and share pins related to your brand or niche. This not only generates user-generated content but also increases awareness of your Pinterest presence and the tab.
- Collaborate with influencers: Identify influencers or key figures in your industry who have a significant presence on Pinterest. Collaborate with them to cross-promote your Pinterest tab on their platforms, increasing visibility and followers.
- Share Pinterest content on Facebook: Regularly share your most engaging and visually appealing Pinterest content on your Facebook Page. This can pique the interest of your audience and encourage them to explore your Pinterest tab for more similar content.
- Include a call-to-action: Always include a clear call-to-action in your posts promoting the Pinterest tab. Encourage users to like, comment, and most importantly, click on the link to access your Pinterest tab and discover more content.
- Analyze and optimize: Continuously analyze the performance of your promoted posts and Facebook ads. Monitor engagement levels, click-through rates, and other metrics to identify what works best for promoting your Pinterest tab and make any necessary adjustments to optimize your strategy.
By implementing these promotional strategies, you can effectively drive traffic to your Pinterest tab on your Facebook Page and increase engagement with your Pinterest content. Remember to regularly assess the performance of your promotional efforts and refine your tactics to achieve optimal results.