
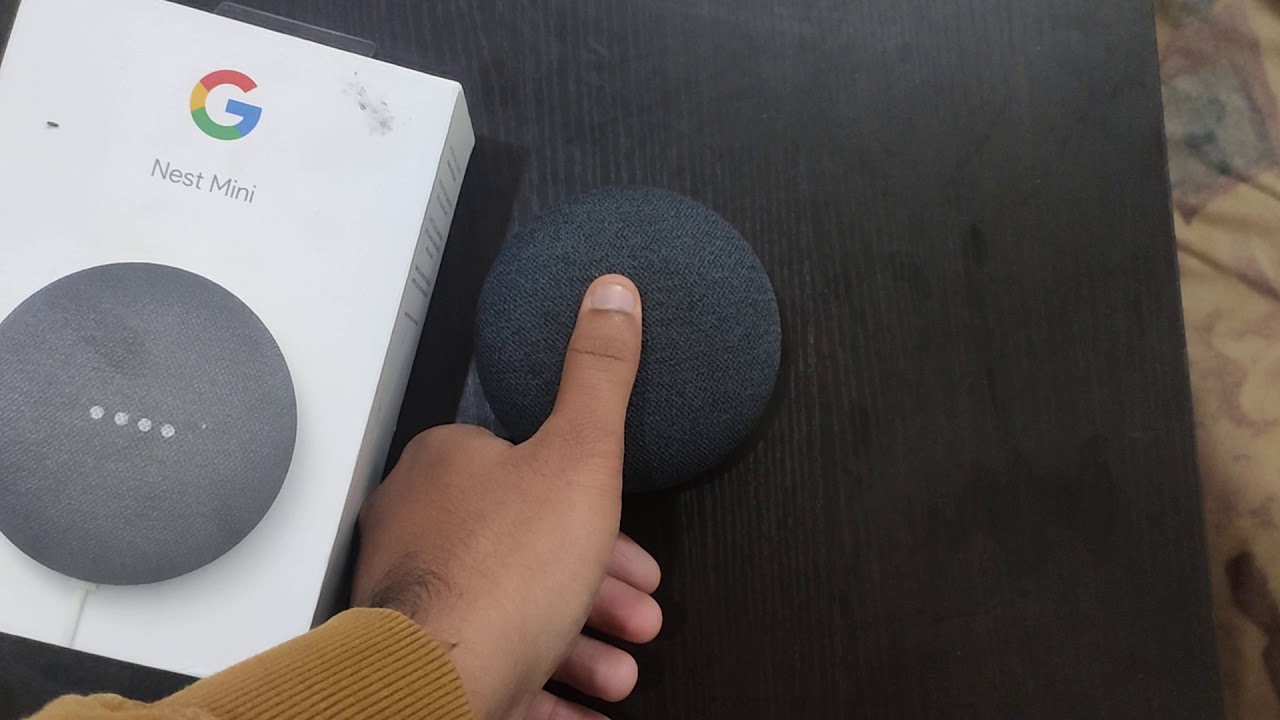
Check your Google Home device
Before you can connect your Google Home to the new Wi-Fi network, it’s important to ensure that your device is ready for the process. Follow these steps to check your Google Home device:
- Power on your Google Home: Make sure your Google Home device is plugged into a power source and turned on. You should see the LED lights on the device indicating that it is ready.
- Check the Wi-Fi signal: Ensure that your Google Home is in a location where it can receive a strong Wi-Fi signal. If you notice any connectivity issues, try moving it closer to your router.
- Reset the device (if needed): If you’ve recently changed your Wi-Fi network or are experiencing connectivity problems, you may need to reset your Google Home. To do this, press and hold the microphone mute button on the back of the device for about 15 seconds until you hear the device restart.
- Confirm device compatibility: Check if your Google Home device is compatible with the new Wi-Fi network. Some older models may not support certain Wi-Fi frequencies or security protocols. Refer to the user manual or Google’s support website for more information.
By following these steps, you can ensure that your Google Home device is ready and capable of connecting to your new Wi-Fi network. Once you have confirmed these details, you can proceed with the connection process.
Connect your phone to the new Wi-Fi network
In order to connect your Google Home device to the new Wi-Fi network, you’ll need to first ensure that your phone is connected to the same network. Follow these steps to connect your phone to the new Wi-Fi network:
- Access your phone’s Wi-Fi settings: Open the settings on your phone and locate the Wi-Fi section. This can usually be found under the “Network & Internet” or “Connections” menu.
- Scan for available networks: Tap on the Wi-Fi option to view the available networks in your vicinity. Make sure that the new Wi-Fi network is listed and select it.
- Enter the Wi-Fi password: If the network is secured, you will be prompted to enter the Wi-Fi password. Carefully type in the password to connect to the network.
- Confirm the connection: Once you have entered the correct password, your phone will attempt to establish a connection to the new Wi-Fi network. Wait for a few seconds until the connection is successfully established.
Connecting your phone to the new Wi-Fi network is an important step as it will allow you to control and manage your Google Home device. Once your phone is connected to the network, you can proceed to the next step of setting up your Google Home via the Google Home app.
Open the Google Home app
After connecting your phone to the new Wi-Fi network, you’ll need to open the Google Home app to begin the setup process. The Google Home app is available for both Android and iOS devices and allows you to control various features of your Google Home device. Here’s how you can open the app:
- Search for the Google Home app: Go to the app store on your phone and search for “Google Home.” Look for the official Google Home app and download it if you haven’t already done so.
- Launch the Google Home app: Once the app is downloaded, tap on the icon to open it. The app may require some initial permissions and sign-in information, so make sure to provide the necessary details.
- Sign in with your Google account: If you haven’t signed in already, you’ll be prompted to sign in using your Google account. Enter your credentials and proceed to the next step.
- Allow location and notification access (optional): The app may ask for permission to access your location and send you notifications. Granting these permissions can enhance the functionality of the app, but they are not strictly required.
Once you have successfully launched the Google Home app and signed in, you’re ready to start setting up your Google Home device. The app will guide you through the necessary steps to connect your Google Home to the new Wi-Fi network and configure its settings according to your preferences.
Access the Wi-Fi settings
Once you have opened the Google Home app on your phone, the next step is to access the Wi-Fi settings within the app. This will allow you to connect your Google Home device to the new Wi-Fi network. Follow these steps to access the Wi-Fi settings:
- Locate the device settings: In the Google Home app, find and select the specific Google Home device you want to connect to the new Wi-Fi network. This can usually be done by tapping on the device icon or name.
- Access the device settings menu: Look for the settings menu within the Google Home app. This can typically be found by tapping on the gear icon or by locating the “Settings” tab or option.
- Select Wi-Fi settings: Within the device settings menu, look for the “Wi-Fi” or “Network” option. Tap on it to access the Wi-Fi settings specific to your Google Home device.
By following these steps, you will be able to access the Wi-Fi settings within the Google Home app. This will allow you to proceed with the next step of connecting your Google Home device to the new Wi-Fi network.
Connect Google Home to the new Wi-Fi network
Now that you have accessed the Wi-Fi settings in the Google Home app, you can proceed to connect your Google Home device to the new Wi-Fi network. Here are the steps to follow:
- Select the new Wi-Fi network: Within the Wi-Fi settings in the Google Home app, you will see a list of available Wi-Fi networks. Locate and select the new network that you want to connect your Google Home device to.
- Enter the Wi-Fi password (if required): If the new Wi-Fi network is secured, you will be prompted to enter the Wi-Fi password. Carefully type in the password and make sure it is correct.
- Wait for the device to connect: Once you have selected the new Wi-Fi network and entered the password, your Google Home device will attempt to connect to the network. This may take a few moments, so be patient and wait for the connection to be established.
- Confirm the successful connection: Once your Google Home device is successfully connected to the new Wi-Fi network, you will receive a confirmation message or notification in the Google Home app.
By following these steps, you can easily connect your Google Home device to the new Wi-Fi network. This will allow you to control and manage your device wirelessly from your phone using the Google Home app.
Test the connection
Once you have successfully connected your Google Home device to the new Wi-Fi network, it’s important to test the connection to ensure that everything is working properly. Follow these steps to test the connection:
- Issue a voice command: Use a voice command, such as “Hey Google, what’s the weather like today?” to test if your Google Home device is able to receive and respond to your commands. If you hear a response, it means that the connection is working correctly.
- Play a music or audio: Ask your Google Home device to play a song, podcast, or other audio content. If you can hear the audio playing from the device, it indicates that the connection is established and working as expected.
- Control smart devices: If you have any compatible smart devices connected to your Google Home, try controlling them using voice commands. For example, you can ask Google Home to turn on the lights or adjust the temperature. If the smart devices respond accordingly, it means that the connection is functioning properly.
- Check for any connectivity issues: If you encounter any issues or difficulties during the testing process, ensure that your phone and Google Home device are connected to the same Wi-Fi network. Additionally, verify that your internet connection is stable and that there are no obstructions between the devices.
By testing the connection, you can confirm that your Google Home device is successfully connected to the new Wi-Fi network and is functioning correctly. If you encounter any problems, you may need to troubleshoot the issue or contact Google support for further assistance.
Reconnect other devices to Google Home (if needed)
If you have other devices, such as smartphones or tablets, that were previously connected to your Google Home device, you may need to reconnect them to ensure they can still interact with Google Home. Follow these steps to reconnect other devices to Google Home:
- Open the Google Home app on the device: Launch the Google Home app on the device you want to reconnect. Make sure you are connected to the same Wi-Fi network as your Google Home device.
- Access the device settings: Locate and select the specific Google Home device within the Google Home app. This can usually be done by tapping on the device icon or name.
- Reconnect to the Google Home device: Look for an option to reconnect or link the device to your Google Home. This process may vary depending on the device and operating system. Follow the on-screen instructions to complete the reconnection process.
- Test the reconnection: Once the device is successfully reconnected, test its functionality by issuing voice commands or controlling smart devices through the Google Home app. Ensure that the device is responding and interacting with your Google Home as intended.
Reconnecting other devices to Google Home allows you to continue enjoying the seamless integration and control that Google Home provides. By following these steps, you can ensure that all your devices are connected and working harmoniously with your Google Home device.