
Why should you change the password on your Amazon Echo?
Protecting your personal information and maintaining the security of your devices should always be a top priority. When it comes to your Amazon Echo, changing the password is a crucial step to ensure the privacy and safety of your device and its associated accounts. Here are a few compelling reasons why it’s important to change the password on your Amazon Echo:
- Prevent unauthorized access: By changing the password on your Amazon Echo, you can help prevent unauthorized users from gaining access to your device and potentially exploiting your personal information.
- Protect your connected accounts: Your Amazon Echo is often linked to various online accounts, such as your Amazon account, music streaming services, and smart home devices. Changing the password on your Echo can provide an additional layer of security, safeguarding these connected accounts from potential breaches.
- Mitigate the risk of hacking: With the increasing prevalence of hacking attempts, it’s crucial to stay proactive in securing your smart devices. Changing the password on your Amazon Echo helps mitigate the risk of hackers gaining unauthorized access to your device and potentially infiltrating your home network.
- Ensure data privacy: Your Amazon Echo collects and stores data about your interactions and preferences. By changing the password, you can ensure that only authorized individuals have access to this data, safeguarding your privacy.
- Stay ahead of software vulnerabilities: Technology is constantly evolving, and new vulnerabilities are discovered regularly. Changing the password on your Amazon Echo ensures you’re taking an active step in staying ahead of potential security flaws and protecting your device from emerging threats.
By changing the password on your Amazon Echo, you are prioritizing the security and privacy of your device and personal information. It’s a simple yet effective way to enhance the overall safety of your smart home ecosystem.
Step 1: Open the Alexa app on your smartphone or tablet
To begin the process of changing the password on your Amazon Echo, you will need to open the Alexa app on your smartphone or tablet. The Alexa app is the control center for your Echo device, allowing you to manage settings, connect to Wi-Fi networks, and customize your device’s functionality.
Here’s a simple step-by-step guide to help you open the Alexa app:
- Ensure that your smartphone or tablet is connected to the internet.
- Locate and tap the Alexa app icon on your device’s home screen. The Alexa app is recognizable by its distinctive white and blue logo.
- If you haven’t downloaded the app yet, you can find it on the App Store for iOS devices or on the Google Play Store for Android devices. Simply search for “Amazon Alexa” and download the official app.
- Once the app is open, you may be prompted to sign in with your Amazon account. Enter your credentials and tap “Sign In.”
- If you do not have an Amazon account, you can create one by tapping on the “Create a New Amazon Account” option.
- After successfully signing in, you will be greeted with the Alexa home screen, displaying a variety of devices and settings.
With the Alexa app now open on your smartphone or tablet, you’re ready to proceed to the next step in the process of changing the password on your Amazon Echo. Follow the remaining steps to ensure the security and privacy of your device and associated accounts.
Step 2: Go to the Settings menu
Once you have successfully opened the Alexa app on your smartphone or tablet, the next step in changing the password on your Amazon Echo is to navigate to the Settings menu. The Settings menu is where you can access and adjust various configurations for your Echo device.
Follow these simple steps to locate the Settings menu:
- In the Alexa app, look for the menu icon in the top left corner of the screen. It appears as three horizontal lines stacked on top of each other.
- Tap on the menu icon to open the navigation menu.
- In the navigation menu, scroll down and find the “Settings” option. It is typically near the bottom of the menu.
- Tap on “Settings” to access the settings for your Amazon Echo device.
By reaching the Settings menu in the Alexa app, you have successfully completed the second step in the process of changing the password on your Amazon Echo. The Settings menu is where you can make various adjustments and customization to ensure your Echo device is tailored to your preferences.
Now that you have located the Settings menu, you can proceed to the next step in the password change process. Follow the subsequent steps to secure your device and protect your personal information.
Step 3: Select the device you want to change the password for
After accessing the Settings menu in the Alexa app, the next step in changing the password for your Amazon Echo is to select the specific device you want to make the change for. If you have multiple Echo devices registered to your account, you can choose the one that requires the password update.
Follow these simple steps to select the device:
- Within the Settings menu, scroll down until you find the “Devices” option. Tap on it to proceed.
- A list of all the devices associated with your Amazon account will be displayed. Look for the Echo device that you wish to change the password for and tap on it.
- You will be directed to the device-specific settings page, where you can manage and configure various options for that particular Echo device.
By selecting the specific Echo device you want to change the password for, you are one step closer to ensuring the security and privacy of your device and associated accounts. This step allows you to make device-specific changes and settings to suit your preferences.
Now that you have chosen the device, you can proceed to the next step and make the necessary password update. Follow the subsequent steps to complete the password change process and strengthen the protection of your Amazon Echo.
Step 4: Tap on “Device Settings”
Once you have selected the specific Echo device you want to change the password for, the next step is to access the device settings. This allows you to make the necessary adjustments to update the password on your Amazon Echo.
Follow these simple steps to tap on “Device Settings”:
- On the device-specific page, look for the “Device Settings” option. It is usually located towards the bottom of the page.
- Tap on “Device Settings” to proceed to the settings page for the selected Echo device.
By tapping on “Device Settings”, you are now in the appropriate section to modify various settings and configurations specific to the selected Echo device. This step brings you closer to updating the password and enhancing the security of your device.
Now that you are on the device settings page, you can proceed to the next step and modify the Wi-Fi network settings to change the password. Follow the subsequent steps to complete the password change process and strengthen the protection of your Amazon Echo.
Step 5: Choose “Edit” next to the Wi-Fi Network
After accessing the device settings for your selected Echo device, the next step in changing the password on your Amazon Echo is to choose “Edit” next to the Wi-Fi network. This step allows you to modify the Wi-Fi network settings and update the password associated with your device.
Follow these simple steps to choose “Edit” next to the Wi-Fi Network:
- On the device settings page, locate the “Wi-Fi Network” option. It is typically found under the “Device Details” section.
- Next to the Wi-Fi Network name, you will see an “Edit” or similar option. Tap on it to proceed with the password change process.
By choosing “Edit” next to the Wi-Fi Network, you are now ready to update the password associated with your Amazon Echo. This step ensures that your device is securely connected to the updated Wi-Fi network, utilizing a new password to enhance its protection.
Now that you have selected “Edit” next to the Wi-Fi Network, you can proceed to the next step and enter your new password. Follow the subsequent steps to complete the password change process and reinforce the security of your Amazon Echo.
Step 6: Enter your new password and save the changes
Once you have chosen “Edit” next to the Wi-Fi Network, it’s time to enter your new password and save the changes. This step ensures that your Amazon Echo device is connected to the updated Wi-Fi network using the updated password for enhanced security.
Follow these simple steps to enter your new password and save the changes:
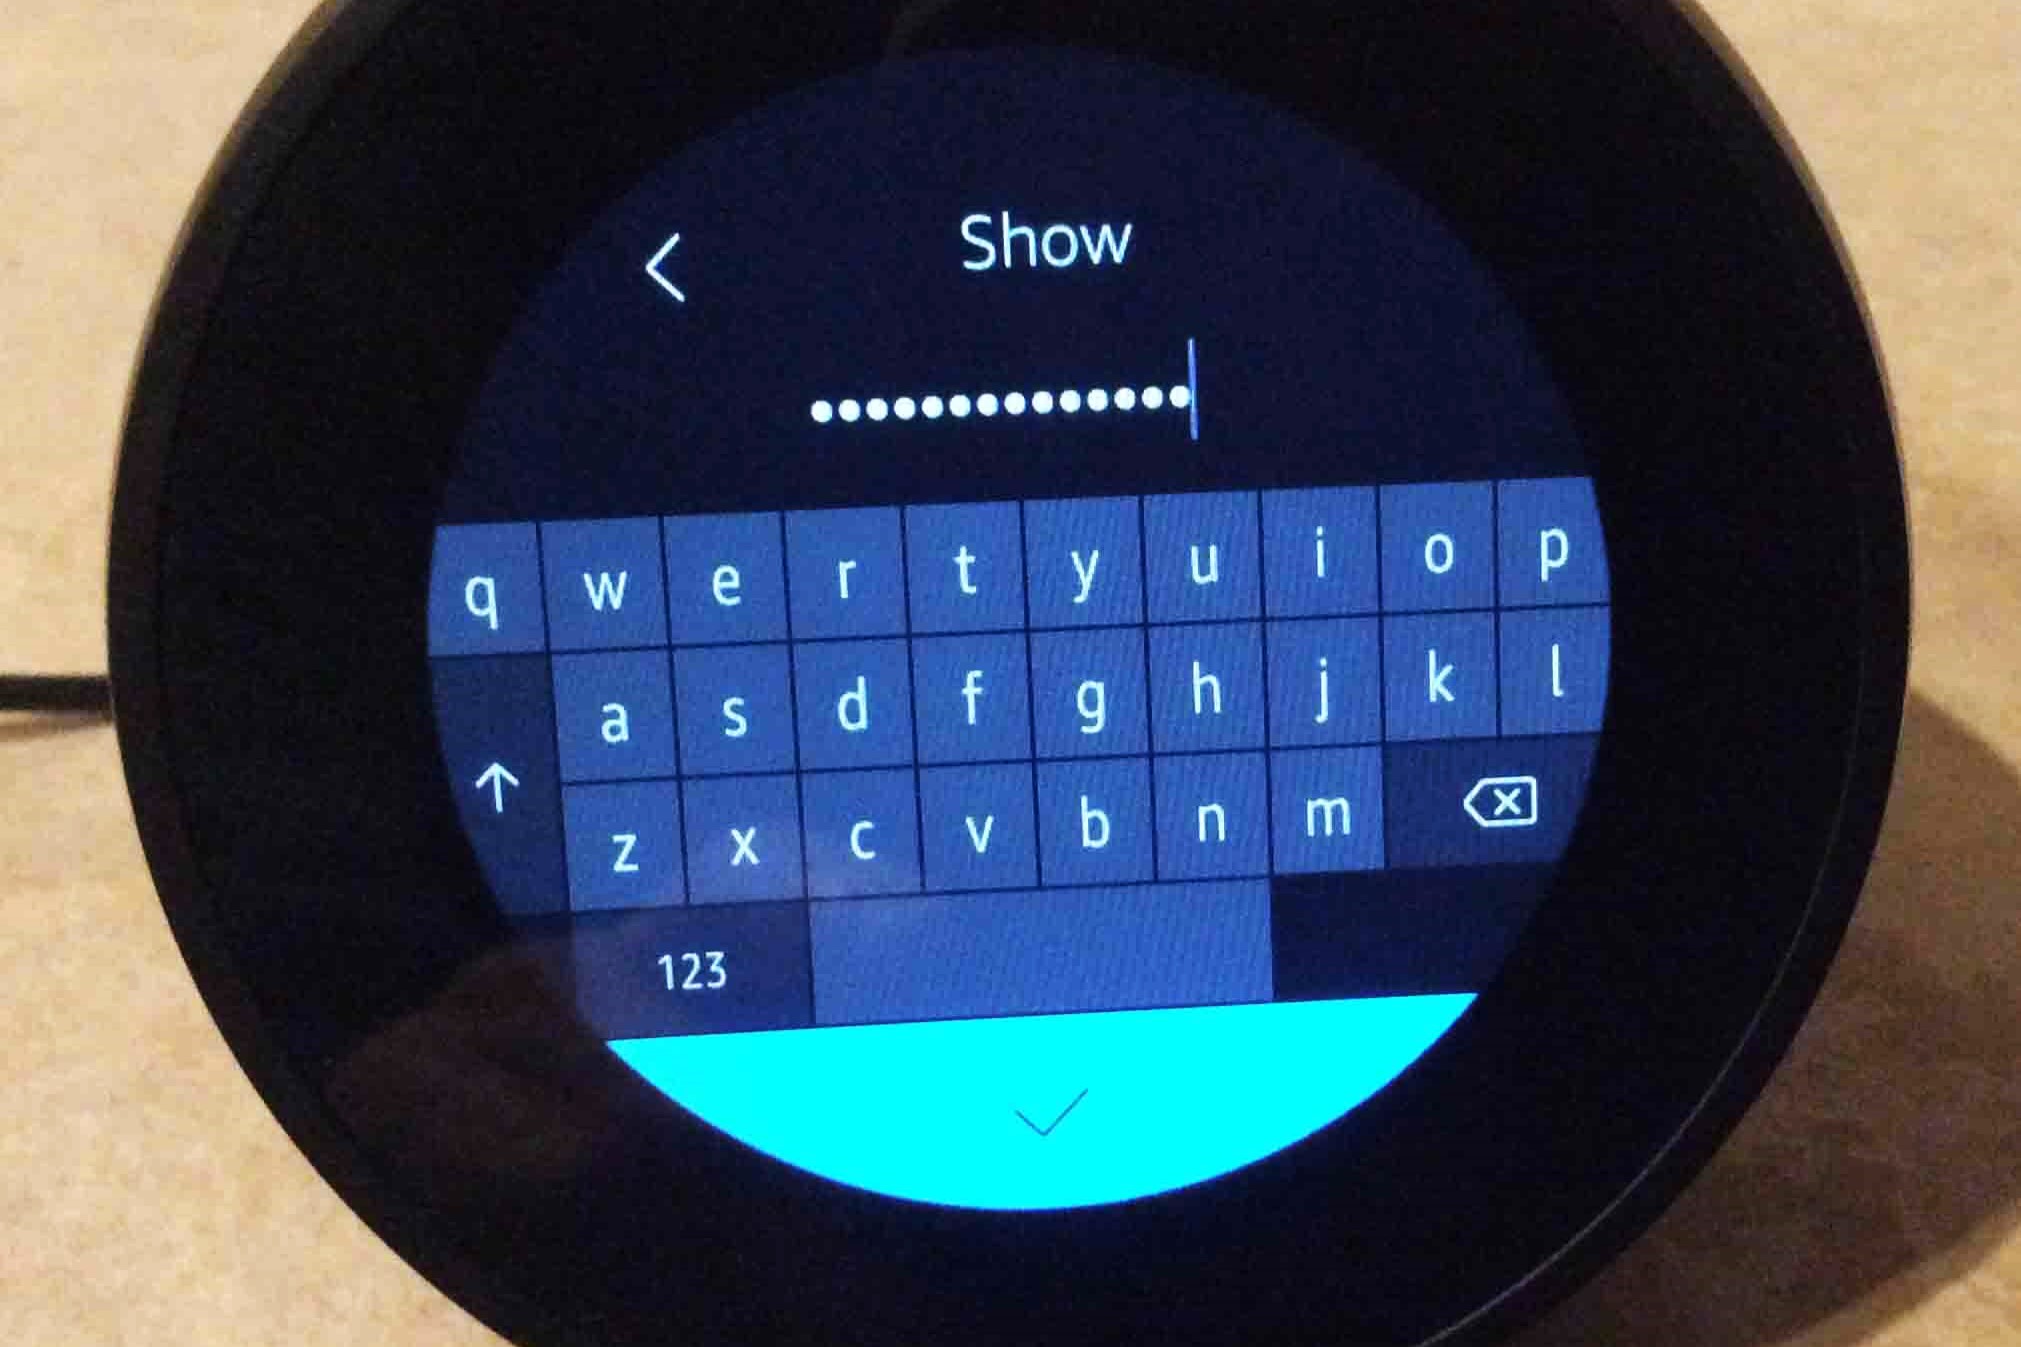
- On the Wi-Fi Network settings page, you will see a field to enter the new password. Tap on the field to activate the keyboard and enter your desired password.
- Make sure the new password meets the necessary criteria, such as a minimum character length and a combination of uppercase letters, lowercase letters, numbers, and special characters.
- After entering the new password, double-check it for accuracy to avoid any mistakes.
- Once you are confident that the new password is correct, tap on the “Save” or similar option to save the changes.
By entering your new password and saving the changes, you have successfully updated the password for your Amazon Echo. This step ensures that your device is securely connected to your Wi-Fi network using the updated password, providing an additional layer of protection.
Now that you have entered the new password and saved the changes, you can proceed to the final step and reconnect your Amazon Echo to the updated Wi-Fi network. Follow the subsequent steps to complete the password change process and reinforce the security of your device.
Step 7: Reconnect your Amazon Echo to the updated Wi-Fi network
After entering your new password and saving the changes, the final step in changing the password on your Amazon Echo is to reconnect your device to the updated Wi-Fi network. This ensures that your Echo is securely connected and ready to use with the newly configured password.
Follow these simple steps to reconnect your Amazon Echo to the updated Wi-Fi network:
- On the Wi-Fi Network settings page, you will see the updated Wi-Fi network name listed.
- Tap on the updated Wi-Fi network name to select it as the network your Echo device will connect to.
- Once selected, your Echo device will attempt to connect to the updated Wi-Fi network using the newly configured password.
- Wait for a moment while your Echo establishes the connection. The Alexa app will display a message once the connection is successfully established.
By reconnecting your Amazon Echo to the updated Wi-Fi network, you have completed the password change process. Your device is now securely connected to the Wi-Fi network, utilizing the newly configured password for enhanced security.
Now that you have successfully reconnected your Amazon Echo to the updated Wi-Fi network, you can enjoy using your device with peace of mind, knowing that you have taken steps to protect your privacy and maintain the security of your smart home ecosystem.
Tips for creating a strong password for your Amazon Echo
When changing the password on your Amazon Echo, it’s important to create a strong and secure password that helps protect your device and personal information from unauthorized access. Here are some tips to help you create a strong password:
- Length and complexity: Make sure your password is at least 8 characters long and includes a combination of uppercase letters, lowercase letters, numbers, and special characters. Avoid using common words, sequences, or easily guessable information.
- Avoid personal information: Refrain from using personal details such as your name, birthdate, address, or any information that can easily be associated with you. Hackers often try to exploit such information.
- Unique for each account: It’s crucial to have a unique password for your Amazon Echo that is not used for any other online accounts. Using the same password across multiple accounts increases the risk of a security breach.
- Regular updates: It is recommended to change your password periodically, ideally every few months, to stay ahead of any potential security vulnerabilities.
- Password manager: Consider using a reputable password manager tool that securely stores and generates complex passwords for all your accounts. This can help you keep track of your passwords without the need to remember them all.
- Two-factor authentication: Enable two-factor authentication (2FA) for your Amazon account to provide an extra layer of security. With 2FA, you will need to provide a second authentication factor, such as a code sent to your phone, in addition to your password.
- Avoid sharing: Do not share your Amazon Echo password with anyone else, even if they are close friends or family members. Keeping your password confidential is vital to maintaining the security of your device.
By following these tips, you can create a strong and secure password for your Amazon Echo, enhancing the protection of your device and personal information. Taking these precautions helps ensure that your smart home ecosystem remains safe and secure.