
Why Change the Language on Your Nest Thermostat?
Your Nest Thermostat is designed to be user-friendly and customizable, allowing you to make adjustments to suit your preferences and needs. One of the key settings you may want to change is the language display on your thermostat. Whether you’ve recently moved to a different country or simply prefer using a different language, adjusting the language setting can greatly enhance your experience with the device.
Here are a few reasons why you might want to change the language on your Nest Thermostat:
- Cultural Adaptation: If you have moved to a new country or are living in a multi-cultural household, changing the language on your thermostat can help you feel more at home. It allows you to interact with the device in a language that you are most comfortable with, easing the transition and making it easier to understand and control the settings.
- User-Friendly Experience: Changing the language on your Nest Thermostat can significantly improve the user experience. By selecting a language that you are fluent in, you can navigate the menus, read instructions, and understand system messages more effectively. This ensures that you can optimize your thermostat settings without any language barriers getting in the way.
- Enhanced Accessibility: For individuals who are more comfortable with a specific language, changing the language on the thermostat makes it more accessible and user-friendly. This is particularly important for elderly users who may find it challenging to operate a device in an unfamiliar language.
- Family Preferences: If you have multiple users in the household or a diverse family with different language preferences, changing the language on your Nest Thermostat can accommodate everyone’s needs. Each family member can interact with the device in their preferred language, making it easier for everyone to understand and control the thermostat settings.
By understanding the benefits of changing the language on your Nest Thermostat, you can now proceed to the next section to learn how to access the language settings and make the necessary changes.
Step 1: Accessing the Language Settings
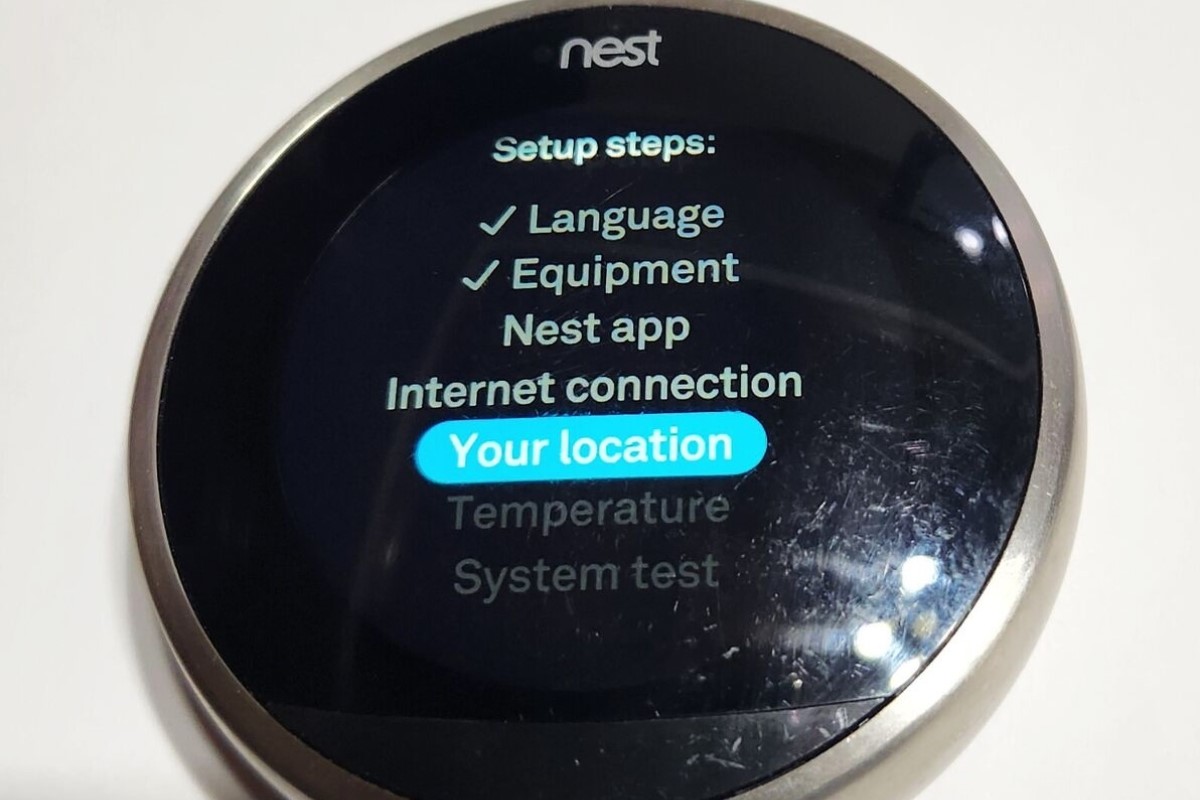
Changing the language on your Nest Thermostat is a simple and straightforward process. Follow these steps to access the language settings:
- Power on the Thermostat: Ensure that your Nest Thermostat is powered on and displaying the home screen.
- Select the Settings: On the home screen, look for the gear icon or press the “Settings” button, usually located at the bottom right corner. This will take you to the main settings menu.
- Navigate to Language: Within the settings menu, browse through the options until you find the “Language” setting. Depending on your thermostat model, it may be located under “Display” or “System” settings.
- Enter the Language Menu: Select the “Language” option to enter the language settings menu. On some models, you may need to enter a PIN or perform an additional verification step for security purposes.
- Choose Your Language: Once you’ve entered the language settings menu, you will be presented with a list of available languages. Scroll through the options and select your desired language.
Now that you have accessed the language settings on your Nest Thermostat, you’re ready to move on to the next step and select your preferred language. Continue reading to learn how to complete this process.
Step 2: Selecting Your Desired Language
Now that you have accessed the language settings menu on your Nest Thermostat, follow these steps to select your desired language:
- Browse the Language Options: Look through the list of available languages on your Nest Thermostat. The languages may be displayed as text or as corresponding flags representing each language. Take your time to find the language you want to use.
- Select Your Preferred Language: Once you have identified your desired language, navigate to it using the thermostat’s controls. This is usually done by pressing the up or down buttons or by swiping on a touchscreen thermostat.
- Confirm Your Selection: Once you have highlighted your preferred language, select it to confirm your choice. The thermostat may display a confirmation message or prompt you to verify your selection.
It’s important to note that the language change may take a few moments to be applied. Your thermostat may restart or go through a short update process to implement the new language settings.
Now that you have successfully selected your desired language, proceed to the next step to ensure that the language change has been accurately applied.
Step 3: Verifying the Language Change
After selecting your desired language on your Nest Thermostat, it’s important to verify that the language change has been successfully applied. Here are the steps to follow:
- Observe the Display: Take a look at the display on your Nest Thermostat. The text and menus should now be in the language you selected. Ensure that everything is displaying correctly and that you can understand the information being presented.
- Interact with the Interface: Engage with the thermostat by navigating through the menus and settings. Make sure you can easily access and understand various options such as temperature adjustments, scheduling, and energy-saving features. Confirm that the language change hasn’t affected the usability or functionality of the device.
- Check for System Messages: Pay attention to any system messages or prompts that may appear on the thermostat. These messages should now be displayed in your selected language. Review them to make sure they are accurate and understandable.
If you notice any issues or discrepancies with the language change, double-check the settings to ensure you have selected the correct language. If the problem persists, consult the Nest Thermostat user manual or reach out to the official support channels for assistance.
Congratulations! You have successfully verified the language change on your Nest Thermostat. Now you can navigate through the device with ease and enjoy a more personalized user experience.
Troubleshooting Tips
While changing the language on your Nest Thermostat is usually a seamless process, you may encounter some challenges along the way. Here are a few troubleshooting tips to help you overcome any issues:
- Restart the Thermostat: If you’re experiencing any difficulties with the language change, try restarting your Nest Thermostat. Simply power it off, wait for a few seconds, and then power it back on. This simple step can often resolve minor software glitches.
- Reset to Default: If you accidentally selected the wrong language or encounter persistent issues, consider resetting your Nest Thermostat to its default settings. Keep in mind that this will erase any customized settings and preferences, so only proceed with a reset if necessary.
- Check for Firmware Updates: Ensure that your Nest Thermostat is running the latest firmware version. Firmware updates often include bug fixes and enhancements that can address language-related issues. Check the Nest mobile app or website for any available updates and install them if necessary.
- Verify Wi-Fi Connectivity: Your Nest Thermostat relies on a stable internet connection to properly function. If you’re experiencing language or other issues, check your Wi-Fi connectivity and ensure that the thermostat is successfully connected to your network. A weak or unstable connection can result in unexpected behavior.
- Contact Nest Support: If the above troubleshooting tips do not resolve your language change issues, consider reaching out to the Nest support team. They have specialized knowledge and resources to assist you in resolving any technical difficulties you may encounter.
By following these troubleshooting tips, you should be able to overcome any challenges you face when changing the language on your Nest Thermostat. Enjoy a personalized and user-friendly experience in the language of your choice!