
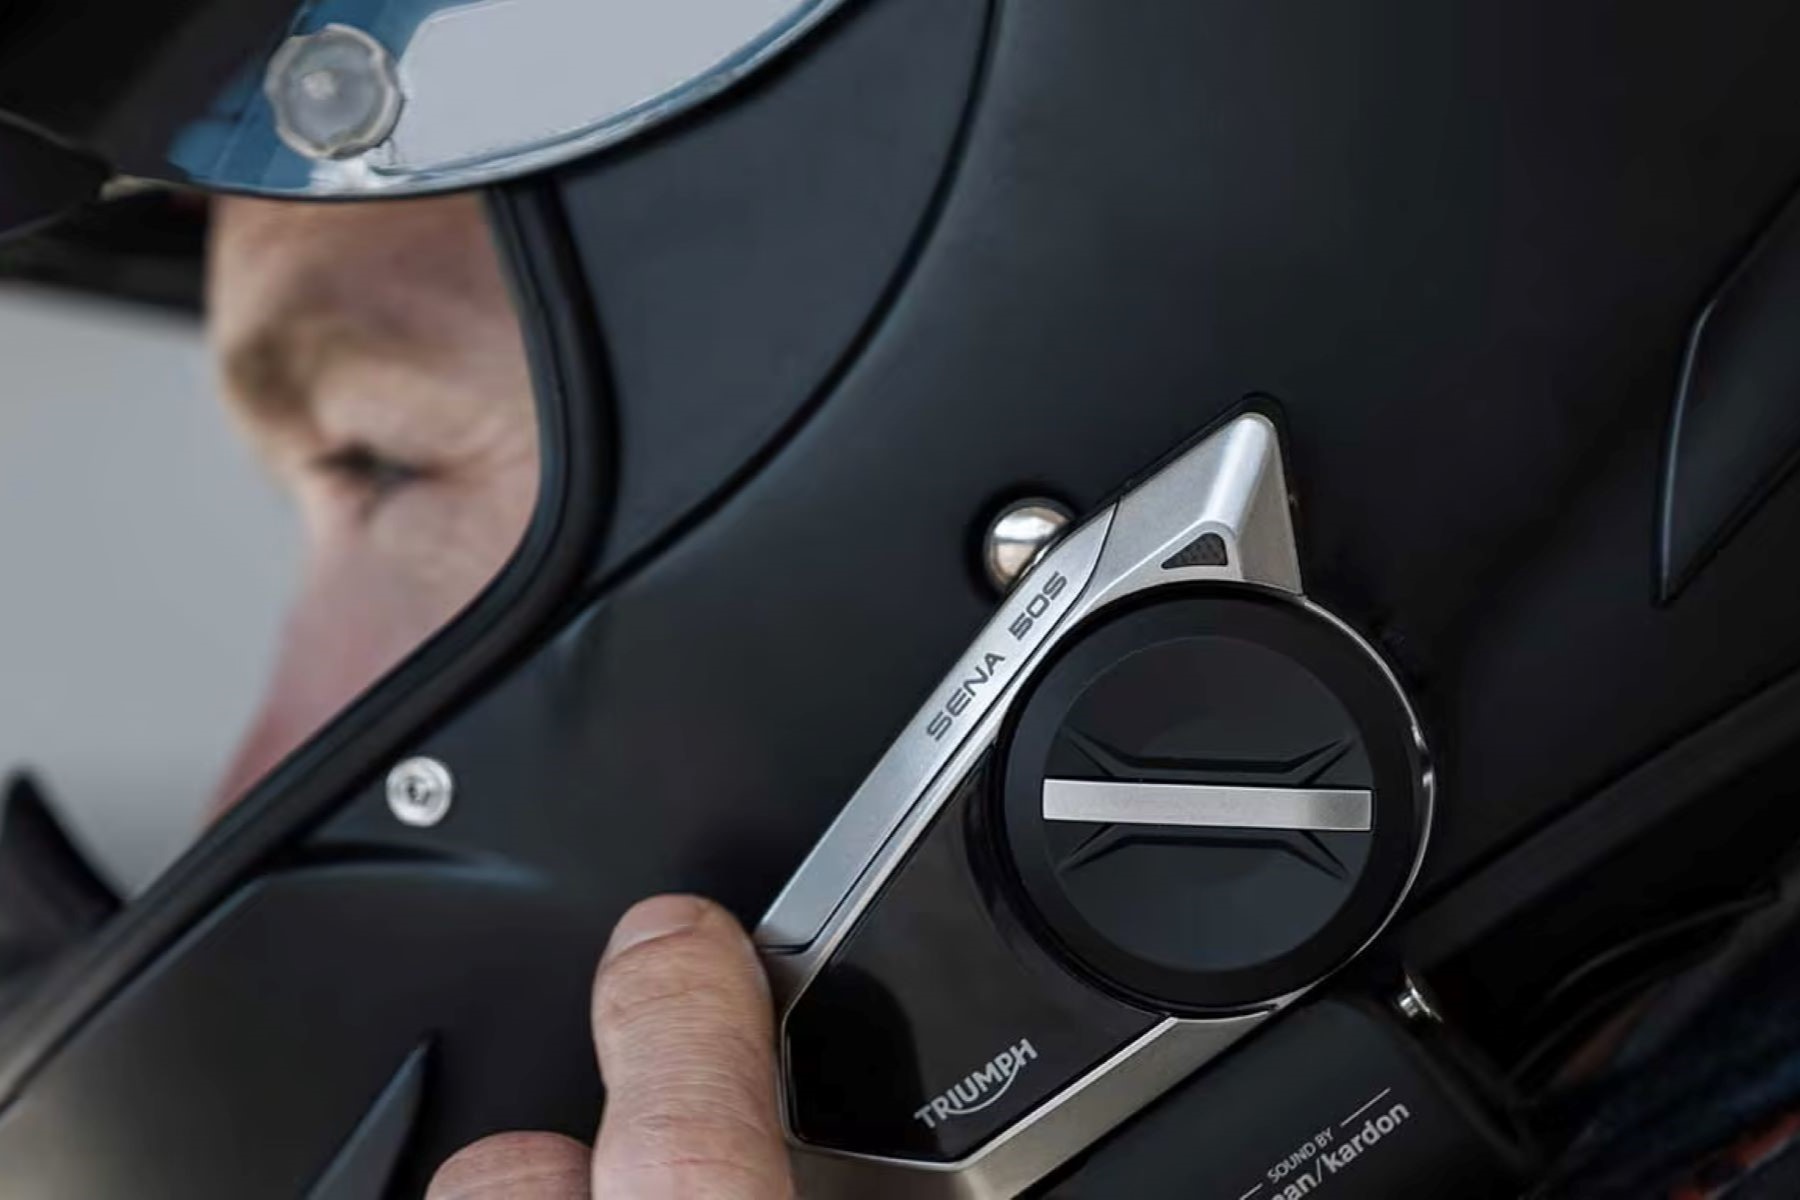
Checking the Battery Level
Before embarking on a thrilling motorcycle ride or engaging in an adventurous outdoor activity, it’s crucial to ensure that your Sena headset is powered up and ready to keep you connected. Checking the battery level of your headset is a simple yet essential task that can help you avoid any unexpected interruptions during your journey.
Here’s how you can easily check the battery level of your Sena headset:
- Power on your Sena headset by pressing the designated power button. The LED indicator will illuminate, providing you with valuable information about the battery status.
- Pay attention to the color of the LED indicator. A green light typically indicates a high battery level, while a red light signifies that the battery is running low and may need to be recharged soon.
- If the LED indicator flashes red, accompanied by a voice prompt indicating “low battery,” it’s a clear indication that it’s time to recharge your headset before your next adventure.
Regularly checking the battery level of your Sena headset ensures that you can enjoy uninterrupted communication and entertainment while on the go. By staying proactive about monitoring the battery status, you can confidently embark on your journeys, knowing that your headset is fully prepared to keep you connected throughout your adventures.
Charging Your Sena Headset
Ensuring that your Sena headset is adequately charged is essential for a seamless and uninterrupted communication experience during your outdoor escapades. Here’s a simple guide to effectively charge your Sena headset:
- Locate the Charging Port: Identify the charging port on your Sena headset. It is typically located on the back or side of the device, concealed by a rubber cover to protect it from dust and moisture.
- Use the Provided Charging Cable: Utilize the charging cable that was included with your Sena headset. This proprietary cable is designed to provide a secure and efficient connection for charging your device.
- Connect the Charging Cable: Carefully insert the charging cable into the charging port of your Sena headset. Ensure that the connection is secure to initiate the charging process.
- Power Source: Connect the other end of the charging cable to a power source, such as a USB port on your computer, a wall adapter, or a portable power bank. This will initiate the charging process, allowing your headset to replenish its battery.
- Monitor the Charging Status: Keep an eye on the LED indicator on your Sena headset. The indicator will typically emit a steady red light during the charging process. Once the battery is fully charged, the LED indicator may turn green or display a different pattern to signify the completion of the charging cycle.
By following these simple steps, you can ensure that your Sena headset is consistently charged and ready to accompany you on your adventures. Regularly charging your headset not only keeps it operational but also enhances your overall experience by enabling uninterrupted communication and entertainment while on the move.
Powering On Your Sena Headset
Powering on your Sena headset is the first step towards enjoying seamless communication and entertainment during your outdoor pursuits. Here’s a straightforward guide to help you power on your Sena headset:
- Locate the Power Button: Familiarize yourself with the location of the power button on your Sena headset. Typically, the power button is strategically positioned for easy access, allowing you to power on your device effortlessly.
- Press and Hold the Power Button: To turn on your Sena headset, press and hold the power button for a few seconds until the LED indicator illuminates. This action initiates the power-up sequence, preparing your headset for connectivity and usage.
- Observe the LED Indicator: Pay attention to the LED indicator on your Sena headset. The indicator provides valuable visual cues to indicate the power status of your device. A steady blue or multicolored light typically signifies that your headset is powered on and ready to be paired with other devices.
- Voice Prompts: Upon powering on your Sena headset, you may hear voice prompts or beeps that indicate the successful activation of your device. These auditory cues serve as additional confirmation that your headset is ready for use.
By following these simple steps, you can effortlessly power on your Sena headset, setting the stage for a connected and enjoyable experience during your outdoor activities. Whether you’re gearing up for a thrilling motorcycle ride or an exhilarating outdoor adventure, ensuring that your headset is powered on allows you to stay connected and entertained throughout your journey.
Pairing Your Sena Headset with a Bluetooth Device
Pairing your Sena headset with a Bluetooth-enabled device is a pivotal step that unlocks a world of connectivity and entertainment. Whether you’re syncing your headset with your smartphone, GPS unit, or another compatible device, the pairing process is straightforward and essential for seamless communication. Here’s a comprehensive guide to pairing your Sena headset with a Bluetooth device:
- Activate Bluetooth Pairing Mode: Ensure that your Sena headset is powered on. Access the Bluetooth pairing mode by pressing and holding the designated pairing button or following the specific instructions outlined in your headset’s user manual.
- Initiate Device Discovery: On the Bluetooth-enabled device you wish to pair with your Sena headset, navigate to the Bluetooth settings. Activate the device’s Bluetooth function and initiate a search for nearby devices. Your Sena headset should appear in the list of available devices.
- Select Your Sena Headset: Once your Bluetooth device detects the Sena headset, select it from the list of available devices to initiate the pairing process. Confirm the pairing request on both devices to establish a secure and seamless connection.
- Confirmation and Voice Prompts: Upon successful pairing, your Sena headset may emit a confirmation tone or voice prompt, indicating that the connection has been established. Similarly, your Bluetooth device may also display a confirmation message, signifying that it is now paired with your Sena headset.
- Testing the Connection: To ensure that the pairing process is successful, test the connection by playing audio from your Bluetooth device. If you hear the audio through your Sena headset, it indicates that the pairing is operational, and you can now enjoy seamless communication and entertainment.
By following these steps, you can effortlessly pair your Sena headset with a Bluetooth device, opening up a world of connectivity and convenience during your outdoor endeavors. Whether you’re syncing your headset with your smartphone for hands-free calls or connecting it to a GPS device for navigation, the seamless pairing process enhances your overall experience and keeps you connected throughout your adventures.