
Why Properly Closing and Storing Your Camera Tripod is Important
Properly closing and storing your camera tripod is crucial for maintaining its functionality and longevity. By following the correct procedures for folding and storing your tripod, you can prevent damage, ensure stability, and extend its lifespan. Furthermore, a well-maintained tripod contributes to the overall quality of your photography and videography endeavors.
When you take the time to properly close and store your camera tripod, you safeguard it against potential wear and tear, such as loose joints, bent legs, or damaged locking mechanisms. Additionally, storing your tripod securely reduces the risk of misplacing essential components, such as quick-release plates or leg locks, which are vital for efficient setup and usage.
By understanding the significance of proper tripod maintenance, you demonstrate a commitment to preserving your equipment and maximizing its performance. This attention to detail not only reflects your professionalism but also ensures that your tripod remains a reliable tool for capturing exceptional images and videos in various settings and conditions.
Step 1: Detaching the Camera and Accessories
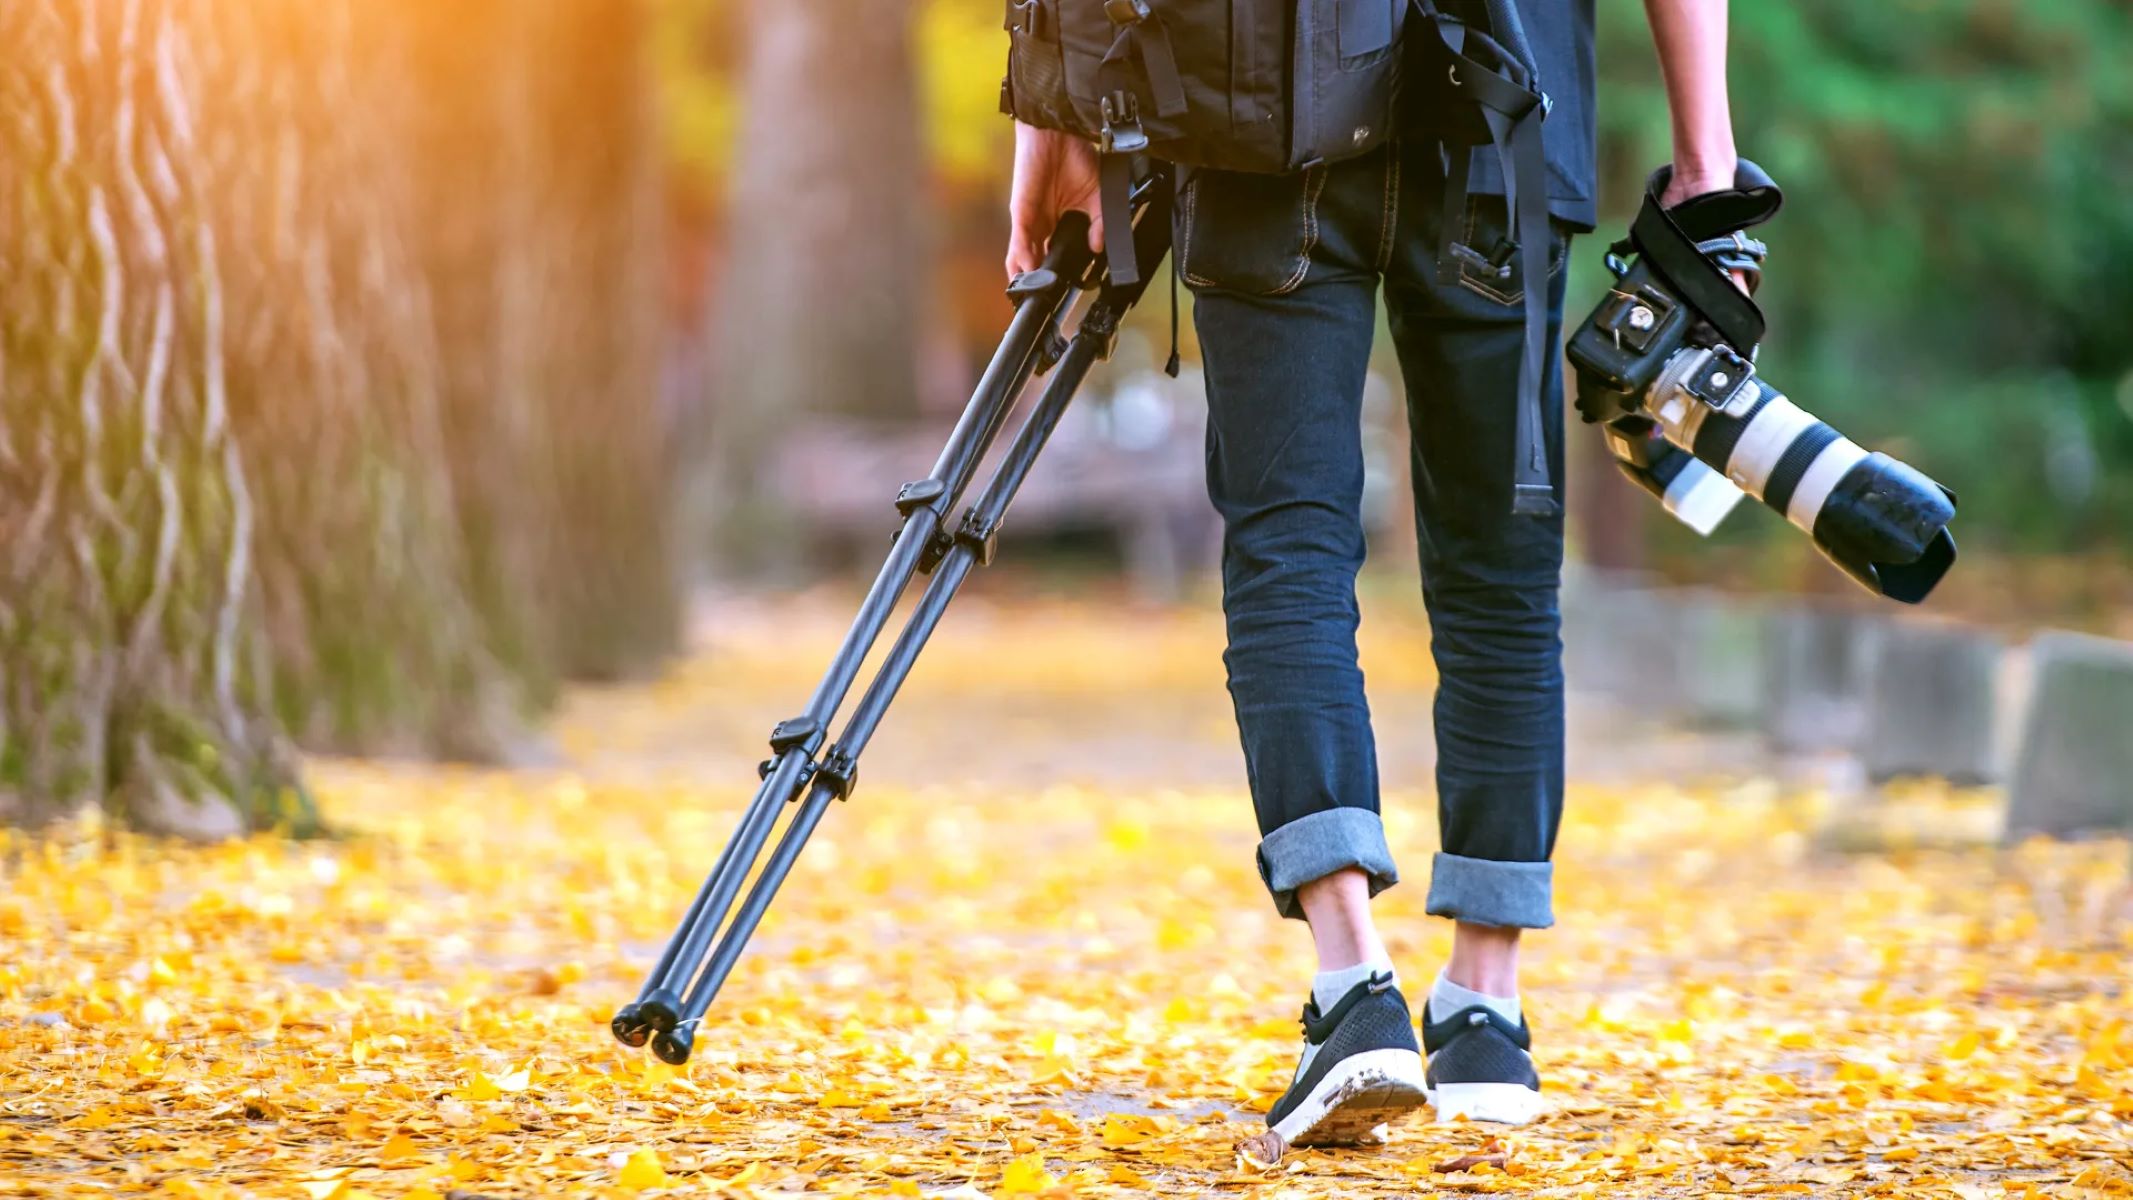
Before folding your camera tripod, it’s essential to detach the camera and any accessories, such as a lens or external microphone, from the mounting plate. This step prevents any potential damage to the camera or accessories during the folding process and ensures a smooth transition to the next steps.
Start by turning off your camera and carefully removing it from the tripod’s mounting plate. If you have a quick-release plate attached to the camera, use the release mechanism to detach it swiftly. Once the camera is safely in your hands, set it aside in a secure location, away from the tripod folding area.
If you have any additional accessories attached to the tripod, such as a lens or microphone, remove them as well. Securing these accessories separately prevents accidental damage and allows for a more organized folding process.
By detaching the camera and accessories before folding the tripod, you prioritize the safety and integrity of your equipment. This mindful approach sets the stage for the subsequent steps in properly closing and storing your camera tripod.
Step 2: Collapsing the Legs
Collapsing the legs of your camera tripod is a crucial step in the folding process. Start by unlocking the leg sections, typically achieved by twisting the leg locks counterclockwise. Gradually retract each leg section, ensuring a smooth and controlled motion to avoid any sudden movements that could potentially damage the tripod.
As you collapse the legs, be mindful of any dirt, sand, or debris that may have accumulated in the leg joints. Wipe the legs with a clean cloth to remove any foreign particles, ensuring that the leg sections can retract fully and smoothly without obstruction.
For tripods with multiple leg angle settings, such as standard and low-angle positions, adjust the legs to the desired position before collapsing them. This ensures that the legs are in the optimal configuration for storage and transportation.
By methodically collapsing the legs of your tripod, you maintain the structural integrity of the device and prevent potential damage or misalignment. This careful approach sets the stage for the next steps in properly closing and storing your camera tripod.
Step 3: Retracting the Center Column
Retracting the center column of your camera tripod is a critical step in the folding process. Begin by loosening the center column lock, often located beneath the center column itself. Once the lock is released, gently lower the center column to its fully retracted position.
Before retracting the center column, ensure that any attached accessories, such as a ball head or extension arm, are also properly secured or removed. This precaution prevents any potential damage to the center column or attached accessories during the retraction process.
As you lower the center column, be mindful of its surroundings to avoid accidental contact with the tripod legs or other objects. A controlled and deliberate motion ensures that the center column retracts smoothly without any jarring movements that could impact the tripod’s stability or components.
By carefully retracting the center column, you safeguard this integral part of the tripod from potential damage and ensure that it is properly positioned for the subsequent steps in the folding and storing process.
Step 4: Securing the Legs and Center Column
After retracting the legs and center column of your camera tripod, it’s essential to secure them in their folded positions to prevent any accidental unfolding or movement during storage or transportation. Start by ensuring that all the leg locks are tightened securely to hold the legs in place. This step is crucial for maintaining the tripod’s compact form and stability.
Next, double-check the center column lock to confirm that it is securely engaged. This prevents any unintentional extension of the center column and maintains the tripod’s overall compactness. Additionally, if your tripod features a hook at the bottom of the center column, you can hang a weight, such as a camera bag, to enhance stability during storage.
Inspect the tripod to ensure that all components, including the leg angles and center column, are aligned and secured according to the manufacturer’s specifications. This attention to detail contributes to the overall stability and longevity of your tripod.
By properly securing the legs and center column of your tripod, you minimize the risk of any accidental unfolding or damage during storage and transportation, ensuring that your tripod remains in optimal condition for future use.
Step 5: Storing the Tripod in a Carrying Case or Bag
Once you have properly closed and secured your camera tripod, the next step is to store it in a suitable carrying case or bag. A dedicated tripod case or bag provides protection from external elements and minimizes the risk of damage during transportation and storage.
When selecting a carrying case or bag for your tripod, ensure that it provides a snug and secure fit for the folded tripod. Look for a case with ample padding to cushion the tripod and protect it from impacts and vibrations. Additionally, consider a case with adjustable dividers or compartments to accommodate accessories such as mounting plates, tools, or additional tripod heads.
Before placing the tripod in the carrying case or bag, ensure that any protruding parts, such as the tripod head or leg locks, are positioned to minimize the risk of damage or snagging. This careful arrangement contributes to the overall protection and longevity of your tripod.
Once the tripod is securely nestled in the carrying case or bag, fasten any straps or closures to ensure a snug fit. This prevents the tripod from shifting or moving within the case during transportation, reducing the risk of potential damage.
By storing your camera tripod in a dedicated carrying case or bag, you safeguard it from external elements and impacts, ensuring that it remains in optimal condition for your next photography or videography venture.
Tips for Maintaining Your Tripod
Maintaining your tripod is essential for prolonging its lifespan and ensuring consistent performance. Here are some valuable tips to help you keep your tripod in top condition:
- Regular Cleaning: Periodically clean your tripod to remove dirt, dust, and debris that may accumulate in the leg joints, locking mechanisms, and other moving parts. Use a soft brush or cloth to gently wipe down the tripod, paying attention to areas where dirt is likely to collect.
- Inspect for Wear and Tear: Routinely inspect your tripod for any signs of wear, such as loose joints, worn-out rubber feet, or damaged components. Addressing these issues promptly can prevent further damage and maintain the tripod’s stability and functionality.
- Proper Storage: When not in use, store your tripod in a dry and secure location to prevent exposure to moisture, extreme temperatures, or physical damage. Storing the tripod in its carrying case or bag adds an extra layer of protection.
- Check Tightness of Components: Regularly check the tightness of leg locks, center column locks, and other adjustable components to ensure that they are secure and functioning properly. This simple maintenance task can prevent unexpected issues during usage.
- Use a Tripod Bag: Invest in a high-quality tripod bag or case to protect your tripod during transportation. A well-padded and properly fitting bag can safeguard the tripod from impacts and environmental factors.
- Apply Lubrication: If your tripod’s moving parts become stiff or difficult to adjust, consider applying a small amount of appropriate lubricant to the joints and mechanisms. Be sure to use lubricants recommended by the tripod manufacturer to avoid damaging the components.
- Follow Manufacturer’s Guidelines: Adhere to the manufacturer’s guidelines for maintenance and care. Consult the tripod’s user manual for specific instructions on cleaning, lubrication, and other maintenance procedures.
By incorporating these maintenance tips into your tripod care routine, you can ensure that your tripod remains reliable, stable, and ready to support your photography and videography endeavors for years to come.