Benefits of Using an External Mic
Using an external microphone with your iPhone 12 can significantly enhance the audio quality of your recordings. Whether you are a content creator, journalist, podcaster, or simply someone who values high-quality audio, incorporating an external mic into your setup can offer a multitude of benefits. Here are some compelling reasons to consider utilizing an external mic with your iPhone 12:
-
Improved Sound Quality: External microphones are designed to capture audio with greater clarity and precision compared to the built-in microphone of the iPhone 12. By leveraging the advanced technology and superior components of an external mic, you can achieve professional-grade sound quality in your recordings.
-
Noise Reduction: Many external microphones feature built-in noise reduction capabilities, allowing you to capture clean and clear audio even in noisy environments. This is particularly advantageous for outdoor recordings, interviews, or any situation where ambient noise may interfere with the desired audio.
-
Versatility: External microphones come in a variety of types, including lavalier mics, shotgun mics, and handheld mics, each tailored to specific recording needs. This versatility enables you to choose the most suitable microphone for different scenarios, ensuring optimal audio capture in diverse settings.
-
Enhanced Control: When using an external microphone, you gain greater control over audio input levels and settings, empowering you to customize the sound according to your preferences. This level of control is invaluable for achieving the perfect audio balance in various recording situations.
-
Professional Results: Whether you are creating content for social media, conducting interviews, or recording music, the use of an external microphone can elevate the professionalism of your productions. The improved audio quality adds a layer of polish and professionalism to your recordings, making a lasting impression on your audience.
-
Expanded Creativity: With the enhanced audio capabilities provided by an external microphone, you can explore new creative possibilities in your recordings. The ability to capture nuanced sounds and subtle details opens up a world of creative potential, allowing you to craft more engaging and immersive content.
Incorporating an external microphone into your iPhone 12 setup can unlock a range of benefits, ultimately elevating the quality and impact of your audio recordings. Whether you are pursuing professional endeavors or simply seeking to enhance your personal audio projects, the advantages of using an external mic are undeniable.
Types of External Mics Compatible with iPhone 12
When it comes to selecting an external microphone for your iPhone 12, it's essential to consider the specific recording needs and the type of content you intend to create. Fortunately, the iPhone 12 is compatible with a wide range of external microphones, each catering to different recording scenarios and preferences. Here are some popular types of external mics that seamlessly integrate with the iPhone 12:
1. Lavalier Microphones (Lapel Mics)
Lavalier microphones, commonly known as lapel mics, are compact and discreet, making them ideal for interviews, vlogs, presentations, and other scenarios where hands-free operation is essential. These microphones can be clipped onto clothing, allowing for unobtrusive and natural-sounding audio capture. With the iPhone 12's compatibility, lavalier microphones offer a convenient solution for capturing clear and focused audio in various settings.
2. Shotgun Microphones
Shotgun microphones are highly directional, making them suitable for capturing sound from a specific source while minimizing background noise. These mics are popular choices for filmmaking, outdoor recordings, and capturing distant or ambient sounds. When paired with the iPhone 12, shotgun microphones provide a versatile and portable solution for achieving professional-grade audio in diverse recording environments.
3. Handheld Microphones
Handheld microphones are well-suited for interviews, live performances, podcasts, and vocal recordings. With their ergonomic design and built-in wind protection, handheld microphones offer a comfortable and reliable option for capturing clear and articulate audio. When connected to the iPhone 12, handheld microphones empower content creators and performers to deliver impactful and polished audio recordings on the go.
4. USB Microphones
While not traditionally designed for mobile devices, USB microphones can be used with the iPhone 12 via a Lightning to USB adapter. These microphones are renowned for their plug-and-play functionality and high-quality audio capture. With options ranging from compact condenser mics to studio-grade USB microphones, content creators can leverage the iPhone 12's compatibility to achieve professional audio results in a portable setup.
5. Wireless Microphone Systems
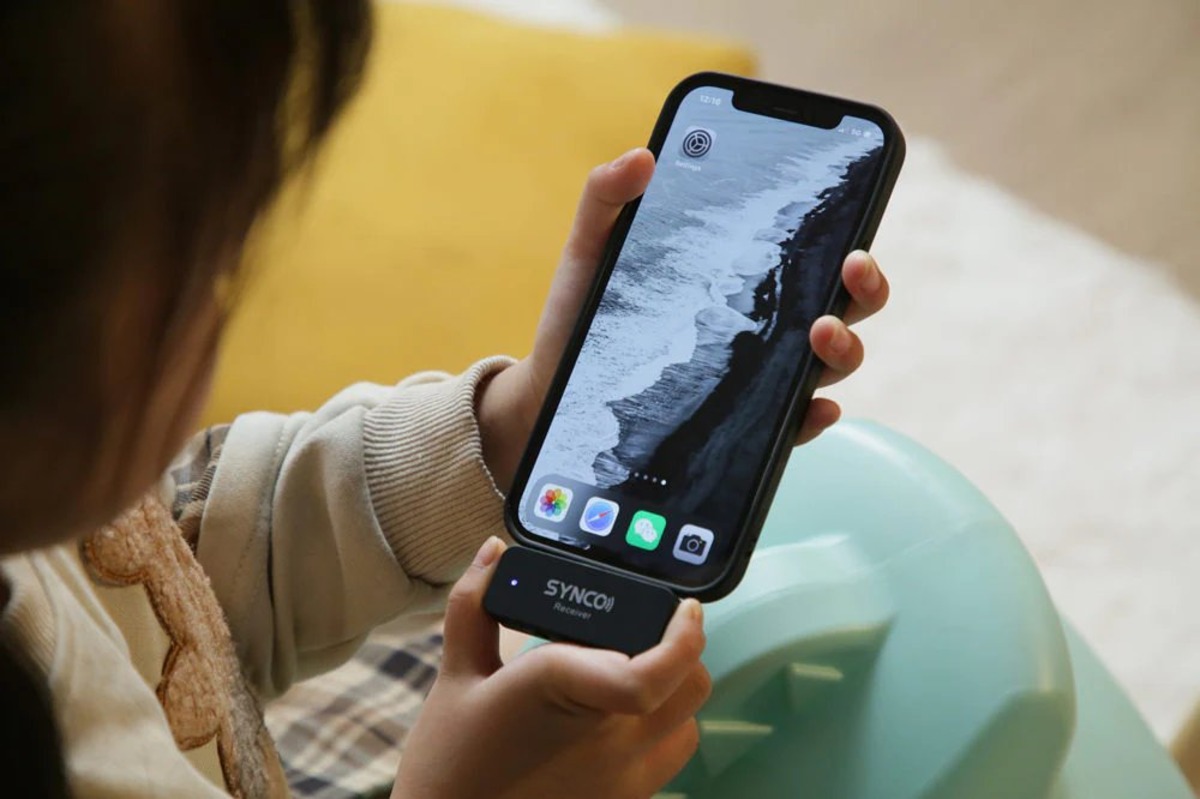
Wireless microphone systems offer the freedom of movement and flexibility, making them suitable for presentations, performances, and dynamic recording situations. With the iPhone 12's compatibility with wireless receivers, content creators can benefit from the convenience and mobility of wireless microphones, enabling seamless audio capture without being tethered to the recording device.
By understanding the unique characteristics and applications of these external microphones, you can make an informed decision based on your specific recording requirements and creative vision. The compatibility of the iPhone 12 with a diverse array of external microphones empowers content creators, journalists, musicians, and audio enthusiasts to explore new possibilities and elevate the quality of their recordings with ease.
How to Connect an External Mic to iPhone 12
Connecting an external microphone to your iPhone 12 is a straightforward process that allows you to harness the superior audio capabilities of the microphone for your recordings. Whether you are conducting interviews, capturing live performances, or creating engaging content, the ability to seamlessly integrate an external mic with your iPhone 12 opens up a world of creative possibilities. Here's a detailed guide on how to connect an external microphone to your iPhone 12:
1. Select the Compatible External Microphone:
Before connecting an external microphone to your iPhone 12, ensure that the microphone is compatible with iOS devices and specifically designed for use with the iPhone. Consider the type of microphone that best suits your recording needs, such as a lavalier mic, shotgun mic, handheld mic, or wireless microphone system.
2. Utilize a Lightning to 3.5mm Adapter:
As the iPhone 12 does not have a built-in 3.5mm headphone jack, you will need a Lightning to 3.5mm adapter to connect the external microphone. This adapter allows you to plug the microphone's 3.5mm audio connector into the Lightning port of the iPhone 12, facilitating the audio input from the external mic.
3. Connect the External Microphone:
Once you have the Lightning to 3.5mm adapter, simply plug the external microphone's 3.5mm audio connector into the adapter. Ensure that the connection is secure to prevent any audio interruptions during recording. The iPhone 12 will automatically recognize the external microphone as the audio input source.
4. Access the Recording App or Camera App:
To begin using the external microphone for audio capture, open the recording app or camera app on your iPhone 12. Whether you are recording videos, conducting voice memos, or capturing live audio, the external microphone will now serve as the primary audio input device, ensuring high-quality sound capture.
5. Test the Audio Input:
Before commencing your recording, it's advisable to conduct a brief audio test to ensure that the external microphone is functioning correctly with the iPhone 12. Speak into the microphone or produce sound near the microphone to verify that the audio levels are being captured accurately.
By following these steps, you can seamlessly connect an external microphone to your iPhone 12, unlocking the potential for professional-grade audio capture in a portable and versatile setup. Whether you are a content creator, journalist, musician, or enthusiast, the ability to integrate external microphones with the iPhone 12 empowers you to elevate the quality of your recordings and unleash your creative vision with exceptional audio fidelity.
Adjusting Settings for External Mic on iPhone 12
After successfully connecting an external microphone to your iPhone 12, it's essential to optimize the settings to ensure optimal audio performance. The iPhone 12 offers a range of settings and adjustments that allow you to customize the audio input from the external mic, ultimately enhancing the quality and clarity of your recordings. Here's a comprehensive guide on adjusting the settings for an external microphone on the iPhone 12:
1. Access the Settings Menu:
Begin by accessing the Settings menu on your iPhone 12. Navigate to the "Settings" app, which is represented by the gear icon on the home screen. Tap to open the Settings app, where you will find a variety of options for customizing the device's functionalities.
2. Select the Recording App Settings:
If you are using a specific recording app or camera app to capture audio with the external microphone, it's important to explore the settings within the app itself. Many recording apps offer advanced audio settings, including input gain, audio format, and noise reduction features. Access the settings within the recording app to fine-tune the audio parameters according to your preferences.
3. Adjust Input Gain Levels:
The input gain level determines the sensitivity of the external microphone and directly impacts the volume and clarity of the recorded audio. In the Settings menu or within the recording app, locate the input gain or microphone sensitivity settings. Adjust the input gain levels to optimize the audio input without introducing distortion or clipping. Experiment with different gain levels to find the ideal setting for your specific recording environment and microphone type.
4. Enable Noise Reduction (if available):
If your external microphone or recording app offers noise reduction features, consider enabling this functionality to minimize background noise and enhance the clarity of the recorded audio. Noise reduction algorithms can effectively suppress unwanted ambient sounds, resulting in cleaner and more focused audio recordings, particularly in challenging acoustic environments.
5. Monitor Audio Levels:
Utilize the audio level monitoring features available on the iPhone 12 to visually monitor the input levels from the external microphone. When adjusting the settings, pay attention to the audio meters or level indicators to ensure that the audio input remains within an optimal range. Avoid excessively low or high input levels to maintain balanced and distortion-free audio capture.
6. Test and Fine-Tune Settings:
Once you have adjusted the settings for the external microphone, it's crucial to conduct thorough testing to evaluate the impact of the changes. Record sample audio clips in different environments and scenarios to assess the effectiveness of the settings adjustments. Fine-tune the settings based on the results of your testing, striving to achieve the best possible audio quality for your recordings.
By meticulously adjusting the settings for the external microphone on your iPhone 12, you can harness the full potential of the microphone's capabilities, resulting in professional-grade audio recordings with exceptional clarity and fidelity. Whether you are capturing interviews, creating content, or recording music, the ability to customize the settings for the external microphone empowers you to achieve outstanding audio results with your iPhone 12 setup.
Tips for Getting the Best Audio Quality with an External Mic
Achieving the best audio quality with an external microphone involves a combination of technical considerations and practical techniques that can significantly enhance the clarity, richness, and overall fidelity of your recordings. Whether you are engaged in professional audio production, content creation, or personal projects, implementing the following tips will empower you to maximize the potential of your external microphone and elevate the quality of your audio recordings with your iPhone 12:
-
Optimize Microphone Placement: Positioning the external microphone correctly is crucial for capturing clear and balanced audio. Experiment with different placement options based on the type of microphone you are using. For lavalier mics, ensure proper attachment to clothing for unobtrusive and natural sound capture. Shotgun mics should be aimed towards the sound source to maximize directivity, while handheld mics require a firm grip and consistent distance from the sound source for consistent audio levels.
-
Mind the Environment: Pay attention to the acoustic environment in which you are recording. Minimize ambient noise and reverberation by choosing quiet locations or using soundproofing techniques when possible. Additionally, consider the impact of environmental factors such as wind or room resonance, and take measures to mitigate their effects on the audio capture.
-
Monitor Audio Levels: Keep a close eye on the audio levels to prevent distortion or clipping. Utilize the audio level indicators on your recording app or external microphone, ensuring that the input levels remain within an optimal range. Adjust the input gain settings as needed to maintain a balanced and distortion-free audio signal.
-
Utilize Wind Protection: When recording outdoors or in windy conditions, employ wind protection accessories such as foam windscreens or furry windshields to minimize the impact of wind noise on the audio. These simple yet effective solutions can significantly improve the clarity and intelligibility of outdoor recordings.
-
Experiment with Microphone Settings: Explore the settings and features offered by your external microphone, such as polar patterns, frequency response adjustments, and built-in filters. Familiarize yourself with these settings and experiment with different configurations to tailor the microphone's performance to the specific recording scenario.
-
Perform Sound Checks: Before commencing formal recordings, conduct thorough sound checks to ensure that the external microphone is functioning optimally. Test the microphone's responsiveness, clarity, and frequency range by capturing sample audio in the actual recording environment. Use this opportunity to fine-tune microphone settings and placement for the best results.
-
Post-Processing Considerations: After recording, consider utilizing post-processing techniques to further enhance the audio quality. This may include noise reduction, equalization, compression, and other audio processing tools available in editing software. However, exercise restraint to preserve the natural character of the audio while addressing any imperfections.
By implementing these tips, you can harness the full potential of your external microphone and the iPhone 12's recording capabilities, resulting in professional-grade audio recordings with exceptional clarity, richness, and fidelity. Whether you are capturing interviews, creating content, or recording music, these practical strategies will empower you to achieve outstanding audio results and elevate the impact of your recordings.