
Checking Current Notification Settings
Before making any changes to your notification settings on your Moto G, it's essential to understand your current setup. This ensures that you have a clear picture of how your device is currently handling notifications and allows you to make informed decisions about any adjustments you may want to make.
To check your current notification settings, start by unlocking your Moto G and navigating to the home screen. From there, swipe down from the top of the screen to access the Quick Settings panel. Look for the gear icon in the top right corner and tap on it to access the Settings menu.
Once in the Settings menu, scroll down and select "Apps & notifications." This will open a new window where you can view and manage all your installed apps and their respective notification settings. Tap on "Notifications" to access the notification settings for your device.
In the Notifications menu, you will see various options that allow you to customize how your Moto G handles notifications. You can review the default notification settings, including the behavior of notifications for different apps, the visibility of notifications on the lock screen, and the sound and vibration settings.
By taking the time to check your current notification settings, you gain valuable insight into how your Moto G is currently managing notifications. This knowledge forms the foundation for any future adjustments you may want to make to ensure that your device's notification system aligns with your preferences and lifestyle.
Understanding your current notification settings empowers you to tailor your Moto G's notification system to suit your needs, ensuring that you never miss important alerts while minimizing unnecessary distractions. With this knowledge in hand, you are ready to explore the various options available for customizing and managing notifications on your Moto G.
Accessing Notification Settings
Accessing the notification settings on your Moto G is a straightforward process that allows you to customize how your device handles alerts and notifications from various apps. By accessing these settings, you can tailor your notification experience to suit your preferences and ensure that you stay informed without being overwhelmed by unnecessary distractions.
To access the notification settings on your Moto G, begin by unlocking your device and navigating to the home screen. From there, swipe down from the top of the screen to reveal the Quick Settings panel. Look for the gear icon in the top right corner and tap on it to access the Settings menu.
Once in the Settings menu, scroll down and select "Apps & notifications." This will open a new window where you can view and manage all your installed apps and their respective notification settings. Tap on "Notifications" to access the notification settings for your device.
Upon entering the Notifications menu, you will encounter a range of options that empower you to customize how your Moto G handles notifications. Here, you can review and modify the default notification settings, including the behavior of notifications for different apps, the visibility of notifications on the lock screen, and the sound and vibration settings.
By accessing the notification settings, you gain the ability to fine-tune your device's notification system to align with your preferences and lifestyle. This includes controlling which apps can send you notifications, determining how these notifications are displayed, and managing the accompanying sounds and vibrations.
The accessibility of notification settings on the Moto G reflects the device's user-centric design, providing users with the flexibility to personalize their notification experience. Whether you prefer to receive discreet alerts during meetings or want to ensure that important notifications are prominently displayed, accessing these settings puts you in control of how your Moto G interacts with you throughout the day.
In summary, accessing the notification settings on your Moto G is a pivotal step in customizing your device to suit your individual preferences and needs. By navigating through these settings, you can tailor your notification experience, ensuring that you stay informed and connected while maintaining control over the flow of alerts and notifications on your device.
Enabling App Notifications
Enabling app notifications on your Moto G is a fundamental aspect of staying connected and informed about important events, messages, and updates from your favorite apps. By enabling app notifications, you ensure that you are promptly alerted to new information and can respond in a timely manner, enhancing your overall user experience.
To enable app notifications on your Moto G, begin by unlocking your device and navigating to the home screen. From there, swipe down from the top of the screen to access the Quick Settings panel. Look for the gear icon in the top right corner and tap on it to access the Settings menu.
Once in the Settings menu, scroll down and select "Apps & notifications." This will open a new window where you can view and manage all your installed apps and their respective notification settings. Tap on "Notifications" to access the notification settings for your device.
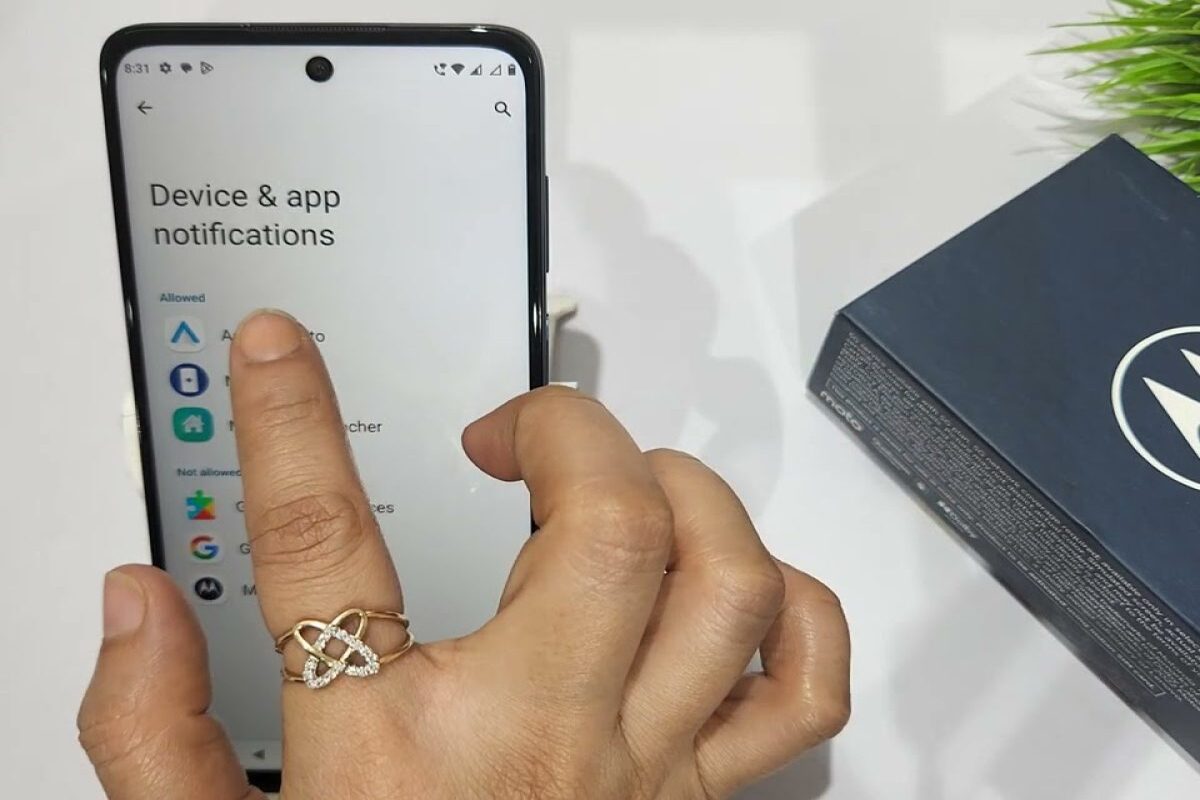
In the Notifications menu, you will find a list of all the installed apps on your Moto G. From here, you can enable or disable notifications for individual apps by tapping on the app name and adjusting the notification settings according to your preferences.
To enable notifications for a specific app, simply locate the app in the list and tap on it to access its notification settings. You will typically find options to enable or disable notifications, control the display of notifications on the lock screen, and customize the sound and vibration settings for that particular app.
Once you have located the app for which you want to enable notifications, toggle the switch to enable notifications for that app. This ensures that you will receive alerts and updates from the app as per your preferences.
Enabling app notifications on your Moto G empowers you to stay informed and engaged with the apps that matter most to you. Whether it's receiving timely updates from your messaging apps, staying informed about news and social media updates, or being alerted to important events from productivity apps, enabling app notifications ensures that you are always in the loop.
In essence, enabling app notifications on your Moto G is a simple yet impactful way to personalize your device and ensure that you are always connected to the information that matters most to you. By customizing app notifications, you can tailor your Moto G to suit your individual preferences and stay informed about the things that are important to you.
Customizing Notification Settings for Specific Apps
Customizing notification settings for specific apps on your Moto G allows you to fine-tune your notification experience, ensuring that you receive alerts and updates from your preferred apps in a manner that aligns with your preferences and lifestyle. By customizing these settings, you can control how each app communicates with you, tailoring the notifications to suit your individual needs.
To begin customizing notification settings for specific apps on your Moto G, start by unlocking your device and navigating to the home screen. From there, swipe down from the top of the screen to access the Quick Settings panel. Look for the gear icon in the top right corner and tap on it to access the Settings menu.
Once in the Settings menu, scroll down and select "Apps & notifications." This will open a new window where you can view and manage all your installed apps and their respective notification settings. Tap on "Notifications" to access the notification settings for your device.
In the Notifications menu, you will find a list of all the installed apps on your Moto G. From here, you can customize the notification settings for each app according to your preferences. Tap on the app for which you want to customize the notification settings to access its specific notification preferences.
Within the app-specific notification settings, you will typically find options to enable or disable notifications, control the display of notifications on the lock screen, and customize the sound and vibration settings for that particular app. These granular settings allow you to tailor the notification experience for each app to suit your preferences.
For example, you may choose to enable notifications for messaging apps to stay informed about new messages, while opting to disable notifications for less critical apps to minimize distractions. Additionally, you can customize the sound and vibration settings for each app, allowing you to differentiate between different types of notifications based on their importance.
By customizing notification settings for specific apps, you take control of how your Moto G interacts with you, ensuring that you receive timely alerts and updates from the apps that matter most to you. This level of customization empowers you to stay informed and connected while maintaining control over the flow of notifications on your device.
In summary, customizing notification settings for specific apps on your Moto G allows you to personalize your notification experience, ensuring that you receive alerts and updates in a manner that aligns with your preferences and enhances your overall user experience. By tailoring the notification settings for each app, you can stay informed about the things that matter most to you while minimizing unnecessary distractions.
Managing Notification Sounds and Vibration
Managing notification sounds and vibration on your Moto G allows you to personalize the auditory and tactile alerts that accompany incoming notifications, ensuring that you can differentiate between different types of alerts and stay informed without needing to check your device constantly.
To manage notification sounds and vibration on your Moto G, begin by accessing the notification settings as previously outlined. Once in the Notifications menu, look for the option to customize sound and vibration settings. Here, you can tailor the auditory and tactile feedback for notifications according to your preferences.
When managing notification sounds, you have the flexibility to choose from a range of built-in sounds or select a custom sound from your device's storage. This allows you to personalize the alert tones for different types of notifications, making it easier to identify the source of incoming alerts based on the sound they produce.
Additionally, you can adjust the volume of notification sounds to ensure that they are audible in various environments without being overly disruptive. This level of customization enables you to set the ideal volume for notifications, whether you are in a quiet setting or a noisy environment.
In terms of managing notification vibration, you can customize the vibration pattern and intensity for incoming alerts. This allows you to differentiate between different types of notifications based on the vibration feedback, providing an additional layer of personalization to your notification experience.
For example, you may choose to set a distinct vibration pattern for incoming messages and a separate pattern for email notifications, allowing you to discern the type of alert without needing to check your device. Furthermore, adjusting the vibration intensity ensures that you can feel the notifications without them being overly intrusive.
By managing notification sounds and vibration on your Moto G, you can create a personalized notification experience that aligns with your preferences and enhances your overall user experience. Whether you prefer subtle and discreet alerts or more prominent notifications, customizing these settings allows you to tailor your device to suit your individual needs.
In summary, managing notification sounds and vibration on your Moto G empowers you to personalize the auditory and tactile feedback for incoming alerts, ensuring that you can stay informed in a manner that aligns with your preferences and lifestyle. This level of customization enhances the overall user experience, allowing you to stay connected while maintaining control over the way your device communicates with you.
Setting Priority Notifications
Setting priority notifications on your Moto G is a valuable feature that allows you to designate specific contacts, apps, or events as high-priority, ensuring that you receive timely alerts for important communication and critical updates. By customizing priority notifications, you can streamline your notification experience, ensuring that crucial information reaches you promptly while minimizing distractions from less urgent alerts.
To begin setting priority notifications on your Moto G, navigate to the device's Settings menu and access the "Apps & notifications" section. From there, select "Notifications" to explore the available options for customizing priority notifications.
Within the Notifications menu, you will find the "Priority" or "Importance" settings, which enable you to designate certain contacts or apps as priority notifications. By accessing these settings, you can specify which notifications should override the default settings and receive special attention, ensuring that you never miss critical alerts.
When setting priority notifications for contacts, you can designate specific individuals or groups as priority contacts, allowing their calls and messages to bypass the device's default notification settings. This ensures that you are promptly alerted to important communication from these designated contacts, even if your device is set to silent or do not disturb mode.
In addition to prioritizing specific contacts, you can also customize priority notifications for apps and events that require your immediate attention. For example, you may choose to designate messaging apps, calendar reminders, or emergency alerts as priority notifications, ensuring that you are promptly informed about critical updates and time-sensitive information.
By setting priority notifications on your Moto G, you can tailor your device to ensure that important communication and critical alerts receive the attention they deserve. This level of customization empowers you to stay informed and connected while maintaining control over the flow of notifications, allowing you to focus on what matters most without being overwhelmed by unnecessary distractions.
In summary, setting priority notifications on your Moto G is a powerful tool for customizing your notification experience, ensuring that crucial information reaches you promptly while minimizing interruptions from less urgent alerts. By leveraging this feature, you can streamline your communication and stay informed about the things that matter most, enhancing your overall user experience with the device.