Step 1: Ensure Earbuds Are Charged
Before you begin the process of connecting your true wireless earbuds to your device, it’s crucial to ensure that the earbuds are adequately charged. This step is often overlooked, but it’s essential for a seamless and uninterrupted connection experience.
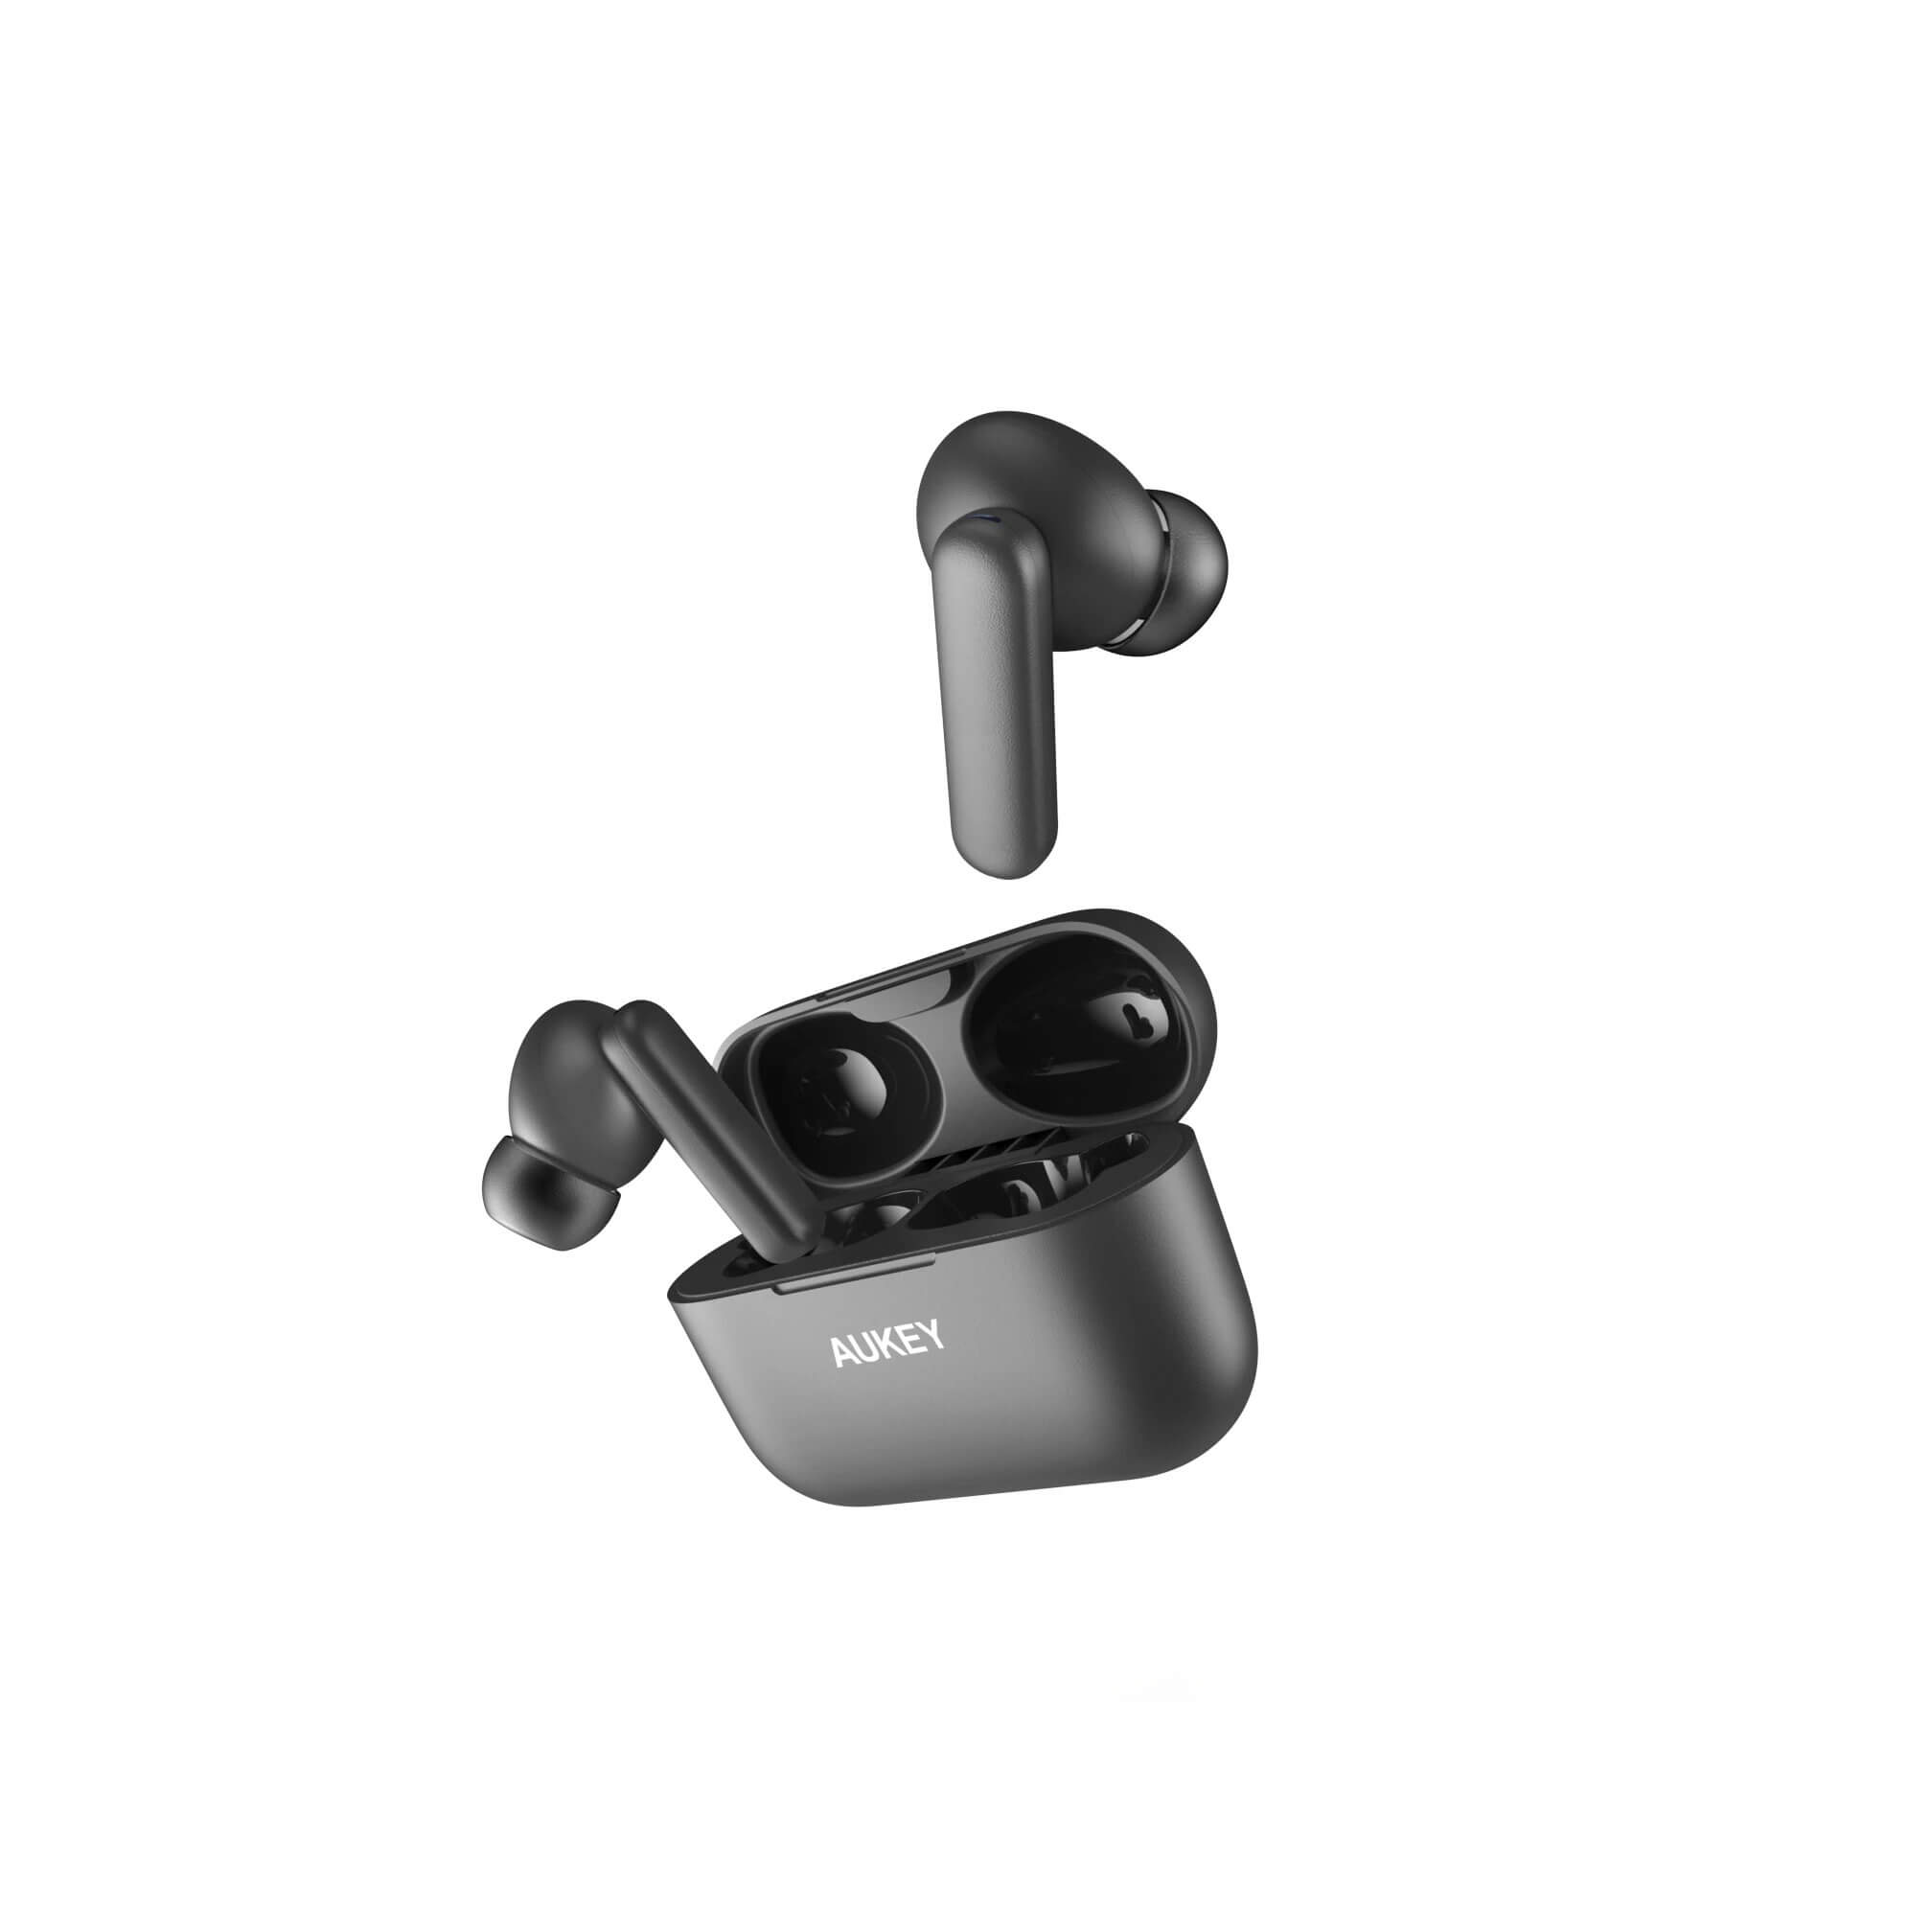
First, locate the charging case for your true wireless earbuds. Open the case to reveal the earbuds nestled inside. If the earbuds have been used previously, they may need to be recharged before initiating the connection process.
Place the earbuds securely into the designated slots in the charging case, ensuring that they make proper contact with the charging points. Once positioned correctly, close the case and connect it to a power source using the provided charging cable. Allow the earbuds to charge for the recommended duration as specified in the user manual or manufacturer’s guidelines. This typically ranges from 1 to 2 hours for a full charge, but it’s advisable to consult the specific instructions for your earbuds.
While the earbuds are charging, it’s an opportune time to familiarize yourself with the user manual, if available, to gain insights into the earbuds’ features and functions. Additionally, taking a moment to clean the earbuds and the charging case can contribute to maintaining optimal performance and prolonging their lifespan.
Once the earbuds have been sufficiently charged, you’re ready to proceed to the next step in the connection process. Ensuring that the earbuds are adequately charged not only facilitates a smooth connection but also ensures that you can enjoy an extended period of uninterrupted use without the inconvenience of low battery levels.
Step 2: Turn On Bluetooth on Your Device
After confirming that your true wireless earbuds are adequately charged, the next step in the connection process is to activate Bluetooth on the device with which you intend to pair the earbuds. Bluetooth is a wireless technology that enables devices to communicate and transmit data over short distances, making it an essential component of the earbud connection process.
Begin by accessing the settings or control panel on your device. The method for enabling Bluetooth may vary depending on the device’s operating system, but it is typically found within the wireless or connectivity settings. Once located, toggle the Bluetooth option to the “on” position. This action activates the device’s Bluetooth functionality, allowing it to detect and connect to compatible devices, including your true wireless earbuds.
It’s important to note that some devices may display an icon in the status bar or a notification prompt when Bluetooth is activated. This visual indicator serves as a convenient way to confirm that Bluetooth is indeed turned on. Additionally, familiarize yourself with the Bluetooth settings on your specific device to explore any advanced options or features that may enhance the connectivity experience.
As Bluetooth consumes power, it’s advisable to disable it when not in use to conserve battery life. However, for the purpose of connecting your true wireless earbuds, ensure that Bluetooth remains enabled throughout the pairing process. With Bluetooth activated on your device, you’re now prepared to proceed to the next step and initiate the pairing mode on your true wireless earbuds.
Step 3: Put Earbuds in Pairing Mode
Entering pairing mode is a crucial step in the process of connecting your true wireless earbuds to a device. Pairing mode allows the earbuds to become discoverable and ready to establish a connection with the desired device. While the specific method for activating pairing mode may vary between earbud models, the general procedure typically involves a combination of button presses or a specific sequence of actions.
To initiate pairing mode, begin by removing the earbuds from their charging case. Once removed, take a moment to ensure that the earbuds are powered on and ready to enter pairing mode. Refer to the user manual for your earbuds if you are unsure about the power status or the method for activating pairing mode.
Next, locate the designated pairing button or touch-sensitive area on the earbuds. Depending on the model, you may need to press and hold the button for a few seconds or follow a specific sequence of taps to activate pairing mode. Some earbuds may also enter pairing mode automatically upon powering on if they have not been previously paired with a device. It’s essential to consult the user manual or manufacturer’s guidelines for precise instructions tailored to your earbud model.
Once in pairing mode, the earbuds typically emit a visual or auditory cue to indicate their readiness to connect. This may include flashing LED lights, a distinct color pattern, or an audible prompt. These indicators serve as confirmation that the earbuds are discoverable and actively seeking a connection with a compatible device. At this stage, it’s important to proceed to the next step promptly to ensure a successful connection within the designated time frame for pairing mode.
Entering pairing mode effectively prepares the earbuds for the subsequent connection process, allowing them to be detected and paired with your device seamlessly. With the earbuds in pairing mode, you’re now ready to proceed to the next step and initiate the connection from your device.
Step 4: Select Earbuds on Your Device
With your true wireless earbuds in pairing mode and actively seeking a connection, the next step involves selecting the earbuds on the device with which you wish to pair them. This process allows your device to identify and establish a connection with the earbuds, enabling seamless audio playback and communication.
Begin by accessing the Bluetooth settings or the list of available devices on your device. Depending on the operating system and device model, this may involve navigating to the Bluetooth menu or the list of discoverable devices. Once in the appropriate settings, your device will scan for nearby Bluetooth-enabled devices, including your true wireless earbuds.
Upon scanning, the name or model of your earbuds should appear in the list of available devices. This identification enables you to select the earbuds and initiate the pairing process. It’s essential to verify that the name displayed corresponds to your earbud model to ensure a successful connection.
After identifying the earbuds in the list of available devices, select them to initiate the pairing process. Depending on the device and operating system, this action may prompt a pairing request or confirmation dialog. Confirm the pairing request to establish the connection between your device and the earbuds. Once paired, your device will recognize the earbuds as a trusted and connected audio accessory.
It’s important to note that some devices may require a PIN or passkey to complete the pairing process, especially for the first-time connection. If prompted, refer to the user manual or manufacturer’s guidelines for the specific PIN or passkey associated with your earbuds. This additional security measure ensures that only authorized devices can establish a connection with the earbuds.
By selecting the earbuds on your device and completing the pairing process, you pave the way for a seamless and reliable connection, allowing you to enjoy the full functionality of your true wireless earbuds. With the earbuds successfully paired with your device, you’re now ready to proceed to the final step and confirm the connection while testing the sound quality.
Step 5: Confirm Connection and Test Sound Quality
After successfully pairing your true wireless earbuds with your device, the final step involves confirming the connection and testing the sound quality to ensure optimal audio performance. This critical stage allows you to verify that the earbuds are functioning as intended and that the audio output meets your expectations.
Begin by visually confirming the connection status on your device. Depending on the operating system and device model, this may involve checking the Bluetooth settings or the status bar for a visual indicator that denotes the connected status of the earbuds. A connected status symbolizes the successful establishment of a Bluetooth connection between your device and the earbuds.
Once the connection is confirmed, proceed to play a piece of audio, such as music or a podcast, to test the sound quality of the earbuds. This allows you to assess the clarity, volume, and overall performance of the audio output. Pay attention to the presence of any distortion, imbalance, or irregularities in the sound, as these may indicate potential issues with the connection or the earbuds themselves.
While testing the sound quality, consider adjusting the volume levels to gauge the earbuds’ ability to deliver clear and immersive audio at various intensities. Additionally, explore any available sound settings or equalizer options on your device to customize the audio output according to your preferences. This step enables you to fine-tune the sound profile and enhance your listening experience.
It’s also beneficial to assess the stability of the connection by moving around within the typical usage range of the earbuds. This mobility test helps determine whether the connection remains stable and reliable, especially in scenarios where your device may be positioned at a distance from the earbuds. A robust connection ensures uninterrupted audio playback, regardless of your movement.
By confirming the connection and thoroughly testing the sound quality, you can gain confidence in the successful pairing of your true wireless earbuds with your device. This step allows you to enjoy the full audio capabilities of the earbuds while ensuring that the connection is stable and the sound quality meets your expectations. With the connection confirmed and the sound quality tested, you’ve successfully completed the process of connecting your true wireless earbuds, and you’re now ready to immerse yourself in an exceptional audio experience.


