
Materials Needed
Materials Needed
Creating a DIY phone projector without a magnifying glass is an exciting and budget-friendly project. To embark on this endeavor, you will need a few essential materials that are readily available. Here’s a comprehensive list of what you’ll need:
- A sturdy shoebox
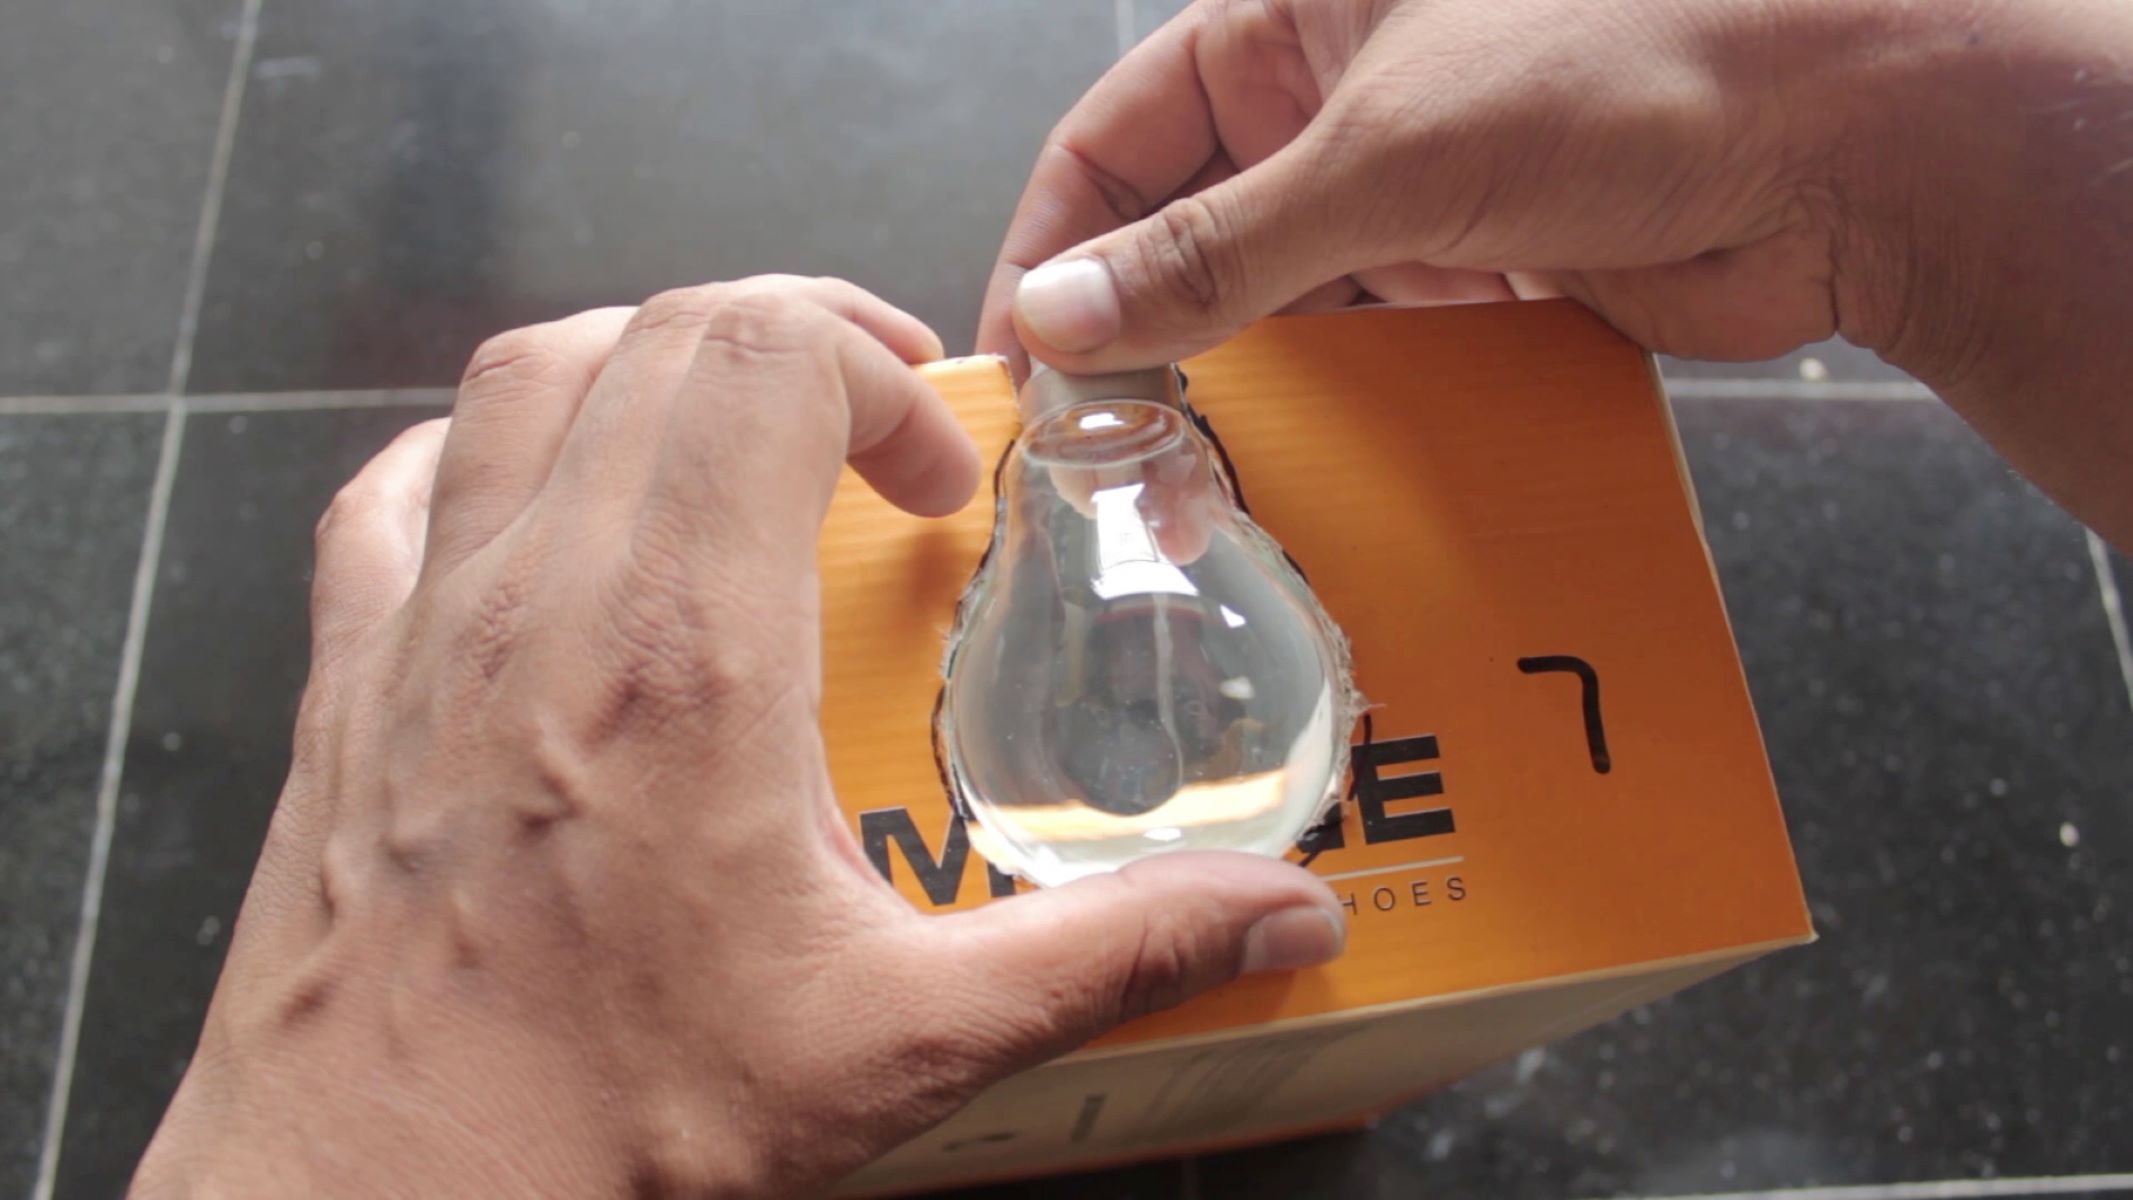
- A magnifying glass lens with a focal length of 100mm to 120mm
- A craft knife or box cutter
- A ruler
- A pencil
- A roll of duct tape or strong adhesive
- A small tripod or stand for your smartphone
- Black paint or black construction paper
- A hot glue gun (optional)
These materials are the building blocks for your DIY phone projector. Once you have gathered them, you’re ready to move on to the next steps in creating your own projector without a magnifying glass.
Step 1: Prepare the Shoebox
Preparing the shoebox is the first crucial step in creating your DIY phone projector without a magnifying glass. Follow these detailed instructions to ensure that your projector turns out perfectly:
Start by removing any stickers or labels from the shoebox. Use a damp cloth to wipe off any adhesive residue, ensuring that the surface is clean and smooth.
Next, use the ruler and pencil to mark the center of one of the shorter ends of the shoebox. This will serve as the location for the lens.
With the craft knife or box cutter, carefully cut out a rectangular hole at the marked center of the shoebox. The dimensions of the hole should be slightly smaller than the lens to ensure a snug fit later on.
After cutting out the hole, it’s important to ensure that the interior of the shoebox is free from any debris or rough edges that could obstruct the projection. Use a soft cloth or sandpaper to smooth out the edges of the hole.
Once the interior is smooth and free of any obstructions, you can proceed to the next step with a well-prepared shoebox, setting the stage for the construction of your DIY phone projector.
Step 2: Cut the Hole for the Lens
With the shoebox prepared, the next step in creating your DIY phone projector without a magnifying glass is to cut the hole for the lens. This step is crucial in ensuring that the lens is properly positioned for optimal projection. Follow these detailed instructions to execute this step effectively:
Place the magnifying glass lens over the hole you previously cut in the shoebox. Use the pencil to trace around the outer edge of the lens, marking the precise area where the lens will be inserted.
Once the outline is marked, carefully use the craft knife or box cutter to cut along the traced lines. Take your time and exercise caution to create a clean and precise cut that matches the shape of the lens.
After cutting the hole, test fit the lens to ensure that it sits snugly in the opening. The lens should fit securely without any gaps or wobbling. If necessary, make minor adjustments to the hole to achieve the perfect fit for the lens.
It’s essential to double-check the size and positioning of the hole to ensure that it aligns accurately with the lens. This meticulous approach will contribute to the overall effectiveness of your DIY phone projector.
With the hole cut to perfection, you’re now ready to proceed to the next step and insert the lens securely into the shoebox, bringing you one step closer to completing your DIY phone projector without a magnifying glass.
Step 3: Insert the Lens
Inserting the lens is a pivotal stage in the construction of your DIY phone projector without a magnifying glass. Proper positioning and securing of the lens are essential for achieving clear and focused projections. Follow these detailed instructions to ensure the successful insertion of the lens:
Begin by placing the magnifying glass lens into the hole you cut in the shoebox. Ensure that the lens fits snugly and sits flush with the surface of the shoebox. This secure fit is crucial for the effective functioning of the projector.
If the lens feels loose or unstable, consider using a small amount of hot glue or adhesive to secure it in place. Be cautious and apply the adhesive sparingly to avoid obstructing the lens or affecting its optical properties.
Once the lens is securely positioned, examine it from both the interior and exterior of the shoebox to confirm that it is aligned properly and sits at the center of the hole. This alignment is essential for producing a well-focused projection.
After ensuring the proper alignment, inspect the lens for any smudges, fingerprints, or dust particles. Use a gentle lens cleaning cloth or lens cleaning solution to carefully clean the surface of the lens, ensuring that it is free from any obstructions that could affect the quality of the projection.
With the lens successfully inserted, secured, and cleaned, you have achieved a critical milestone in the construction of your DIY phone projector. The next step involves positioning your phone within the shoebox to harness the power of this innovative device.
Step 4: Secure the Lens
Securing the lens is a crucial step in ensuring the stability and functionality of your DIY phone projector without a magnifying glass. Properly securing the lens will contribute to the clarity and focus of the projected images. Follow these detailed instructions to effectively secure the lens in place:
After inserting the lens into the hole of the shoebox, use duct tape or a strong adhesive to secure the lens from the interior of the shoebox. Apply the tape or adhesive around the edges of the lens, ensuring that it is held firmly in place. Take care not to obstruct the central area of the lens, as this could affect the quality of the projected images.
Inspect the lens from the exterior of the shoebox to verify that it is securely fastened and that there are no visible gaps or loose areas. The lens should be held in place firmly, without any wobbling or movement when the shoebox is handled or repositioned.
If you opted to use adhesive, allow sufficient time for it to dry and set completely before proceeding to the next step. This will ensure that the lens remains securely affixed within the shoebox, ready to facilitate clear and focused projections.
It’s important to double-check the security of the lens to prevent any potential issues during the projection process. A well-secured lens is essential for the optimal performance of your DIY phone projector.
With the lens securely in place, you have successfully completed this crucial step, setting the stage for positioning your phone and fine-tuning the projector to achieve impressive results.
Step 5: Position the Phone
Positioning your phone correctly within the DIY phone projector setup is essential for achieving high-quality projections. Follow these detailed instructions to ensure that your phone is positioned optimally for an impressive viewing experience:
Place your smartphone on a small tripod or stand, ensuring that it is stable and secure. The phone should be positioned horizontally to align with the orientation of the projector setup.
Adjust the position of the phone on the tripod or stand so that the center of the screen aligns with the center of the lens on the shoebox. This precise alignment is crucial for producing well-focused and centered projections.
Ensure that the phone’s screen is clean and free from smudges or fingerprints that could affect the clarity of the projected images. Use a soft microfiber cloth to gently clean the screen, ensuring that it is free from any obstructions.
If your phone allows for manual adjustment of screen brightness, consider setting it to a level that is optimal for projection. A moderate brightness level is often suitable for achieving clear and vibrant projections without straining the eyes.
Once the phone is securely positioned and its screen is prepared, you’re ready to proceed to the next step and fine-tune the focus of the projector to bring your images and videos to life.
Step 6: Adjust the Focus
Adjusting the focus of your DIY phone projector is a critical step in ensuring that the projected images and videos are sharp and clear. Follow these detailed instructions to effectively adjust the focus and enhance the quality of your projections:
Position the shoebox projector and your phone in a dark or dimly lit room to facilitate better visibility of the projected images. Diminished ambient light will allow you to make precise adjustments to the focus without interference from external light sources.
Turn on the phone’s flashlight or use a white image on the screen to emit a bright and uniform light source for projection. This will aid in fine-tuning the focus of the projector and achieving optimal image clarity.
Gradually move the phone closer to or farther away from the lens to adjust the focus of the projected image. Pay close attention to the sharpness and clarity of the projected content as you make these adjustments.
Simultaneously, adjust the distance between the shoebox projector and the projection surface to refine the focus further. Small, incremental movements can make a significant difference in the sharpness of the projected images.
Continue making minor adjustments to the position of the phone and the distance from the projection surface until the images appear sharp and well-defined. Take your time with this step to achieve the best possible focus for your DIY phone projector.
Once you are satisfied with the focus and clarity of the projected images, you are ready to move on to the final step and test the functionality of your DIY phone projector without a magnifying glass.
Step 7: Test the Projector
Testing the functionality of your DIY phone projector is an exciting culmination of the construction process. This step allows you to witness the results of your efforts and fine-tune the projector for optimal performance. Follow these detailed instructions to effectively test the projector and enjoy the fruits of your labor:
Dim the ambient lighting in the room to create an ideal environment for projection. This will enhance the visibility and clarity of the projected images, allowing you to fully appreciate the capabilities of your DIY phone projector.
Position the shoebox projector at an appropriate distance from the projection surface, ensuring that it is stable and aligned for optimal viewing. The distance may vary based on the focal length of your lens and the size of the projected image you wish to achieve.
Turn on the flashlight or display a bright image on your phone’s screen to initiate the projection. Ensure that the phone’s screen is set to full brightness to maximize the clarity and vibrancy of the projected images.
Observe the projected images and videos to assess their sharpness, clarity, and overall quality. Take note of any adjustments that may be necessary to further enhance the focus and alignment of the projections.
Experiment with projecting various types of content, such as photos, videos, and presentations, to gauge the versatility and performance of your DIY phone projector. This will allow you to appreciate the full range of capabilities offered by your innovative creation.
Invite friends or family members to experience the projections and gather their feedback on the quality and impact of the DIY phone projector. Their perspectives can provide valuable insights and contribute to further refinements in the projector’s functionality.
Celebrate your achievement and the successful completion of your DIY phone projector without a magnifying glass. Embrace the creativity and ingenuity that went into this project, and relish the enjoyment and entertainment that your homemade projector brings to your surroundings.
By following these steps and testing the projector, you have unlocked the potential of your DIY creation and can now revel in the immersive and captivating experience it offers.