
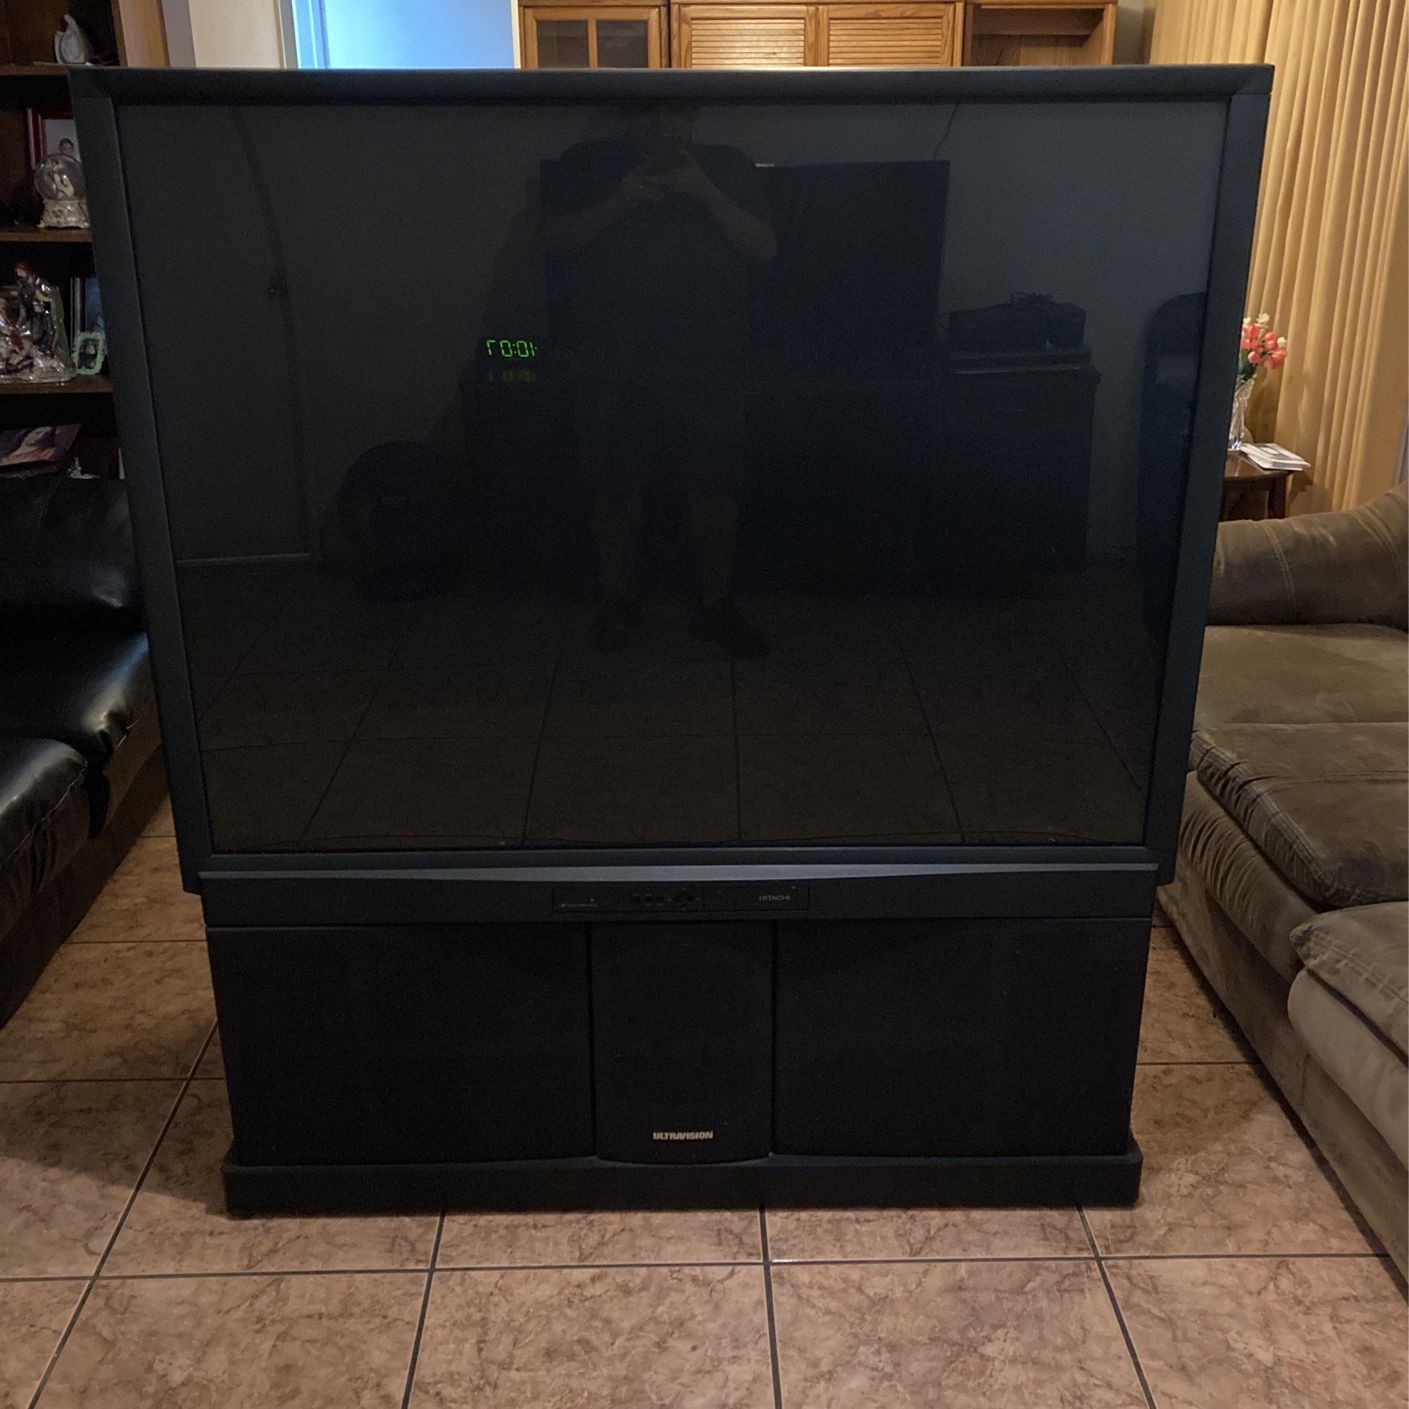
Sell or Donate
If you’re wondering what to do with your old projection TV, one option is to sell it or donate it to someone who may still find value in it. Whether you choose to sell or donate, here are a few considerations to keep in mind:
- Sell it: If your projection TV is still in decent working condition, you can consider selling it. Websites like eBay, Craigslist, or local classifieds are great platforms to connect with potential buyers. Be sure to include detailed information about the TV’s make, model, and any additional features it may have. When determining the price, consider factors such as the TV’s age, condition, and current market value. Giving potential buyers the option to negotiate the price can also increase your chances of a successful sale.
- Donate it: Donating your old projection TV is a great way to give back to the community and help others in need. There are various organizations, charities, and nonprofits that accept electronic donations. Contact local schools, community centers, or religious organizations to see if they have a need for a projection TV. You can also check with programs that provide electronics to low-income families or donate to organizations that refurbish electronics for resale or recycling.
Selling or donating your old projection TV is not only a responsible way to declutter your space but also helps to extend the life of the device. By opting for one of these options, you can ensure that your old TV finds a new home where it can continue to bring joy and entertainment to someone else.
Repurpose or Recycle
If you’re looking for sustainable options for your old projection TV, you can consider repurposing or recycling it. Here are a few ideas to give your TV a new lease on life:
- Convert it into a DIY project: With a little creativity and ingenuity, you can repurpose your old projection TV into something useful. Consider transforming it into a unique piece of furniture, such as a bookshelf, a storage cabinet, or even a quirky pet bed. You can also repurpose it into a decorative display, like a retro-style bar or a plant stand. Let your imagination run wild, and you’ll be amazed at the possibilities.
- Recycle it responsibly: If repurposing isn’t an option for you, recycling your old projection TV is the environmentally friendly choice. Some electronic retailers or recycling centers accept old electronics for proper recycling. Check with your local recycling facility or electronic waste collection events to find out the best way to recycle your TV. Proper recycling ensures that valuable materials are recovered, and harmful components are disposed of safely.
- Donate it for parts or repair: Another option is to donate your old projection TV to someone who may use it for parts or attempt to fix it. There are DIY enthusiasts, hobbyists, or repair shops that might need specific components from your TV to support their own projects or repair other similar devices. By donating your TV, you can contribute to the repair and restoration efforts of electronic devices and reduce electronic waste.
Repurposing or recycling your old projection TV not only helps reduce electronic waste but also gives it a new purpose, extending its lifespan. Whether you choose to repurpose it into something unique or recycle it responsibly, you can make a positive impact on the environment while unleashing your creativity.
Convert Into a DIY Projector
If you enjoy DIY projects and want to repurpose your old projection TV in a fun and creative way, consider converting it into a DIY projector. With some simple steps and a few additional materials, you can transform your old TV into a unique homemade projector. Here’s how:
- Gather necessary materials: You’ll need a few supplies to complete this DIY project. You’ll need a magnifying glass or a Fresnel lens, a cardboard or wooden frame to hold the lens, a smartphone or tablet, and some basic tools like a screwdriver, glue, and masking tape. You may also need some additional items like a small speaker or audio cable for sound if your old TV doesn’t have built-in speakers.
- Remove the TV’s back panel: Carefully remove the back panel of your old projection TV. This will give you access to the screen and internal components of the TV.
- Position the lens: Place the magnifying glass or Fresnel lens in front of the TV screen. Adjust its position until you achieve a clear and focused image. You can secure the lens into a cardboard or wooden frame to keep it stable and steady.
- Attach your device: Use a smartphone or tablet to display images or videos for your DIY projector. Simply connect your device to the TV’s video input or use a compatible adapter if needed. You may also need to adjust the image settings on your device to ensure optimal projection quality.
- Test and adjust: Turn on your DIY projector and test it out. Experiment with different media, adjust the focus and position of the lens, and fine-tune the image quality until you’re satisfied with the results. You can also make further adjustments to the projector’s position, distance, and angle to achieve the desired projection size and clarity.
By converting your old projection TV into a DIY projector, you can enjoy the experience of creating your own entertainment system. Whether it’s for movie nights in your backyard or showing off your latest vacation photos, this DIY project allows you to repurpose your old TV in a unique and resourceful way.
Use as an Art Piece
Repurposing your old projection TV as a piece of artwork can add a unique and nostalgic touch to your home decor. Instead of hiding it away or disposing of it, consider turning it into a creative centerpiece or installation. Here are a few ideas to transform your old TV into a captivating art piece:
- Display vintage images: Use your old projection TV to showcase vintage images or old black and white films. This can create a captivating and timeless display that invokes a sense of nostalgia. You can find public domain or royalty-free vintage images and mount them on a looped slideshow to continuously play on the screen.
- Showcase digital art: Transform your old TV into a digital canvas by displaying digital art or animated visuals. Connect a media player or a computer to the TV and select an art program or interactive screensaver to display captivating visuals. This artistic display can serve as a conversation starter and add a contemporary touch to any space.
- Create a multimedia installation: Combine your old projection TV with other artistic elements to create a multimedia installation. Consider mounting the TV on a textured or painted wall, adding decorative lighting, and incorporating sound elements to create an immersive art experience. Experiment with different themes, colors, and materials to bring your vision to life.
- Incorporate it into a sculpture: Another creative option is to incorporate your old projection TV into a sculpture or mixed-media artwork. Use the TV as a focal point or as part of a larger art piece. You can combine it with various materials like wood, metal, or glass to create a visually striking and thought-provoking sculpture.
Transforming your old projection TV into an art piece not only gives it a new purpose but also adds a touch of creativity and personalization to your space. Whether you choose to display vintage images, digital art, or incorporate it into a larger installation, let your imagination run wild and turn your TV into a captivating piece of art.
Transform Into a Retro Gaming Console
If you’re a fan of retro gaming and looking for a creative way to repurpose your old projection TV, consider turning it into a retro gaming console. With some simple steps, you can relive the nostalgia of classic video games on a larger screen. Here’s how:
- Gather necessary materials: You’ll need a gaming console or computer that is compatible with classic games, game controllers, an HDMI converter, and audio cables. Additionally, you may want to invest in a gaming emulator or a collection of classic game cartridges or CDs to play on your new setup.
- Connect the gaming console: Connect your gaming console or computer to the TV’s video input using the appropriate cables. If the TV doesn’t have HDMI input, you may need to use an HDMI converter or an RCA cable converter to connect the devices.
- Set up the gaming controllers: Connect the gaming controllers to your console or computer. Depending on the type of controller you choose, you may need to install relevant drivers or configure the settings to ensure they work properly.
- Select and install retro gaming software: Install retro gaming software or emulators on your gaming console or computer. These emulators allow you to play classic games from different consoles or gaming systems. Make sure to follow the necessary installation steps and configure the software to maximize your gaming experience.
- Start gaming: Load your favorite retro games and start playing! Enjoy the immersive experience of playing classic video games on the larger screen of your old projection TV. Adjust the TV’s settings, such as brightness and contrast, to optimize the visuals and recreate the authentic retro gaming experience.
By transforming your old projection TV into a retro gaming console, you can relive the magic of classic video games while giving new life to your old TV. Gather your favorite games, invite friends or family over, and indulge in hours of nostalgic gaming fun.
Create a Home Theater Setup
If you’re a movie buff or love immersive entertainment experiences, repurposing your old projection TV into a home theater setup is an ideal option. With the right equipment and setup, you can recreate the cinematic experience right in the comfort of your own home. Here’s how:
- Upgrade the audio: Enhance the audio quality by investing in a good surround sound system. Connect speakers strategically around the room to create a dynamic and immersive sound experience. You can opt for a packaged home theater system or build your own setup with a receiver, speakers, and a subwoofer.
- Select a suitable location: Choose a dedicated space in your home where you can set up your home theater. Consider factors like room size, acoustics, and ambient lighting. Ideally, select a room with minimal natural light and the ability to control lighting conditions for the best viewing experience.
- Optimize the seating: Invest in comfortable seating options like reclining chairs or a sofa with ample space for you and your family or friends. Arrange the seating in a way that provides a clear view of the projection screen.
- Install a quality projector: Replace the old projection bulb with a new and high-quality projector that offers crisp and clear image quality. Choose a projector that suits the size and dimensions of the room. Ensure that the projector is positioned at the right distance from the screen for optimal image display.
- Set up a projection screen: Invest in a high-quality projection screen or create a DIY projection screen using white blackout cloth or a blank white wall. Ensure that the screen is mounted securely and positioned at an optimal height and angle for comfortable viewing.
- Calibrate the settings: Adjust the settings on the projector, such as brightness, contrast, and aspect ratio, to achieve the best picture quality. You may also need to calibrate the audio settings to ensure a balanced sound experience.
- Create a media center: Set up a media center that houses your streaming devices, Blu-ray player, gaming consoles, and other media sources. Organize the cables neatly and ensure easy access to all your entertainment devices.
By repurposing your old projection TV as a home theater setup, you can enjoy a cinematic experience without stepping out of your home. Whether you’re watching the latest movies, streaming your favorite TV shows, or immersing yourself in the world of gaming, your home theater will provide hours of entertainment and enjoyment for you and your loved ones.
Turn Into a Fish Tank or Terrarium
If you’re looking to add a unique and eye-catching element to your living space, repurposing your old projection TV into a fish tank or terrarium can be a captivating option. With some creativity and a few modifications, you can transform your old TV into a stunning habitat for fish or plants. Here’s how:
- Clean and prepare the TV: Start by carefully cleaning the interior of the TV to remove any dust, debris, or electronic components. Ensure that all electrical components are safely disconnected and remove any glass screens or panels that might hinder the setup.
- Seal any openings: To prevent leaks, seal any openings or gaps in the TV casing with waterproof silicone or another suitable sealant. This will ensure that water or soil does not leak out of the tank or terrarium.
- Add a protective barrier: Place a waterproof liner or barrier inside the TV to protect it from moisture. This can be a glass or acrylic sheet that fits securely inside the TV and acts as a barrier between the water or soil and the electronic components.
- For a fish tank: If you’re turning your TV into a fish tank, fill the bottom with an appropriate substrate such as gravel or sand. Add water and install a filter, heater, and other necessary equipment for your fish species. Introduce aquatic plants and decorate with caves, rocks, or driftwood to create a visually appealing and comfortable habitat for your fish.
- For a terrarium: If you’re creating a terrarium, layer the bottom with activated charcoal or gravel for drainage. Add a suitable potting mix, and carefully plant your chosen flora. Consider the lighting needs of the plants and provide appropriate sources of light, such as LED grow lights. Add decorative elements like moss, stones, or miniature figurines to enhance the aesthetic appeal of the terrarium.
- Maintain and care for your creation: Regularly clean and maintain the fish tank or terrarium by monitoring water quality, providing necessary filtration or watering, and trimming or replanting as needed. Follow proper care guidelines for your fish or plant species and ensure a healthy and thriving environment inside your repurposed TV.
Transforming your old projection TV into a fish tank or terrarium not only adds a unique element to your space but also repurposes an unused item in an eco-friendly way. Whether you choose to fill it with vibrant fish or lush greenery, your repurposed TV will become a focal point of conversation and admiration in your home.
Disassemble for Parts and Components
If your old projection TV is no longer functional or beyond repair, you can consider disassembling it to salvage valuable parts and components. By doing so, you can extend the lifespan of other electronic devices or use the components for various DIY projects. Here’s how you can disassemble your TV:
- Ensure safety precautions: Before starting the disassembly process, it’s crucial to prioritize safety. Make sure the TV is unplugged and allow it to discharge any stored electrical energy. Wear safety goggles and gloves to protect yourself from sharp edges and potential hazards.
- Remove the casing: Begin by removing the outer casing of the TV. This can usually be done by removing screws and carefully prying open the casing. Set aside the screws and any small clips or connectors that may hold the casing in place.
- Locate reusable components: Identify the components that can be salvaged, such as circuit boards, capacitors, connectors, speakers, or power supplies. Carefully remove these components using appropriate tools, such as screwdrivers, pliers, or wire cutters.
- Organize and store the components: Once you’ve successfully removed the reusable components, organize and store them properly. Use anti-static bags or containers to prevent damage from static electricity. Label and categorize the components for easier identification and future use.
- Repurpose or sell the components: Depending on your interests and skills, you can repurpose the salvaged components for various DIY projects. For example, you can use circuit boards for Arduino projects, repurpose speakers for audio projects, or recycle connectors and wiring for future electronic endeavors. Alternatively, you can sell the salvaged components through online platforms or to electronic enthusiasts who may find value in them.
Disassembling your old projection TV to salvage parts and components not only helps reduce electronic waste but also provides an opportunity to explore your creativity and learn more about electronics. By repurposing the salvaged components, you can contribute to DIY projects, repair other devices, or inspire new innovations.
Gift to a Friend or Family Member
If you have an old projection TV that is still in good working condition and you no longer have use for it, consider gifting it to a friend or family member who may appreciate and benefit from it. Giving your old TV to someone close to you is not only a kind gesture but also a way to extend the life of the device. Here are a few things to consider when gifting your old projection TV:
- Assess their interest: Before offering the TV as a gift, consider whether the recipient would actually have a use for it. Think about their interests, hobbies, or living situation to determine if a projection TV would be a suitable addition to their home entertainment setup.
- Inquire about their preferences: Talk to the intended recipient and discuss their preferences regarding screen size, resolution, or specific features. This will help ensure that the TV aligns with their expectations and requirements.
- Check compatibility: If the TV requires additional accessories or cables to function properly, make sure to include them as part of the gift. This ensures that the recipient can immediately set up and enjoy using the TV without any inconvenience.
- Offer assistance with setup: If the recipient is not familiar with setting up a projection TV, offer your assistance to help them get it up and running. Provide guidance on connecting the necessary cables, configuring settings, and optimizing the viewing experience.
- Share any documentation: If you have the original manual or any relevant documentation for the TV, include it in the gift. This can help the recipient troubleshoot any issues or explore additional features.
- Express your intentions: When giving the TV as a gift, express your intentions and the reasons behind your gesture. Let the recipient know that you thought of them and wanted to give them something that they can enjoy and benefit from.
Gifting your old projection TV to a friend or family member allows you to pass on the enjoyment and value of the device to someone who will appreciate it. It’s a meaningful way to declutter your space while bringing joy and entertainment to someone else’s life.
Try to Fix and Restore
If you have the skills or interest in electronics, trying to fix and restore your old projection TV can be a rewarding and fulfilling project. Instead of discarding it right away, consider giving it a second chance by attempting to repair and restore it. Here are some steps to follow when trying to fix and restore your old projection TV:
- Identify the issue: Begin by diagnosing the problem with your TV. Is it a simple fix, such as a loose connection or a blown fuse, or is it a more complex issue that requires troubleshooting? Conduct thorough research, consult online forums, or seek assistance from knowledgeable individuals to help identify the underlying problem.
- Research and gather resources: Once you have identified the issue, gather the necessary resources, such as replacement parts, tools, and relevant repair manuals or guides. Online marketplaces or specialized electronics stores are ideal places to find replacement parts for your specific TV model.
- Work in a safe environment: Prioritize safety when working with electronic devices. Ensure that the TV is disconnected from any power source. Use appropriate tools, protective gear, and a static-free work area to prevent damage to yourself or the TV.
- Follow instructional guides: Refer to repair manuals, online tutorials, or step-by-step guides that provide you with instructions on how to disassemble, diagnose, and fix common issues. Take your time, be patient, and follow the instructions carefully to avoid causing further damage.
- Document your progress: As you work on repairing and restoring your TV, document your progress by taking pictures or keeping a record of the steps you take and the changes you make. This will help you troubleshoot any issues that may arise and provide a reference point if you need to seek assistance or consult with experts.
- Test and fine-tune: After the necessary repairs have been made, reassemble the TV and test it thoroughly to ensure that it is functioning properly. Monitor the picture quality, sound, and any other features to ensure that the restoration efforts have been successful.
- Seek professional help if needed: If you encounter challenges during the repair process or if you are unsure about how to proceed, don’t hesitate to seek professional help. Electronics repair shops or technicians can offer specialized expertise to help you diagnose and fix complex issues.
By trying to fix and restore your old projection TV, you not only gain valuable knowledge and skills but also potentially save a functional device from ending up in a landfill. Even if your attempts are not successful, you can still feel a sense of achievement in your efforts to bring new life to your TV.
Dispose of Properly
If your old projection TV is beyond repair or if you’ve exhausted all other options for repurposing or donating it, it’s essential to dispose of it properly. Improper disposal of electronic waste can be harmful to the environment and human health. Follow these guidelines to ensure the responsible disposal of your old TV:
- Research local disposal options: Check with your local municipality or waste management facility to understand the regulations and guidelines for disposing of electronic waste. They may have specific instructions or designated collection points for electronic recycling.
- Electronic recycling programs: Look for electronic recycling programs or e-waste drop-off centers in your area. These programs are specifically designed for the collection and recycling of electronic devices, including projection TVs. They ensure that the TV is disposed of properly and that valuable components and materials are recycled or reused.
- Take advantage of manufacturer programs: Some manufacturers or retailers have take-back programs for electronic devices. They may offer options to return your old TV for proper disposal or recycling. Check if the manufacturer of your TV has such a program in place.
- Donate for parts or recycling: If your TV cannot be repaired or repurposed, consider donating it to facilities that specialize in electronics recycling. They can dismantle it and salvage valuable components while ensuring that hazardous materials are safely disposed of.
- Securely erase personal data: Before disposing of your old TV, ensure that any personal information or sensitive data stored in the device is securely erased. Perform a factory reset or use data-shredding software to prevent any potential data breaches.
- Community e-waste collection events: Look for community events or special collection days dedicated to e-waste disposal. These events provide an opportunity to responsibly dispose of your old projection TV alongside other electronic devices.
- Follow local regulations: Make sure to comply with any local regulations or specific disposal requirements for electronic waste. Some areas may have specific rules regarding the disposal of electronic devices to protect the environment and human health.
By disposing of your old projection TV properly, you can contribute to reducing electronic waste and minimizing the impact on the environment. Following these guidelines ensures that the TV is recycled or disposed of in a way that is safe and sustainable.