
Safety Precautions
When replacing the projection TV lamp, it is essential to prioritize the safety of yourself and others around you. To ensure a safe and smooth process, follow these important precautions:
- Disconnect the TV from power: Before starting any maintenance work on your projection TV, make sure to unplug the power cord from the electrical outlet. This will prevent accidents and protect you from electrical shocks.
- Allow time for the lamp to cool down: The lamp in your TV can become extremely hot during operation. It is crucial to allow sufficient time for it to cool down before attempting to replace it. This will minimize the risk of burns or injuries.
- Refer to the user manual: Your TV’s user manual contains specific instructions and safety guidelines provided by the manufacturer. It is highly recommended to read and understand these guidelines thoroughly before proceeding with the lamp replacement.
- Wear protective gloves: To avoid any potential contamination or damage to the new lamp, it is advisable to wear protective gloves during the entire process. This will prevent fingerprints or oils from coming into contact with the lamp surface.
- Use a stable ladder or platform: Depending on the location of the lamp access panel, you may require a ladder or platform to reach it safely. Ensure that the ladder or platform is stable and provides sufficient support to avoid falls or injuries.
- Avoid touching the lamp surface: When handling both the old and new lamp, be careful not to touch the glass surface. Touching or scratching the lamp can lead to reduced image quality and potential lamp failure.
- Dispose of the old lamp properly: After removing the old lamp, it is important to dispose of it according to local regulations. Check with your local authorities to determine the appropriate method of disposal to minimize environmental impact.
By following these safety precautions, you can ensure a safe and successful projection TV lamp replacement. Remember to exercise caution and take your time during the process to avoid any mishaps or accidents.
Gather the Required Tools and Materials
Before you begin replacing the projection TV lamp, it’s important to gather all the necessary tools and materials. Having everything prepared in advance will save you time and ensure a smooth process. Here’s a list of items you’ll need:
- Replacement lamp: Purchase a compatible projection TV lamp from a reliable source. Check your TV’s user manual or manufacturer’s website for the specific lamp model required for your TV.
- Screwdriver: Depending on the model of your TV, you may need a Phillips or flat-head screwdriver to remove the lamp cover and secure the new lamp.
- Clean cloth or microfiber cloth: Having a clean cloth handy will help you handle the lamp without leaving any fingerprints or smudges on the surface.
- Protective gloves: Wear protective gloves to prevent contamination of the lamp or any damage to its surface during the replacement process.
- Lamp housing or cage: Some TV models require you to transfer the old lamp into a new housing or cage. Check your TV’s manual to see if this applies to your specific model.
- Lamp timer reset instructions: If your TV has a built-in lamp timer, make sure to have the reset instructions available. This is necessary to ensure accurate tracking of lamp usage and prevent premature replacement.
- Stable workspace: Find a clean and stable area to perform the lamp replacement. A flat and well-lit surface will make the process easier and safer.
By gathering these tools and materials beforehand, you’ll be fully prepared to replace the projection TV lamp. Double-check that you have everything on the list to prevent any interruptions during the replacement process.
Locate and Remove the Lamp Cover
Now that you have gathered the necessary tools, it’s time to locate and remove the lamp cover. Follow these steps to access the projection TV lamp:
- Refer to the user manual: Consult your TV’s user manual to find the specific instructions for locating the lamp cover. It will provide you with the exact location and guidance to access it.
- Power off the TV: Ensure that the TV is powered off and unplugged from the electrical outlet. This will eliminate any potential electrical hazards while working on the lamp replacement.
- Allow time for cooling: As a safety precaution, allow the TV and lamp to cool down for at least 30 minutes before proceeding. This will reduce the risk of burns or injuries when handling the lamp and its housing.
- Identify the lamp cover: Examine the back or side of the TV for a removable panel or cover. In most cases, it is labeled “lamp,” “lamp cover,” or has an icon indicating the lamp location.
- Remove the screws: Use the appropriate screwdriver to carefully remove the screws securing the lamp cover in place. Set the screws aside in a safe place to avoid misplacing them.
- Slide or lift the lamp cover: Once the screws are removed, gently slide or lift the lamp cover to expose the lamp housing.
Take your time when removing the lamp cover to avoid any damage to the TV or lamp. If you encounter any difficulties, consult the user manual or seek professional assistance. With the lamp cover successfully removed, you can proceed to the next step of replacing the projection TV lamp.
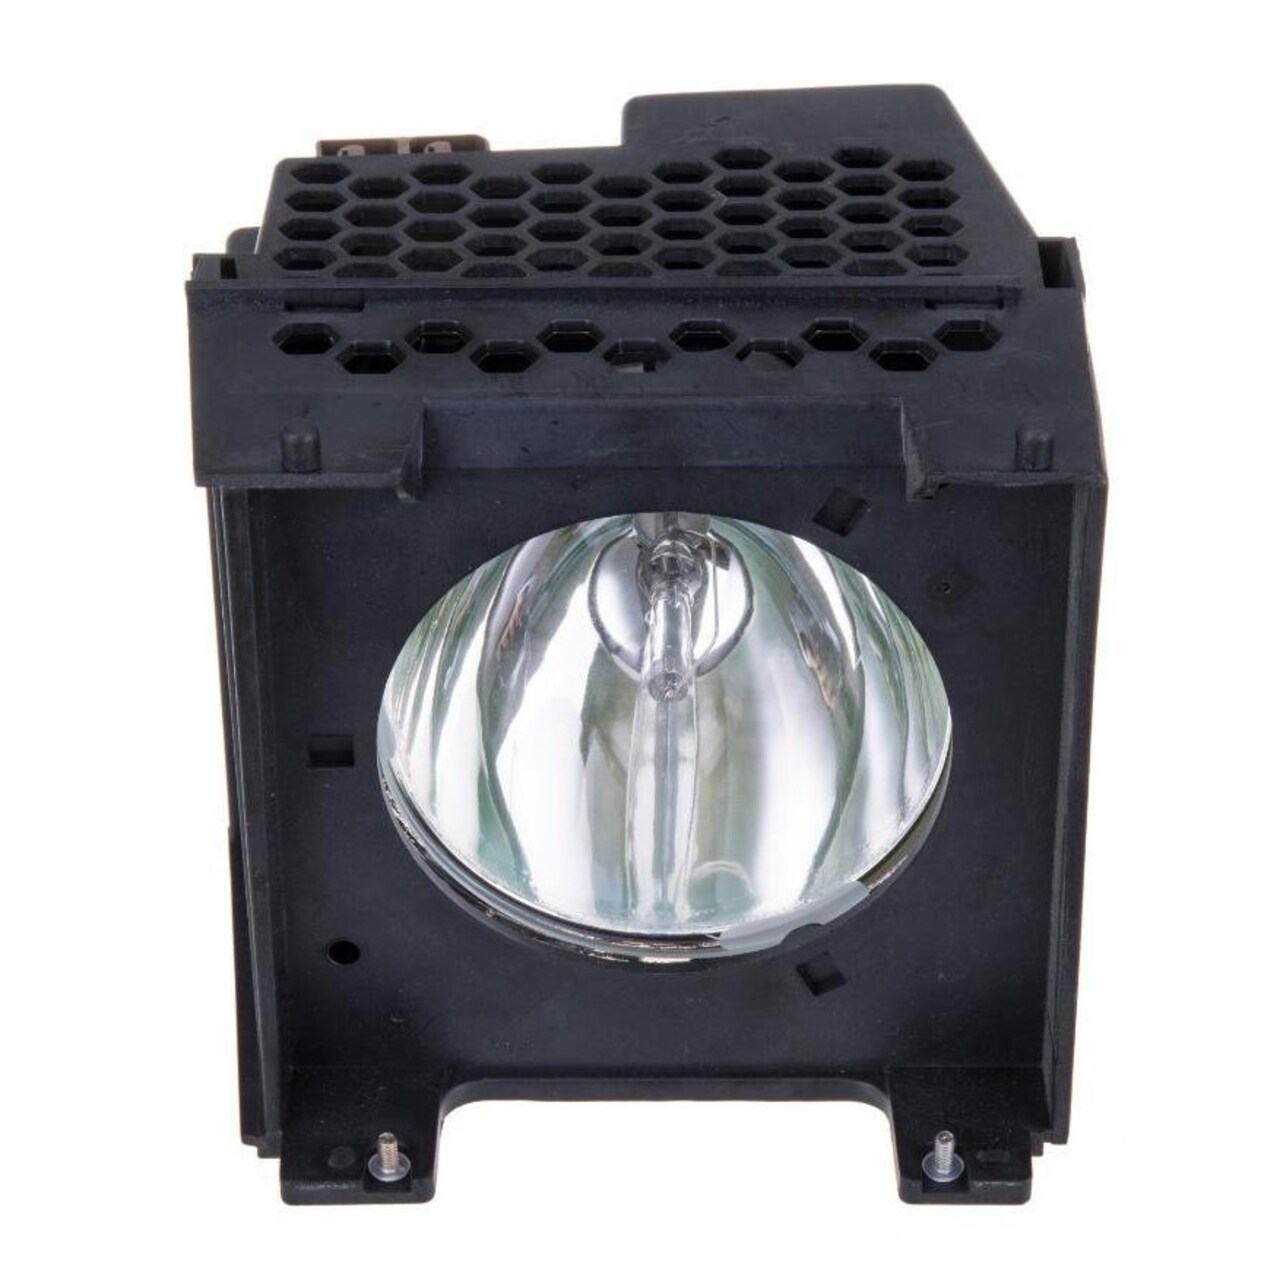
Remove the Old Projection TV Lamp
With the lamp cover removed, you can now focus on removing the old projection TV lamp. Follow these steps carefully to ensure a smooth and successful replacement process:
- Identify the lamp housing: Locate the lamp housing within the TV. It is usually a small compartment where the lamp is securely held in place.
- Disconnect the lamp: Before removing the lamp, take note of any connectors or cables attached to it. Carefully disconnect these connectors by gently pulling them straight out.
- Remove any retaining screws or brackets: In some cases, the lamp may be held in place by retaining screws or brackets. Use a screwdriver or other appropriate tool to remove these fasteners, allowing the lamp to be easily removed.
- Handle the lamp with care: Once the lamp is no longer secured, handle it with caution. Avoid touching any glass surfaces as fingerprints or smudges can affect the lamp’s performance.
- Remove the lamp from the housing: Slowly and carefully slide the old lamp out of the housing. Pay attention to any specific instructions provided in the user manual or on the lamp itself.
During the process, it’s important to be gentle and take your time to avoid any accidental damage. If the lamp feels stuck, double-check for any remaining fasteners or connectors that may still be connected. If necessary, consult the user manual or seek professional assistance.
Remember to handle the old lamp with care to avoid any injury or damage. Do not attempt to disassemble or open the lamp as it contains potentially hazardous materials. Properly dispose of the old lamp following local regulations to minimize environmental impact.
With the old projection TV lamp successfully removed, you’re ready to proceed to the next step of inserting the new lamp.
Insert the New Projection TV Lamp
Now that you have removed the old projection TV lamp, it’s time to insert the new lamp into the TV. Follow these steps to ensure a proper installation:
- Inspect the new lamp: Before inserting the new lamp, carefully inspect it for any damages. Ensure that it matches the model specified in your TV’s user manual.
- Handle the new lamp with care: Just like with the old lamp, avoid touching the glass surface of the new lamp. Fingerprints or smudges can impact the lamp’s performance.
- Place the new lamp into the housing: Align the new lamp with the lamp housing inside the TV. Gently slide it into place, ensuring that it fits securely and snugly.
- Secure the lamp: If there were any retaining screws or brackets holding the old lamp, make sure to reattach them to secure the new lamp properly. Follow the instructions provided in the user manual for the specific tightening or securing process.
- Connect any cables or connectors: Reattach any cables or connectors that were disconnected from the old lamp. Ensure that they fit snugly and are securely connected.
Throughout the process, be cautious and take your time to ensure a proper installation. Follow the manufacturer’s instructions and any additional guidelines provided in the user manual. If you encounter any difficulties or uncertainties, consult a professional or contact the manufacturer for assistance.
Once the new projection TV lamp is securely installed, you can move on to the next step of securing the lamp and replacing the lamp cover.
Secure the Lamp and Replace the Lamp Cover
With the new projection TV lamp properly inserted, the next step is to secure it in place and replace the lamp cover. Follow these steps to ensure a secure and protected installation:
- Double-check the lamp’s alignment: Before proceeding, ensure that the lamp is properly aligned within the lamp housing. It should fit snugly with no loose or uneven positioning.
- Tighten any retaining screws or brackets: If your TV requires retaining screws or brackets to secure the lamp, use a screwdriver or the appropriate tool to tighten them. Make sure they are securely fastened but avoid over-tightening.
- Reconnect the lamp cover: Line up the lamp cover with the TV and carefully slide or lower it back into place. Ensure that it aligns correctly with the screw holes.
- Secure the lamp cover: Once the lamp cover is in its proper position, insert the screws you initially removed. Use the screwdriver to tighten them without applying excessive force.
Take your time during this step to ensure that the lamp is securely fastened and the lamp cover is properly reinstated. Proper alignment and tightening will protect the lamp and prevent any potential issues during operation.
With the new lamp secured and the lamp cover replaced, you are ready to proceed to the next step of resetting the lamp timer.
Reset the Lamp Timer
After installing a new projection TV lamp, it’s important to reset the lamp timer to ensure accurate tracking of usage. Follow these steps to reset the lamp timer on your TV:
- Access the TV’s menu: Using the TV’s remote control, navigate to the menu settings. The exact process may vary depending on your TV model, so refer to the user manual for specific instructions.
- Locate the lamp timer option: Within the menu settings, look for the option related to the lamp timer. It may be listed as “lamp settings” or have a similar name.
- Select the reset option: Once you’ve found the lamp timer option, select the reset or clear option to reset the lamp timer. Confirm the action when prompted.
- Follow any additional instructions: Some TVs may require you to perform additional steps or enter a specific code to reset the lamp timer. Follow the instructions provided in the user manual or on-screen.
Resetting the lamp timer is important as it helps you keep track of the lamp’s usage and prevents premature replacement. By resetting the timer, you ensure that the TV recognizes the new lamp and accurately monitors its lifespan.
If you encounter any difficulties or are unsure about the reset process, consult the TV’s user manual or contact the manufacturer for assistance. It’s crucial to reset the lamp timer properly to maintain the optimal performance and lifespan of your projection TV lamp.
Once the lamp timer is successfully reset, you can move on to testing the new projection TV lamp to ensure everything is functioning as expected.
Test the New Projection TV Lamp
After completing the installation and resetting the lamp timer, it’s time to test the new projection TV lamp to ensure it is functioning properly. Follow these steps to perform a test:
- Reconnect the TV to power: Plug the TV’s power cord back into the electrical outlet and ensure that it is securely connected.
- Turn on the TV: Use the TV’s remote control or power button to turn it on. Wait a few moments for the TV to power up.
- Check for proper lamp operation: Observe the TV screen to see if the new lamp is functioning correctly. Look for a bright and clear image without any flickering or abnormalities.
- Check for color accuracy: Pay attention to the colors displayed on the TV. Ensure that they appear vibrant and accurate, without any tint or hue issues.
- Monitor for any error messages: Keep an eye out for any error messages or notifications on the TV screen. If you encounter any error messages related to the lamp, refer to the user manual or contact the manufacturer for assistance.
- Test different inputs and sources: Switch between different inputs (such as cable TV, gaming consoles, or DVD players) to ensure that the lamp works properly with various sources.
During the testing phase, allow the TV to run and display content for a reasonable period of time. This will ensure that the new lamp remains stable and operational.
If you notice any issues or abnormalities during the test, recheck the installation steps and consult the user manual for troubleshooting guidance. In case you continue experiencing difficulties, it may be necessary to contact a professional technician for further assistance.
By performing a thorough test of the new projection TV lamp, you can ensure that it is functioning correctly and enjoy optimal image quality and performance in your TV viewing experience.